Tag Archives: foamcoat

End of Week Prop Links

First up, Rolling Stone checks out the ghost fighting equipment in that new Ghostbusters movie everyone is raving about. Props master Kirk Corwin shows us all the proton packs, traps, and other sundry items used throughout the film.

Rosco shows off how to make a statue of David out of foam and FoamCoat. Though the emphasis is on the FoamCoat, the real interesting part is how they were able to export a 3D model of the statue to a CNC machine and build the sculpture out of many layers of regular insulation foam.

Back to Ghostbusters, Rick Lazzarini shows how his shop built an animatronic “Slimer” to use as a stand-in for the CGI effects in the film.

Back to foam carving, Make Magazine has some quick tips for sculpting Styrofoam. Though short and fairly basic, they have a few tips that you may not have tried yet.

Finally, Popular Woodworking dispels six myths about wood finishing. They aren’t fun myths about unicorns and bridge trolls, but myths about stains and grains.

Special Saturday Prop Links

Happy Saturday, everyone. Unforeseen emergencies kept me from posting this yesterday, but have no fear, your props reading list is here:

If you somehow missed this article, Maria Bustillos had a great piece in Bloomberg Business called “How High Def is Changing Your Brain – and Driving the Prop Master Crazy.” It delves into how the increased resolution and clarity of film makes amazing props look like cheap plastic knock-offs. It has a fair bit of prop-making history in it, and some wonderful anecdotes as well (the bit about attaching the leaves from small carrots onto the bodies of larger carrots for a perfect carrot was something every prop master could recognize).

Rosco Spectrum has more on the 160 candlestick holders which Jay Duckworth constructed for Hamilton (now on Broadway!). Using his drill press as a lathe, and some FoamCoat, he made short work of this project. Jay, you know you have an actual lathe in your shop, right?

User Ratchet built a Recharger Rifle from Fallout: New Vegas and posted pictures over at the Replica Prop Forum. The process photos do a wonderful job showing how a few simple materials layered up on top of each other can quickly become a complex and interesting prop. The fantastic paint job helps a lot as well.

Finally, I saw this Giant PVC Centipede over at Instructables. It’s the stuff of nightmares, but it’s also interesting some basic hardware store supplies can transform into a fully articulated monstrosity.

Halberds

For one of the operas we are doing this summer, we needed some “sconces” made up of armor and weapons: shields with swords crossed behind them and that sort of thing. The designer wanted some pole weapons on one; we had a halberd in stock he really liked. Since we only had one, I had to replicate a bunch more to match it. Since these halberds were only going to be decorative, I could crank them out quickly with scrap materials.

Plywood shapes
Plywood shapes

In the photo above, I traced and cut out the main shape of the halberd blade from quarter-inch plywood. You can see the original blade at the very top of the photograph.

Attaching the foam
Attaching the foam

I attached a piece of 1-inch pink foam to each side of the plywood. I rough cut the foam to the shape, but left it oversized so I could trim it to the exact shape after the glue dried. I used Gorilla Glue to adhere it.

Sanded and shaped
Sanded and shaped

After the glue dried, I trimmed the foam to the shape of the plywood. I used a knife to make the bevels, followed by sandpaper to refine the curves.

Adding raised detail

Next I did a very “proppy prop” thing; I used hot glue to adhere some cord to create raised detail. These halberd blades are only meant to be decorative, and are way upstage; also, this is how the original one was made, and I needed them all to match.

Finished unpainted piece

The whole piece was then coated in FoamCoat, and sent off to the painters.


Scenic Dope and Monster Mud

Scenic dope is a general term for a number of materials used for a number of techniques. In the late 19th and early 20th centuries, a ceiling paint known as calcimine was popular. It was essentially whiting mixed with animal glue and a bit of water. Whiting is powdered and washed white chalk, aka calcium carbonate. Set builders used it to prime flats for painting, or a thicker form to adhere muslin to flats. Along the way, it evolved into recipes and formulations which could be used for all sorts of texturing.

If you add linseed oil to whiting, you can make a simple caulk. If you mix whiting with casein (milk protein used as a binder in casein paint) and water (and borax if you want anti-fungal qualities) you can also make a simple joint compound. With the introduction of latex paint (really, acrylic paint, as it contains no actual latex), we now have the modern equivalents for the building blocks of scenic dope.

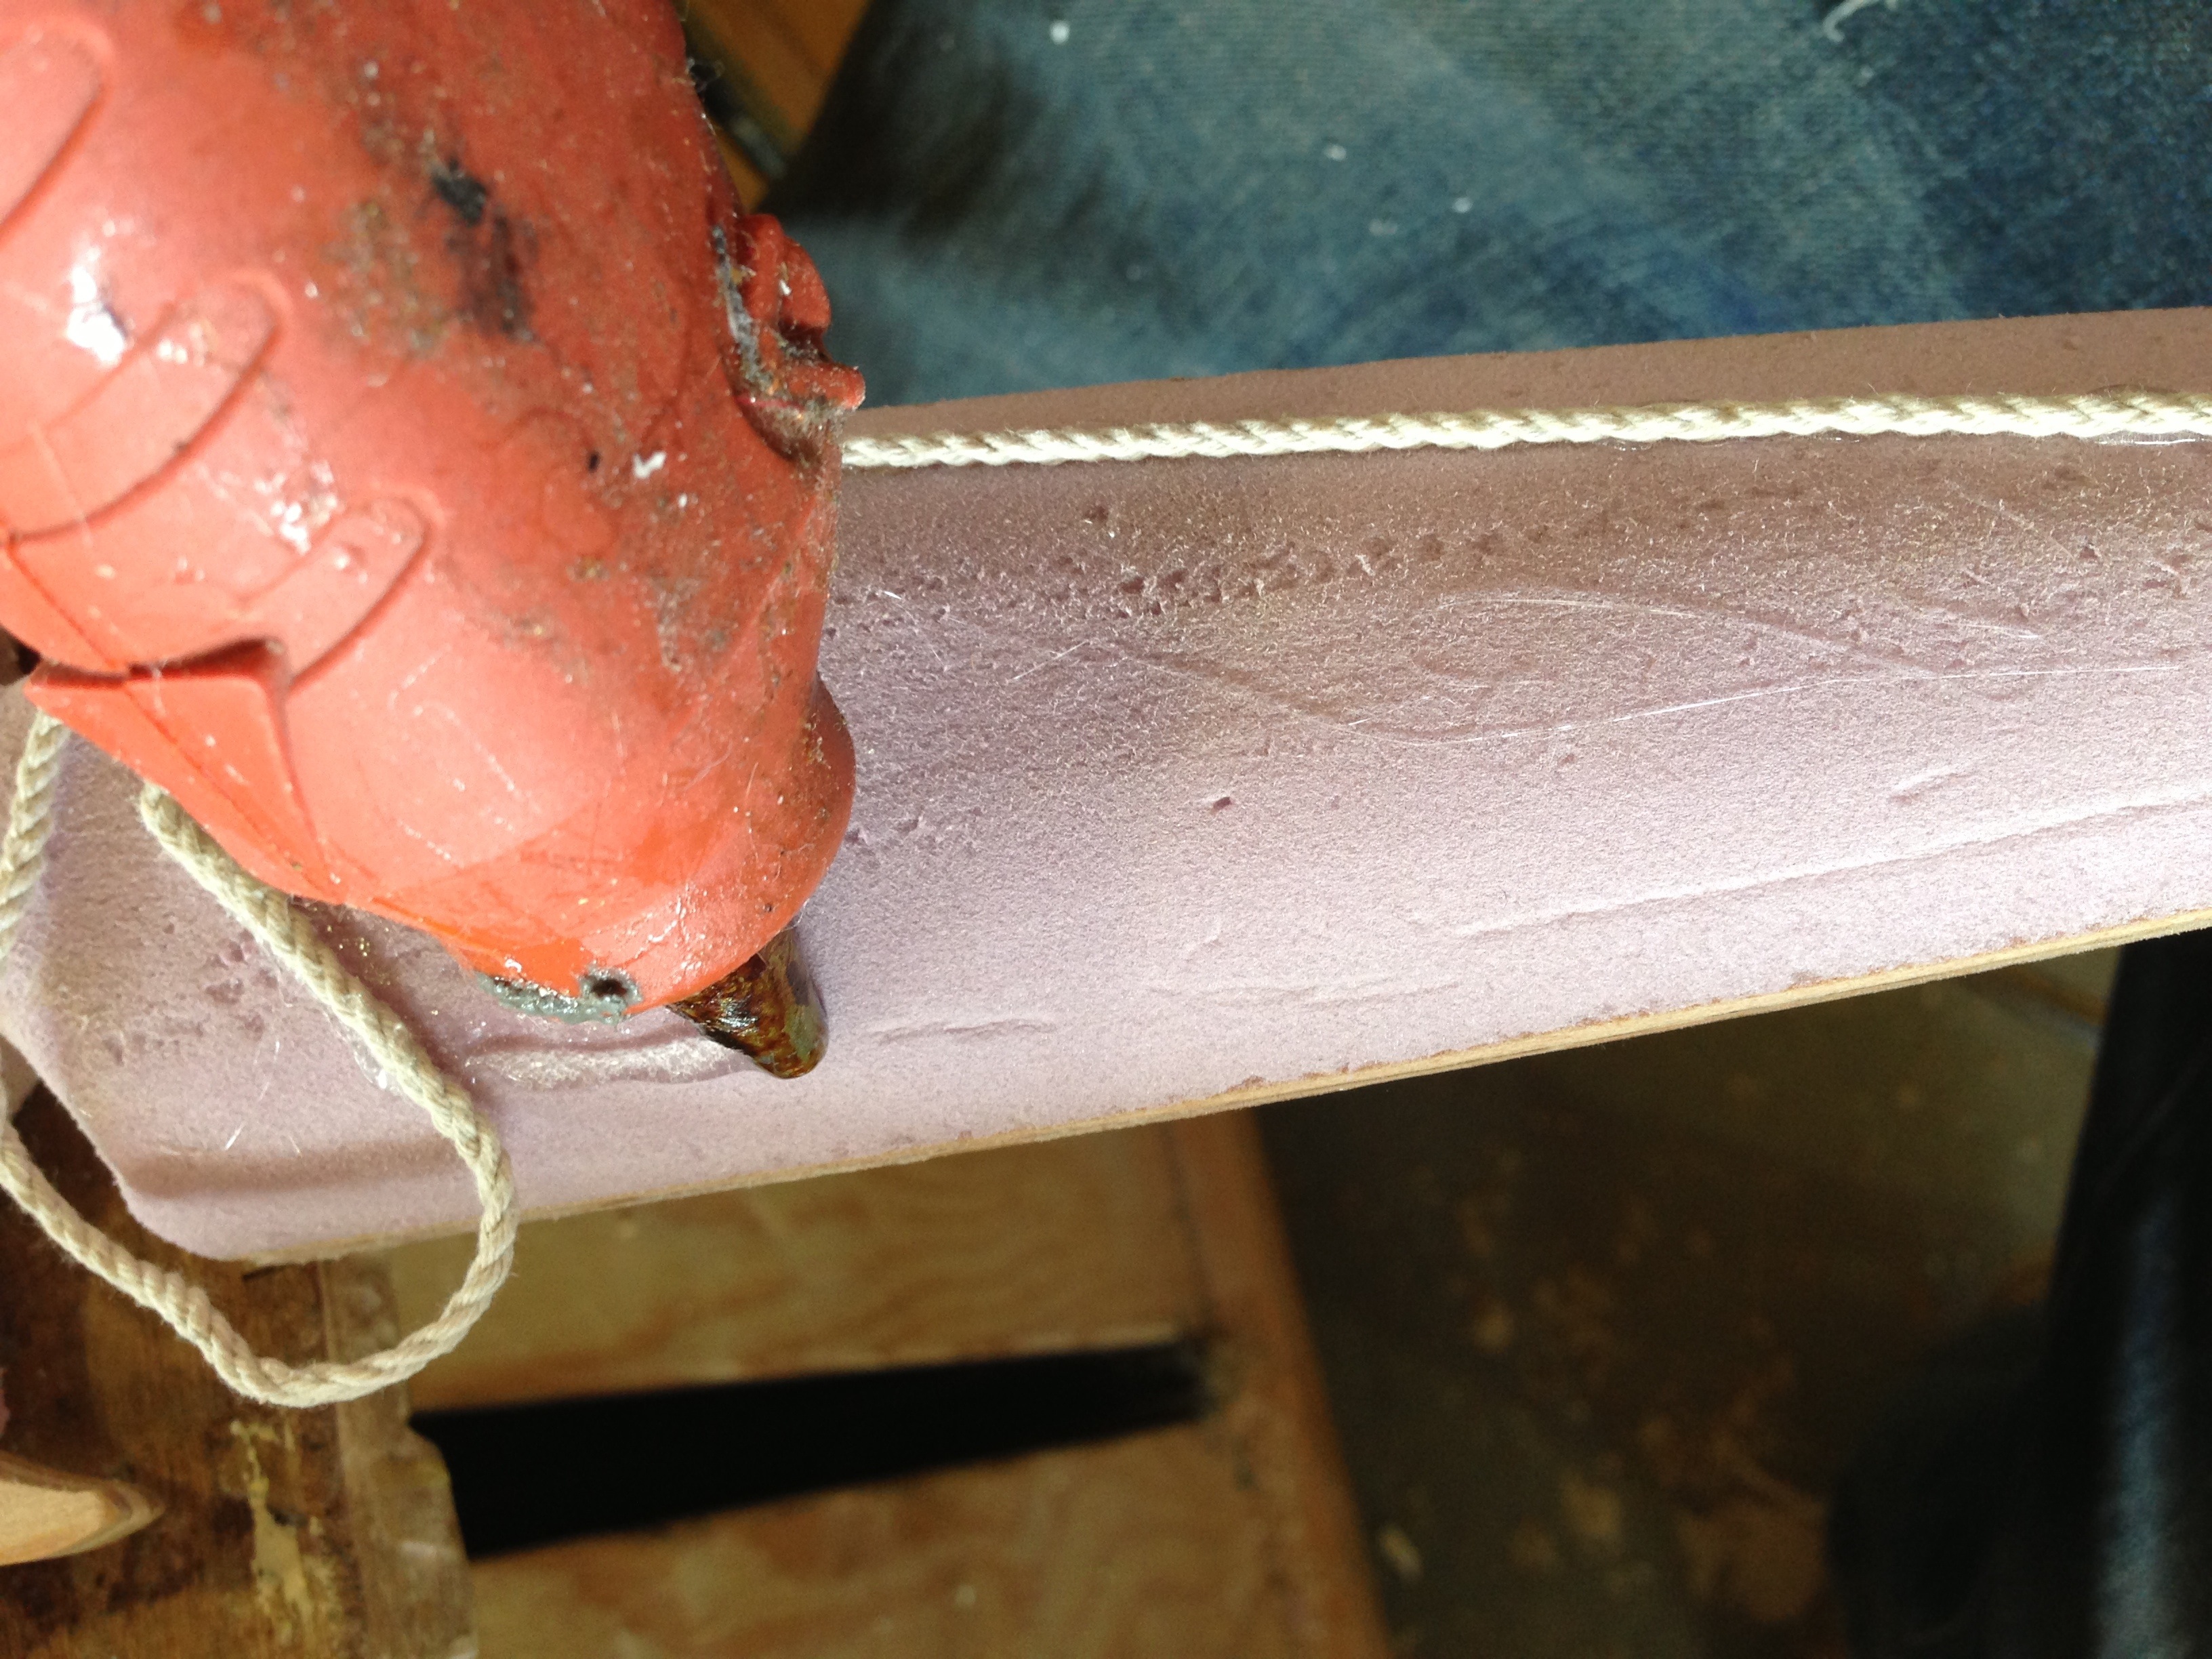
As it is a material which undergoes frequent experimentation and improvisation, no set recipe exists. A good place to begin your own experimenting is with a gallon of latex paint, 2–5 tubes of painter’s latex caulk, and 1–2 cups of joint compound. The thinner recipes (more paint, less caulk and joint compound) make good coatings for foam, while the thicker recipes (some push the ratio to equal parts paint and joint compound) can hold some heavy texture as it dries, almost to the point of being sculpt-able.

Note that the recipe calls for latex caulk and not silicone caulk. Silicone caulk is more common and easier to find in hardware and home improvement stores, but silicone does not bond with anything, which makes it impossible to mix into a recipe.

For a more flexible recipe, you can mix joint compound with glue (animal, or PVA). This is especially helpful when you are coating surfaces that have a bit of “give”. The harder dope recipes may crack under strain, whereas this one will bend.

You can add any number of additives to your recipe. Water putty and plaster allows it to dry harder but more brittle. Paper pulp really thickens the mix, and it can become almost like a thin clay, which is great for sculpting bark or rough stone on your surfaces. Sand can be added for a, well, sandy surface. Really, if you want a chunky texture, you can add almost anything chunky that you have laying around. In addition to mixing materials like sand into the mix, you can also sprinkle or dust it onto the surface while the dope is still wet. This will give it a coating, or crust, that you may find to your liking.

Theatrical suppliers make any number of products which mimic scenic dope, each with slightly different properties, but formulated to give consistent results. Rosco’s Foamcoat and Sculptural Arts’ Sculpt or Coat are just a few.

Because the recipe consists of latex paint and joint compound, both of which are water soluble, the resulting surface needs to be water-proofed if it will be outside or around moisture.

The properties of dope are similar to the wheatpaste used in papier-mache, and it is frequently used in conjunction with fabric. Strips of fabric are coated with dope and lain over a surface to create textures.

“Monster mud” is a term which began to appear in the late twentieth century to describe a mixture used frequently in the haunted house industry. You mix five gallons of joint compound with one gallon of latex paint. You can then submerge cloth—a large weave like burlap works best, though clothing or other fabric works as well—into the mixture, squeeze the excess mud out, and shape it. You may also spread the mud on straight to add texture. It may take up to several days to dry, but it becomes rock-hard (though not water-proof). It’s a clever way to mimic sculpted fabric, though any kind of flowing surface lends itself to this technique.

Gnome Building

For the upcoming production of “Broke-ology” at Lincoln Center, I was asked to build a three-foot garden gnome. They had a prop from the original production at the Williamstown Theatre Festival, but it was starting to break and crack in certain places. The gnome undergoes a lot of abuse during each performance, so they needed a new one with a better interior structure. So for the past two weeks, my wife and I have been gnome building.

Structure

The interior plywood structure of the gnome

The original gnome was a solid chunk of foam, with weights added in the base. Since it gets fairly thin around the ankles, it was beginning to separate at that point. My major concern with the interior skeleton was making sure there were no weak points on the gnome.

Additionally, while I had the original gnome with me, I took measurements and tracings directly off it to make several “slices” of the gnome’s shape to use as the structure. You can see what I mean in the photographs above. So the plywood would not only give me structure, it would also serve as a guide while adding and carving the foam.

Chunks of Styrofoam added to the skeleton

Carving

We couldn’t keep the gnome forever, so I took pictures of all four sides, plus the four in-between sides, as well as various views from above. It never hurts to have too many reference pictures. To remove large pieces of foam, we used either a knife or sometimes a reciprocating saw. If we needed a large amount of foam sculpted down quickly, we used a wire brush wheel hooked up to a cordless drill. We did the more precise and final carving and sculpting with a variety of rasps, knives, and sandpaper.  Sculpting and carving are very personal skills, so the best tools are often the ones you make yourself. Natalie made several tools just by gluing pieces of sandpaper to various shapes of wood.

Natalie uses a Dremel to carve details

You can see in the photograph above that we added auto-body filler (or Bondo) to fill in gaps, cover mistakes, or build up areas where we took too much off. You need a respirator when using it, but it hardens very quickly. You can use a rasp or knife on it after about ten minutes, and you can sand it after about an hour. We also used a Dremel tool for quickly carving out details.

Coating

I pontificated in an earlier post about various ways of coating foam. First, we wrapped the gnome in muslin strips which were soaked in glue. The process is very similar to papier-mache. We tore the muslin strips to give them a ragged edge which could be smoothed down over the previous pieces. After this dried, we covered the whole thing in Rosco Foamcoat, which we laid on like stucco to give it a bit of worn and weathered texture. After a light sanding, we painted on the various base coats.

Step-by-step process of coating the foam sculpture

The final step was coating it with epoxy resin. This gave it a very hard, smooth, and water-proof shell. It’s also fairly pricey, very toxic, and requires a lot of set-up. The exterior of the gnome was fairly solid with just the muslin and Foamcoat coverings, so for lower-budget shows and shorter runs, you may want to forego the epoxy resin. It’s a somewhat complex process, so I’ll address it in more detail in a future post.

Final Painting

After the epoxy had cured over night, we added the final paint layer. We used acrylic paint. We also dusted it with some black spray paint to weather and age it, as well as some dulling spray to get rid of the shininess from the epoxy.

Gnome for "Broke-ology"