Tag Archives: Legend of Zelda

Legend of Zelda Master Sword Take Two

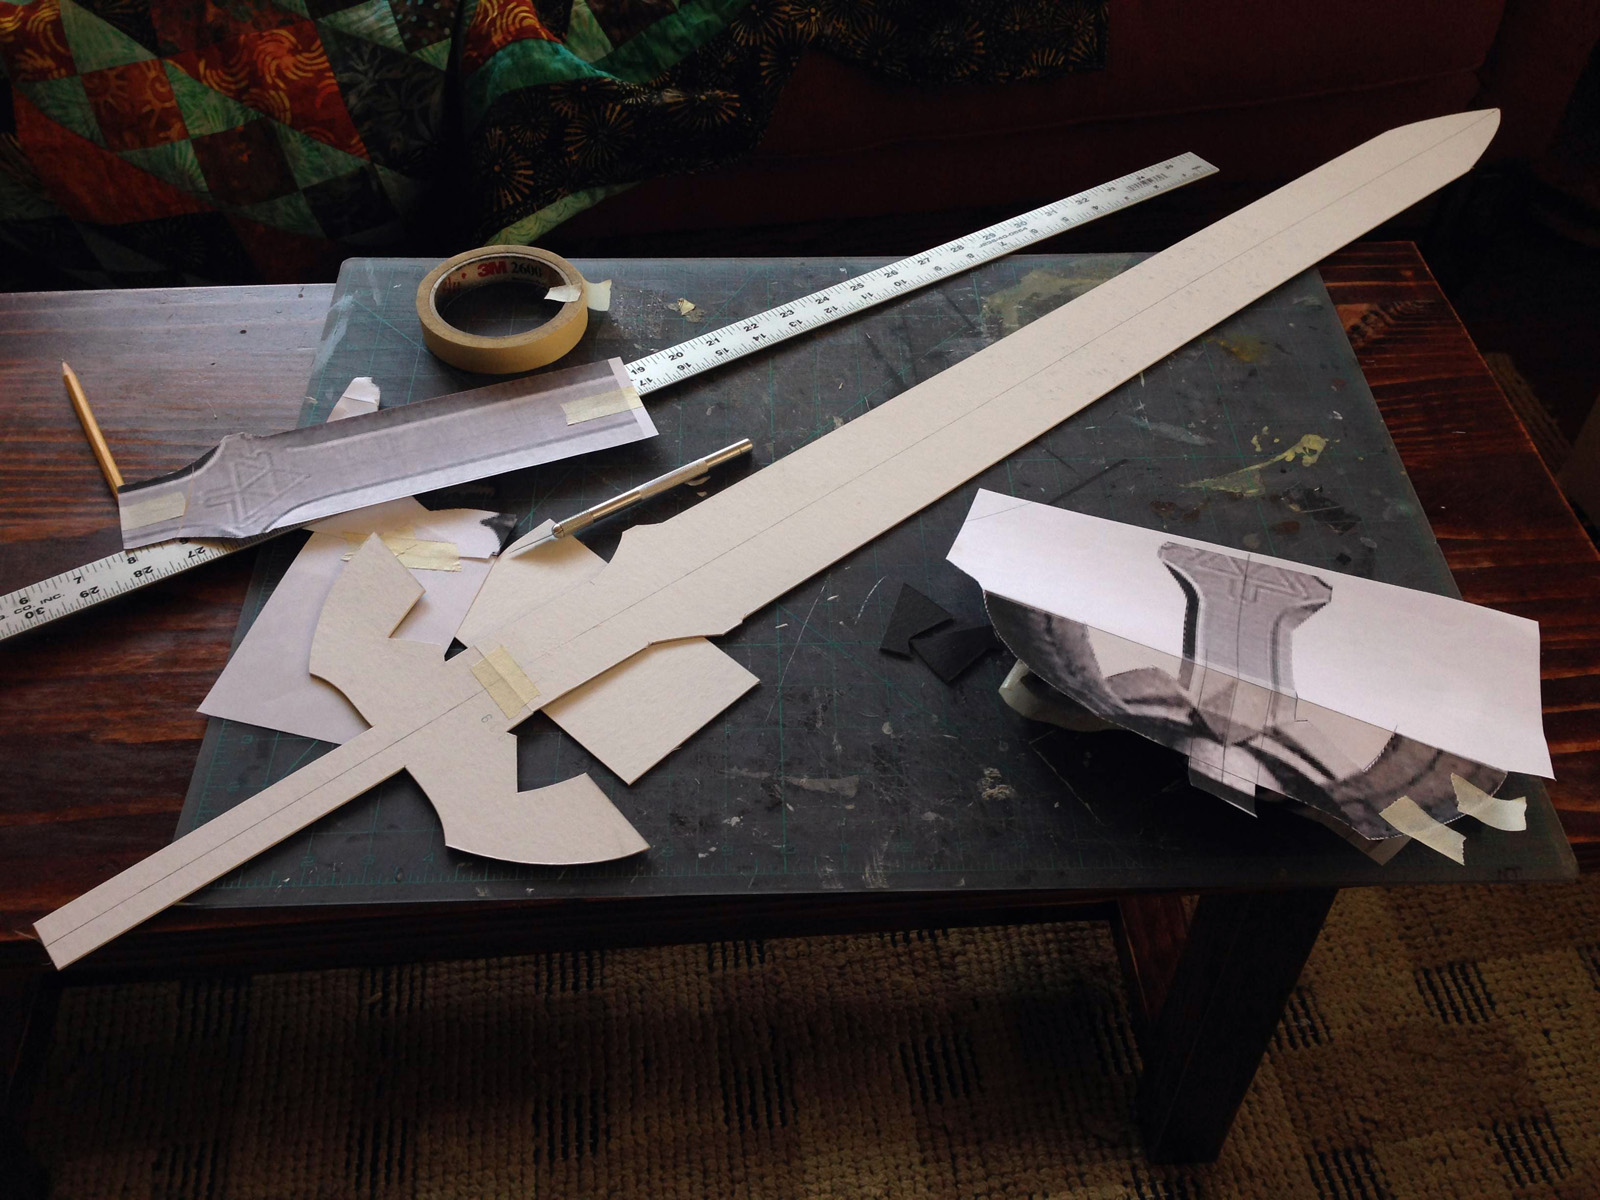
About a year and a half ago, I worked with The League of Extraordinary Thespians to make a Master Sword for their Legend of Zelda musical. It was a fun project, but I had very little time or money to do it; I thought it was a bit blocky, and the paint treatment was very rudimentary. Since I gave all the original swords away, I decided I would make a new one with some improvements for myself.

I filmed nearly every step of the process and edited it into a six-minute video.

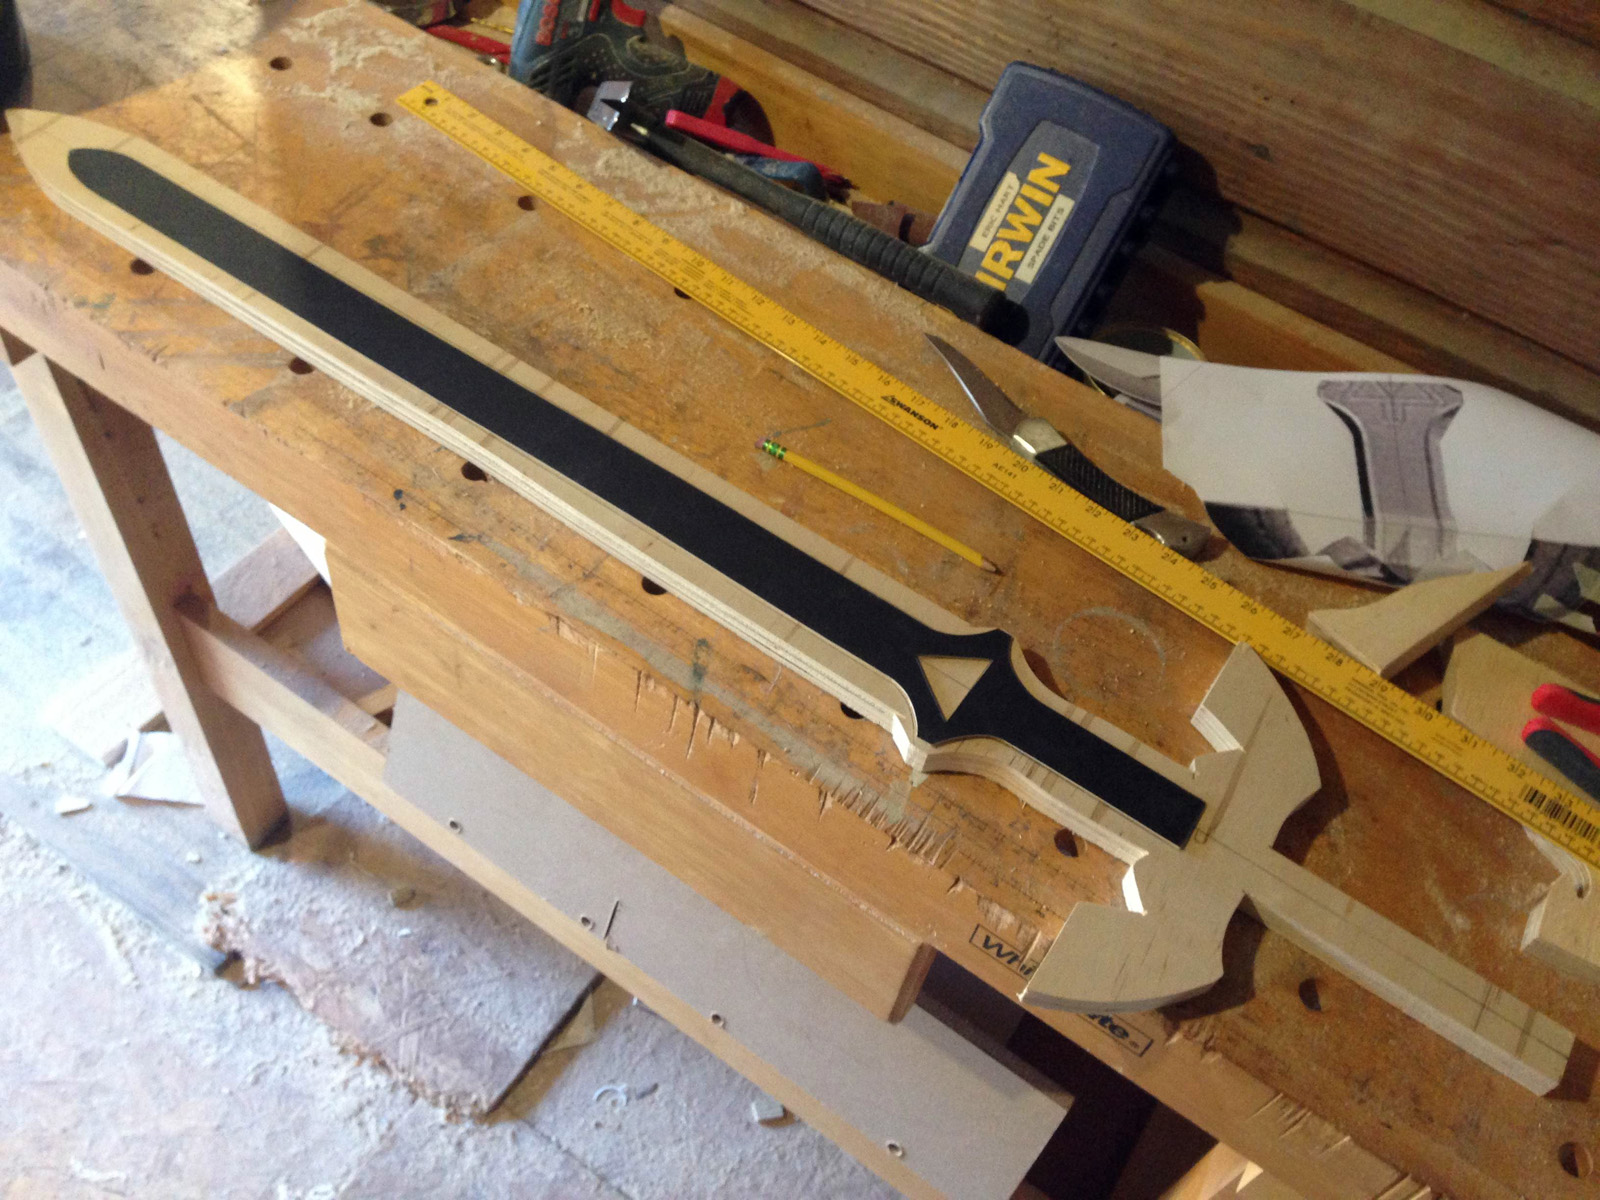
I made the blade out of wood again; on the original swords, I used plywood, which does not really make a convincing faux metal. This time I went with a solid piece of oak. After priming and sanding it, I used some Krylon Stainless Steel spray paint, which, after rubbing it with some steel wool, makes a very convincing metallic finish.

Legend of Zelda Master Sword

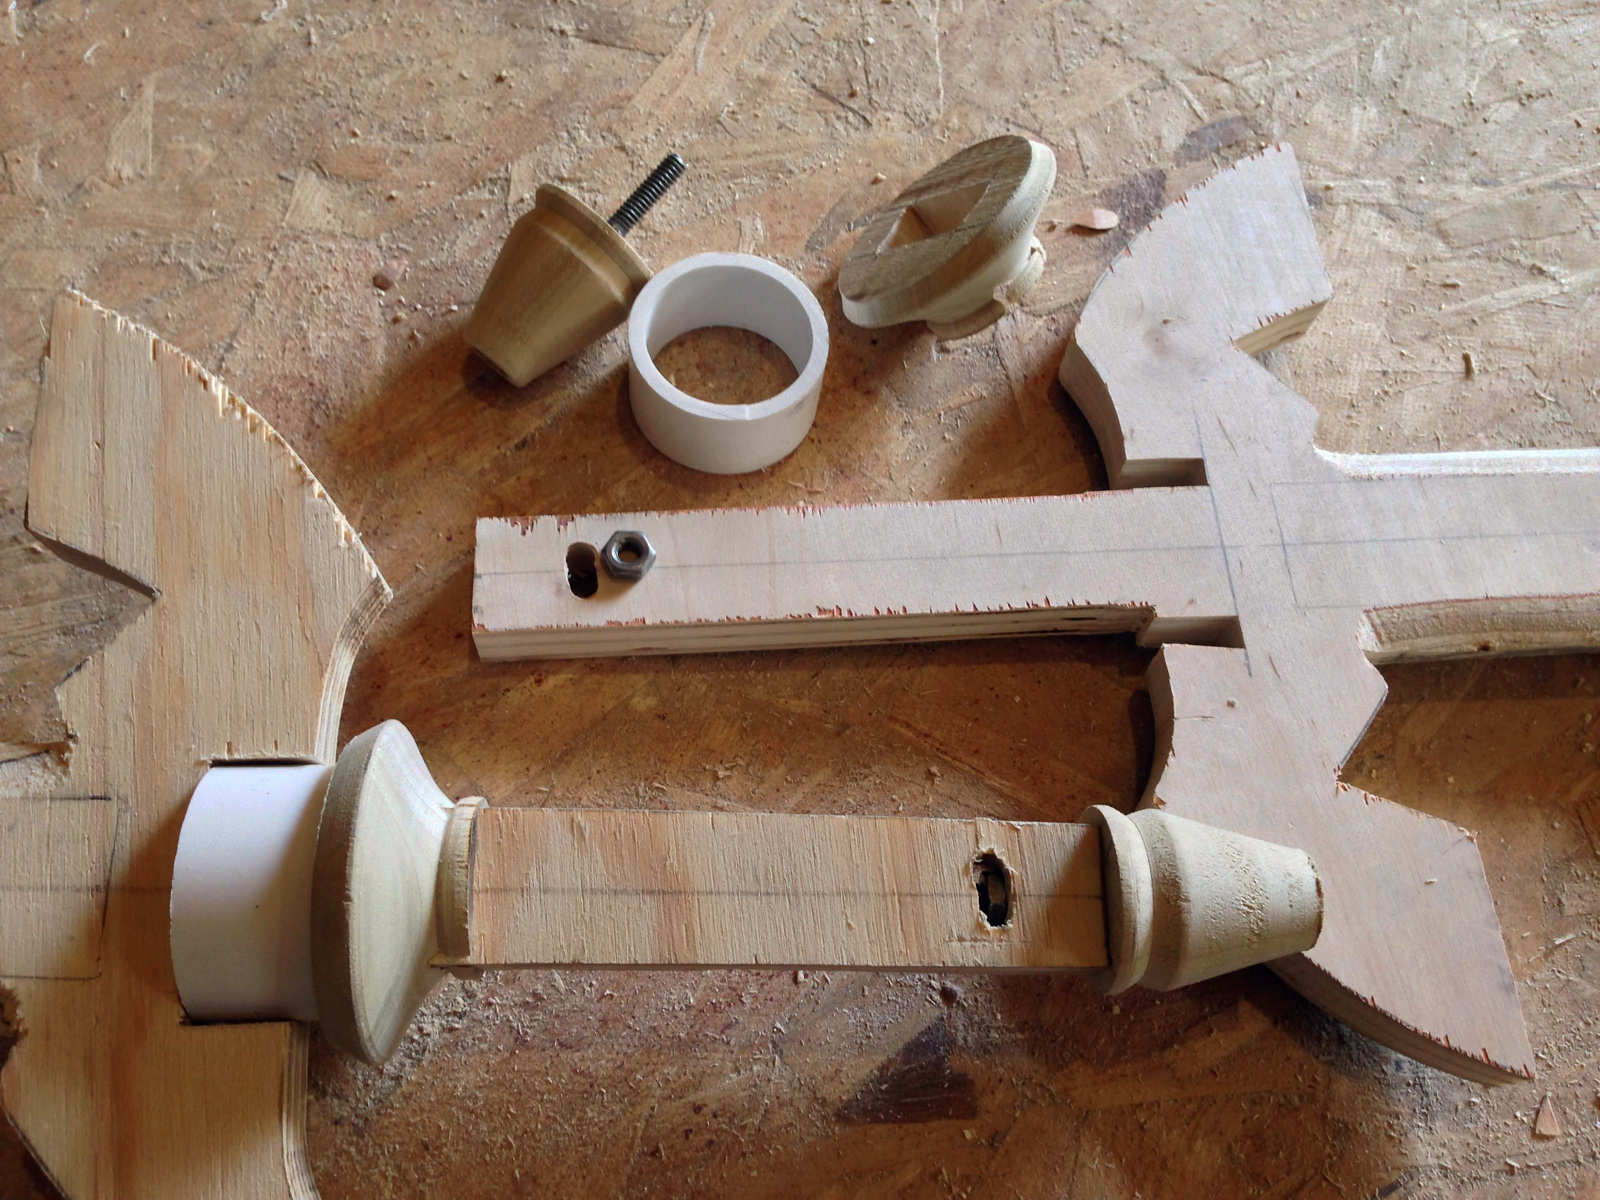
I decided I would make the hilt as a separate piece, then mold it and cast it directly onto the blade. I wanted a strong connection between hilt and sword that would not break when you played with it. Another reason was that the hilt was a very time-consuming piece, and I wanted the option of making more swords in the future.

Legend of Zelda Master Sword

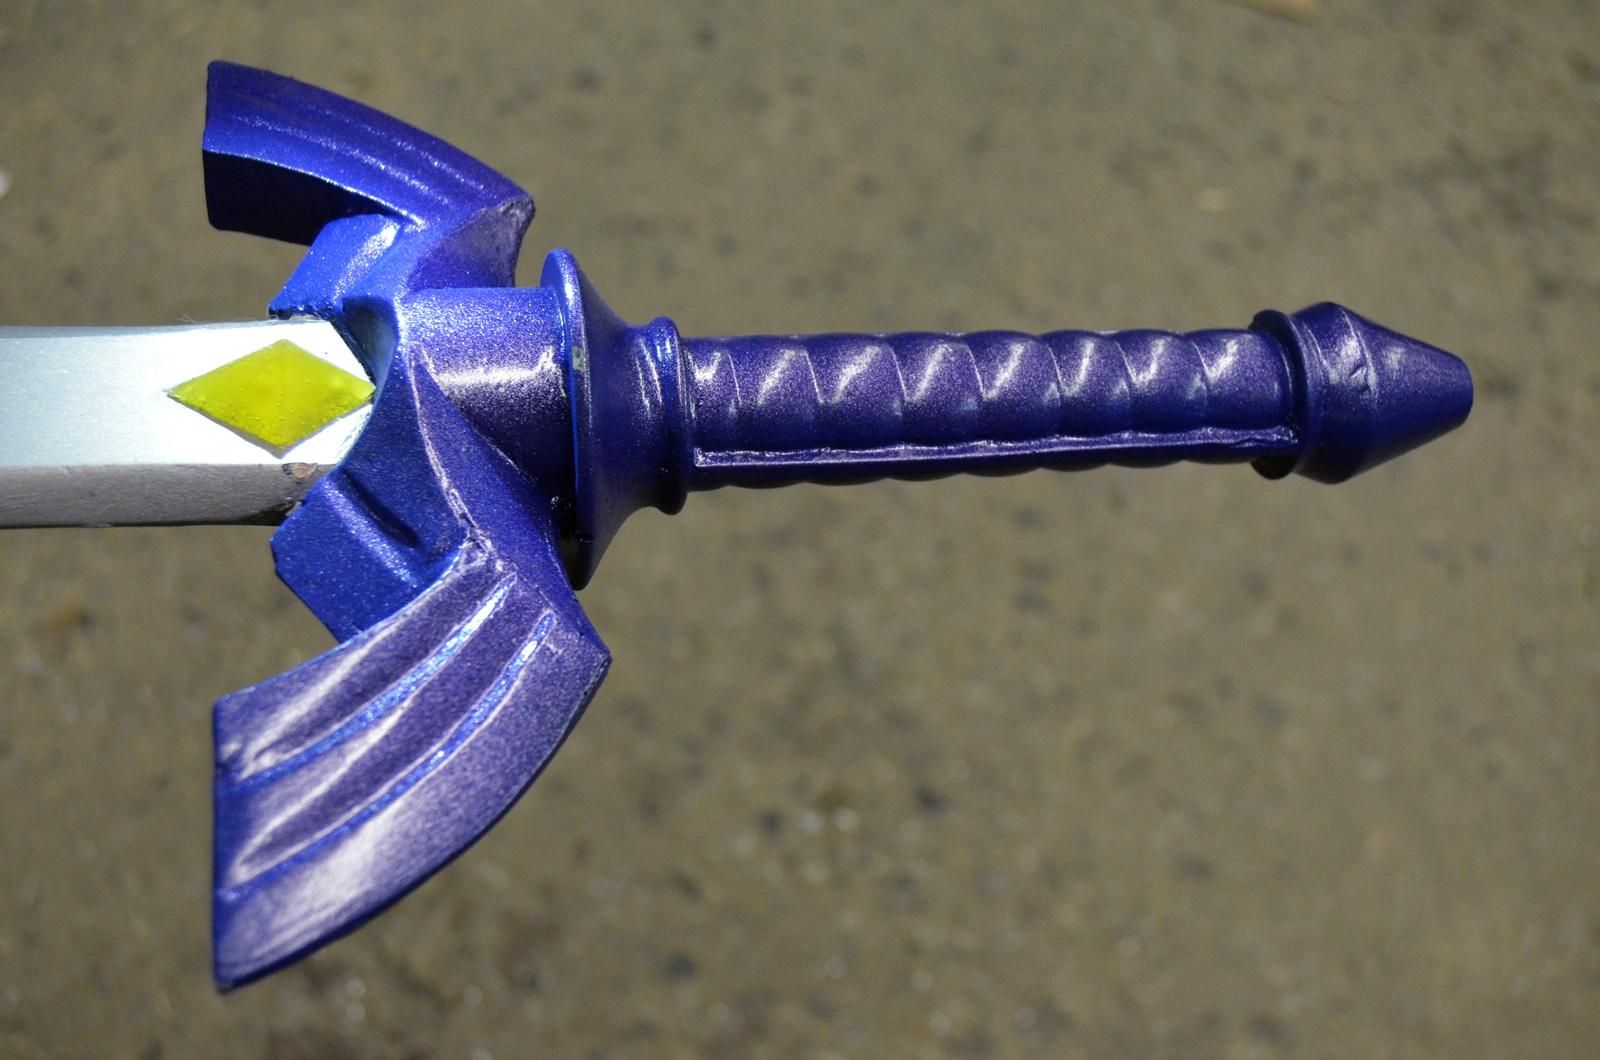
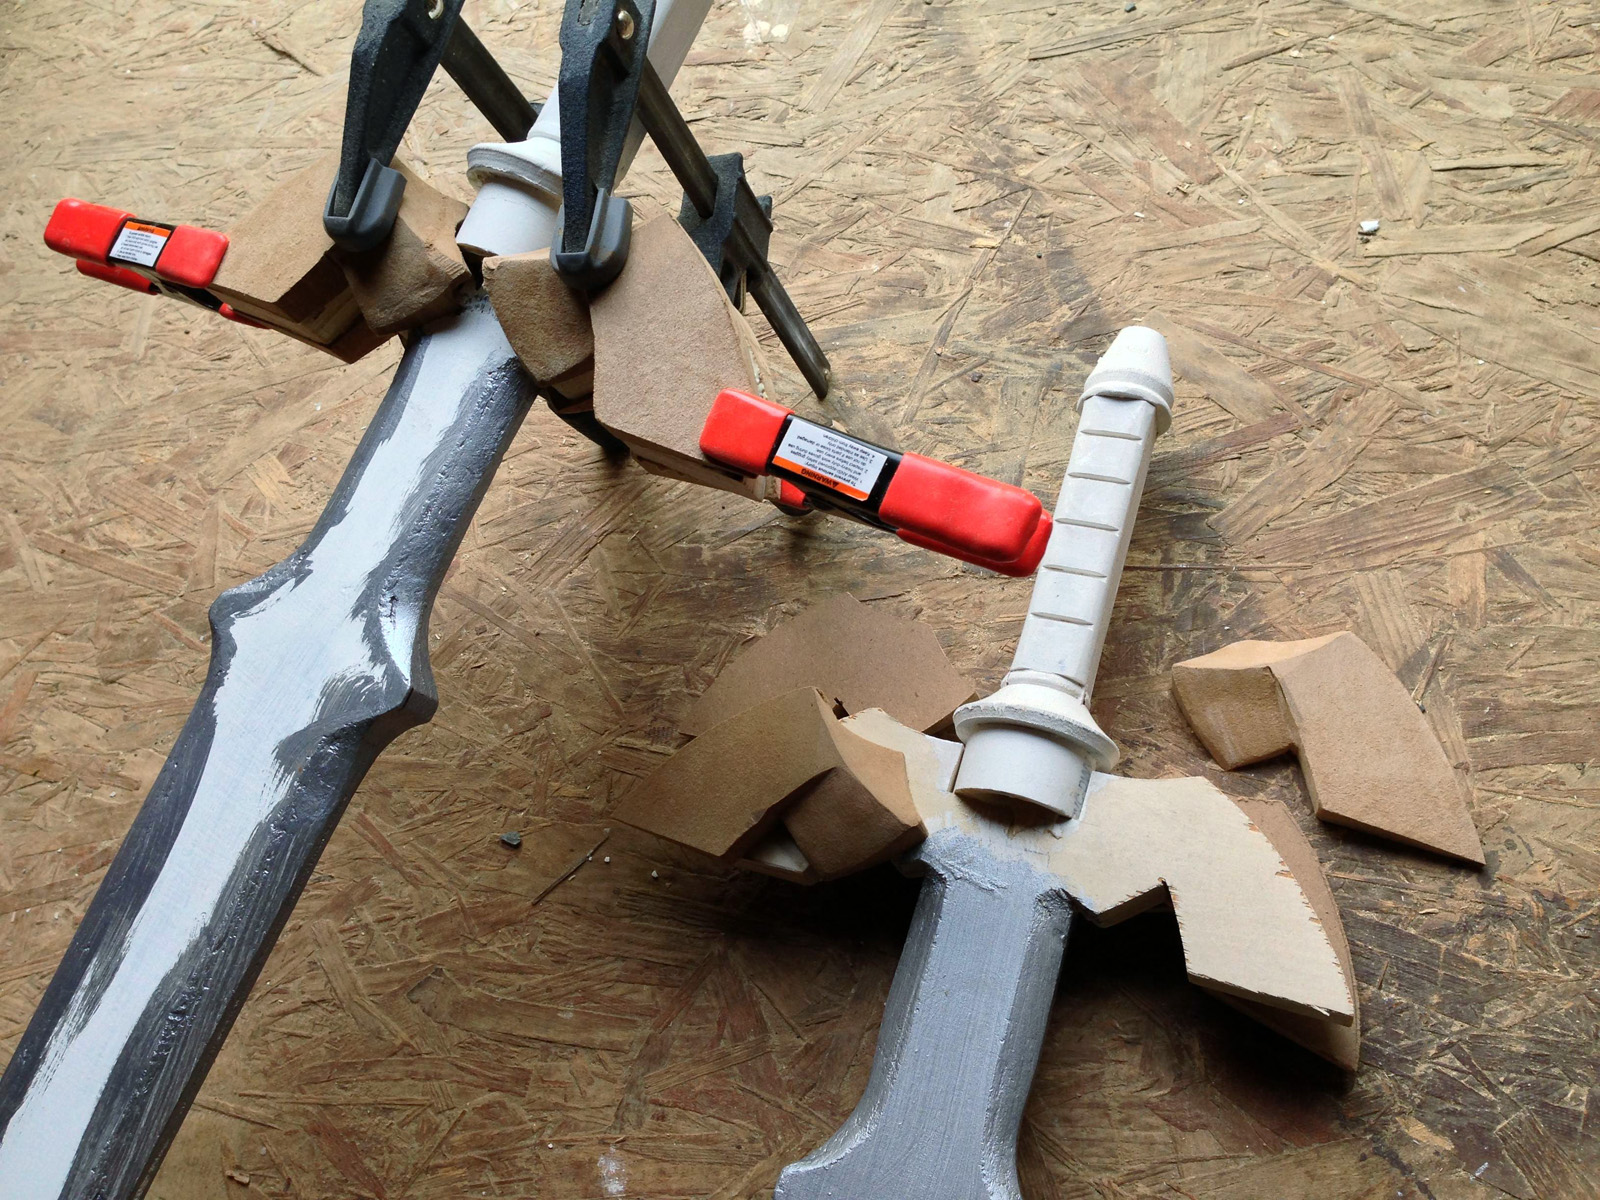
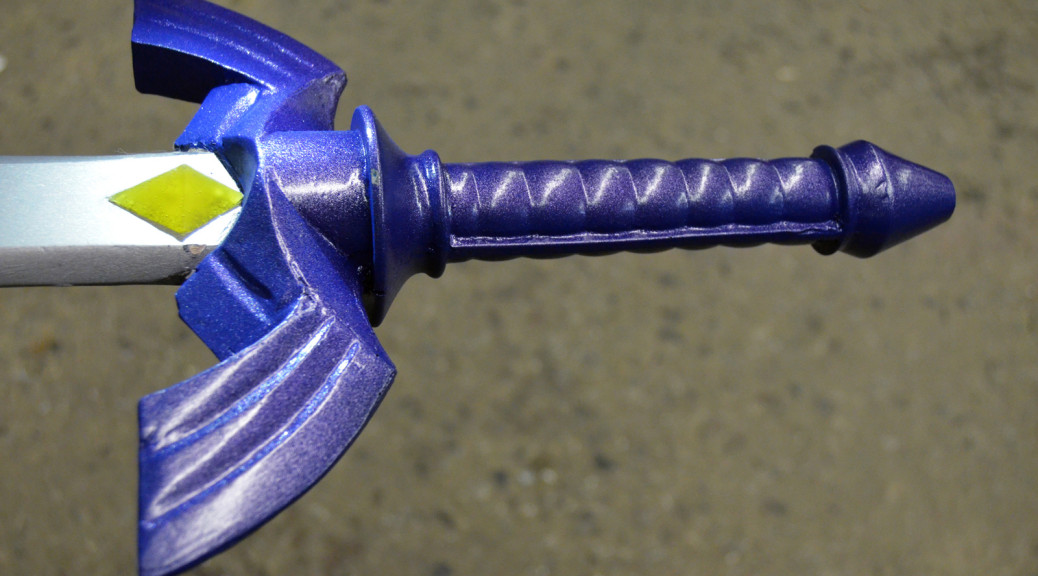
Casting the hilt directly onto the blade was a very challenging and hairy process for me. Despite how awesome I seem, I do not have much experience with molding and casting. The process was far from perfect, but the end result was pretty satisfactory (though you can see some wibbly defects in the picture below).

Legend of Zelda Master Sword

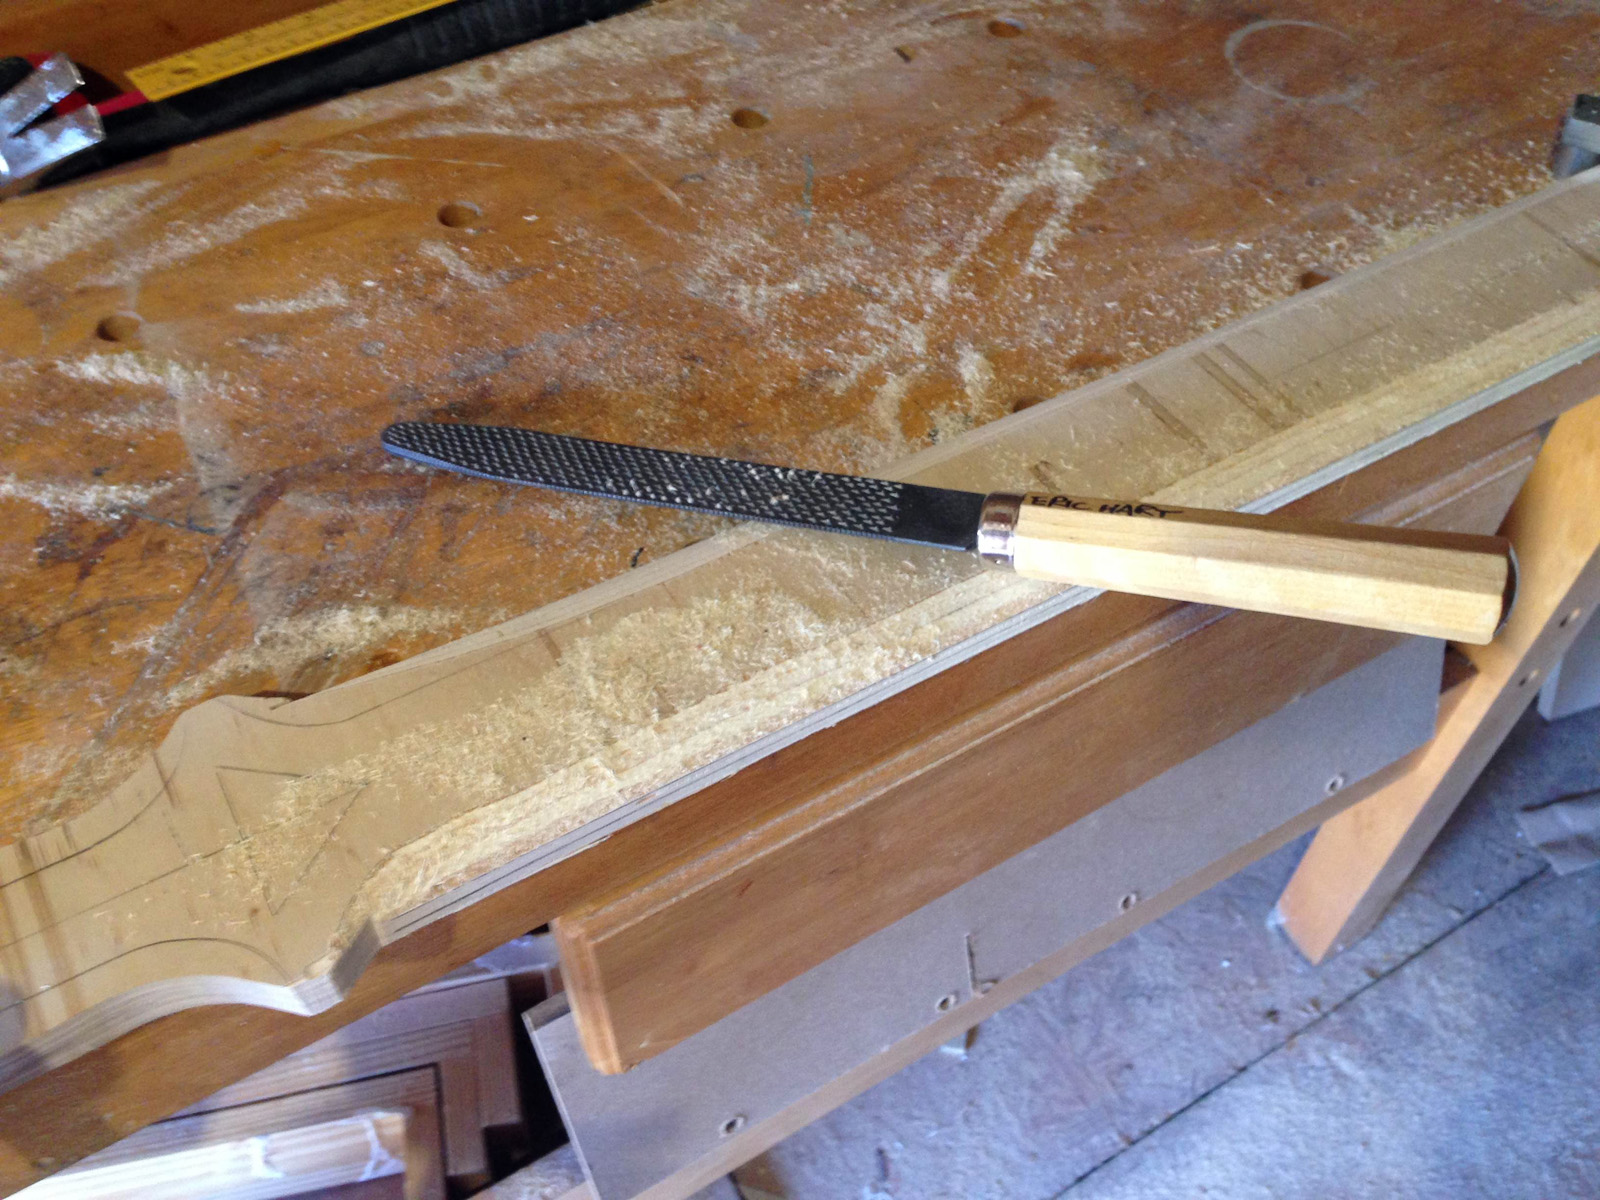
I also tried sculpting the quillons out of clay, which is not something I typically do. I used an air-drying clay that was way too soft; if I were to try this again, I would look for a much harder clay. In fact, I would probably be tempted to carve most of it from a solid chunk of wood.

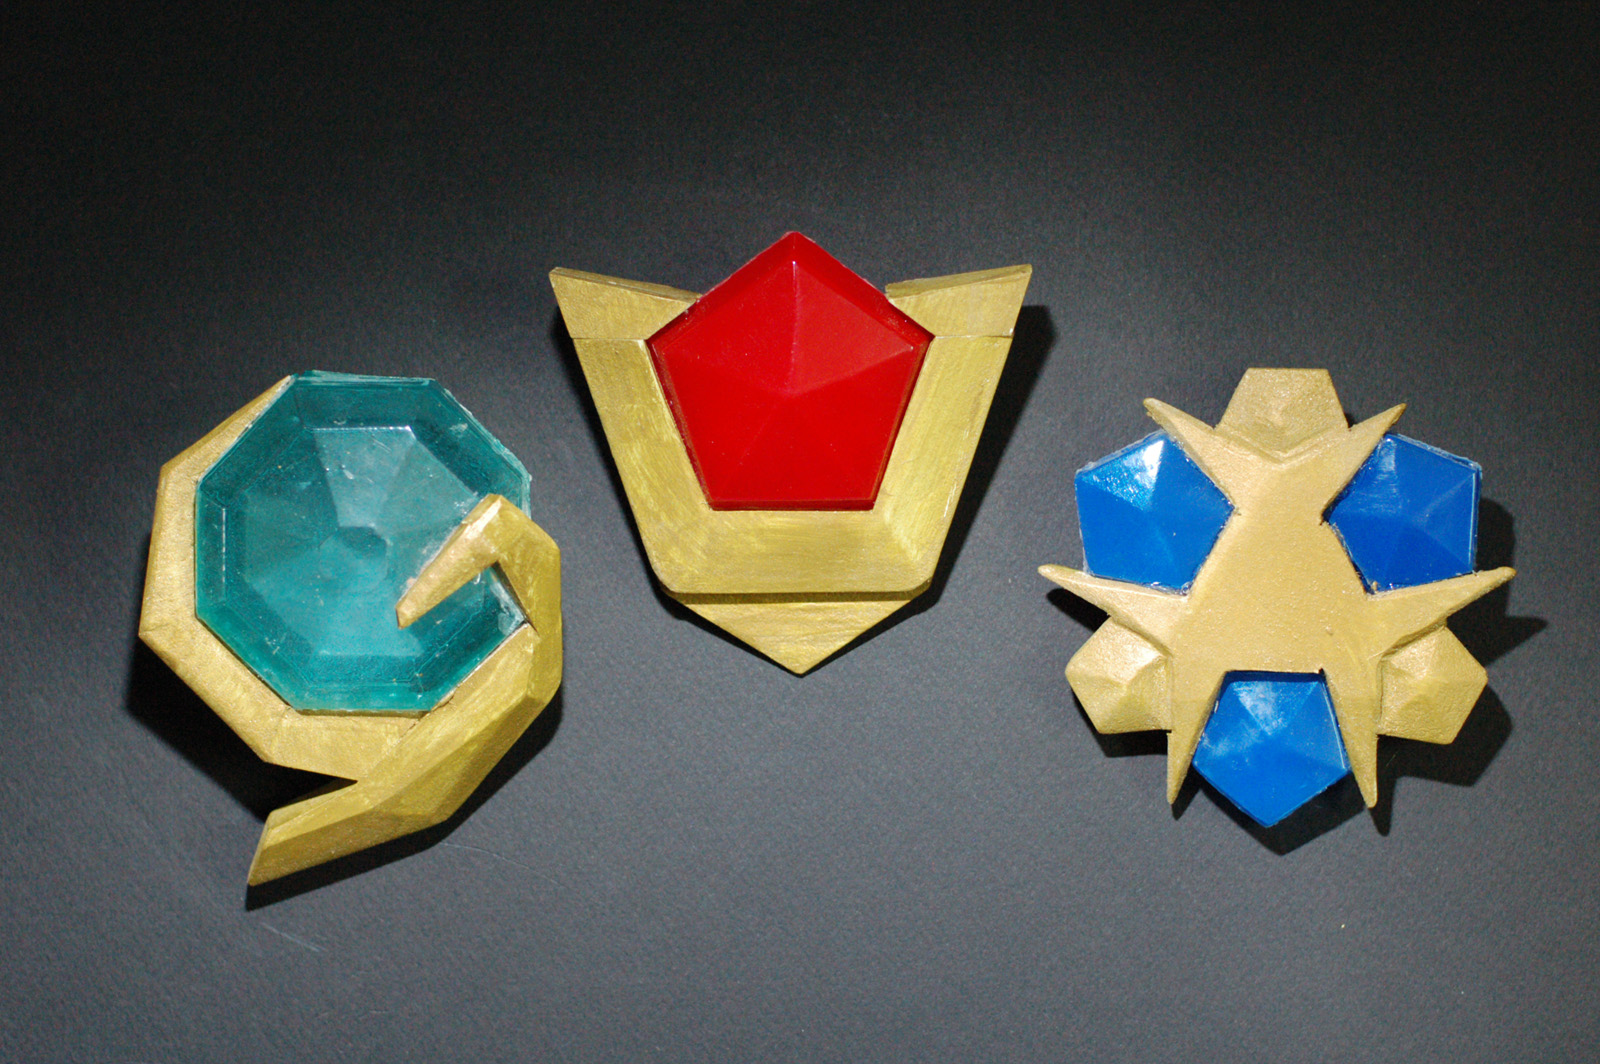
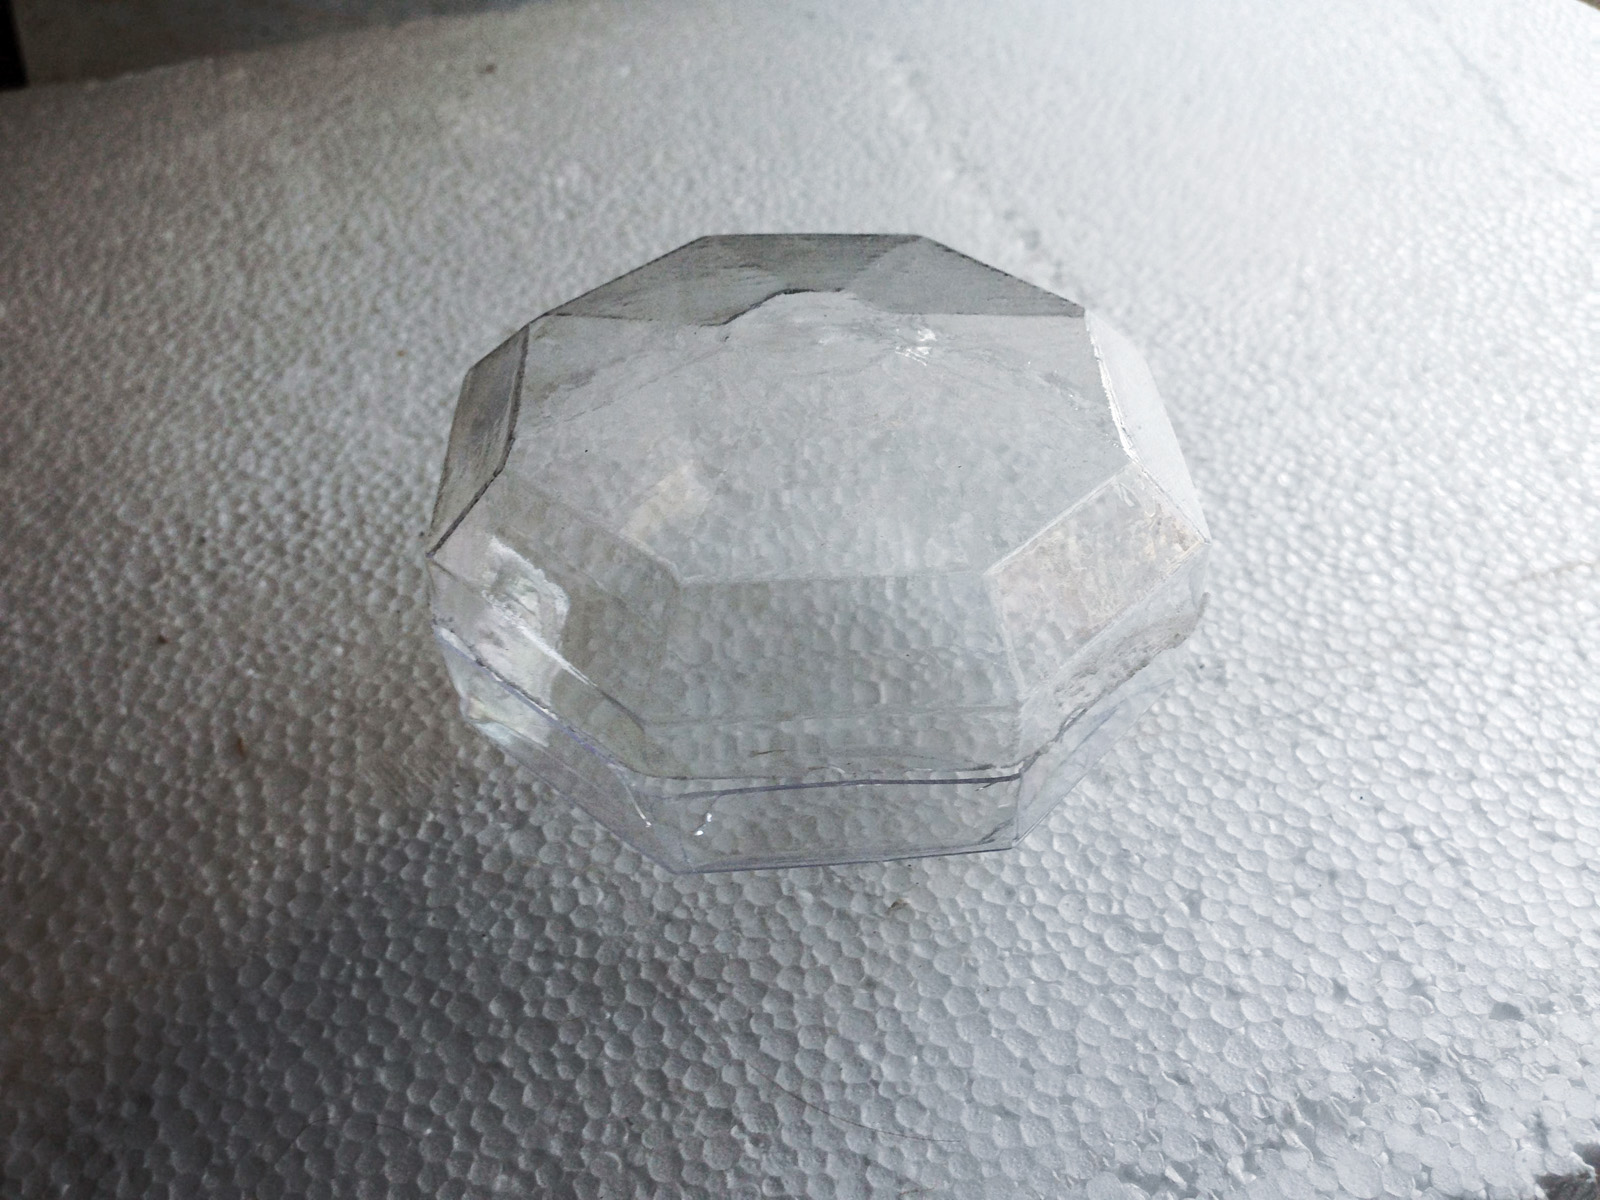
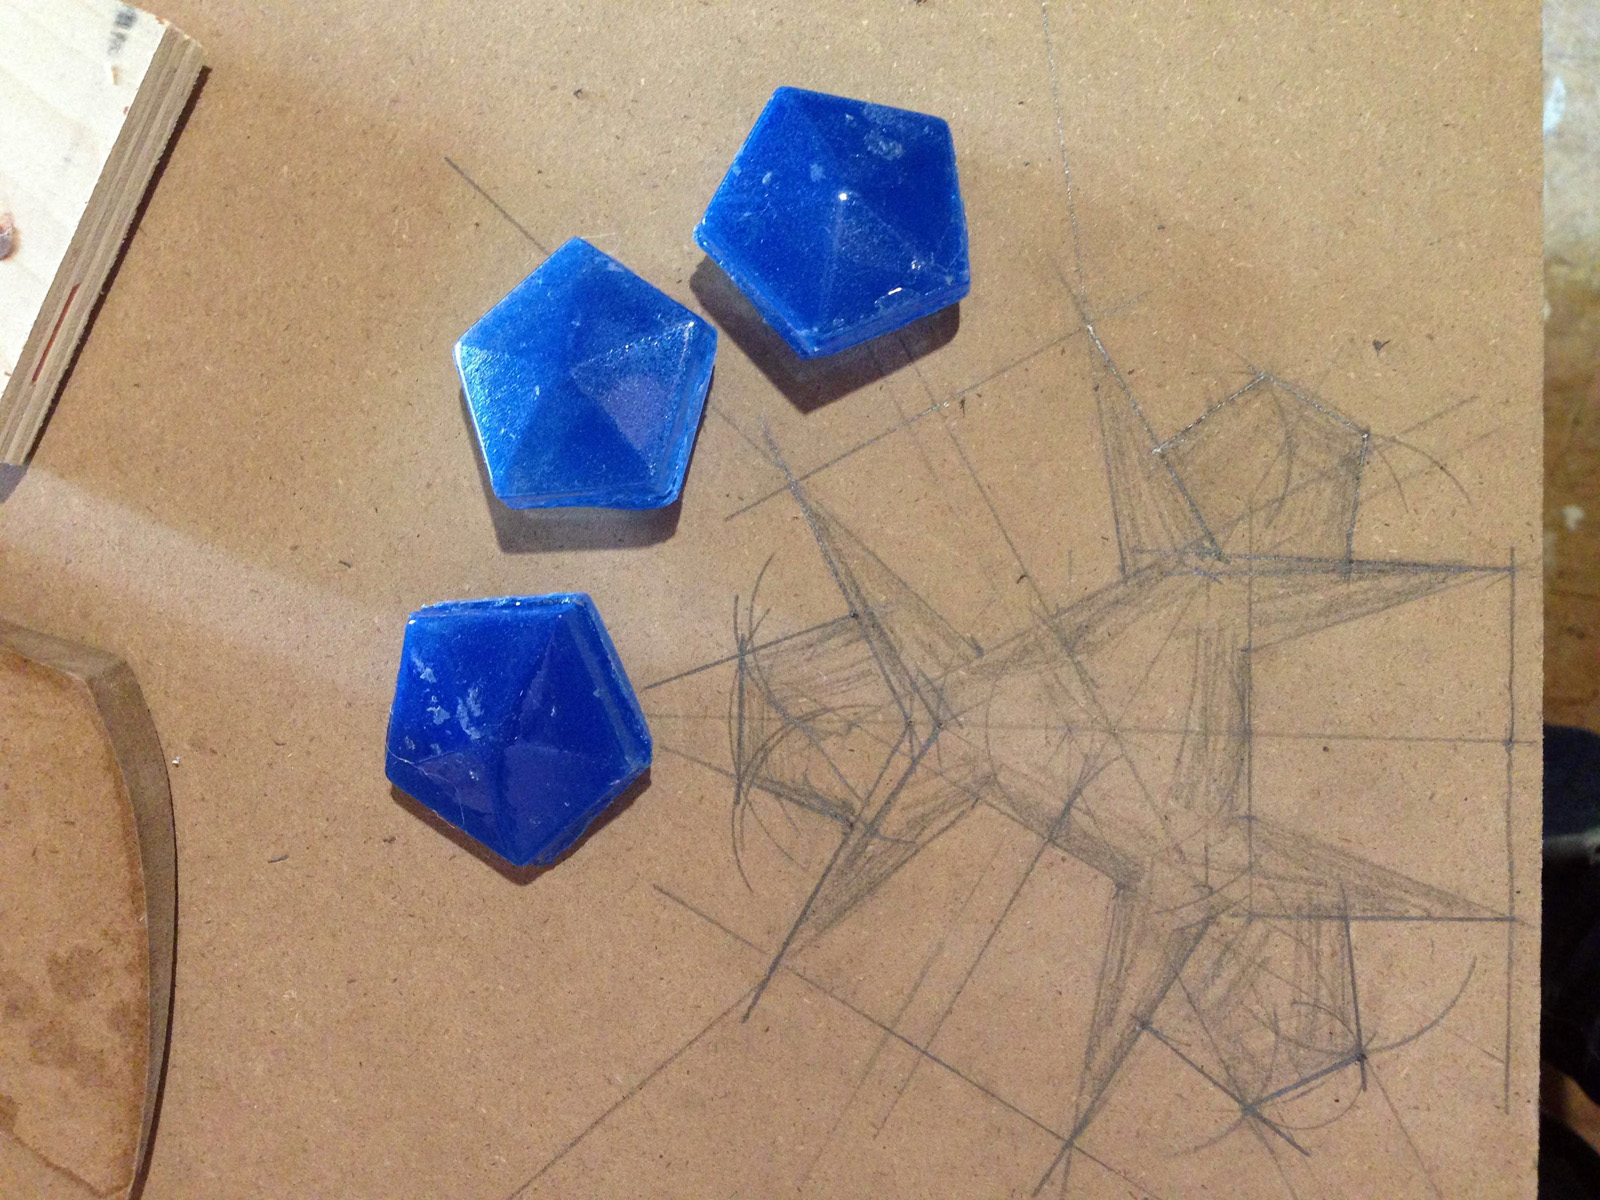
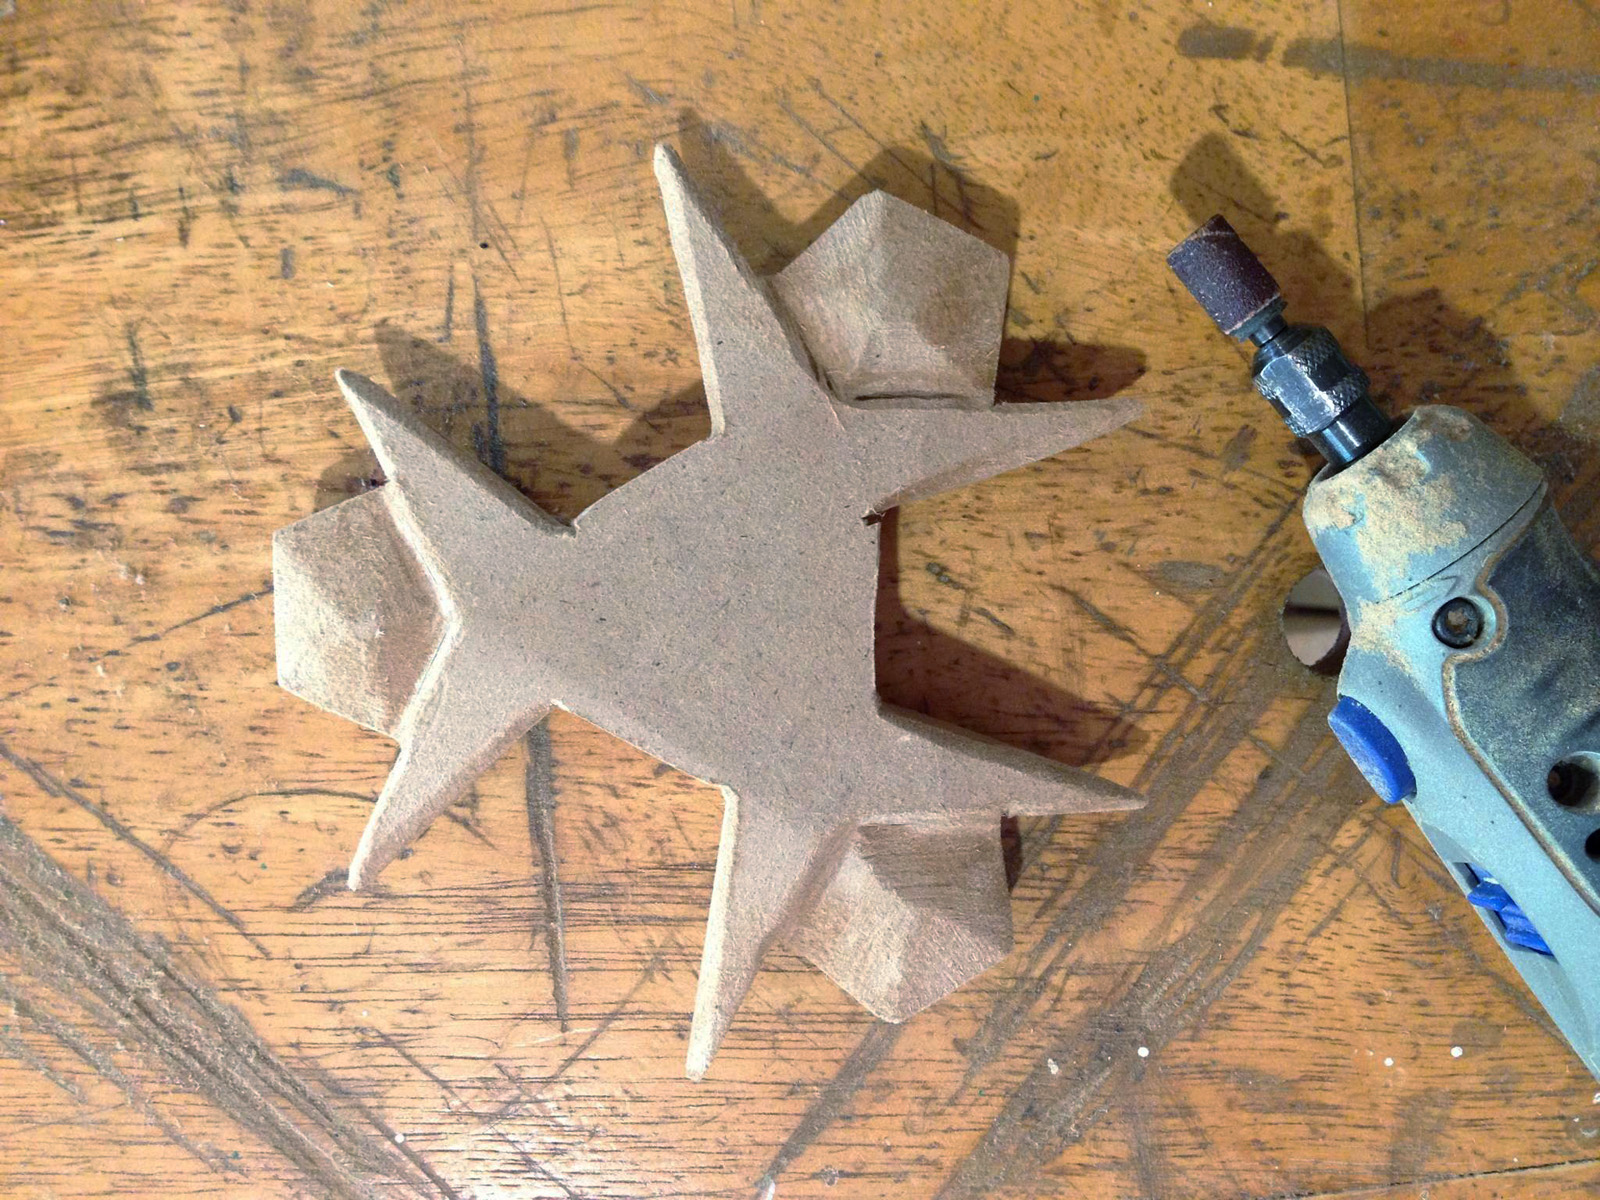
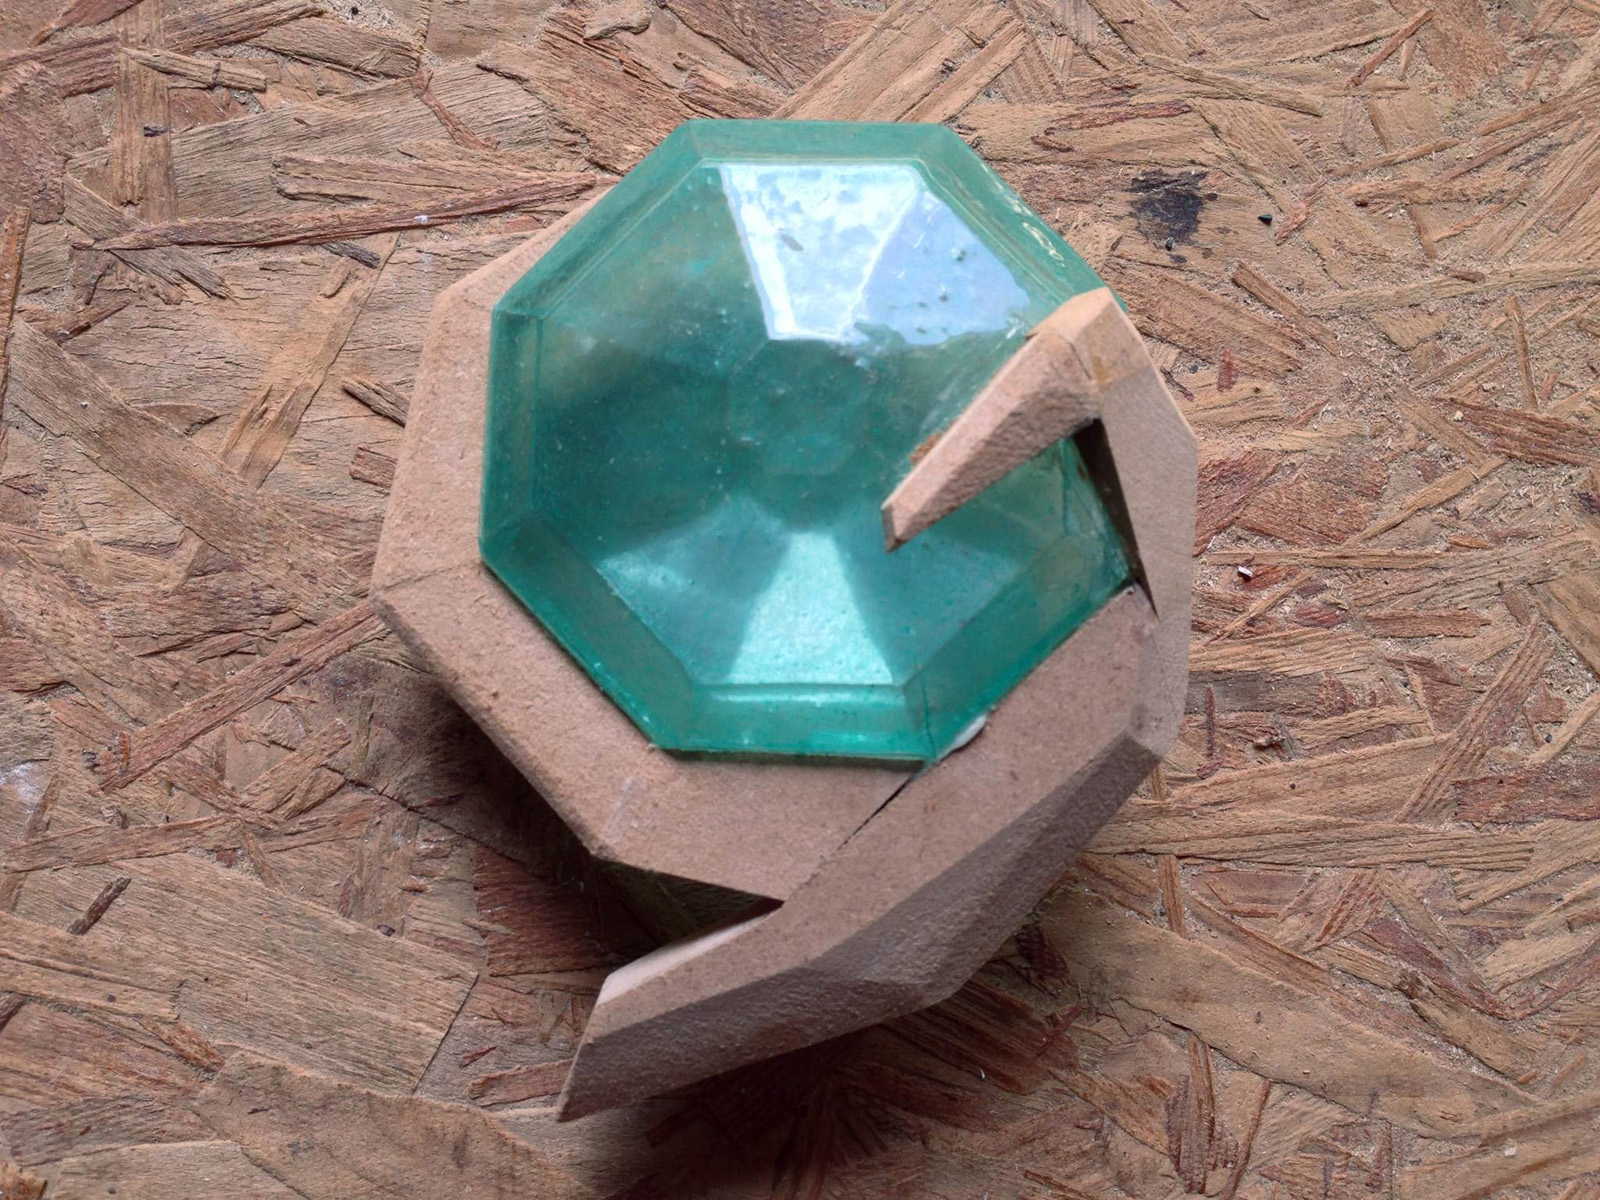
The yellow jewels were a separate piece which I cast in tinted epoxy. I made a video showing the mold-making process on that a few weeks back.

I finished off the hilt with a purple shimmering metallic spray paint. All in all, I was happy with how this sword turned out, and I learned a lot from the process.

The Unluckiest Links of the Year

Happy Friday the 13th to everyone. Aren’t you “lucky” to have the time to read my blog today? Here are some interesting stories and videos I’ve come across in the last week:

First off is this fantastic and epic build of a Master Sword from the Legend of Zelda series. 2Story Props steps through the whole process, from the initial drafting to the final coat of paint, with tons of photographs showing every step along the way.

Bill Tull, the props master for TV’s Conan O’Brien, is back with some budget holiday tips for you. These are particularly funny.

I like this charming antique story of talking tools who argue over who is the most important when it comes to constructing a wooden box. Guess what? It only works when the tools work together and play their unique role.

Finally, production designer K.K. Barrett talks about creating the unique futuristic world of Her. The movie itself, a sci-fi romance film from Spike Jonze, looks fascinating. Though production design is somewhat removed from the world of props, it is always interesting to read how the various production departments on a film work together, and the interview deals a lot with how the physical objects and tactile qualities of the world relate to the story of the film, which is something props masters do deal with.

Friday Night Links

Tomorrow, August 17th, I will be exhibiting some props at the Burlington Mini Maker Faire in North Carolina. I wrote up some more details about it a few days ago. There’s going to be Stormtroopers, robots and even a space launch. That’s right, they are going to launch a balloon into (near) space from the mall parking lot. I never thought I would live to see the day I could type the previous sentence.

The Library of Congress has a massive collection of digital images and photographs from throughout US history. It is an incredible resource for finding or creating specific paper props or for general research. I use their newspaper collection quite a bit.

I’ve linked to a few of blacksmith Tony Swatton’s videos in the past; he has a new one up where he creates Link’s Master Sword from the Legend of Zelda series. The result is an amazingly accurate replica of a sword which exists only in a video game, built out of the materials which a real life sword would be made from. It is far more intense than the Master Sword I created a few months ago, but then again, I don’t have a whole team of specialized metal artisans working in my shop.

Here is an article on Patrick Drone, the props master at the University of Michigan. In recent years, he has begun working at Henry Ford’s Greenfield Village, where he maintains a fleet of early Model T and Model A vehicles. He says the work is not unlike that of a props shop.

The guys at Tested recently visited The Hand Prop Room in Los Angeles to tour through their 1,000,000+ props. I often wish I lived close by to a props rental house that contained everything; then again, I probably don’t have the budget for that. I guess I’ll have to make my own.

Spiritual Stones from Legend of Zelda

Here are the last of my Legend of Zelda props I made last month for a local theatre group. I previously posted about the Master Sword, and some rupees; you can find out more about this project in general at those links if you are interested.

The last prop, which is actually three items, are the spiritual stones. These are various colored gems in gold settings. They have names, too: Kokiri’s Emerald, Goron’s Ruby, Zora’s Sapphire.

Vacuum formed jewel
Vacuum formed jewel

As with the rupees, I cut the shape of the stone out of a piece of wood, vacuum formed two halves out of acrylic, and glued them together (painting the inside before gluing, of course).

Layout of Goron's Ruby
Layout of Goron’s Ruby

Starting with Goron’s Ruby, I used some reference images from the video game itself to lay out a full scale drawing of the stone’s setting onto some 3/4″ MDF.

Cut and shaped
Cut and shaped

I made most of the cuts on the table saw (my nifty cross-cutting jig lets me safely cut arbitrary angles on small pieces). The bevels were also cut on the table saw with the blade set at an angle.

Piecing together the emerald

Since the emerald had a sort of “wrap around” design, I cut the pieces individually and glued them on one at a time to achieve an exact fit. It was a bit tricky getting all the angles right, but it gave the nicest result.

Drawing the sapphire setting

Because the shape of the sapphire is trilaterally symmetrical, I used my compass and bevel gauge to make sure all three parts were drawn the same.

Cutting and shaping
Cutting and shaping

It had to be cut out with the jigsaw and cleaned up by hand with files. Some further shaping was done with the Dremel.

Kokiri's Emerald
Kokiri’s Emerald

Once finished, the pieces just needed to be primed and painted. The emerald was painted with the stone already attached. For the others, I painted the settings first, and then the stones were glued in (so I didn’t have to mask anything).

Spiritual Stones
Spiritual Stones

Of course, it always helps to take cool photographs of your props. One day, I’ll get around to posting a quick tutorial on photography.

Legend of Zelda Master Sword

A while back I wrote about some rupees I made for a Legend of Zelda musical. The group doing the musical is called The League of Extraordinary Thespians, and I made a few more props for them, such as Link’s Master Sword.

Making the pattern
Making the pattern

The musical is based off of The Ocarina of Time video game, so first I had to find some accurate reference images from the game. From those, I drew out a paper pattern for the blades.

Layout for bevel
Layout for bevel

After cutting the pattern out of plywood, I made another pattern to find the bevel on the blade. I was working on three swords (one for Link, one for Dark Link, and one for a lobby display) so taking the time to make these patterns saved a lot of time in the long run.

Shaping the blade
Shaping the blade

I used a rasp and block sander to shape the blade.

Pommel and Shoulder
Pommel and Shoulder

I turned some of the handle and guard parts on a lathe. The quillon block (otherwise known as the écusson) is just a slice of PVC pipe.

Adding the quillons
Adding the quillons

For the rest of the detail on the guard, I used pieces of MDF which I shaped with my belt sander and fine tuned with a Dremel.

Continue reading Legend of Zelda Master Sword