Tag Archives: MDF

Be My Prop Valentine

Whale, whale, whale, what do we have here? Stephen Kesler shares step-by-step photos of a life-sized humpback whale he carved out of foam. And you thought your prop was big? Even if you never have to sculpt something this large, it is still a great primer on sculpting foam in general.

Every time I watch Adam Savage organize his workshop, I think, “hey, that’s what I do.” And then I learn some new trick and realize my shop can be organized much better. In this video, he builds these mobile carts for glue and paint supplies. Now I need to build mobile carts for supplies.

Dj3r0m Cosplay Props has this awesome war hammer from the Skyrim video game.  From the process pictures, it looks like the whole thing was carved and assembled from MDF. Impressive. The paint job is pretty stunning, too.

Village Theatre put together this great infographic showing the amounts of consumables that go into a run of Crimes of the Heart.  Anyone who has done the show can attest to the large amount of shopping that needs to happen for that production. Of course, they missed the apples, sugar, bourbon and the paper that gets torn up.

Spiritual Stones from Legend of Zelda

Here are the last of my Legend of Zelda props I made last month for a local theatre group. I previously posted about the Master Sword, and some rupees; you can find out more about this project in general at those links if you are interested.

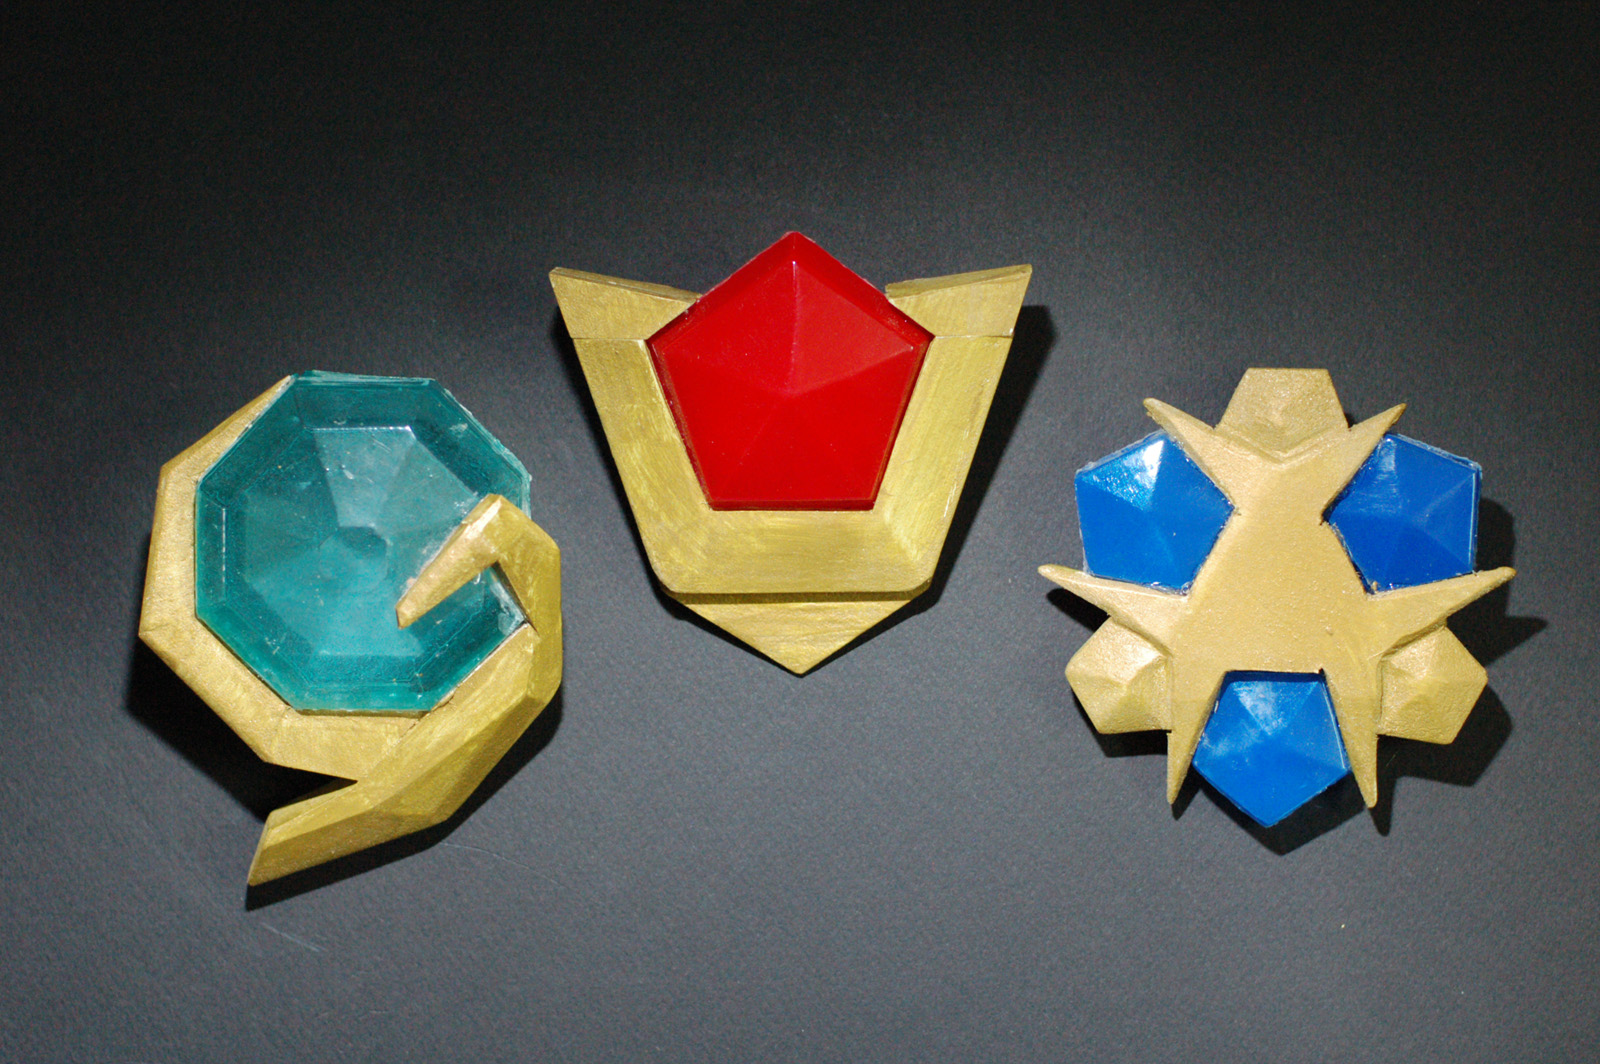
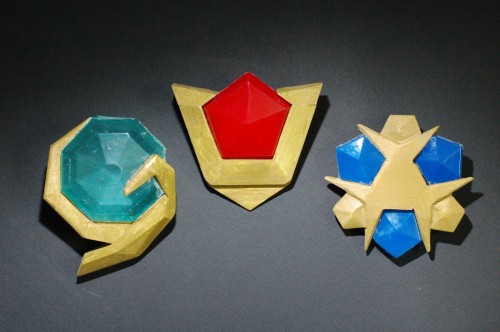
The last prop, which is actually three items, are the spiritual stones. These are various colored gems in gold settings. They have names, too: Kokiri’s Emerald, Goron’s Ruby, Zora’s Sapphire.

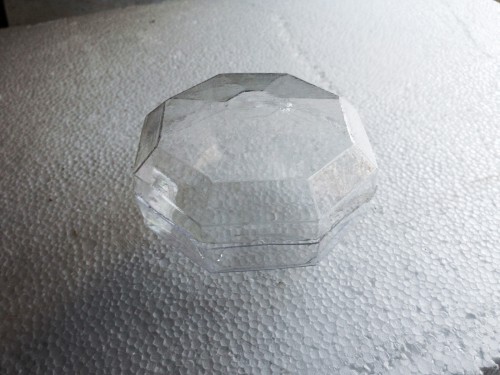
Vacuum formed jewel
Vacuum formed jewel

As with the rupees, I cut the shape of the stone out of a piece of wood, vacuum formed two halves out of acrylic, and glued them together (painting the inside before gluing, of course).

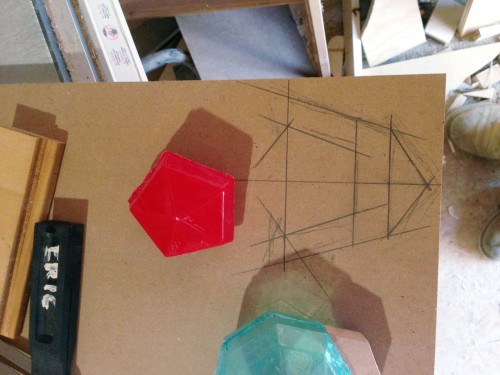
Layout of Goron's Ruby
Layout of Goron’s Ruby

Starting with Goron’s Ruby, I used some reference images from the video game itself to lay out a full scale drawing of the stone’s setting onto some 3/4″ MDF.

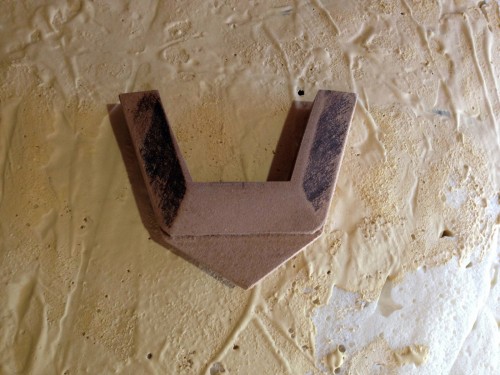
Cut and shaped
Cut and shaped

I made most of the cuts on the table saw (my nifty cross-cutting jig lets me safely cut arbitrary angles on small pieces). The bevels were also cut on the table saw with the blade set at an angle.

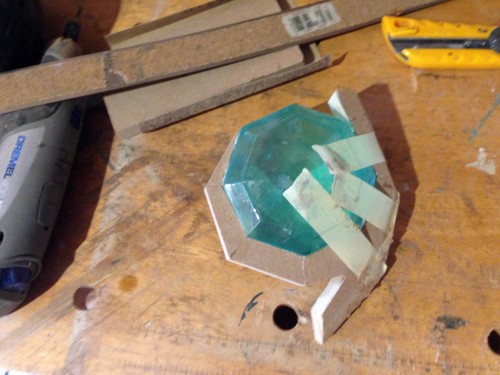
Piecing together the emerald

Since the emerald had a sort of “wrap around” design, I cut the pieces individually and glued them on one at a time to achieve an exact fit. It was a bit tricky getting all the angles right, but it gave the nicest result.

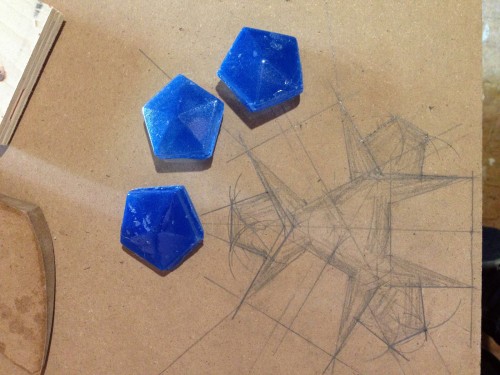
Drawing the sapphire setting

Because the shape of the sapphire is trilaterally symmetrical, I used my compass and bevel gauge to make sure all three parts were drawn the same.

Cutting and shaping
Cutting and shaping

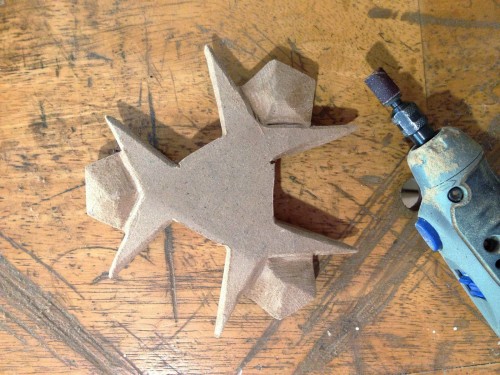
It had to be cut out with the jigsaw and cleaned up by hand with files. Some further shaping was done with the Dremel.

Kokiri's Emerald
Kokiri’s Emerald

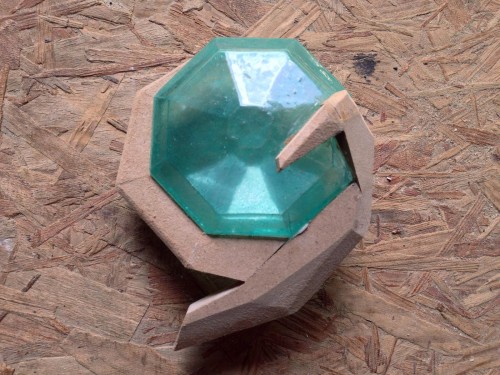
Once finished, the pieces just needed to be primed and painted. The emerald was painted with the stone already attached. For the others, I painted the settings first, and then the stones were glued in (so I didn’t have to mask anything).

Spiritual Stones
Spiritual Stones

Of course, it always helps to take cool photographs of your props. One day, I’ll get around to posting a quick tutorial on photography.

Legend of Zelda Master Sword

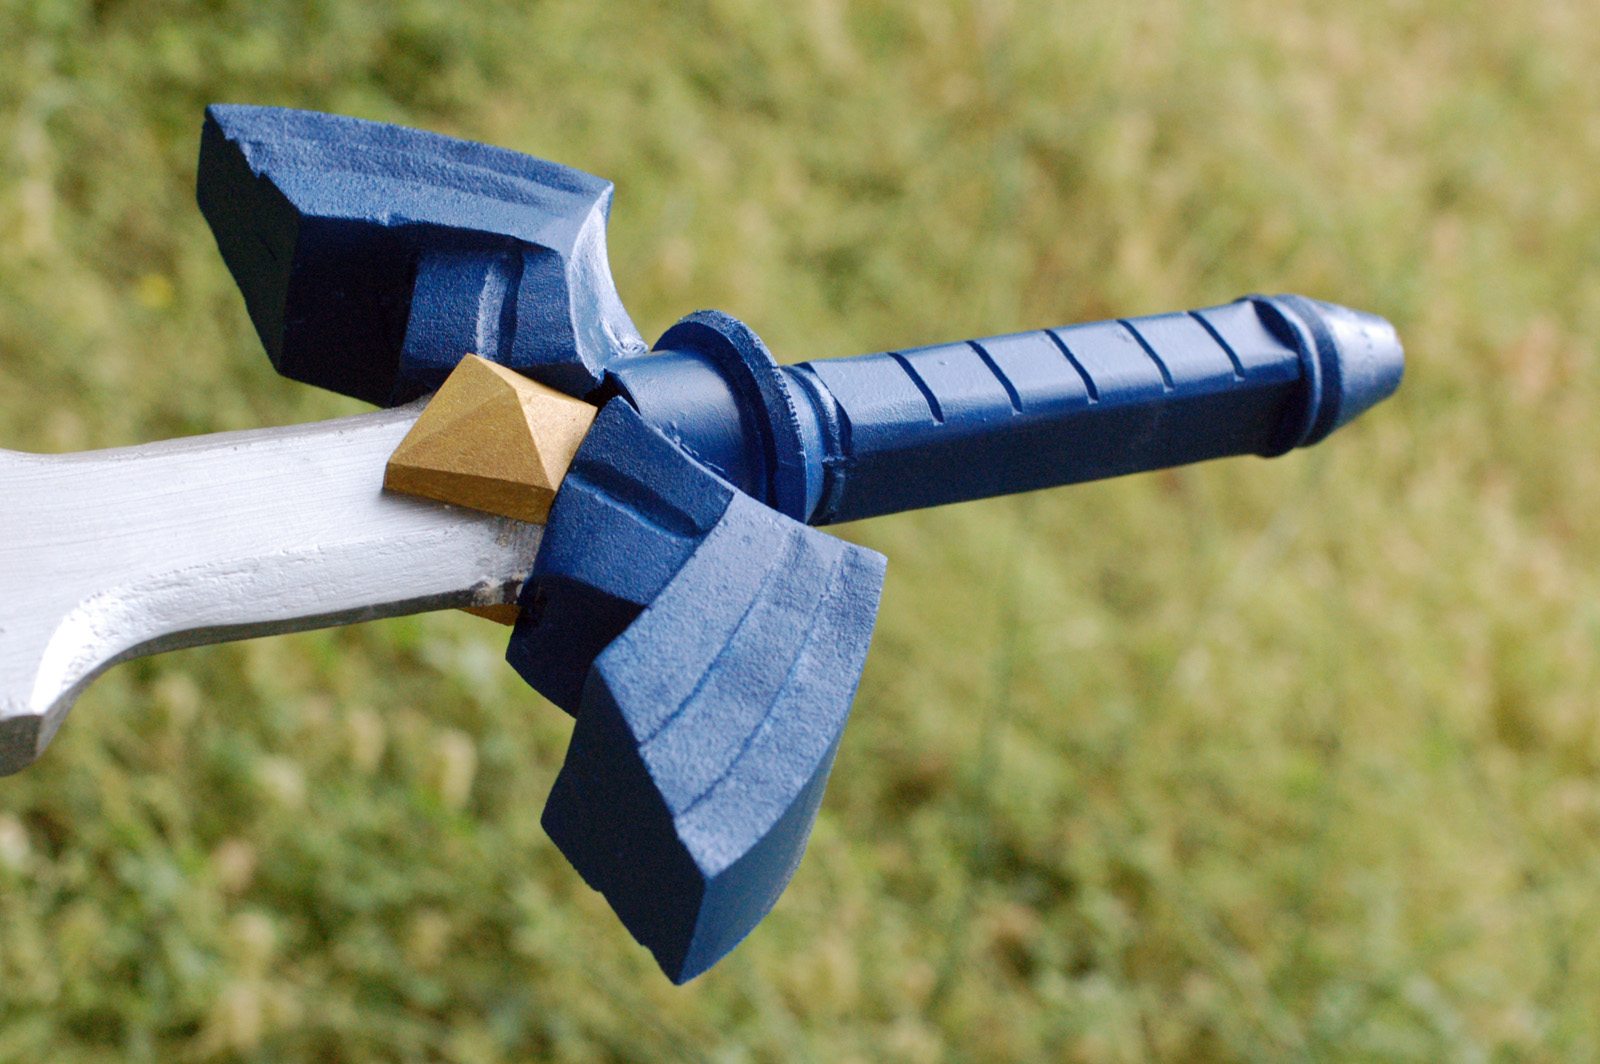
A while back I wrote about some rupees I made for a Legend of Zelda musical. The group doing the musical is called The League of Extraordinary Thespians, and I made a few more props for them, such as Link’s Master Sword.

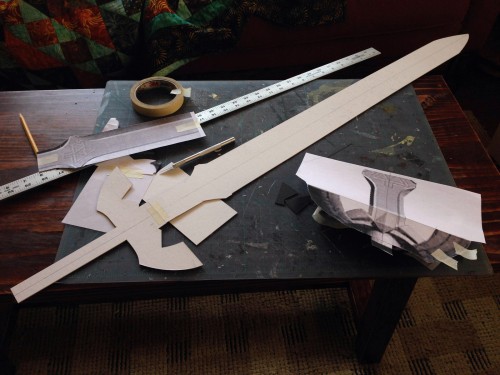
Making the pattern
Making the pattern

The musical is based off of The Ocarina of Time video game, so first I had to find some accurate reference images from the game. From those, I drew out a paper pattern for the blades.

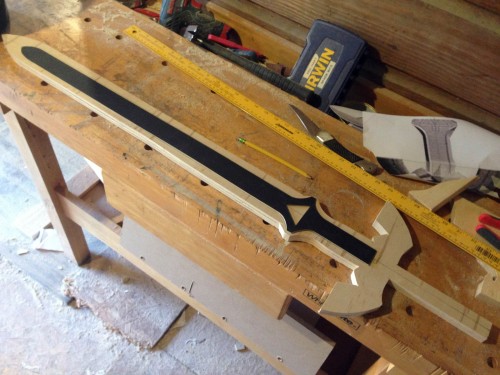
Layout for bevel
Layout for bevel

After cutting the pattern out of plywood, I made another pattern to find the bevel on the blade. I was working on three swords (one for Link, one for Dark Link, and one for a lobby display) so taking the time to make these patterns saved a lot of time in the long run.

Shaping the blade
Shaping the blade

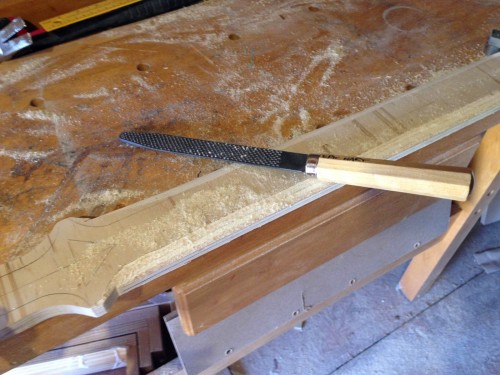
I used a rasp and block sander to shape the blade.

Pommel and Shoulder
Pommel and Shoulder

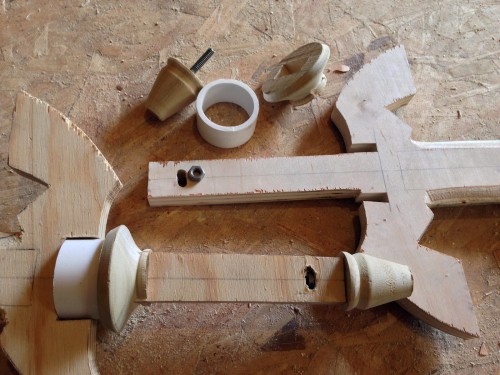
I turned some of the handle and guard parts on a lathe. The quillon block (otherwise known as the écusson) is just a slice of PVC pipe.

Adding the quillons
Adding the quillons

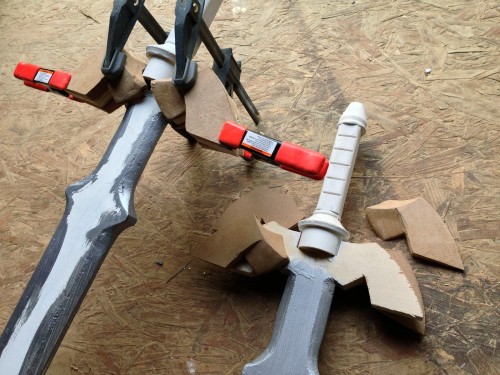
For the rest of the detail on the guard, I used pieces of MDF which I shaped with my belt sander and fine tuned with a Dremel.

Continue reading Legend of Zelda Master Sword

Player Piano for Crazy for You

Another project I worked on for Crazy for You at Elon University was a player piano. The piano sits against the wall of the saloon for a number of scenes. It has a couple of gags; when we first see it, a cowboy is playing a song on it, then gets up and walks away as the piano continues to play. Later, another cowboy fires a gun which hits the piano and causes it to start playing on its own again until it is kicked.

We began by looking for a real piano which we could take apart and modify. After a few weeks of unsuccessful searching, I decided I would just build one. After all, it needed to be a custom size to fit into the set, so transporting and modifying a real piano might be just as labor-intensive. The exterior of a piano is not really that complicated; it’s mostly a giant box with various levels of molding and details. The tricky part was getting it to play on its own.

Detail of the piano keyboard

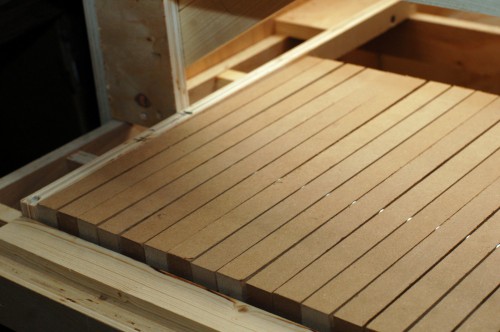
One of the perks of working at a university is that you have a lot of crew members backstage who can operate tricks by hand. I knew the player piano could be worked manually from behind, so I just needed to figure out how to make that work. I cut out a set of piano keys from 3/4″ MDF and drilled a hole through each one. I ran a piece of metal rod through all the holes; I added a washer between each piece of MDF as a spacer. You can just make out the washers in the photograph above, catching a glint of light. This method allowed the MDF “keys” to pivot around the rod. I set the “keyboard” in the piano and added  blocks underneath to limit their movement to that which a piano has. You will notice the holes were drilled offset from the center. The extra length in the back gave the back extra weight; when you let go of a key in the front, gravity would pull the back down, returning the key to its natural position. This simple mechanism would allow someone in front to play the keyboard normally, and someone in the back could make the piano appear to play on its own by pushing the keys up.

A view from the back

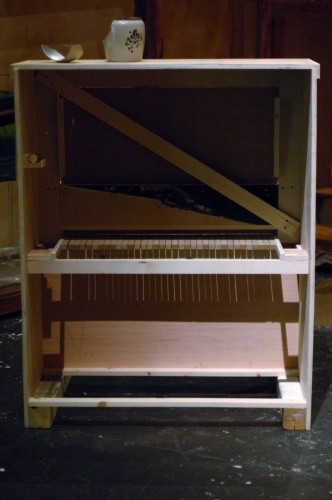
In the view from the back, you can hopefully get a better sense of what is going on. The keys can be accessed from behind; pushing them up causes the keys in front to move down, as if the piano is playing itself. When you let go of the keys in behind, they return to their normal position. The piano was pushed up against the wall, and a hole was cut in the flat, allowing a crew member to reach in and “play” the piano without being seen by the audience. The music itself was played live by the orchestra.

The finished, unpainted piano

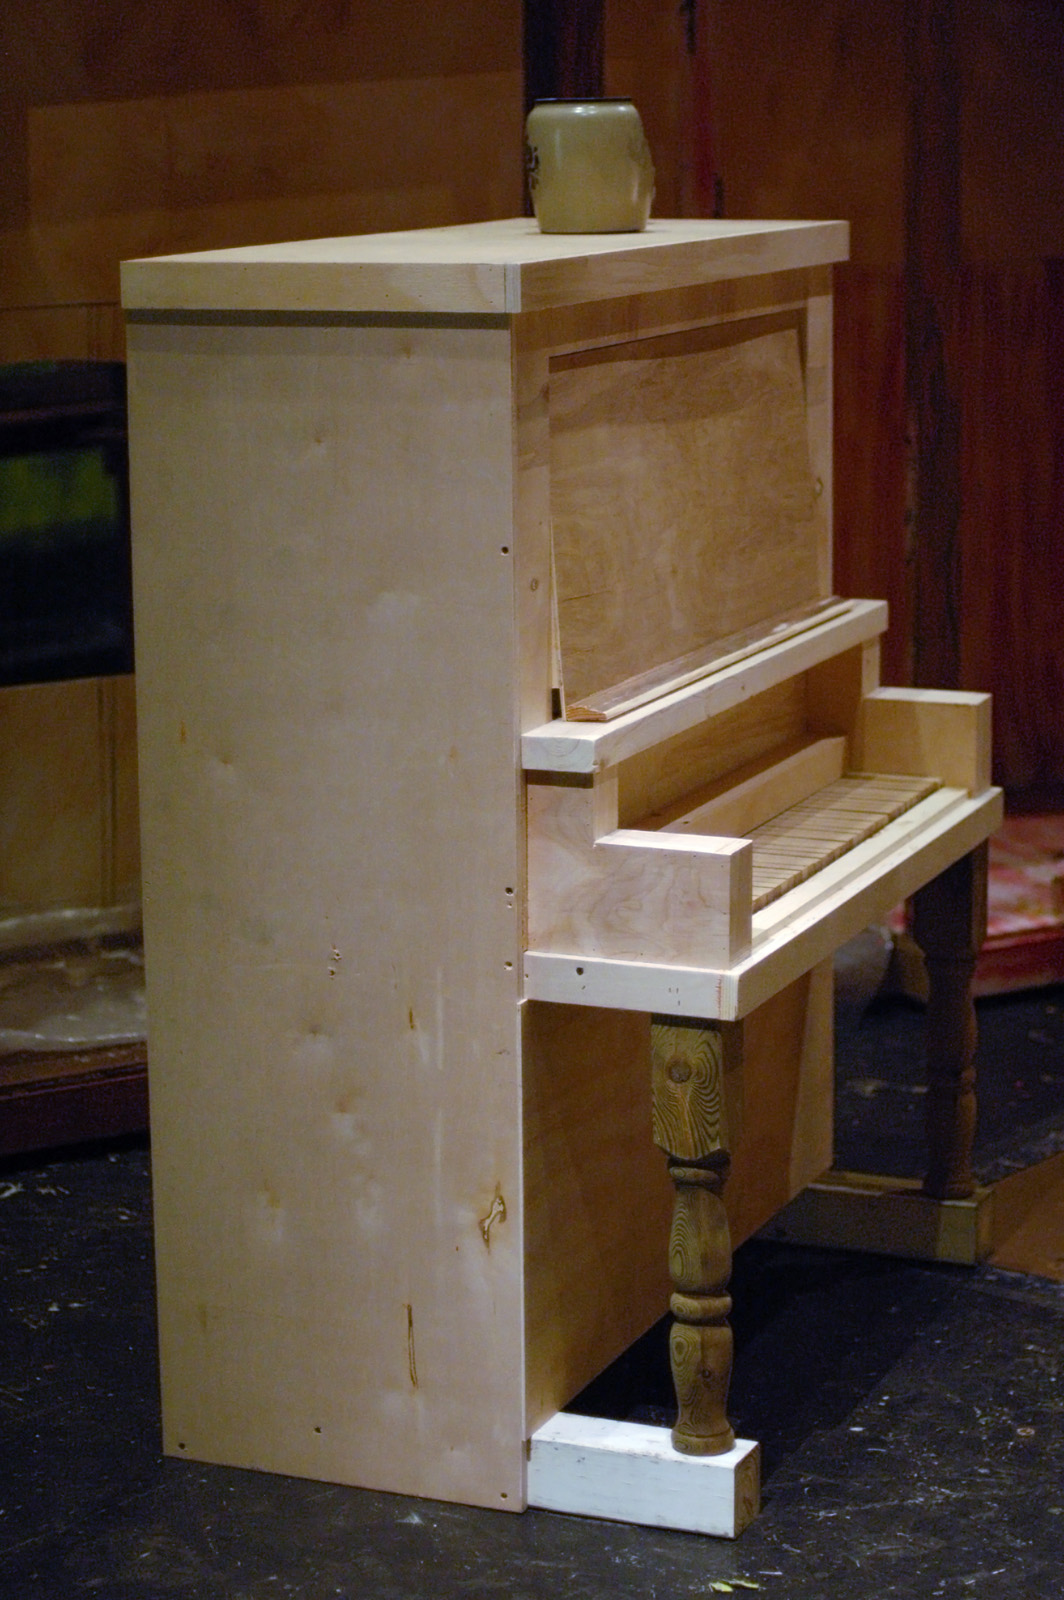
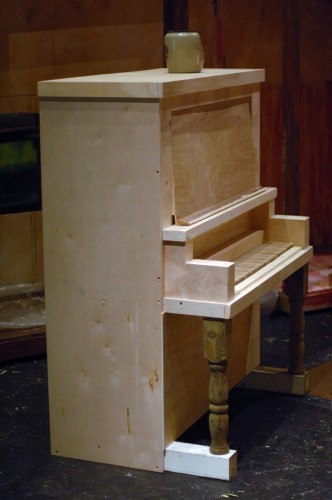
The photograph above shows the piano immediately before it is painted. I managed to build the entire thing with scrap material, amazingly enough. The scene shop at Elon has a CNC machine, and it produces some wacky off-cuts. The scene shop usually doesn’t have time to trim the edges to make them square and usable again, but I do, so it gives me some nice large pieces of quality plywood and lauan.

The saloon in Crazy for You

The piano was painted to match a lot of the other woodwork used in the saloon scene. I cut some black keys out of black foam core and hot glued them on top of the white keys; they basically moved along with the white keys as they were played, but were not playable on their own. With the keys painted white and the piano painted with dark wood tones, it gave enough contrast that even the balcony seats could witness that the piano was playing on its own. All in all, it was a pretty fun prop for having been built in little over a day.

Is MDF really that bad for you?

I’ve run across shops and artisans who tend to avoid Medium Density Fiberboard, or MDF. MDF is an engineered lumber product made of sawdust bonded together with a urea-formaldehyde adhesive. When you work with MDF, the dust you release also contains this formaldehyde, which you may end up breathing. So is that really that bad? The short answer is “yes, with a but”, while the long answer is “no, with an if”. Like any other substance or material used in a props shop, the safety of using it is dependent on knowing the risks and possible hazards and taking the appropriate precautions. After all, people can safely work with plutonium if their shop is set up correctly and they wear the appropriate gear.

Let me start off by saying yes, you should avoid breathing MDF dust. Formaldehyde is suspected of being a carcinogen, and MDF has some of the highest concentration of urea-formaldehyde adhesives out of all the engineered wood products that use it. Other products which use UF adhesive include hardwood plywood and particle board. Some products, such as softwood plywood and oriented strand board, use phenol-formaldehyde resin which emits much lower concentrations of formaldehyde. Nonetheless, when working with these products, you should have appropriate dust collection at the source of dust creation, proper ventilation and air filtration, and wear an appropriate personal respirator (a NIOSH-approved dust mask for particulates) when sawing or sanding.

So if it’s unwise to work with MDF without proper safety precautions, why am I asking the question in the title of this post? Here’s what I’ve seen; some shops avoid or even downright ban the use of MDF because of what they’ve heard about UF adhesives. This is absurd for several reasons. First, all materials are “bad” to some extent. A better way to phrase that is to say that all materials require you to understand what the potential hazards are and how to minimize them. If you are barbecuing in a grill, you know there is a potential for things to catch fire, so you have a fire extinguisher close by. If you understand why MDF is potentially harmful, then you can figure out how to minimize those harms; if your shop is unable to minimize those harms, than its use should be avoided.

My second point is this: if a shop avoids MDF because the dust gets in the air and employees breath it, it implies a larger safety issue. While formaldehyde is a suspected carcinogen, sawdust itself is a known carcinogen. Let me repeat that: sawdust is a known carcinogen (see here). If you allow sawdust to fill the air of your shop, you are basically filling your shop with carcinogens. So a shop or person that avoids MDF because the dust gets in the air is still allowing the dust from other products to fill the air, which is just as harmful to breath as MDF dust.

If you work with lumber of any kind, the proper precautions include dust collection at the source, ventilation in the whole shop, and the use of a personal respirator. These are the exact same precautions you need for using MDF. Also, the proper safety protocol in a shop is to keep track of all substances which you may be exposed to and take the recommended precautions to minimize exposure.

Thus, avoiding MDF in a wood-shop implies that not only does one not know proper safety protocols, but that one is exposing workers to other potentially hazardous dust. So my question, “Is MDF really that bad for you?”, has the same answer as every other substance. If you know the potential harms and how to minimize them, then it is no more “bad” than any other hazardous and toxic material you work with to build props. In other words, the proper question isn’t whether MDF is “bad” (it is, but so is everything else you use), it’s whether your safety procedures are bad.