Tag Archives: techniques

Prop Building for Beginners

I came out with a new book a few months ago, but I haven’t written about it here yet. It has been such a tumultuous year!

The book is called “Prop Building for Beginners: Twenty Props for Stage and Screen.” It is now on sale at Routledge.

Cover image of the book, "Prop Building for Beginners."

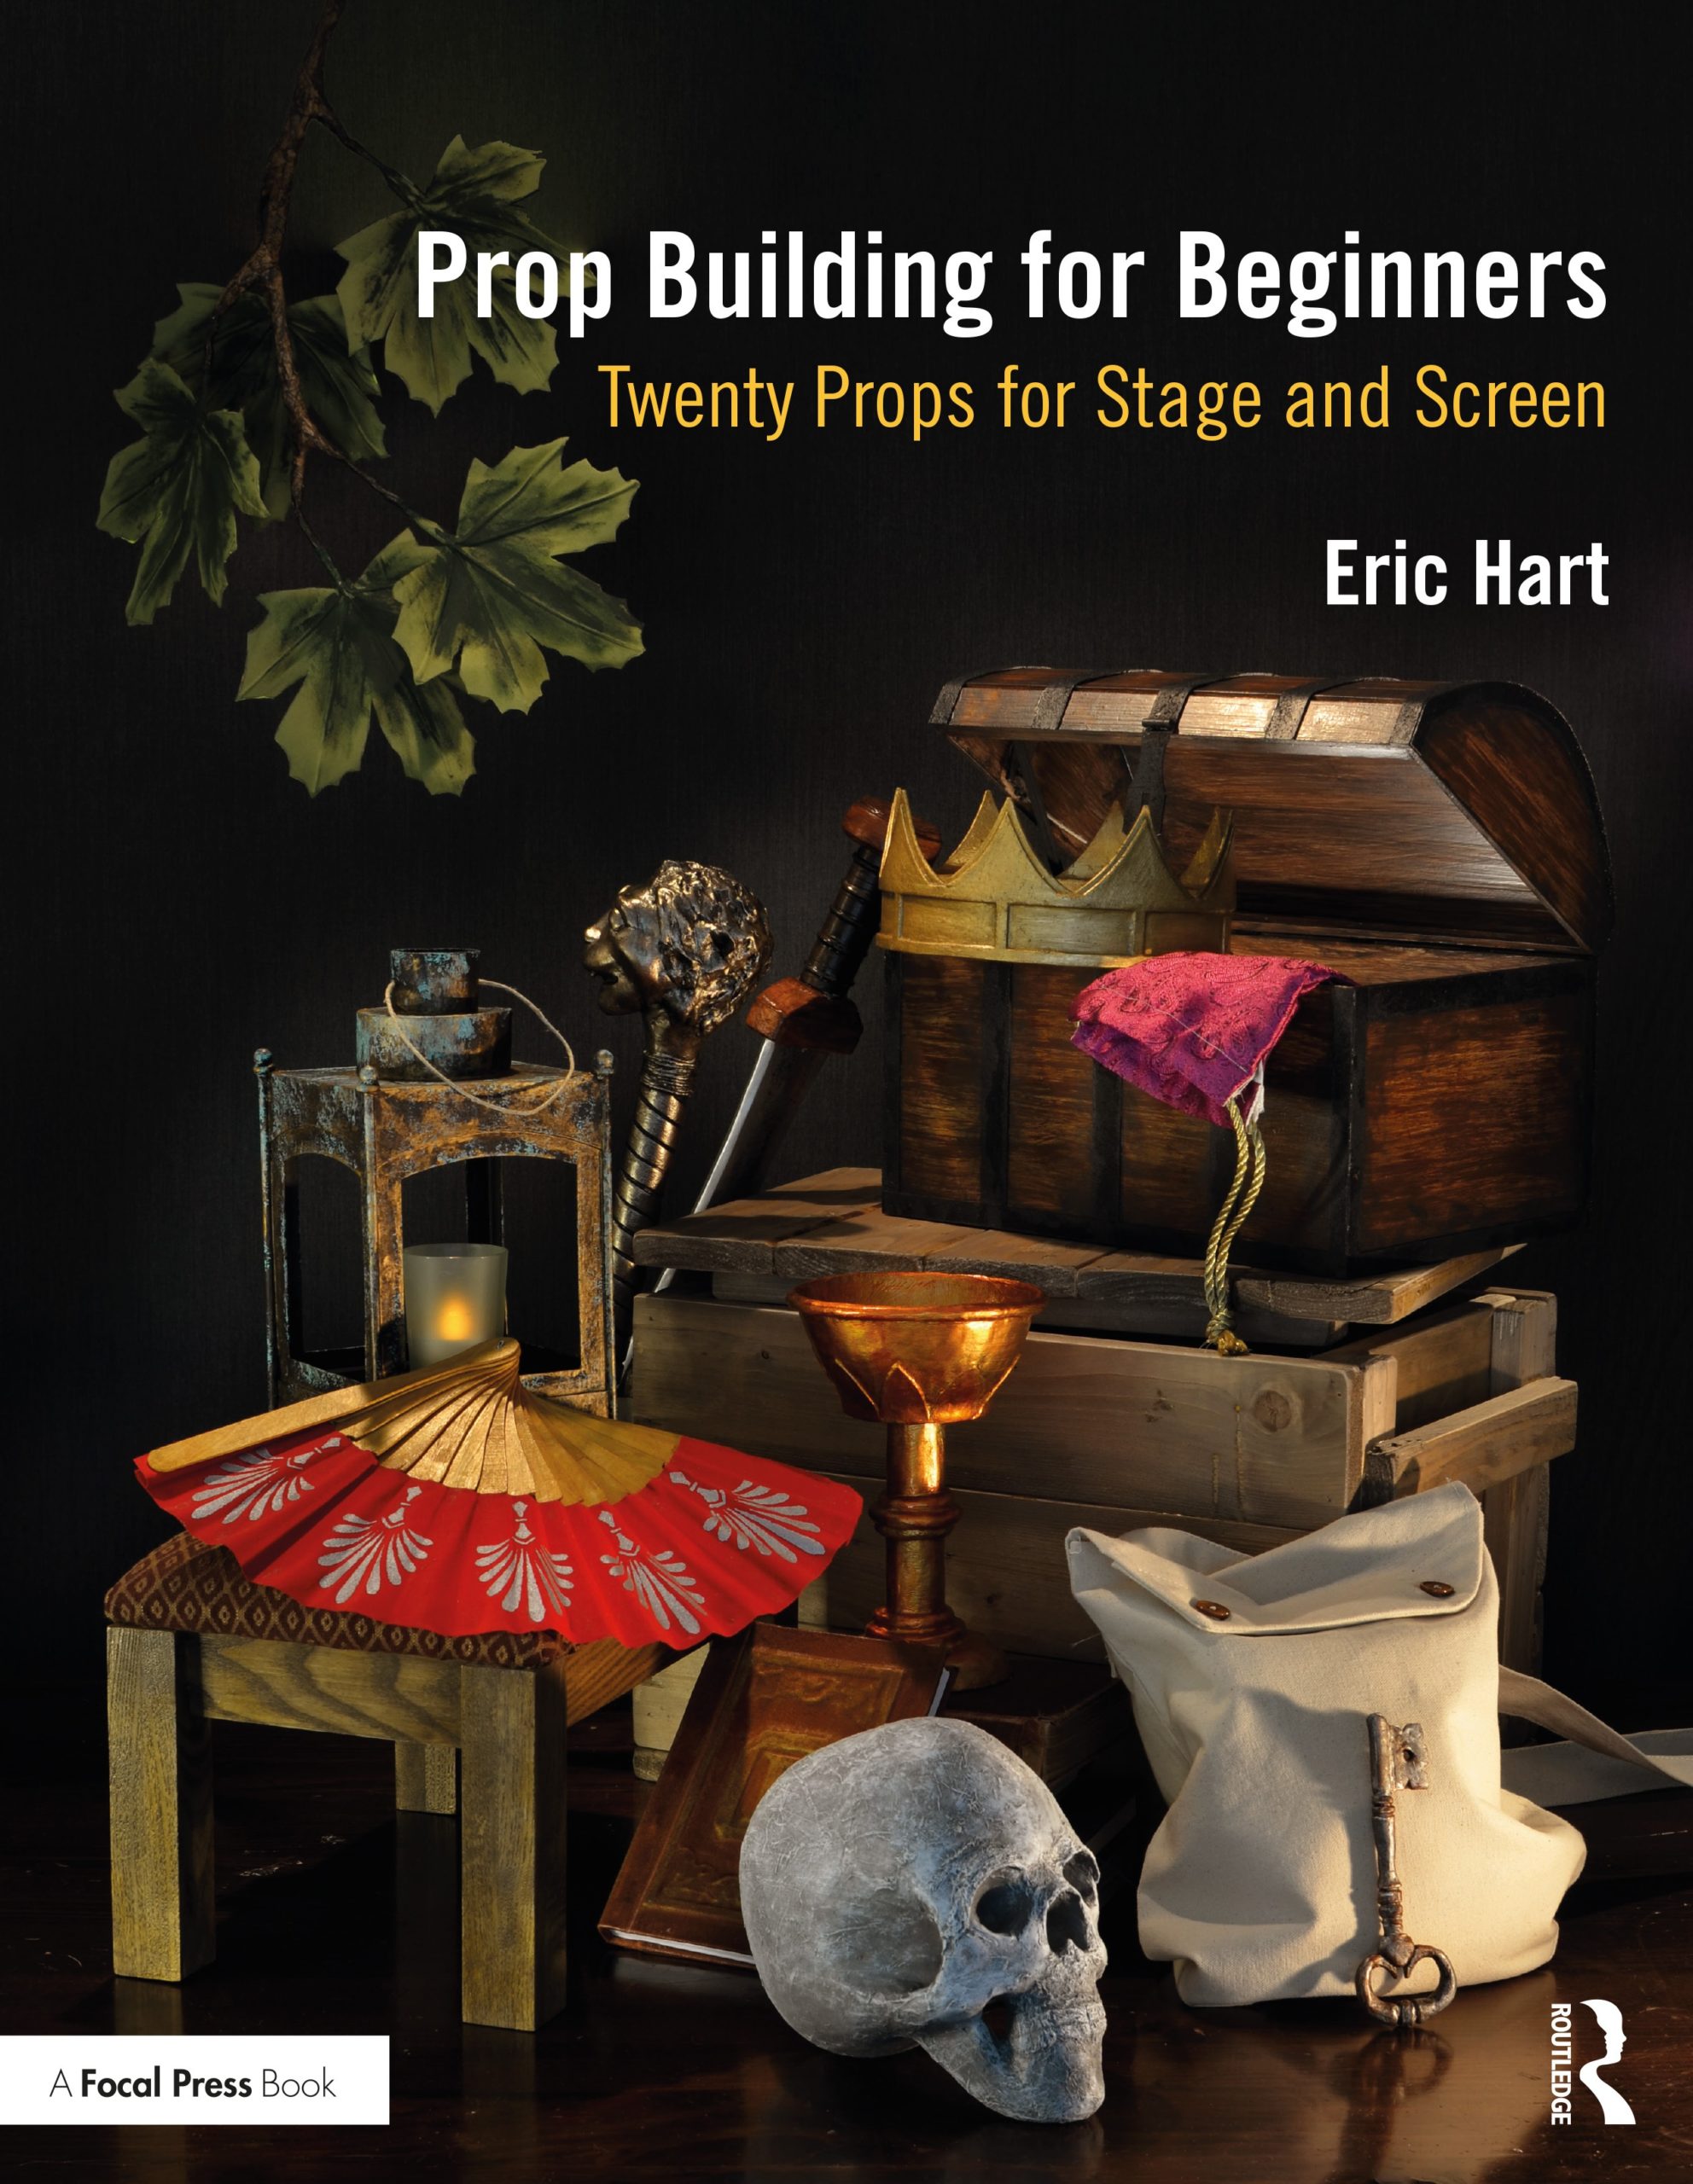
I wrote this book because a lot of beginners want step-by-step instructions to build specific props. The world of prop building can be overwhelming, and sometimes you just want to know where to start.

I chose the kinds of items that people in theater or film often need to build. These are props that appear in a lot of stories and which are not always cheap or easy to buy.

A collage of the twenty props which are included in this book.
The twenty props you can build from this book.

I designed and built all these items to make sure I was only using materials which are readily available throughout the world, as well as a limited number of tools. In fact, if you complete each project in this book, you will end up with a good understanding of the basic skills that every props person needs, as well as a simple toolkit that you will use on a daily basis.

Sample pages from the book showing step-by-step instructions and corresponding photographs
Sample pages from the book.

I wrote this book for anyone who wants to begin the wonderful journey of learning how to build props. It is useful for teachers who want to introduce their students to the materials and methods used in prop making. And it may be helpful to the theater practitioner who needs to build some props but does not know how.

You can purchase “Prop Building for Beginners” directly from the publisher, from Amazon, from your favorite local bookstore, or from wherever books are sold in your country. If you’ve already bought it, leave a review on the site you bought it from!

Props You Can Make at Home

Header image which summarizes the information as blog post.

How do you build props when you have no shop, few tools, and basic materials?

In this month’s S*P*A*Minar, I will show you some tips and techniques to build props cheaply and safely right in your home, with materials you can buy locally.

When: Sunday, April 18th at 8pm EST
Where: From the comfort of your home!
REGISTER here: http://bit.ly/PYCMAHregistration

With this S*P*A*Minar, we’re also doing our first-ever giveaway! One lucky attendee* will win a copy of my new book: Prop Building for Beginners: Twenty Props for Stage and Screen.

We are once again requesting pay-what-you-can donations to support this S*P*A*Minar programming. All money collected will be used to offset webinar operation costs with additional funds going to our annual grant program for early-career prop people. The suggested donation amount is $3.

Donations can be made via PayPal Money Pool here: https://bit.ly/SPAMinarMoneyPool

Registration will remain open until 6PM EST on April 18th and a link to the Zoom S*P*A*Minar session will be sent out to all registered attendees 1 hour before the start of the webinar.

All S*P*A*Minars will be recorded, and a video will be shared on the S*P*A*M Youtube page the week following the event. You can watch all previous S*P*A*Minars there for free.

*Attendee must be present at the S*P*A*Minar to win.

Kevin Caron’s Welding Videos

Welding is a great skill for a prop master or prop maker to have, though it can be a hard one to begin learning. The best way to learn is to have someone teach and guide you as you practice on your own. Whether that’s possible or not, it is also a good idea to watch some videos on welding to pick up background information and to get a different perspective on some of the techniques.

I discovered Kevin Caron’s videos on welding; he has dozens of videos covering all sorts of welding styles and techniques. His background is in metal art and fabrication, so the way he demonstrates welding is close to how a props artisan approaches welding. We rarely have to deal with all the technical information one might get with a traditional welding course, and it can be easy to get overwhelmed with all of that when you are just starting out and simply want to join a few pieces of steel together for a static prop.

So check out everything he has to offer, or just start with the one below. Whether you’re just starting or you’ve been doing it for awhile, you’re sure to pick up something new.

Graining Some Wood

Our production of Anna Christie closed last night at Triad Stage. The first act takes place in a bar, filled with wooden furniture. The bar, tables and chairs all needed to match, and since they were constructed from a variety of wood and other materials, the best way to do that was by painting all of them.

Our scenic charge artist, Jessica Holcombe, helped us develop a process to match the wood sample that our designer picked out. The base coat was a wet blend of two colors: a light tan, and a slightly darker beige. We blended them in the direction that the fake grain would go.

Base coat
Base coat

The next layer was a maroon/pink graining layer. A lot of the graining was done simply with a chip brush lightly dragged along the surface to make stripes. For some of the larger surfaces, we broke out the grain rocker to make some knots and other grain characteristics.

Graining
Graining

For the third layer, we made a glaze from some amber shellac and a bit of brown tint, and painted that over the whole thing.

Glaze coat
Glaze coat

The picture below shows the progression of this graining process, starting with an unpainted chair I bought.

Step-by-step wood graining process

When the furniture got on stage under the lights, it was too bright and the grain had too much contrast. We added another glaze coat of tinted shellac, this time using a darker brown to tint it. Jessica also showed us how to flock (edit: I mean “flog”) this layer, giving it a bit of the subtle pores and perpendicular stripes you can see below.

Final glaze
Final glaze

When doing a wood grain, the more layers you can add, the richer and more realistic your final result will be. There are many other techniques and tricks you can utilize depending on the specific type of wood you are trying to replicate; it is important to have a clear reference photo or physical sample of what you want your wood to look like.