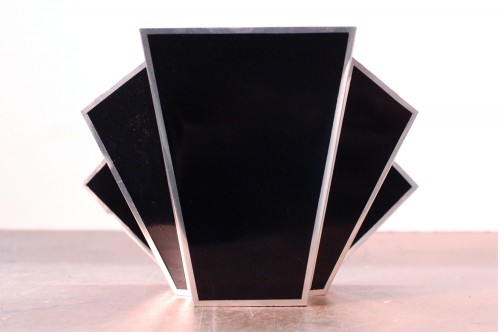
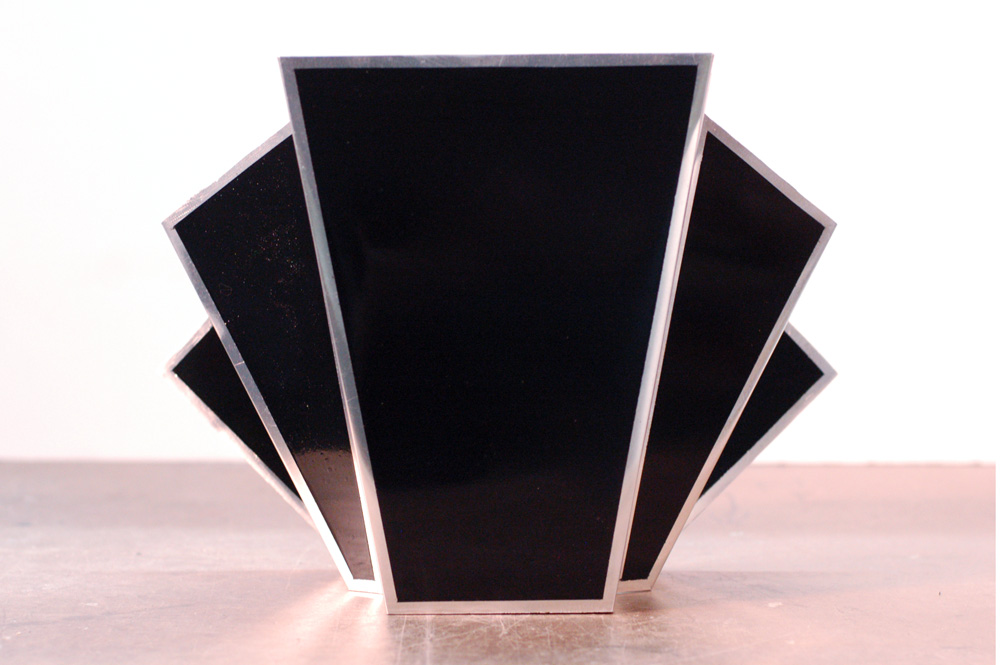
I recently finished up a number of footlights for a company called Punchdrunk for their upcoming New York production of Sleep No More. Their Boston production used traditional shell-shaped footlights; for this update, the stage had a giant art deco backdrop whose shape would be mirrored in the footlights.
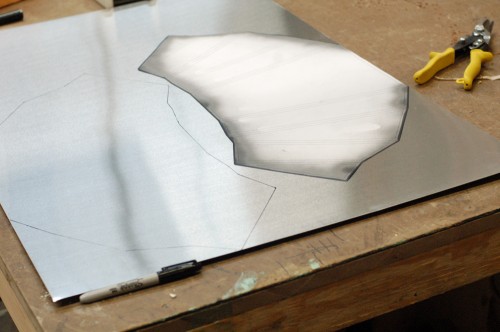
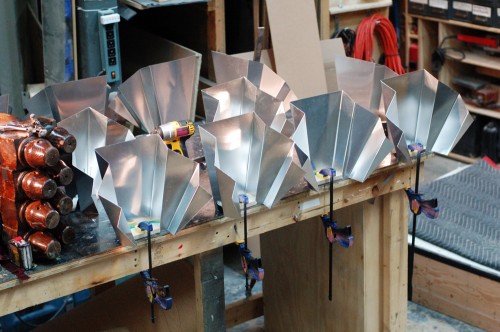
They provided me with a full-scale drawing of the piece with all the angles already figured out. I traced the patterns onto sheets of aluminum. I kept the top edge along the factory edge of the aluminum sheets; with that edge being front and center, I wanted it to be the straightest and cleanest part of the footlight. The first light I cut out using my pair of tin snips. It gave me a clean edge but took forever. I cut the next one out on the bandsaw. It was a lot faster but was harder to keep nice-looking. I ended up using both of the tools to cut, with the bandsaw cutting out the rough shape and making the easy cuts, and the tin snips cleaning up the edges and cutting the trickier parts.
Once cut, the edges needed a lot of sanding and deburring to get them nice and straight and not razor-sharp. I polished them to get them a little shinier as well.
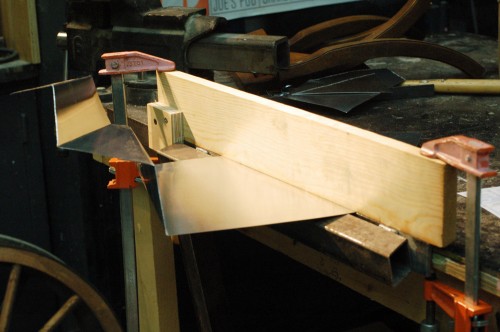
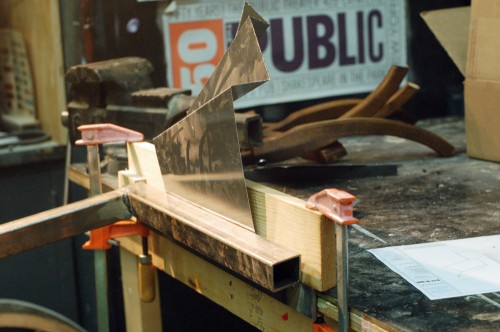
I was now ready to begin making the bends. I’ve bent sheet metal before using a hammer and some clamps, but I needed a much cleaner and more precise way to make these bends, especially since I was producing sixteen identical footlights. I needed a sheet metal brake. Not having one, I decided to make my own. I looked at a number of tutorials and plans online, and found Dave’s Sheet Metal Bending Brake to be the clearest and most useful description; he’s just a working-class guy trying to build an airplane.
The next two photos show the brake making a fold. First, I had made a mark on a piece of scrap metal and lined it up in the brake to make a bend; this showed me where to line up the marks on the brake in order to place the fold where I needed it to go. Once I was confident with the workings of the brake, it was just a matter of making all 128 folds, one at a time.
I cut and attached MDF bases to the lights to give them a way to attach to the stage, and for the birdie lights to attach to them as well.
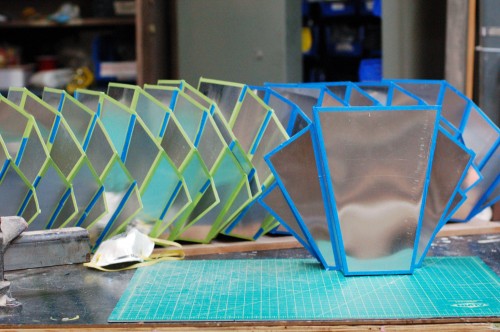
I then put masking tape along the borders of each panel. This quarter-inch area was to remain metallic while the rest was painted gloss black.
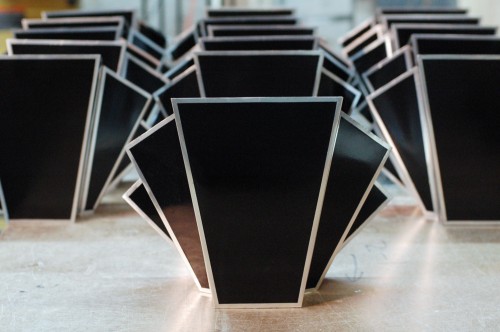
With the masking in place, all that was left to do was a couple of light coats of gloss black spray paint to build up a nice shiny and even surface.



Can I purchase the footlight pattern from you?
I’m not the designer so it’s not mine to sell.
Your footlights look just like the ones that are supposedly the “original” footlights from the McKittrick Hotel from this blog posting: http://www.scoutingny.com/?p=3816 Somethings fishy about that blog I think.
Those are some great pictures on that blog, thanks for sharing it. It’s quite the remarkable coincidence, no?