Tag Archives: wood

Midcentury Bar Cart

For Triad Stage’s production of Who’s Afraid of Virginia Woolf a few months ago, I needed to find a very specific bar cart. The scenic designer, Anya Klepikov, provided me with a research image of a stunning midcentury piece that was uncomfortably out of our price range. It had some challenging aspects to it, but I knew I could build it myself for a fraction of the cost.
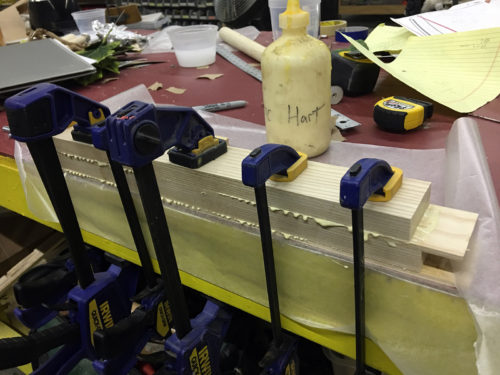
Clamping the pieces
Clamping the pieces

I built the table out of a mix of oak boards and oak plywood. For the thicker pieces of oak, I laminated several pieces together.
Assembling the top
Assembling the top

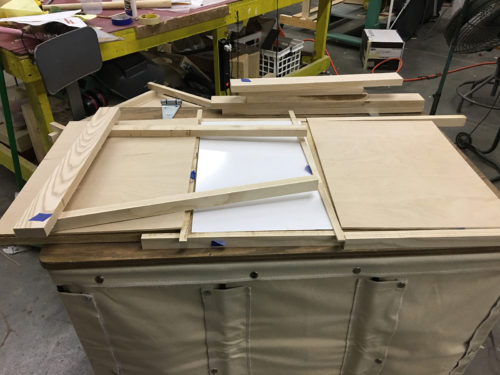
In the research image, the table of the cart splits in the middle, and a black melamine leaf is added to make it longer. Ours didn’t need to do that, so I just built the top as a single piece. It was a single sheet of plywood covered in two thin pieces of nice plywood, with a piece of melamine in the middle. The edges were strips of hardwood to cover the plywood edges. I couldn’t find black melamine, so I used white that I spray painted black.
Attaching the lip
Attaching the lip

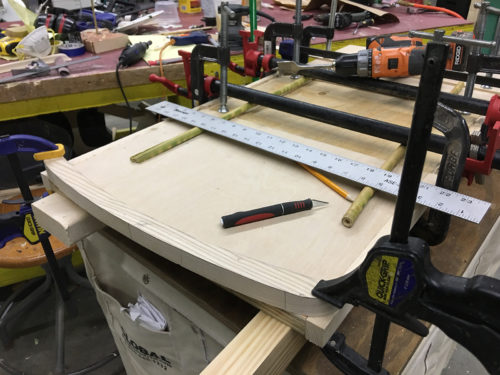
Each end had a curved breadboard with a raised lip. It took a bit of finessing to cut the end of the plywood and the breadboard so they fit together perfectly.
Attaching the lip
Attaching the lip

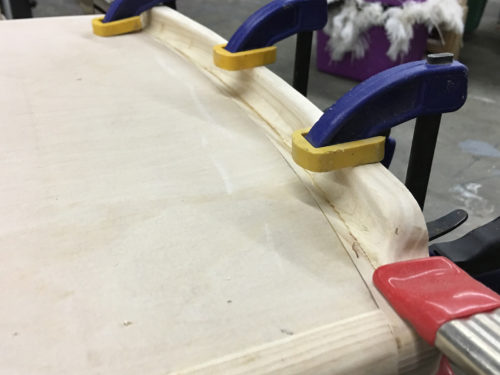
I cut and shaped the raised lip as a separate piece before attaching it. I routed all the edges, and I was worried that I wouldn’t be able to fit the router on if the lip was attached. Once it was glued on, I did some hefty belt sanding on the end to smooth everything and make it appear to be one solid piece of wood.
Rounding the edge with a router

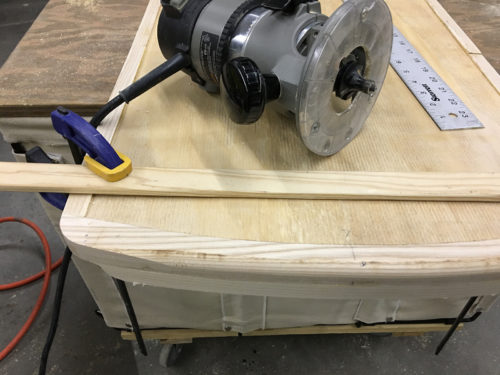
I clamped a rail on the bottom so I could round over that edge as well, with the rounded edge fading out gradually.
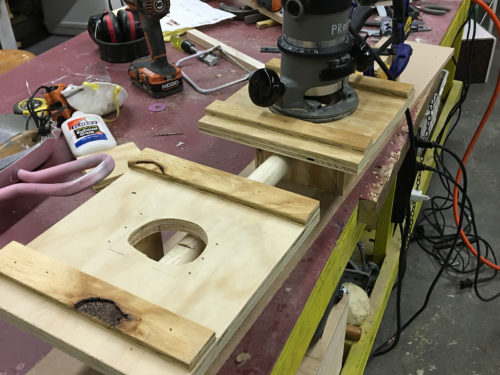
Milling the joints
Milling the joints

Because the legs were both round and tapered, they needed a flat surface to attach the apron and shelf to. I built a jig for the router to mill a flat area perpendicular to the ground. The apron pieces could then be doweled securely to the legs.
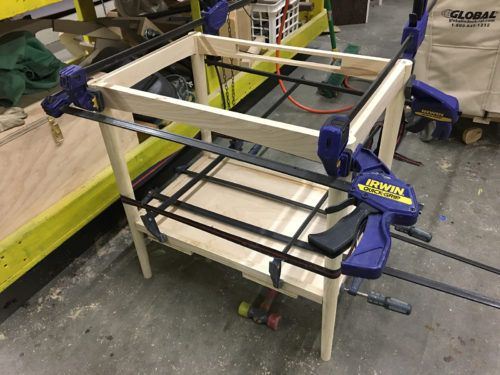
Glue assembly
Glue assembly

Before gluing, I fit everything together dry to make sure my measurements were all correct. When you have round tapered legs, it is very easy to make a mistake between the length of the top apron pieces and the shelf apron pieces; everything needs to be exact to keep the whole piece square and sturdy. Once everything was fit properly, I disassembled it, added glue to all the joints, and clamped it all back together.
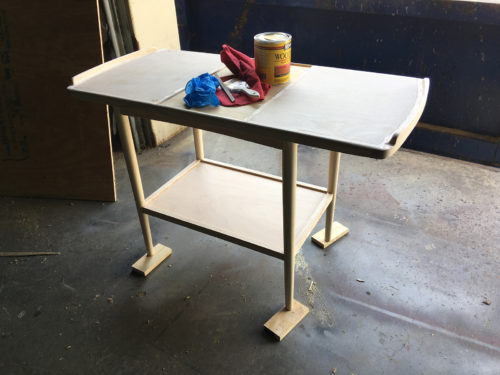
Preparing to stain
Preparing to stain

After one final sanding over the whole table, it was ready for staining. I used a tint from Minwax called “Gunstock.” I sealed it with a coat of amber shellac. When it dried, I rubbed it down with #000 steel wool, then added a second coat of amber shellac, which was also sanded with steel wool. The whole table was then wiped down with Pledge Furniture Polish. This not only removes the finest dust particles, but it imparts a thin layer of wax that helps give the surface a bit more shine.
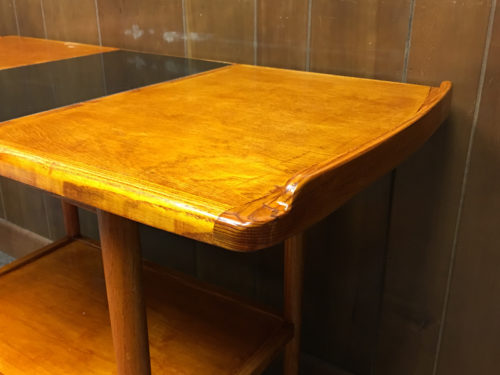
With stain and shellac

The photo above shows off the sweet curves which the piece has.
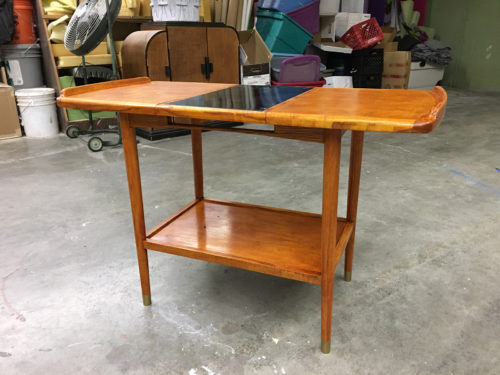
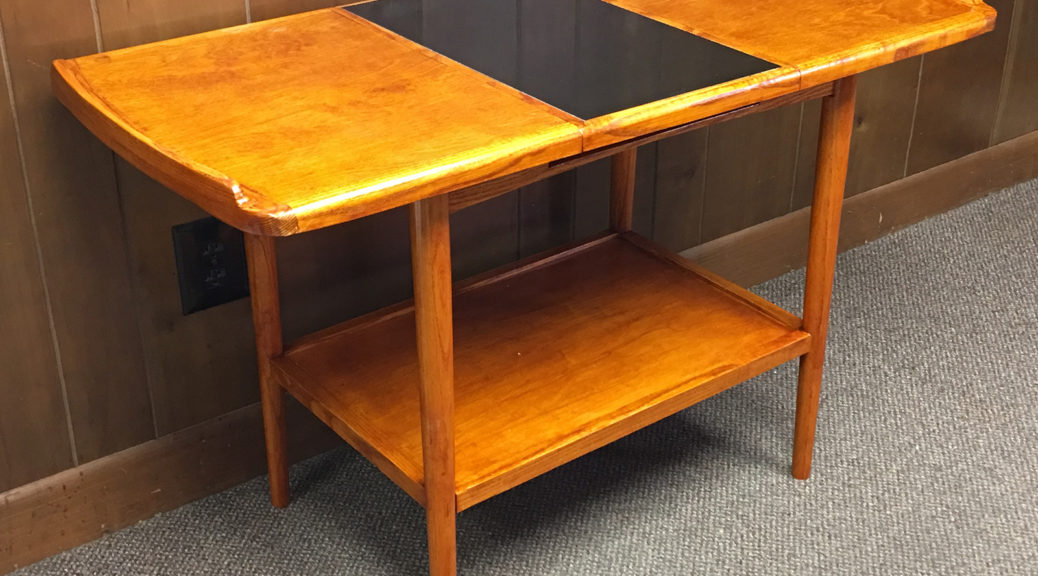
Completed bar cart
Completed bar cart

When I shared images of the completed bar cart with Anya the designer, she realized she wanted brass leg caps added to the bottom. I wasn’t able to find an exact cap to fit the legs, so I coated them with a thin layer of epoxy and painted it with brass spray paint. It gave the same effect as brass caps, but with far less work.
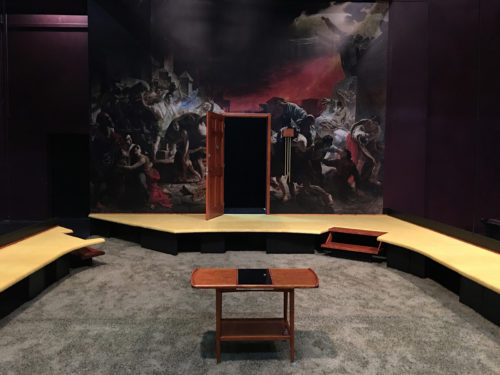
Bar cart on stage
Bar cart on stage

The bar cart was the only piece of furniture on the whole stage, so the extra work to make it perfect was justified. It was a nice piece to build for my last show as the full-time props master at Triad Stage.

Ancient Cherokee Box

Our final production of the season at Triad Stage was a new piece called And So We Walked. Written and performed by DeLanna Studi, it recounts her journey to walk the Trail of Tears with her father and rediscover her Cherokee roots. The show itself is traveling around the country for the next few weeks before another full production at Portland Center Stage next spring.

The show takes place in both the real world and a theatrical dream world, and one of the props I built was an ancient burned box which held secrets. We determined the size and shape in various devising sessions and rehearsals, so I simply made another box out of nice materials to match a rehearsal version I had already made.

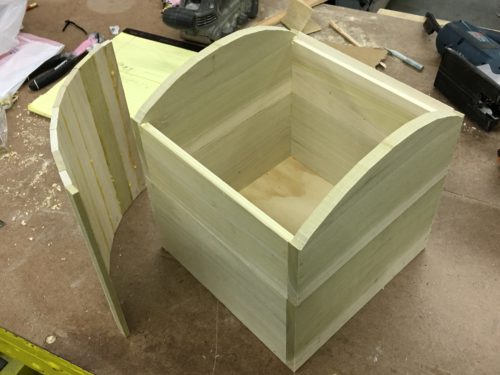
Constructing the box

The carcass was constructed from half-inch poplar I bought at Home Depot (my planer was broke), with a piece of plywood for the bottom. The top wanted to be vaulted, so I ripped a number of slats from quarter-inch poplar, beveled the edges, and glued them together to make the vault shape.

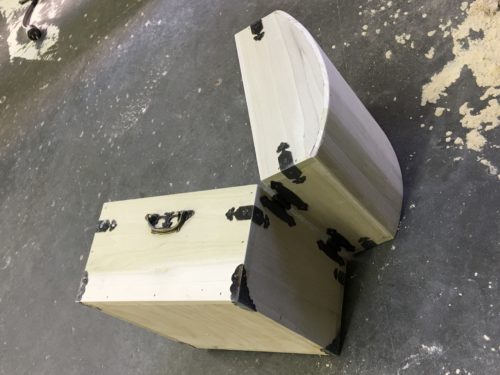
Attaching the hardware

Once the top was all glued together, I ran a belt sander over it to transform the faceted surface into a smooth curve.

The hardware was a mix of stuff from the hobby store and pieces I had in stock from other boxes I had built. A lot of this decorative brass box hardware comes straight from China, so you have to wait a few weeks or even months to get it shipped. Whenever I order some, I get several options and extras so that I slowly build up a stock to use on projects that have too tight of a deadline to wait for the shipping.

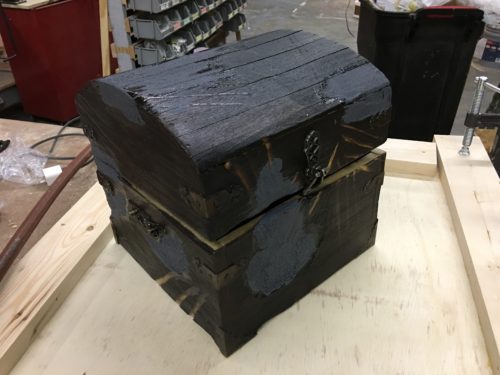
Burning the outside
Burning the outside

The box is described as “burnt”, so my next step was to burn it. I used a basic propane torch you can get at the hardware store. I charred the whole outside of the box, and allowed the flames to go to town on a few areas to really break up the surface.

Once it was cool, I removed all the charcoal with a wire brush. I sealed it with shellac to keep any charcoal remnants from staining the actress’ hands or white costume.

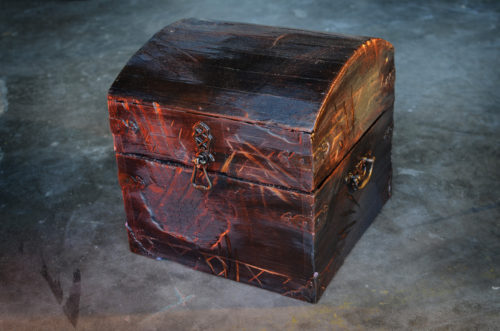
In the areas which burned away the most, I applied some grey crackle paint to simulate the charcoal I had just brushed away. The box is also described as having deep scratches, as if some mythical being had been trying to claw it open, so I added those with a grinder and Dremel.

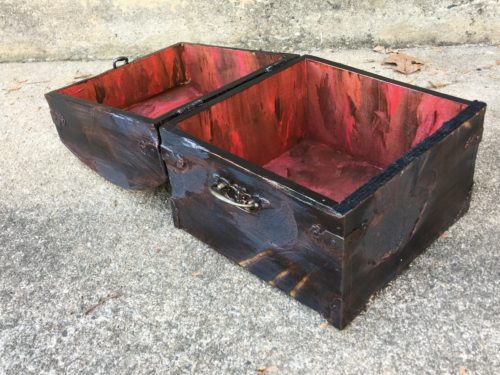
Painting the inside
Painting the inside

The inside received a wet blend of various acrylics to give it a deep red aged appearance that suggested blood. I dry brushed a few other colors, including some metallics, over the outside to help accentuate the imperfections and texture.

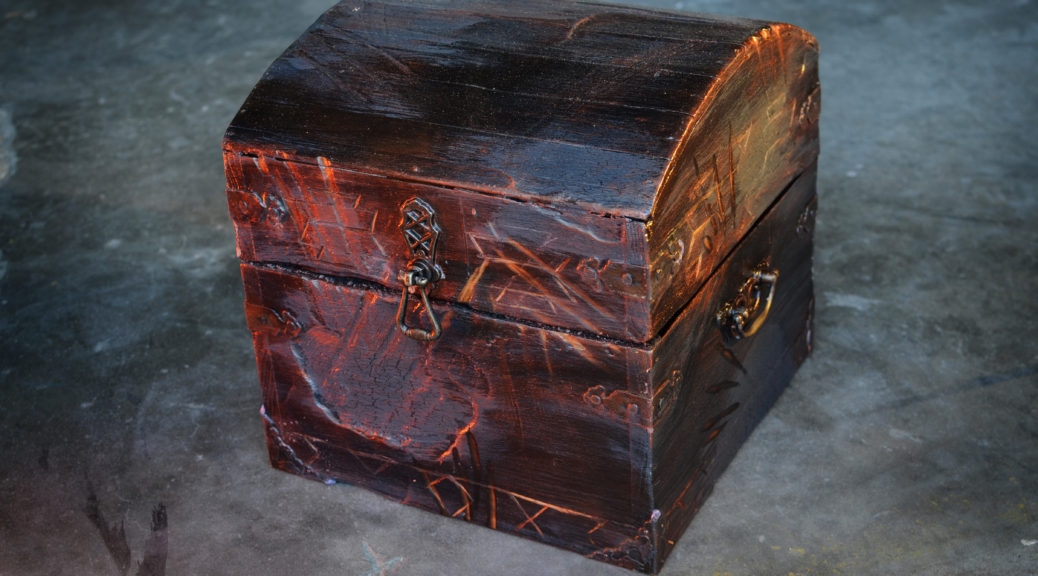
Ancient carved box
Ancient carved box

During tech, the director really liked the way the scratches looked on the box and wanted some more. She asked for some Cherokee patterns to be engraved around the edges as if some primitive creature had carved them in by hand. Once I added those, the box was complete.

Friday Fun Prop Links

Adam Savage Behind the Scenes of Alien: Covenant – Our favorite Mythbuster tours the set of the latest Alien movie as is being built, painted, and weathered. Sure, it’s a set, but it’s a very proppy set.

Work/Life Balance in Professional Theatre – American Theatre Magazine is running a survey to learn more about the work/life balance in theatre. If you work professionally, take a few moments to fill it out and help add to their data.

The Pen and the Trigger Finger: Examining Gun Violence Onstage – While this article does not deal with props per se, it does have a lot of interesting ideas about the use of guns on stage and even just the implication of gun violence. As a props master, you need to be aware that simply placing a gun on stage or in an actor’s hands carries a lot of weight and meaning to your audience.

Finishing Lies – Finally, Christopher Schwartz brings us this list of claims made on the packaging of wood finishes which typically do not end up being true.

Magic Music Box

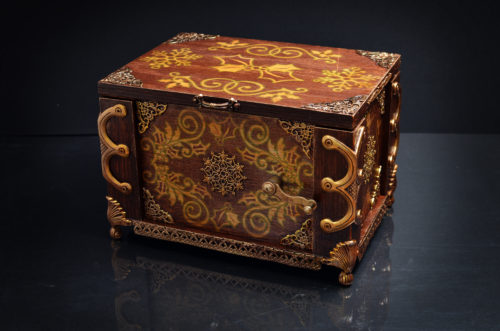
A few months ago I was contacted by Hershey Park about building a magical music box. They were doing a Christmas show and wanted an exquisite antique music box owned by Santa. It had wood inlay designs and brass details. The actors would dance with it, but they wanted it to be able to light up, emit fog, and have the winding handle turn on its own.

Exterior of box
Exterior of box

This was a tight turnaround; 34 days from initial contact to having the prop in their hands. Nearly half of that was just hashing out the design and working on the contract.

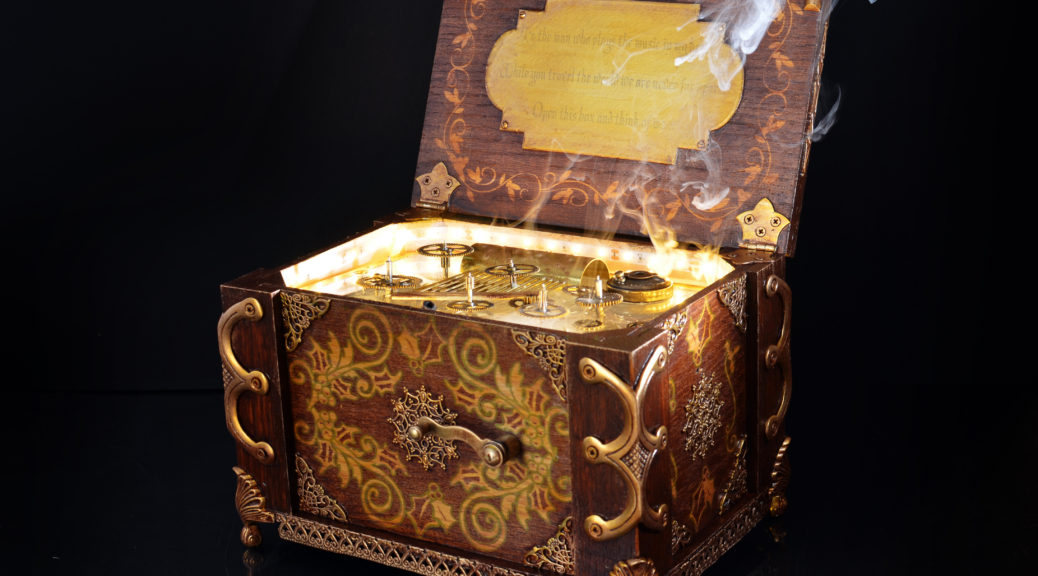
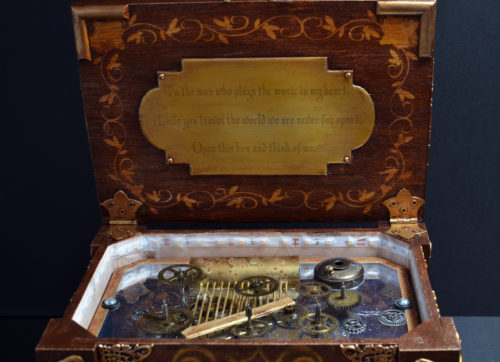
Interior of box
Interior of box

The inside of the lid had an inscription and some inlay work. The inside of the box itself had a music box mechanism and a variety of floating gears.

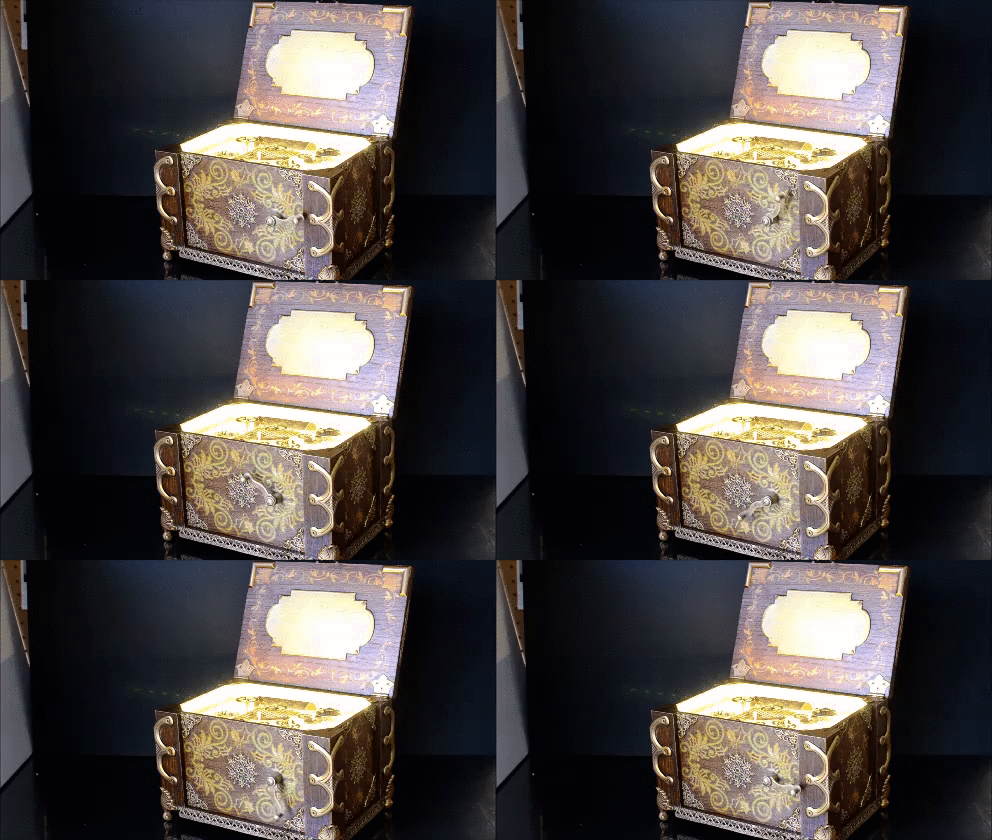
Spinning handle
Spinning handle

The handle could be turned by the actor, and it also spun magically. The inside of the box lit up as well.

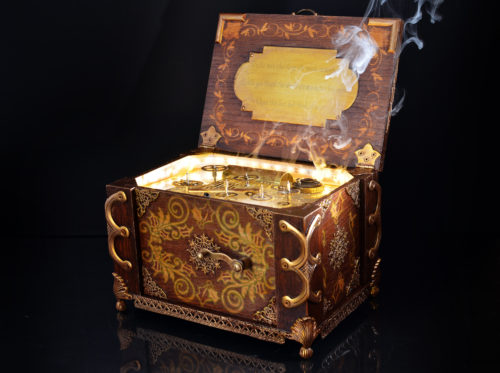
Fog effect
Fog effect

Oh yeah, a puff of magic smoke also came out of the box. The lights, fog, and spinning handle could all be activated independently of each other, triggered by a wireless dimmer hidden inside.

I was really proud of how this turned out. These are the kinds of projects I love doing.

End of Week Prop Links

First up, Rolling Stone checks out the ghost fighting equipment in that new Ghostbusters movie everyone is raving about. Props master Kirk Corwin shows us all the proton packs, traps, and other sundry items used throughout the film.

Rosco shows off how to make a statue of David out of foam and FoamCoat. Though the emphasis is on the FoamCoat, the real interesting part is how they were able to export a 3D model of the statue to a CNC machine and build the sculpture out of many layers of regular insulation foam.

Back to Ghostbusters, Rick Lazzarini shows how his shop built an animatronic “Slimer” to use as a stand-in for the CGI effects in the film.

Back to foam carving, Make Magazine has some quick tips for sculpting Styrofoam. Though short and fairly basic, they have a few tips that you may not have tried yet.

Finally, Popular Woodworking dispels six myths about wood finishing. They aren’t fun myths about unicorns and bridge trolls, but myths about stains and grains.