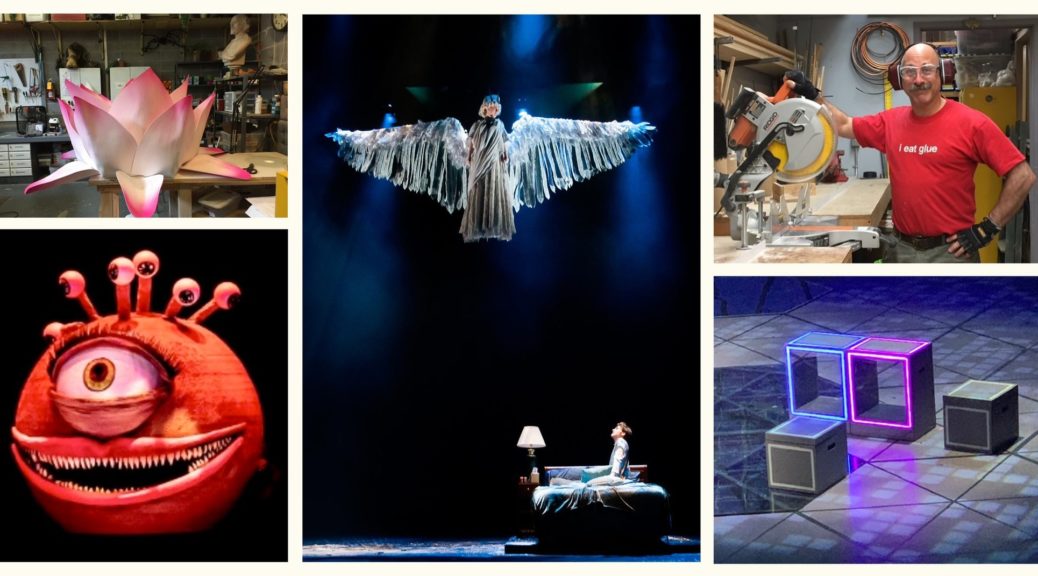
In this month’s S*P*A*Minar, join Jay Lasnik, Props Supervisor and Props Teacher at Penn State University School of Theatre, as he shares how he and his crew of Penn State prop artisan students have built props for such shows as “She Kills Monsters”, “Angels in America”, “Curious Incident of the Dog in the Nighttime”. He’ll discuss his process of building props from the initial design presentation all the way through opening night.
Find out how the Penn State prop shop has tackled such projects as
- a 6′ talking eyeball!
- 3′ tall magic mushrooms
- an angel with a 18′ wingspan!
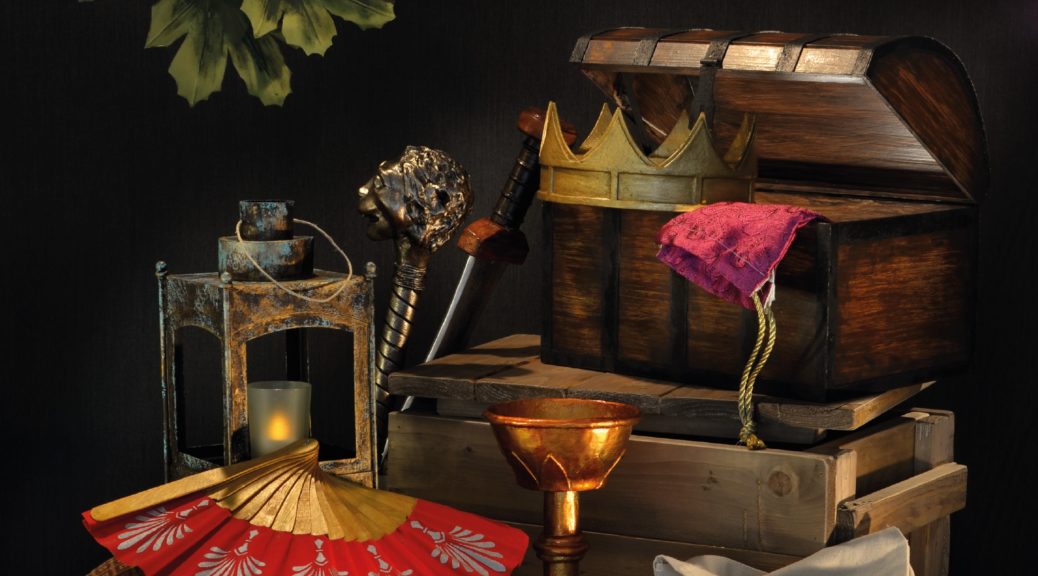
- lightweight, (but strong) light-up boxes!
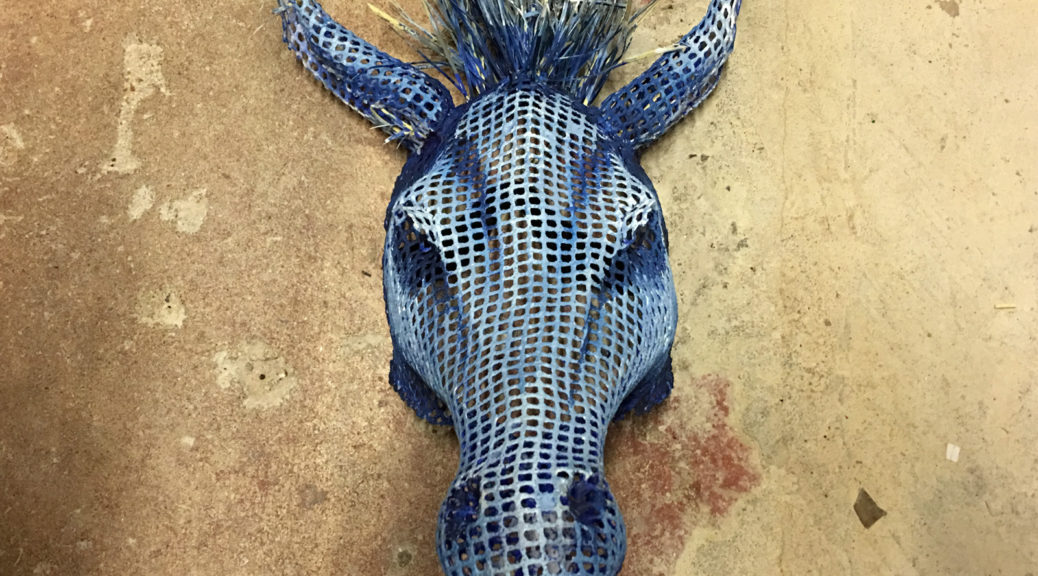
- life-size bull puppets
- and half of a dead dog!
When: Sunday, February 20th at 8pm EST
REGISTER here: https://bit.ly/PennPropsReg
We are once again requesting pay-what-you-can donations to support this S*P*A*Minar programming. All money collected will be used to offset webinar operation costs with additional funds going to our annual grant program for early career prop people. Suggested donation amount is $3.
Donations can be made via PayPal Money Pool here.
Registration will remain open until 6pm EST on the day of the event and a link to the Zoom S*P*A*Minar session will be sent out to all registered attendees 1 hour before the start of the webinar.
All S*P*A*Minars will be recorded, and the video will be shared on YouTube the week following the event.

Angel wings designed by Kayli Warner for “Angels in America” (photo: William Wellman)
Vera, the Beholder designed by Bekah Ackuff for “She Kills Monsters”â€
Boxes designed by Rozy Isquith for “Curious Incident of the Dog in the Night Time”
Giant Lily Flower designed by Tania Barrenechea for “A Year with Frog and Toad”