Tag Archives: upholstery

Tufting, Tacking, and Trim

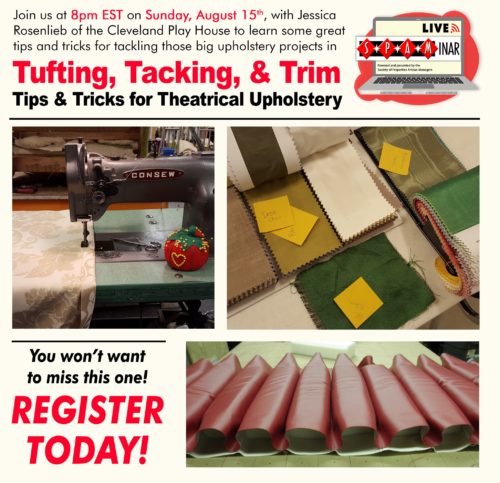
Remember all those times you’ve had a big upholstery project coming up for a show and you just didn’t know quite where to start? We’ve definitely all been there a time or two.

Well we have some great news for you! Because this month S*P*A*M Member Jessica Rosenlieb will join our S*P*A*Minar team to share some great tips and tricks for theatrical upholstery. We’ll take a look at tools of the trade, materials, resources, and the process to tackle your big upholstery projects. This webinar will cover upholstery basics as well as a few advanced techniques will give us some ways to save time and money.

When: Sunday, August 15th at 8pm EST

Where: From the comfort of your home!

REGISTER here: https://bit.ly/TuftingREG

We are once again requesting pay-what-you-can donations to support this S*P*A*Minar programming. All money collected will be used to offset webinar operation costs with additional funds going to our annual grant program for early career prop people. Suggested donation amount is $3.

Donations can be made via PayPal Money Pool here: https://bit.ly/SPAMinarMoneyPool

Registration will remain open until 6pm EST on August 15th and a link to the Zoom S*P*A*Minar session will be sent out to all registered attendees 1 hour before the start of the webinar.

All S*P*A*Minars will be recorded, and the video will be shared to the S*P*A*M YouTube channel the week following the event.

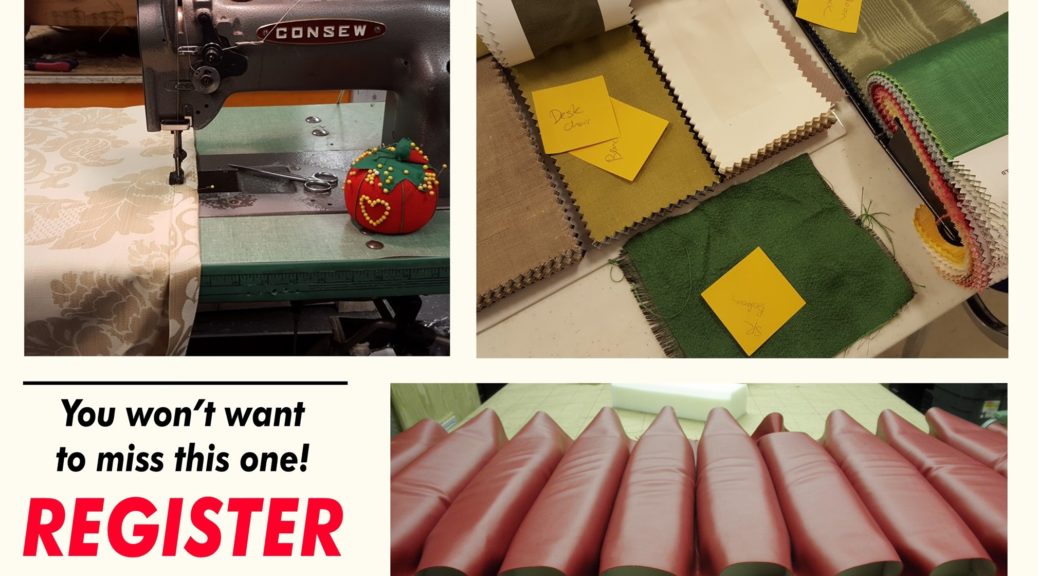
Flyer with the same information as in the post

Diner Stools

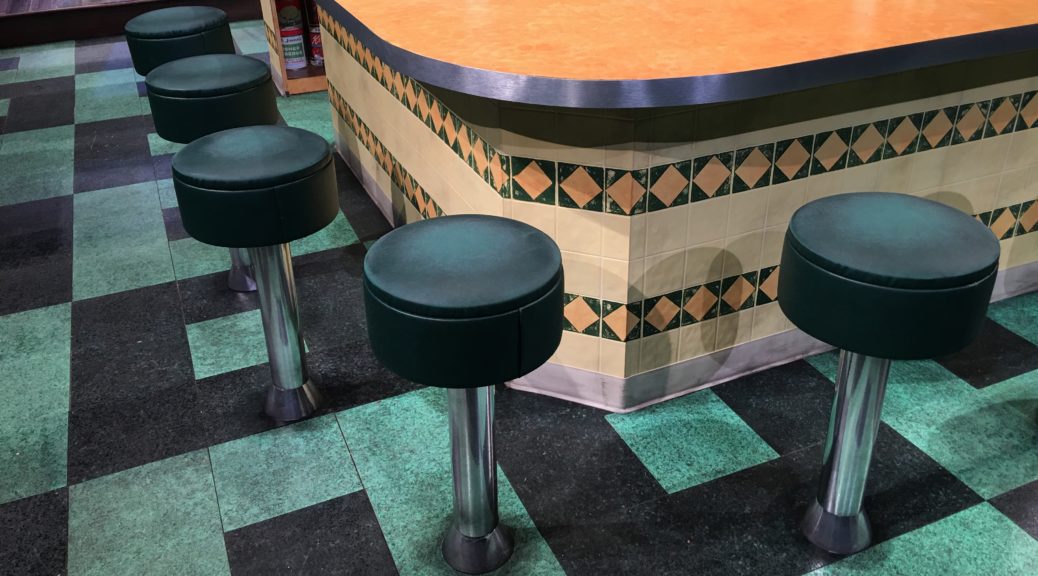
Earlier this year, I was the props master on August Wilson’s Two Trains Running at Triad Stage. The set, designed by Moriah and Isabel Curley-Clay, was a Pittsburgh diner in 1969. Among the various components were thirteen matching diner stools, the kind that spin and are bolted to the floor. It proved impossible to source that many stools within our budget, so I decided to build them.

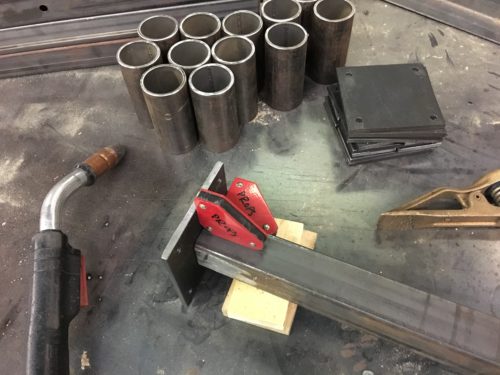
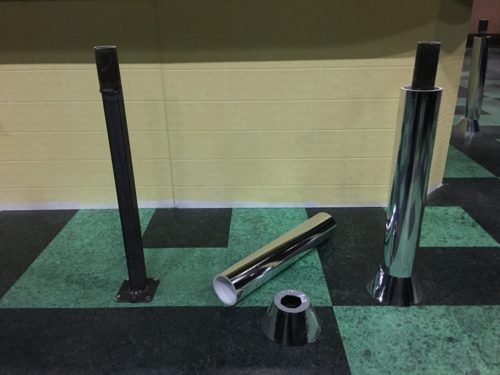
I designed the main support in two parts: an inner post made of steel that would hold the seat and be bolted to the floor, and an outer post that would sleeve over and appear to be chrome. I welded the inner post out of box tube and quarter-inch plate. I added a small length of pipe to the top so the seat could spin freely.

Welding the structure

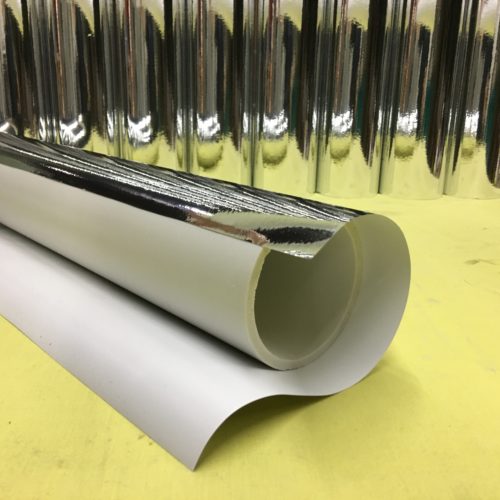
I cut the outer posts out of PVC pipe and wrapped them with silver Mylar.

Wrapping chrome onto PVC

The flange at the base was a plastic bowl I found. I drilled a hole through it and wrapped it in Mylar as well. The bowl and PVC both slipped right over the steel posts, and I cut some wood spacers to hold them in place.

Installing the poles

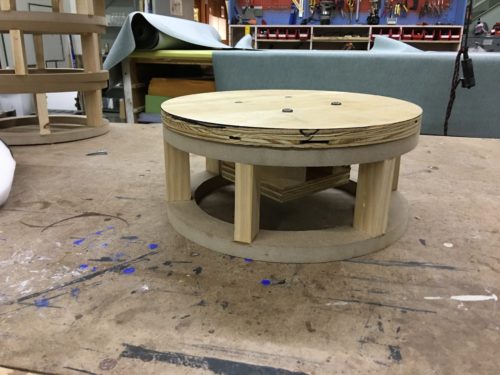
I built the seat in two parts which could be screwed together after upholstering it. The top part had a block underneath that slipped onto the pipe base and allowed it to spin freely. The side part masked this block and provided a place to attach the vinyl fabric to.

Once upholstered, the seat could slip right onto the steel post. The underside of the seat had a piece of UHMW that the steel rested on, so it could spin with as little friction as possible.

Seat prior to fabric

A good portion of the upholstery was accomplished by Keri Dumka, one of my artisans on the show. My apprentice, Victoria Ross, also did some upholstery and aging on these stools.

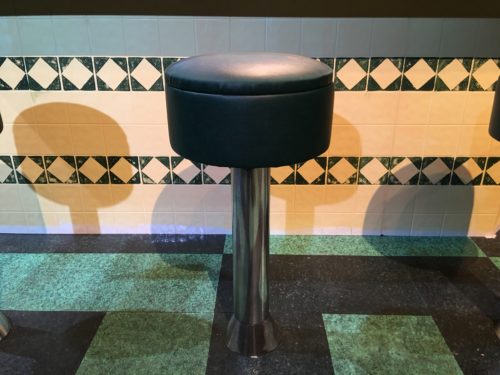
Here is one of the stools; twelve to go!

Single stool
Single stool

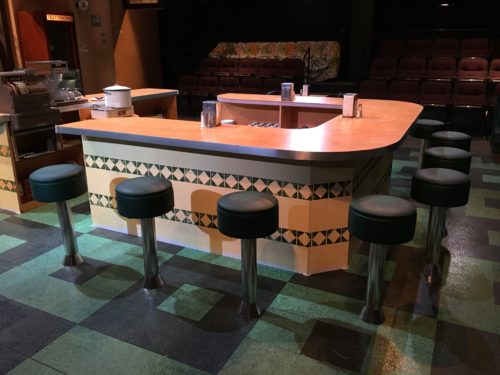
Though it was very time-consuming constructing all thirteen of these stools from scratch, the end result was pretty stunning. It looked like we plucked a diner straight from the Hill District and plopped it down in the middle of our theater.

Stools around the bar

Try Your Luck With These Prop Stories

Interview: Rob Kyker - Lilja’s Library, a site dedicated to Stephen King, sits down for an interview with Rob Kyker, the prop master on Mr. Mercedes. Rob was also prop master on shows like Lost and Castle.

Making Your Own Foam Cutting Table – Make Magazine brings us this how-to video explaining how to build a hot wire cutting table for foam. Don’t forget the ventilation!

Kansas City Rep Theatre, Prop & Costume Auction – The Kansas City Rep is losing their storage space and moving to a smaller warehouse, so a large portion of their collection is being sold off. This auction includes items that have been bought throughout their 30 year history, so it is a rare opportunity to acquire many hard-to-find items.

Pocket Screws for Chairmaking? (Yes) – Chris Schwartz shows us how he uses pocket screws as a way to clamp pieces that are otherwise difficult to attach a clamp to. I’ll admit to having done this in the past; pocket screws create a very strong connection.

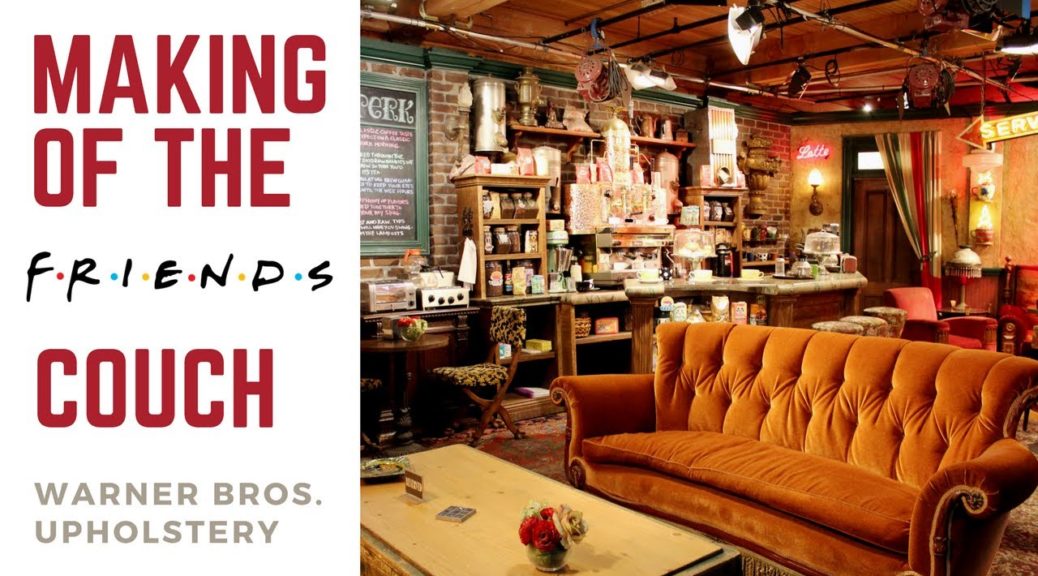
The making of the Central Perk couch on Friends – This video shows the Warner Brothers Upholstery Department building the iconic orange couch from Friends. I think it is a recreation of the original couch, but I still find it fascinating that they build the entire couch from scratch.

Upholstering a Chaise

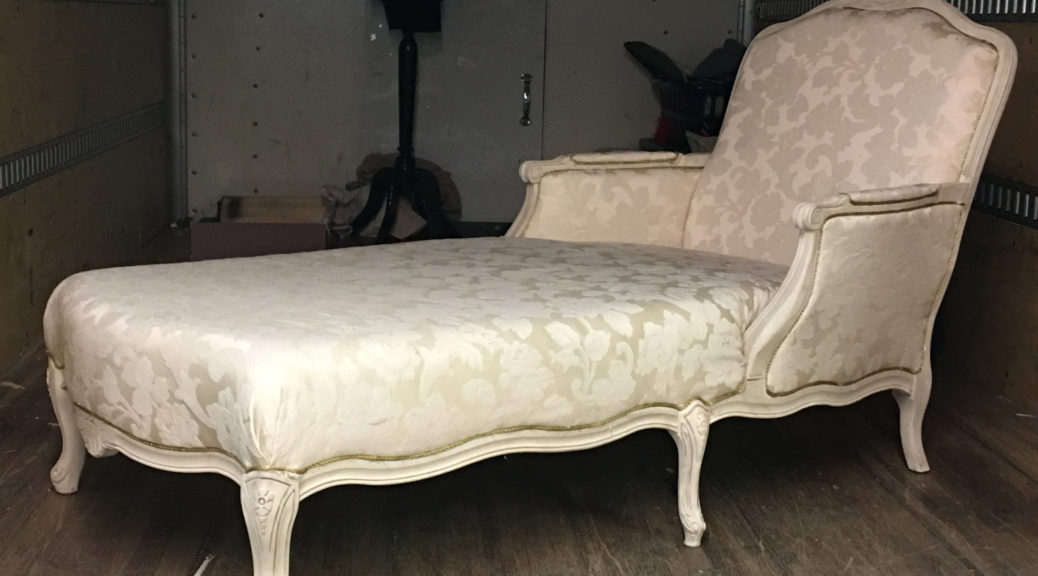
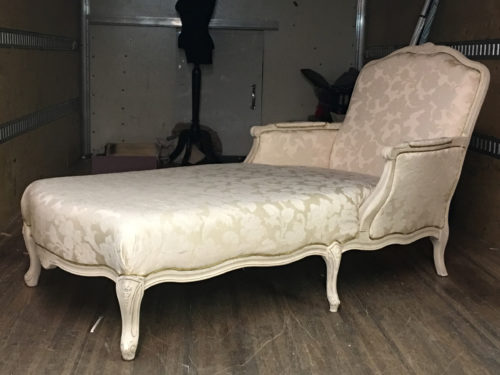
I just finished Buyer and Cellar at Triad Stage. We needed an all-white antique French chaise. I could not find any within our budget, especially since I knew I would need to reupholster anything I found.

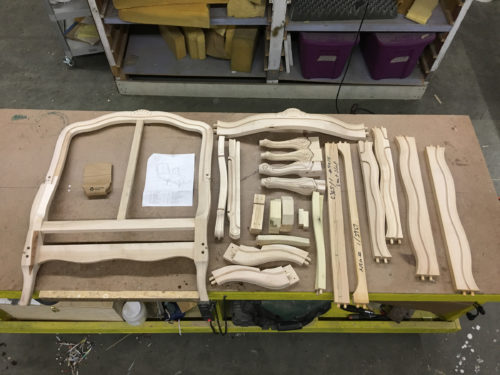
One of the great prop secrets is that you can order furniture frames from companies that sell to professional upholsters. I found a company that made a chaise in the style I needed. You can order a frame unfinished and knocked down, which means it arrives without any paint or stain, and it is completely unassembled. The cost is a fraction of a finished piece (and the shipping is far cheaper, too).

Unboxing the chaise
Unboxing the chaise

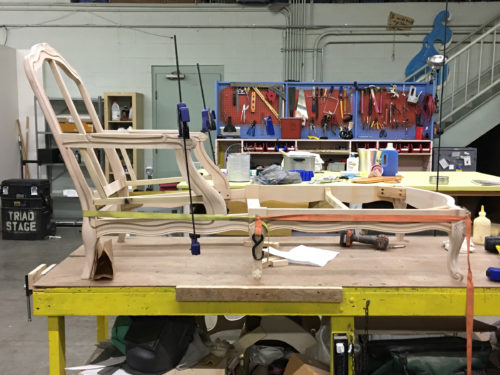
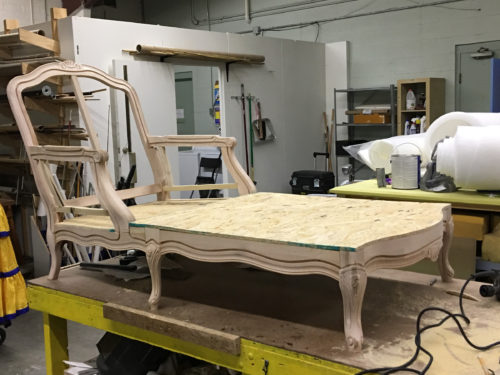
The frame came flatpacked just like a piece of IKEA furniture, only instead of allen keys, it fit together with glue and dowels.

Assembling the frame

Other than a few extra (I hope) pieces, assembling the whole piece was easy to do with the provided instructions.

Adding the seat
Adding the seat

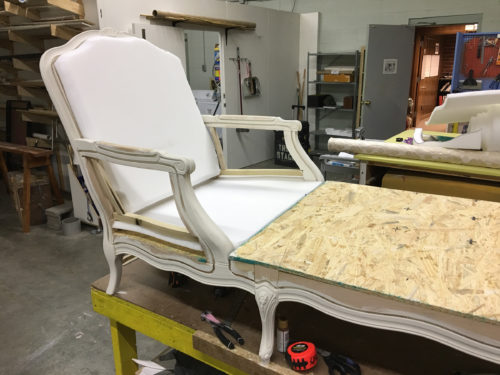
At this point, a real upholster would start adding webbing for the seat. I like to put a flat sheet good across the whole base. It makes it much more rigid, which a lot of actors prefer because they can get out of the chair much more quickly. It also provides support for when the director wants someone to stand on the chair, which will inevitably happen (and did indeed happen on this show).

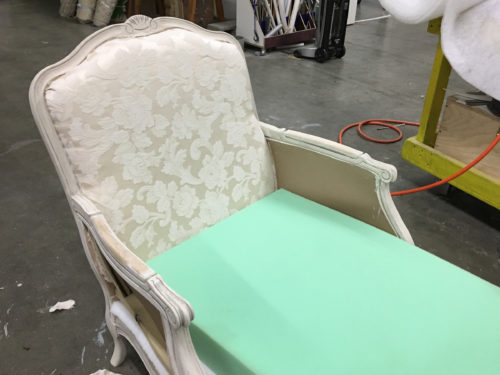
Foam cushions
Foam cushions

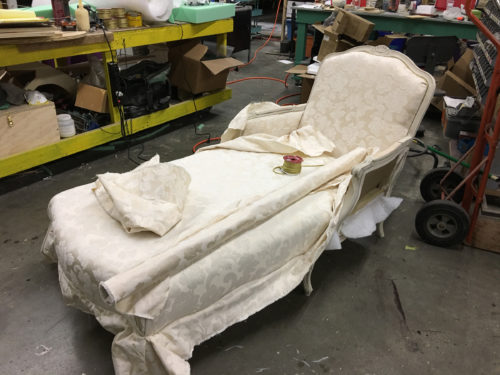
I painted the exposed wood before adding any fabric to avoid a mess. I upholstered the back and inner panels first, because the outer panels would block off where I needed to staple.

Seat cushion and side panels

The chaise has a groove routed along the edge, so I stapled the fabric into that and then trimmed the excess. My thought was that I could stick some 3/16″ decorative cording on top to hide the staples and give it a nice, clean edge.

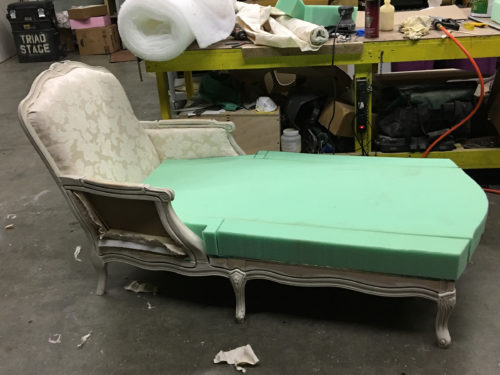
Final seat cushion shape

I covered the side panels in cardstock and put the cushion directly on that. I also tried to cover the back in cardstock, but that didn’t give enough support, so we needed to go back in and reinforce it with some webbing.

The seat is a luxurious piece of four-inch foam made possible by a 70%-off coupon from Jo-Ann Fabric.

Stapling down the fabric

In the picture above, you can see the fabric before it was trimmed. I found an Olfa knife worked really well. We also found some gold cord in the Christmas aisle at the craft store that worked well to finish the edges.

Finished chaise
Finished chaise

The remainder of the upholstering was done by Keri Dumka and Shay Hopkins-Paine, who worked with me on this show. Overall, it was an interesting experience to upholster a piece of furniture totally from scratch. It also gave me some ideas on how to build upholstered furniture in the future.

Sofa from The Price

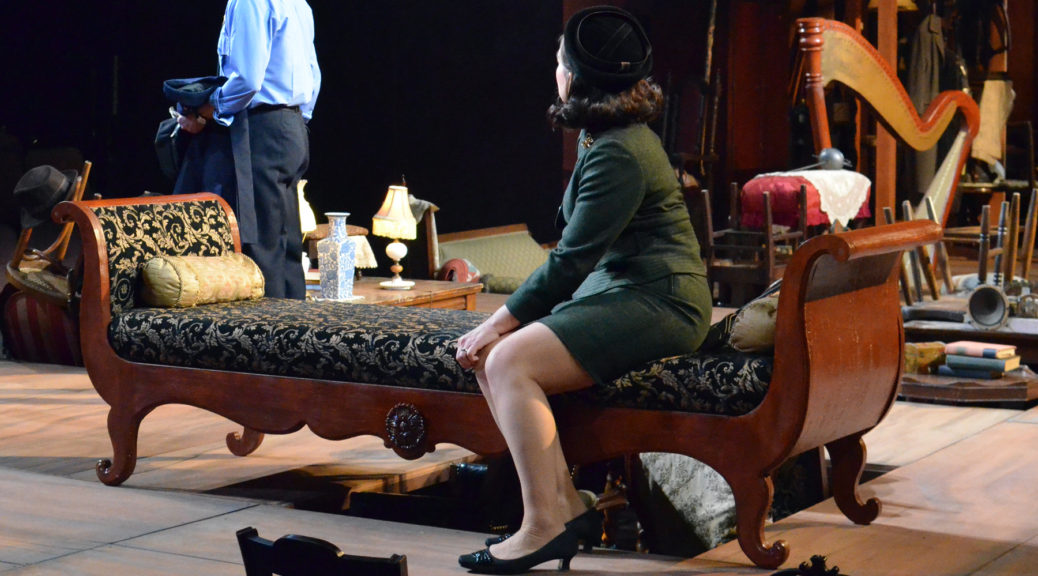
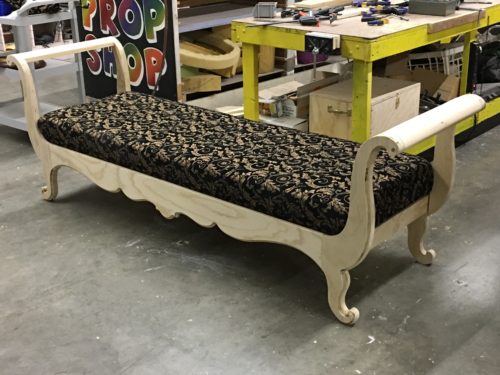
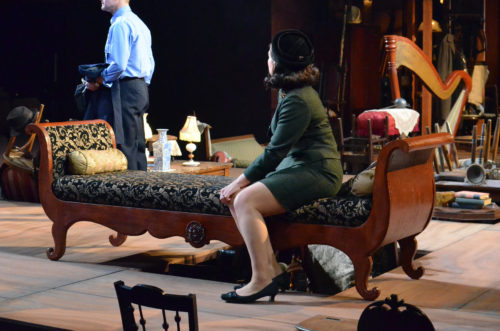
We recently closed Arthur Miller’s The Price at Triad Stage (preceding the Broadway version by a few weeks). With a week before tech, a concern arose that the “Biedermeier-style” sofa blocked too many sightlines. We needed a backless version, and since nothing like that exists in our stock, I had to build one.

Tracing the profile
Tracing the profile

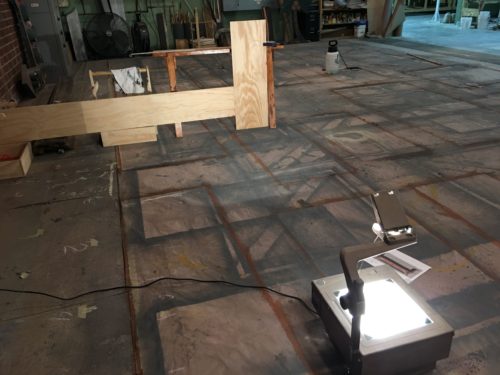
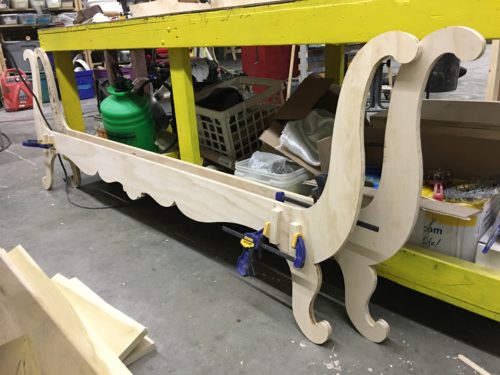
The designer, Fred Kinney, found a research image he liked. The photograph was taken straight on from the front, so I was able to trace it directly onto some plywood with an overhead projector.

Cut outs
Cut outs

I made each front and back piece out of three pieces of plywood and doweled them together. I have some temporary blocks attached in the photograph above to help clamp them. They will also be held together in the back by the cushion frame.

Building the base
Building the base

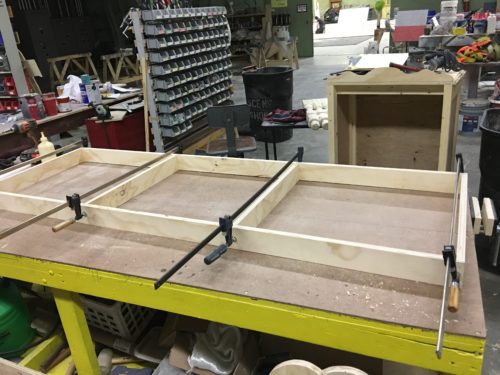
The base for the cushion was just a simple platform frame.

Cushion
Cushion

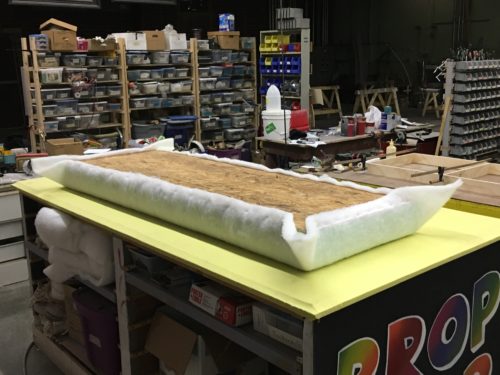
The cushion for the couch was a separate piece made of high density foam on top of a sheet of oriented strand board (OSB). The whole thing can be removed from the couch at any time. The plywood from the home improvement stores is so prone to warping; I’ve switched to OSB for my upholstered pieces because it is one of the flattest sheet goods you can buy there. It is really cheap too, though it does add a bit of weight and you have to build a good frame underneath it.

Armrest
Armrest

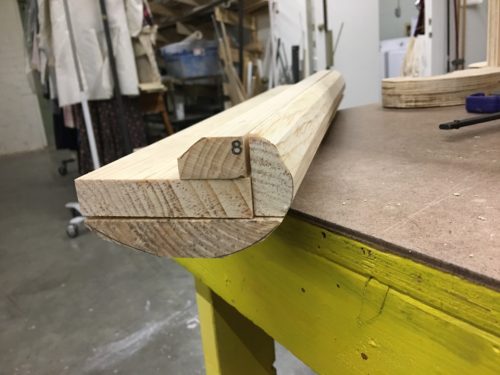
The armrests needed to be long pieces of solid wood shaped into a rolling curve. I traced the curve onto several smaller pieces of lumber, and cut away most of the waste with several passes through the table saw. After gluing the pieces together, I smoothed all the angles into curves using a belt sander.

Unpainted piece
Unpainted piece

I routed the edges of the front and back to give them a decorative profile. The armrests were screwed in, but I also ran a large through-dowel to help support them since actors were going to be resting there. I also doubled up the plywood on the legs and arms to make them appear thicker and to give more structure.

Backless couch from The Price

The inside panels of the arms were covered in fabric, while the outside panels were capped with a piece of wiggle wood. The whole thing was painted and covered in amber shellac. I found two rosettes in stock and added them to the center for that final decorative touch.