Tag Archives: fabric

Tufting, Tacking, and Trim

Remember all those times you’ve had a big upholstery project coming up for a show and you just didn’t know quite where to start? We’ve definitely all been there a time or two.

Well we have some great news for you! Because this month S*P*A*M Member Jessica Rosenlieb will join our S*P*A*Minar team to share some great tips and tricks for theatrical upholstery. We’ll take a look at tools of the trade, materials, resources, and the process to tackle your big upholstery projects. This webinar will cover upholstery basics as well as a few advanced techniques will give us some ways to save time and money.

When: Sunday, August 15th at 8pm EST

Where: From the comfort of your home!

REGISTER here: https://bit.ly/TuftingREG

We are once again requesting pay-what-you-can donations to support this S*P*A*Minar programming. All money collected will be used to offset webinar operation costs with additional funds going to our annual grant program for early career prop people. Suggested donation amount is $3.

Donations can be made via PayPal Money Pool here: https://bit.ly/SPAMinarMoneyPool

Registration will remain open until 6pm EST on August 15th and a link to the Zoom S*P*A*Minar session will be sent out to all registered attendees 1 hour before the start of the webinar.

All S*P*A*Minars will be recorded, and the video will be shared to the S*P*A*M YouTube channel the week following the event.

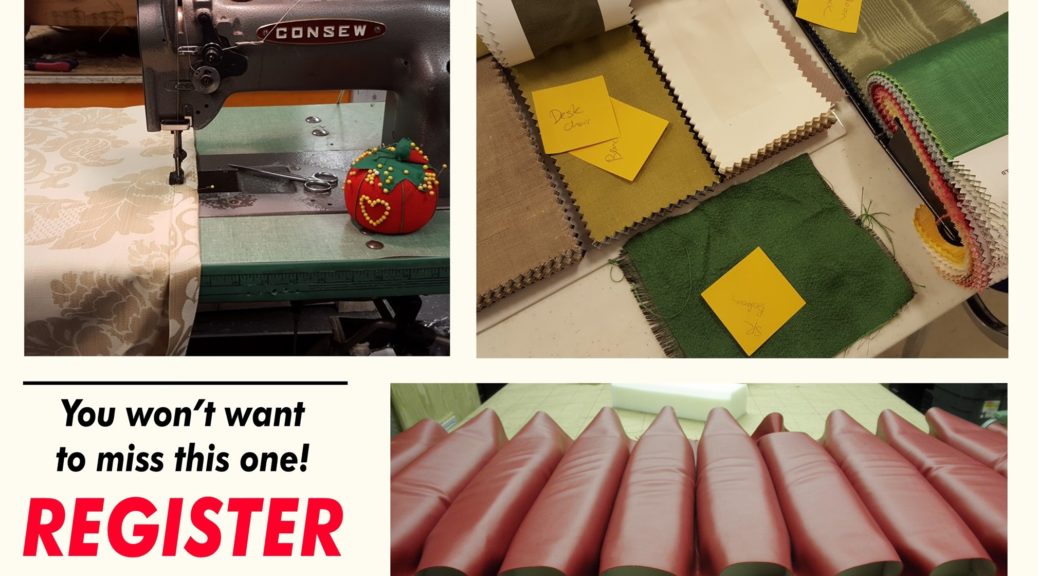
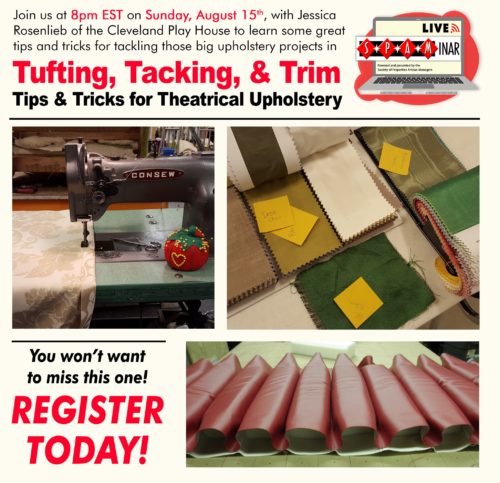
Flyer with the same information as in the post

First Links of March

For the Game of Thrones fans out there, here is a video with weapons master Tommy Dunne detailing the Dornish weaponry he created for season five. Also, if you’re really into the show, that video came from “Making Game of Thrones“, the official behind-the-scenes site for everything about the show.

Jay Duckworth has another cool fire effect in this month’s issue of Stage Directions. He creates a glowing bed of coals using… glass?

NPR had a cool radio story a few weeks ago on Melissa McSorley, a food stylist for Hollywood films. She’s done everything from making 800 Cubanos for Chef, to a foot-tall mound of caviar, to a cake that looks like Al Pacino.

Just down the road from me, Playmakers Rep is doing Enemy of the People.  The costume shop needed to age one of their suits, but they didn’t want to ruin it for future use. So they turned to Schmere, which makes a line of products that stain and distress fabrics, but disappear when you wash or dry clean them. I bet you can find uses for this for soft goods and fabric props, or you can just tell your costume shop manager for some brownie points.

No-Sew Pillow Video

I often neglect the fabric side of props on this blog, simply because it’s more challenging for me and I avoid fabric projects as much as possible. Of course, we props people need to develop all our skills, not just the ones we are interested in. So I’m sharing this video I found of a fabric project that even I can pull off: a no sew pillow. With just an iron, hem tape, an iron and a thrift store pillow, your set can have pillows that fit the design of whatever show you are doing.

Good Friday Links

David Neat starts us off with making smooth shapes from Styrofoam. He’s dealing with the real-deal Styrofoam here, not that white bead foam stuff. And sure, this article is over a year old, but it has some really useful techniques.

Bill Doran has a helpful video on adding rust to your props. Ninety percent of the time when I show a completed prop to a designer, they say, “that’s great… once we age it down a bit.” Knowing how to weather, age, distress or generally tone down props is an essential skill for a props person, and adding rust is one of the ways to do this.

Make Magazine takes a look at some Maker-Friendly hardware stores from around the US. It’s a fascinating look at the vast array of materials a store might choose to stock, as well as a sobering reminder of how awesome hardware stores used to be to those of us whose only local options are Lowes and Home Depot.

I covered some basic stitching for fabric in my Prop Building Guidebook, but if you get into embroidery and ornamental stitching, there is a whole other world of ways to manipulate needle and thread. Tipnut has some great vintage illustrations of ornamental borders and the basic stitches to make them happen.  It’s a relaxing project for when you are bored in tech and the designer wants the napkins to be “fancier”.

Finally, here is an article called “The Most Important Lessons in Woodworking“. Robert Lang uses his experience cutting plugs as a lesson in woodworking in general, and I think this lesson can be expanded out to prop making in general. It’s not just about how to use specific tools or techniques, but how to approach your whole project in the most efficient and easiest manner possible.


Button-Tufted Settee

Triad Stage’s production of Wait Until Dark was set in a hip and modern New York City apartment circa 1963. The kind of furniture it required was not easily found in your typical antique store, nor was it cheap to come by. One key piece we needed was a sleek upholstered settee; with the stage in a thrust configuration, it needed to be low-profile as well. A settee like this easily cost as much as my entire props budget, so I had to build it from scratch.

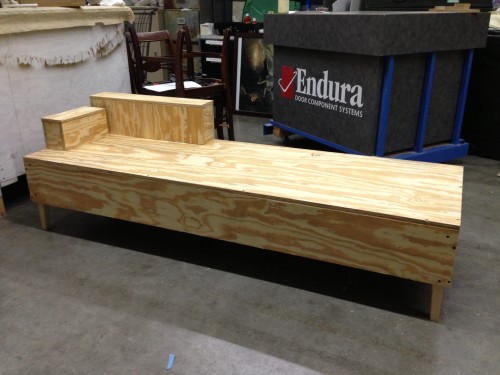
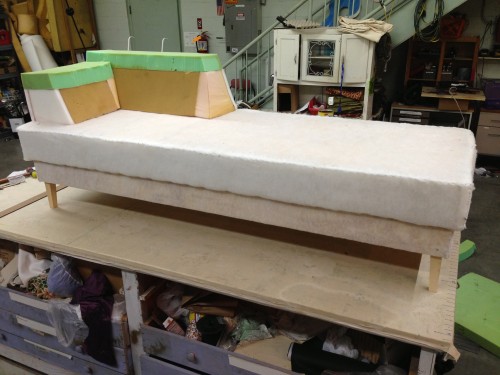
Settee structure
Settee structure

I started off by building the basic shape out of plywood, with wooden tapered legs. A lot of the challenge here was thinking forward to how I would upholster and attach all the parts. It’s easy to work yourself into a corner if you don’t plan ahead; you may end up covering a bolt with a piece of fabric, but you cannot attach the bolt until the fabric is on. It can be quite the brain-twister.

Padding and batting
Padding and batting

I then began covering the plywood with upholstery foam, followed by batting. The cushioning was a lot more stiff than what you may typically find in a settee, since actors tend to sink into soft cushioning, making it harder to stand up quickly. I find myself reinforcing and stiffening a lot of upholstered furniture for this reason, so I just built this settee to be somewhat stiff from the get-go.

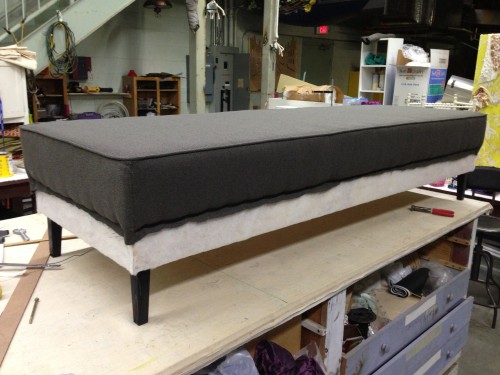
Fabric and piping
Fabric and piping

I was lucky to have the costume shop pitch in and help me with the fabric parts. Once I found a fabric the designer approved of, my intern cut all the pieces, and the costume shop made all the piping and stitched the pieces together. All I had to do was staple it on.

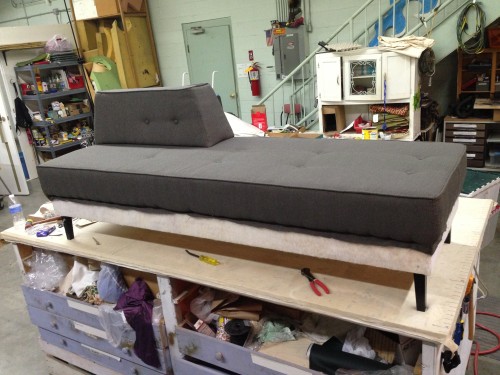
Button tufting
Button tufting

This particular settee had some buttons, so I got to try button tufting for the first time. It only had nine buttons laid out in a simple grid, so it was relatively easy to figure out. The cushions on top were attached by bolting through the settee into the plywood below. Again, that was only possible by planning it all out ahead.

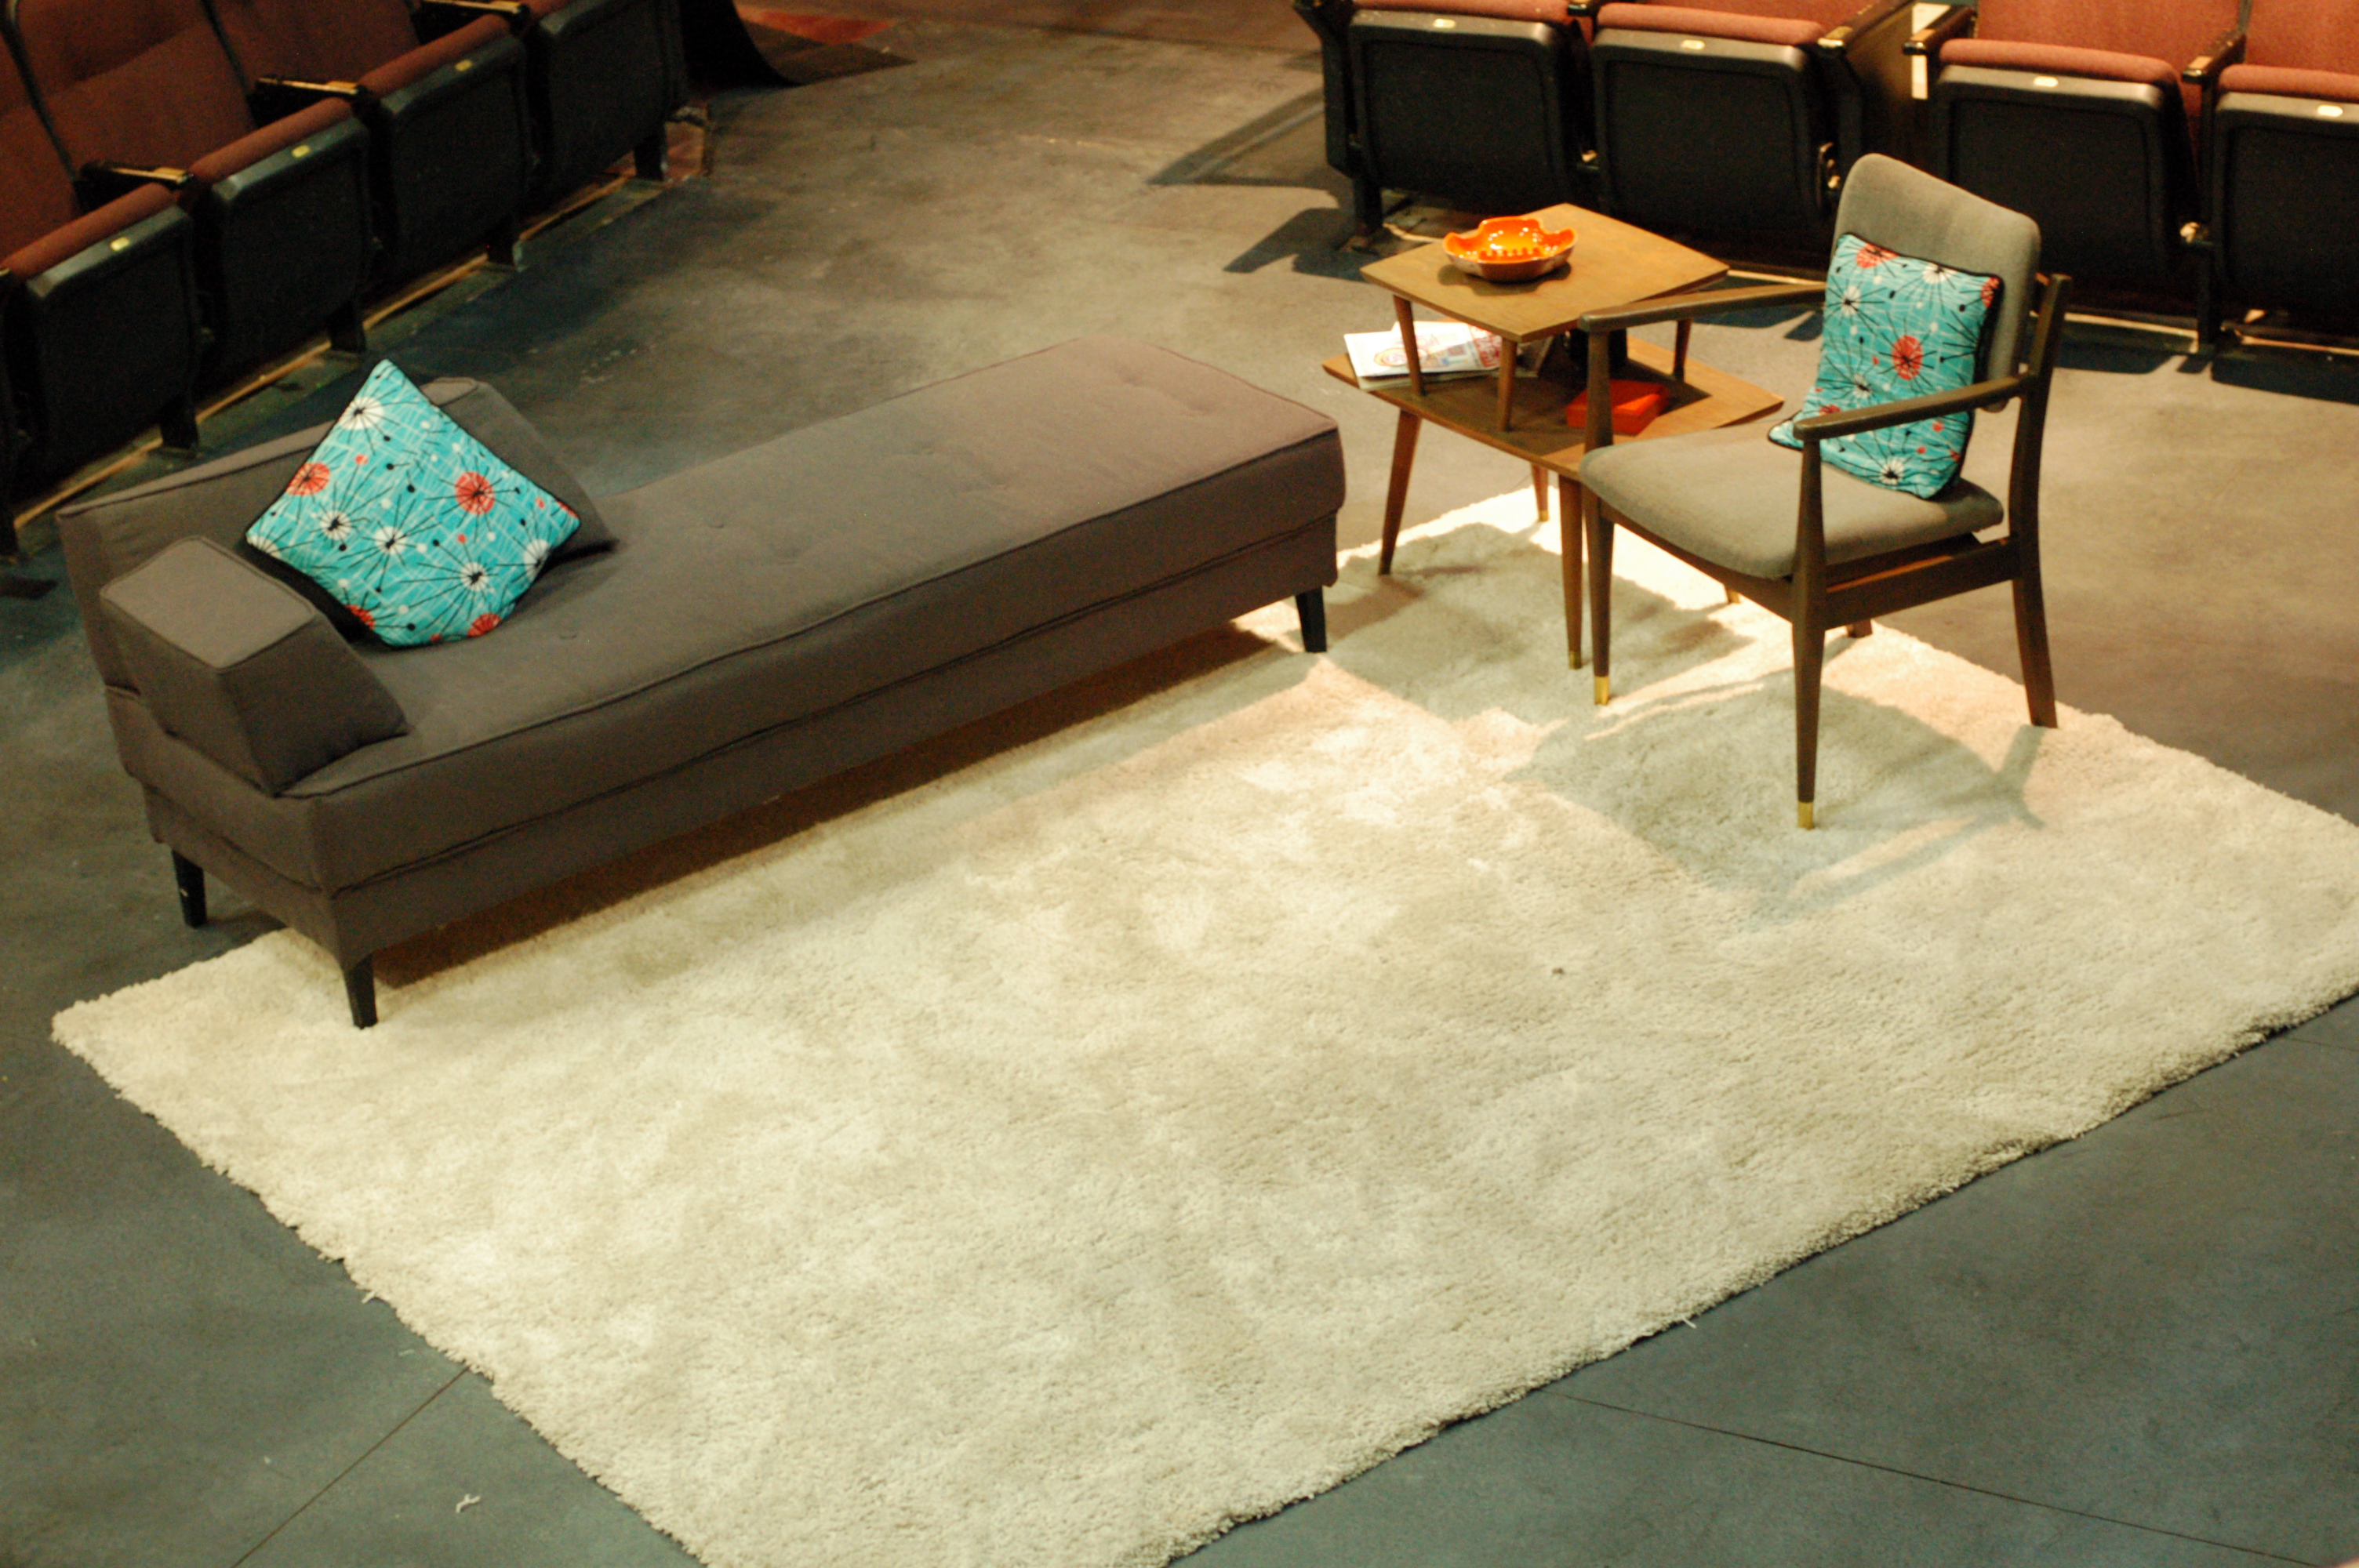
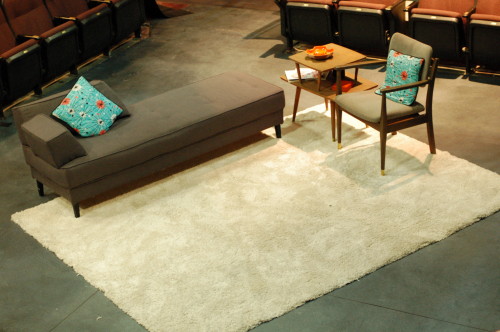
Settee on stage
Settee on stage

So there is the final piece with all the fabric attached. It was very much a group project, with the other people at Triad chipping in, as well as my wife giving me a crash-course in upholstery as I built this. The result was a piece of furniture that helped give the set the right touch.