
I’m making a bit of barbed wire for our upcoming production of All’s Well That Ends Well at Triad Stage. The base of the barbed wire is a two-strand metal wire. I’m  making my own by twisting a single strand of wire, and decided to share a quick video of how I am doing that:
All posts by Eric Hart
Friday Fun Time
Chicago PD prop master Jim Zemansky talks props in this video, particularly the use of replica guns and blank-firing weapons. If you pay attention, you will see one crew member using what looks like a paintball gun off-camera during gun battle scenes; it appears he is shooting it to simulate bullets hitting around the actors. I found that interesting.
I’ve been following this build of a life-size ED-209 from Robocop for the past couple months, and it is finally finished. Here are all the parts in Make Magazine’s series which followed Shawn Thorsson as he built this massive robotic replica. Also check out Tested’s short video which looks at the final piece when it debuted at Maker Faire.
Princeton Magazine talks with TD Chris Nelson and prop master Michele Sammarco of McCarter Theatre about a recent production designed by Eugene Lee. There are some great little tidbits in this piece, such as Michele’s quote that “actors don’t like squishy chairs”.
Not all screws are the same. Popular Woodworking Magazine tests several types of screws on the market to show how they act when driven into hardwood. Personally, I know drywall screws should only be used for drywall, but I still use them. I’m usually working with cheap materials anyway; if I am doing fine furniture out of hardwood, I don’t use screws at all (brad nails all the way).
Fake Tree Branches
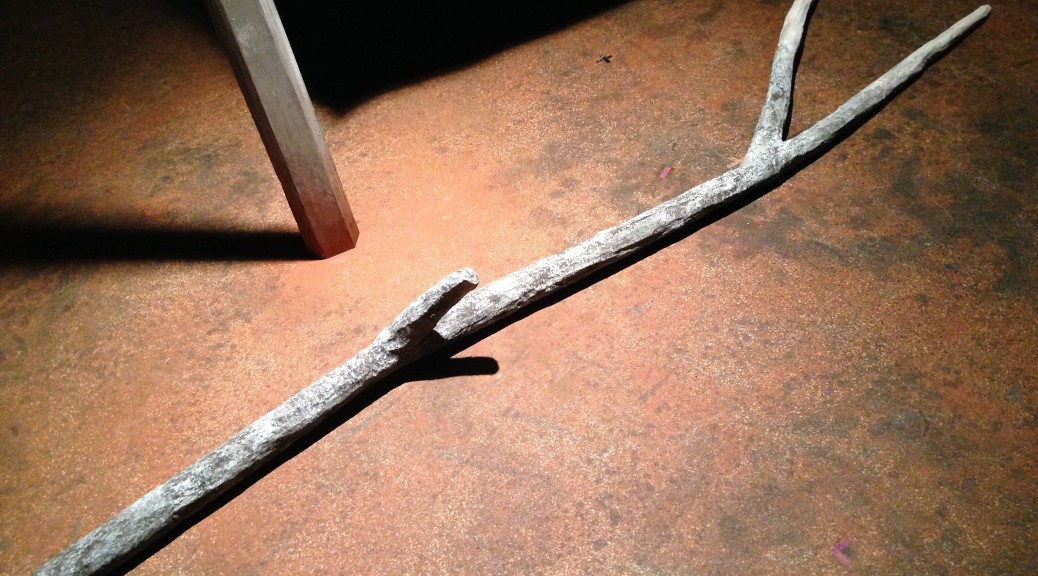
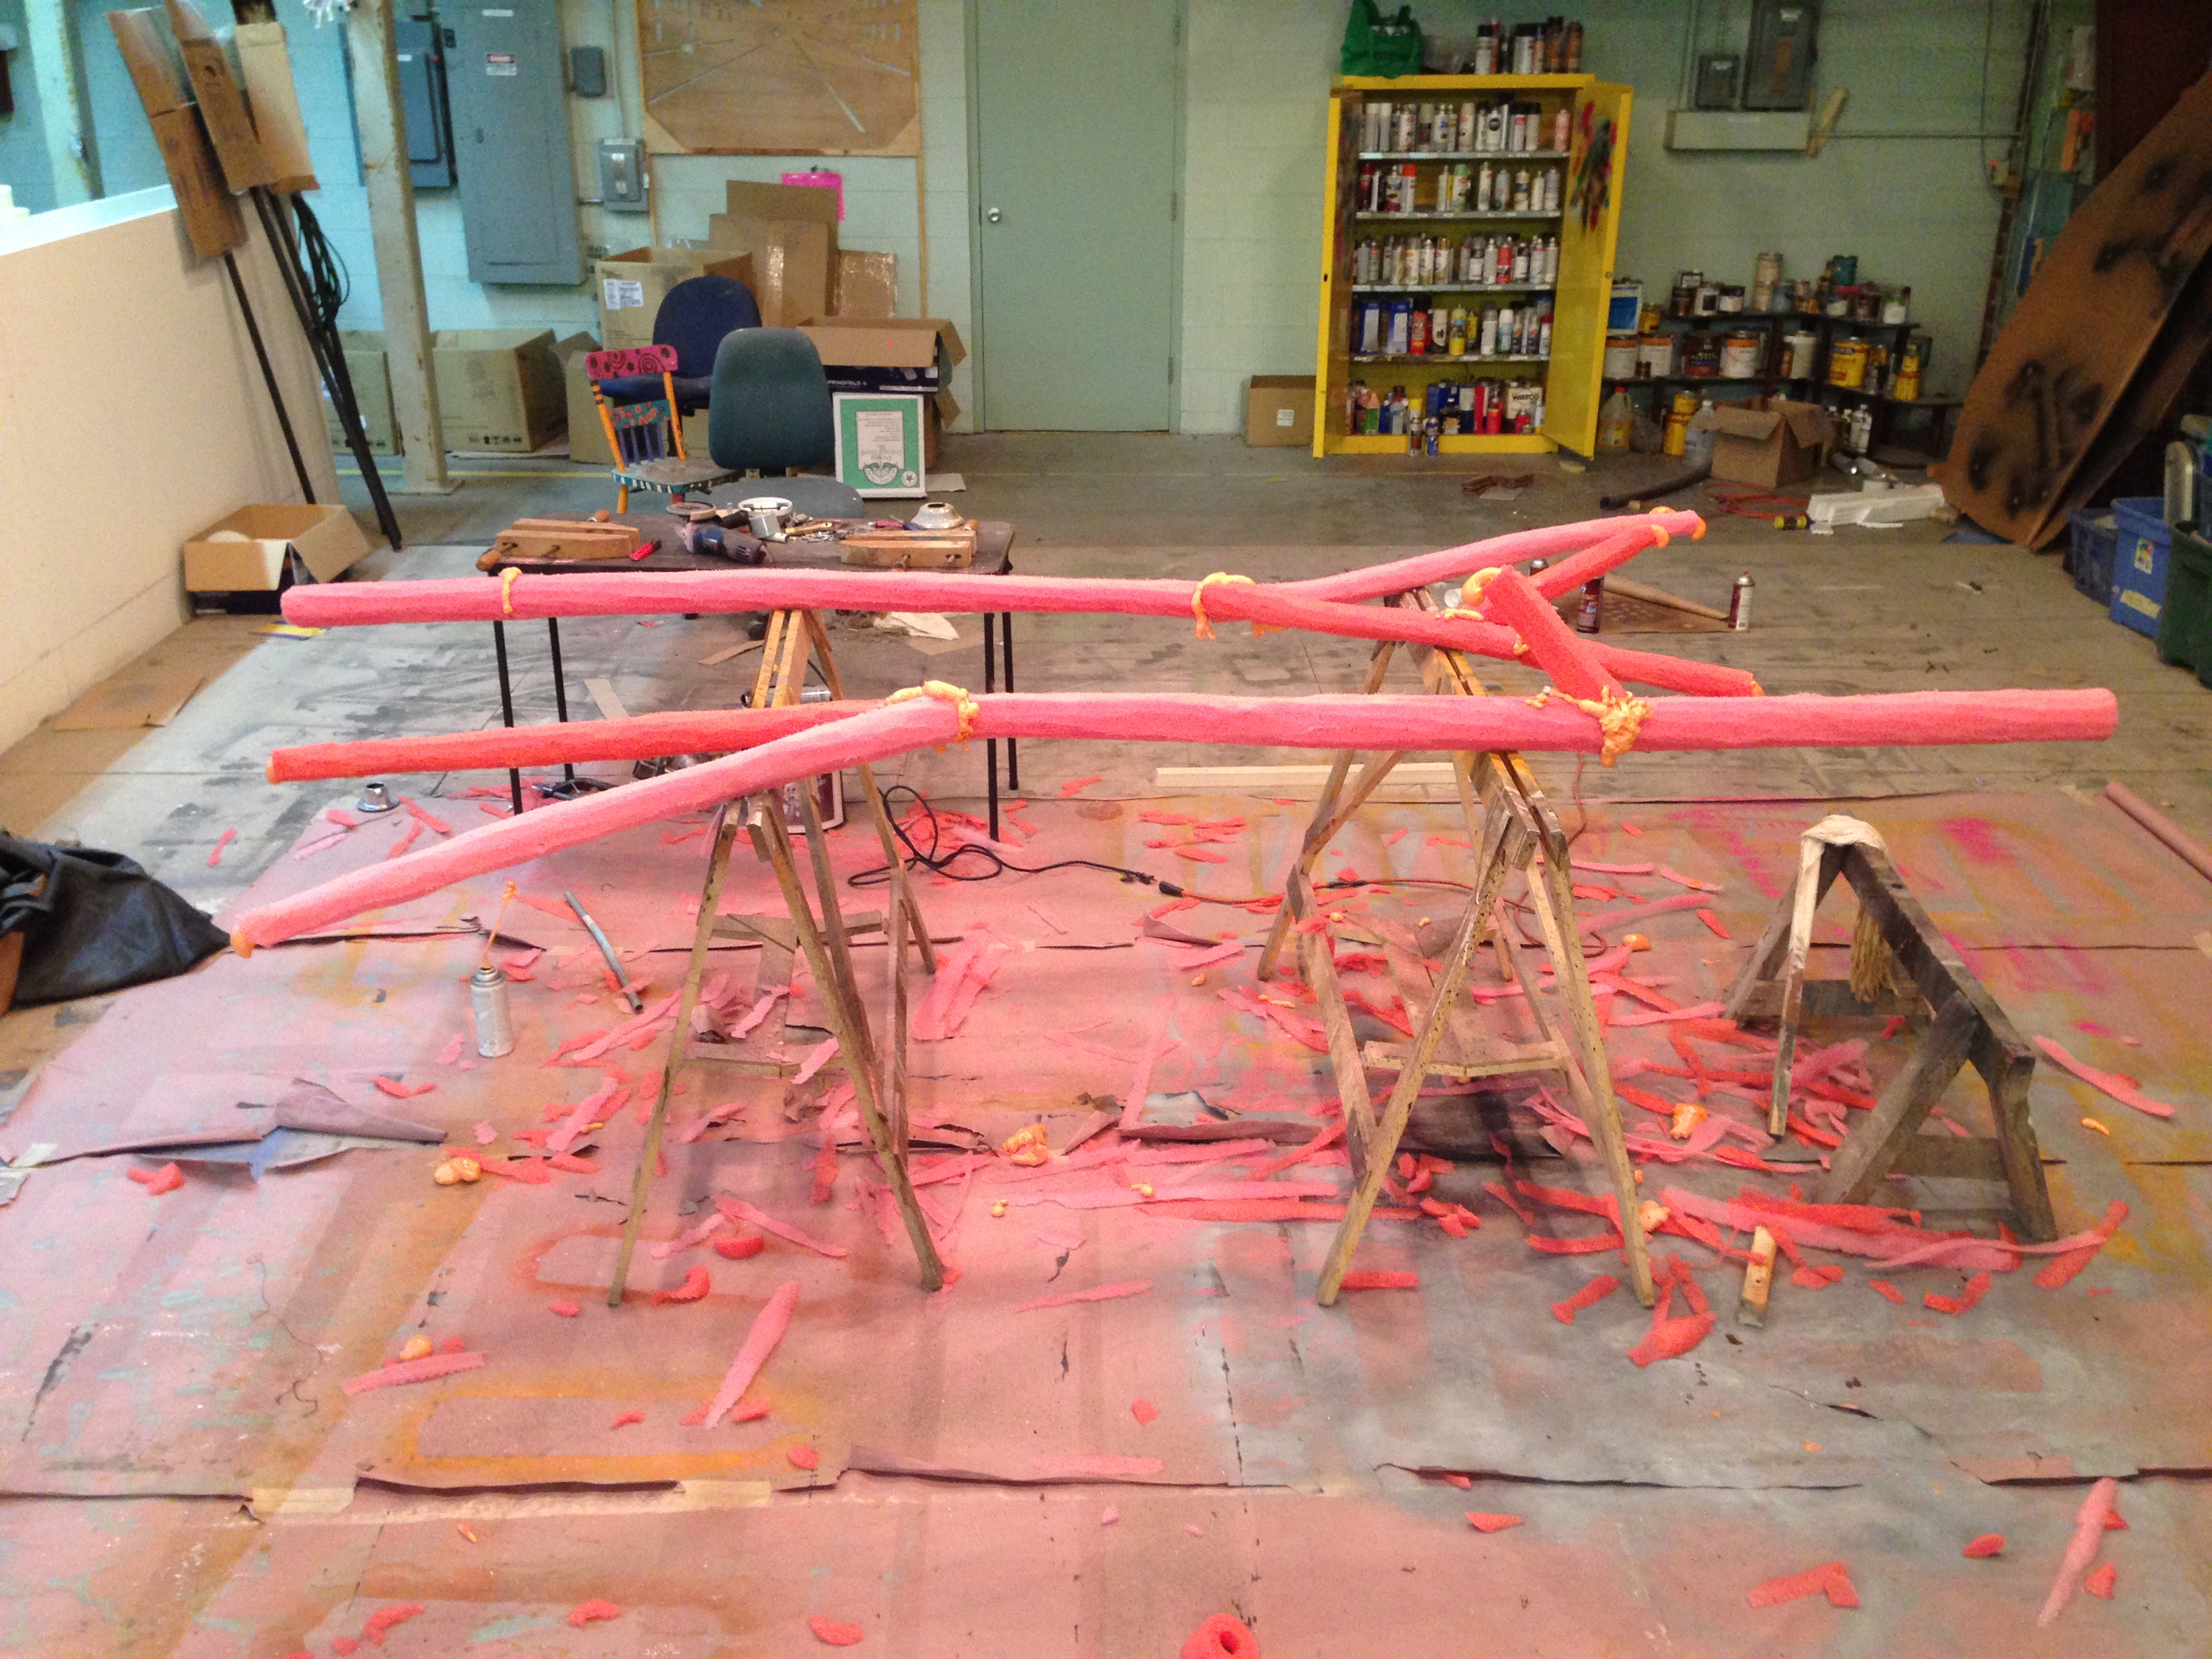
We have a production of Brother Wolf currently running out in Winston-Salem. One of the props they needed were some tree branches which they were doing some choreography with. So they needed to be light-weight and safe around the actors. We decided to go with pool noodles over an aluminum pole, coated in cheesecloth and glue. I sent a photo of the following sample over to Howard Jones, the scenic designer, and got approval.
The two full-size branches were made by the assistant props master, Lisa Bledsoe (I merely took the pictures). She started by bending the poles to match what was drawn, and adding a few extra branches. They were bolted on since we do not have an aluminum welder at the shop.
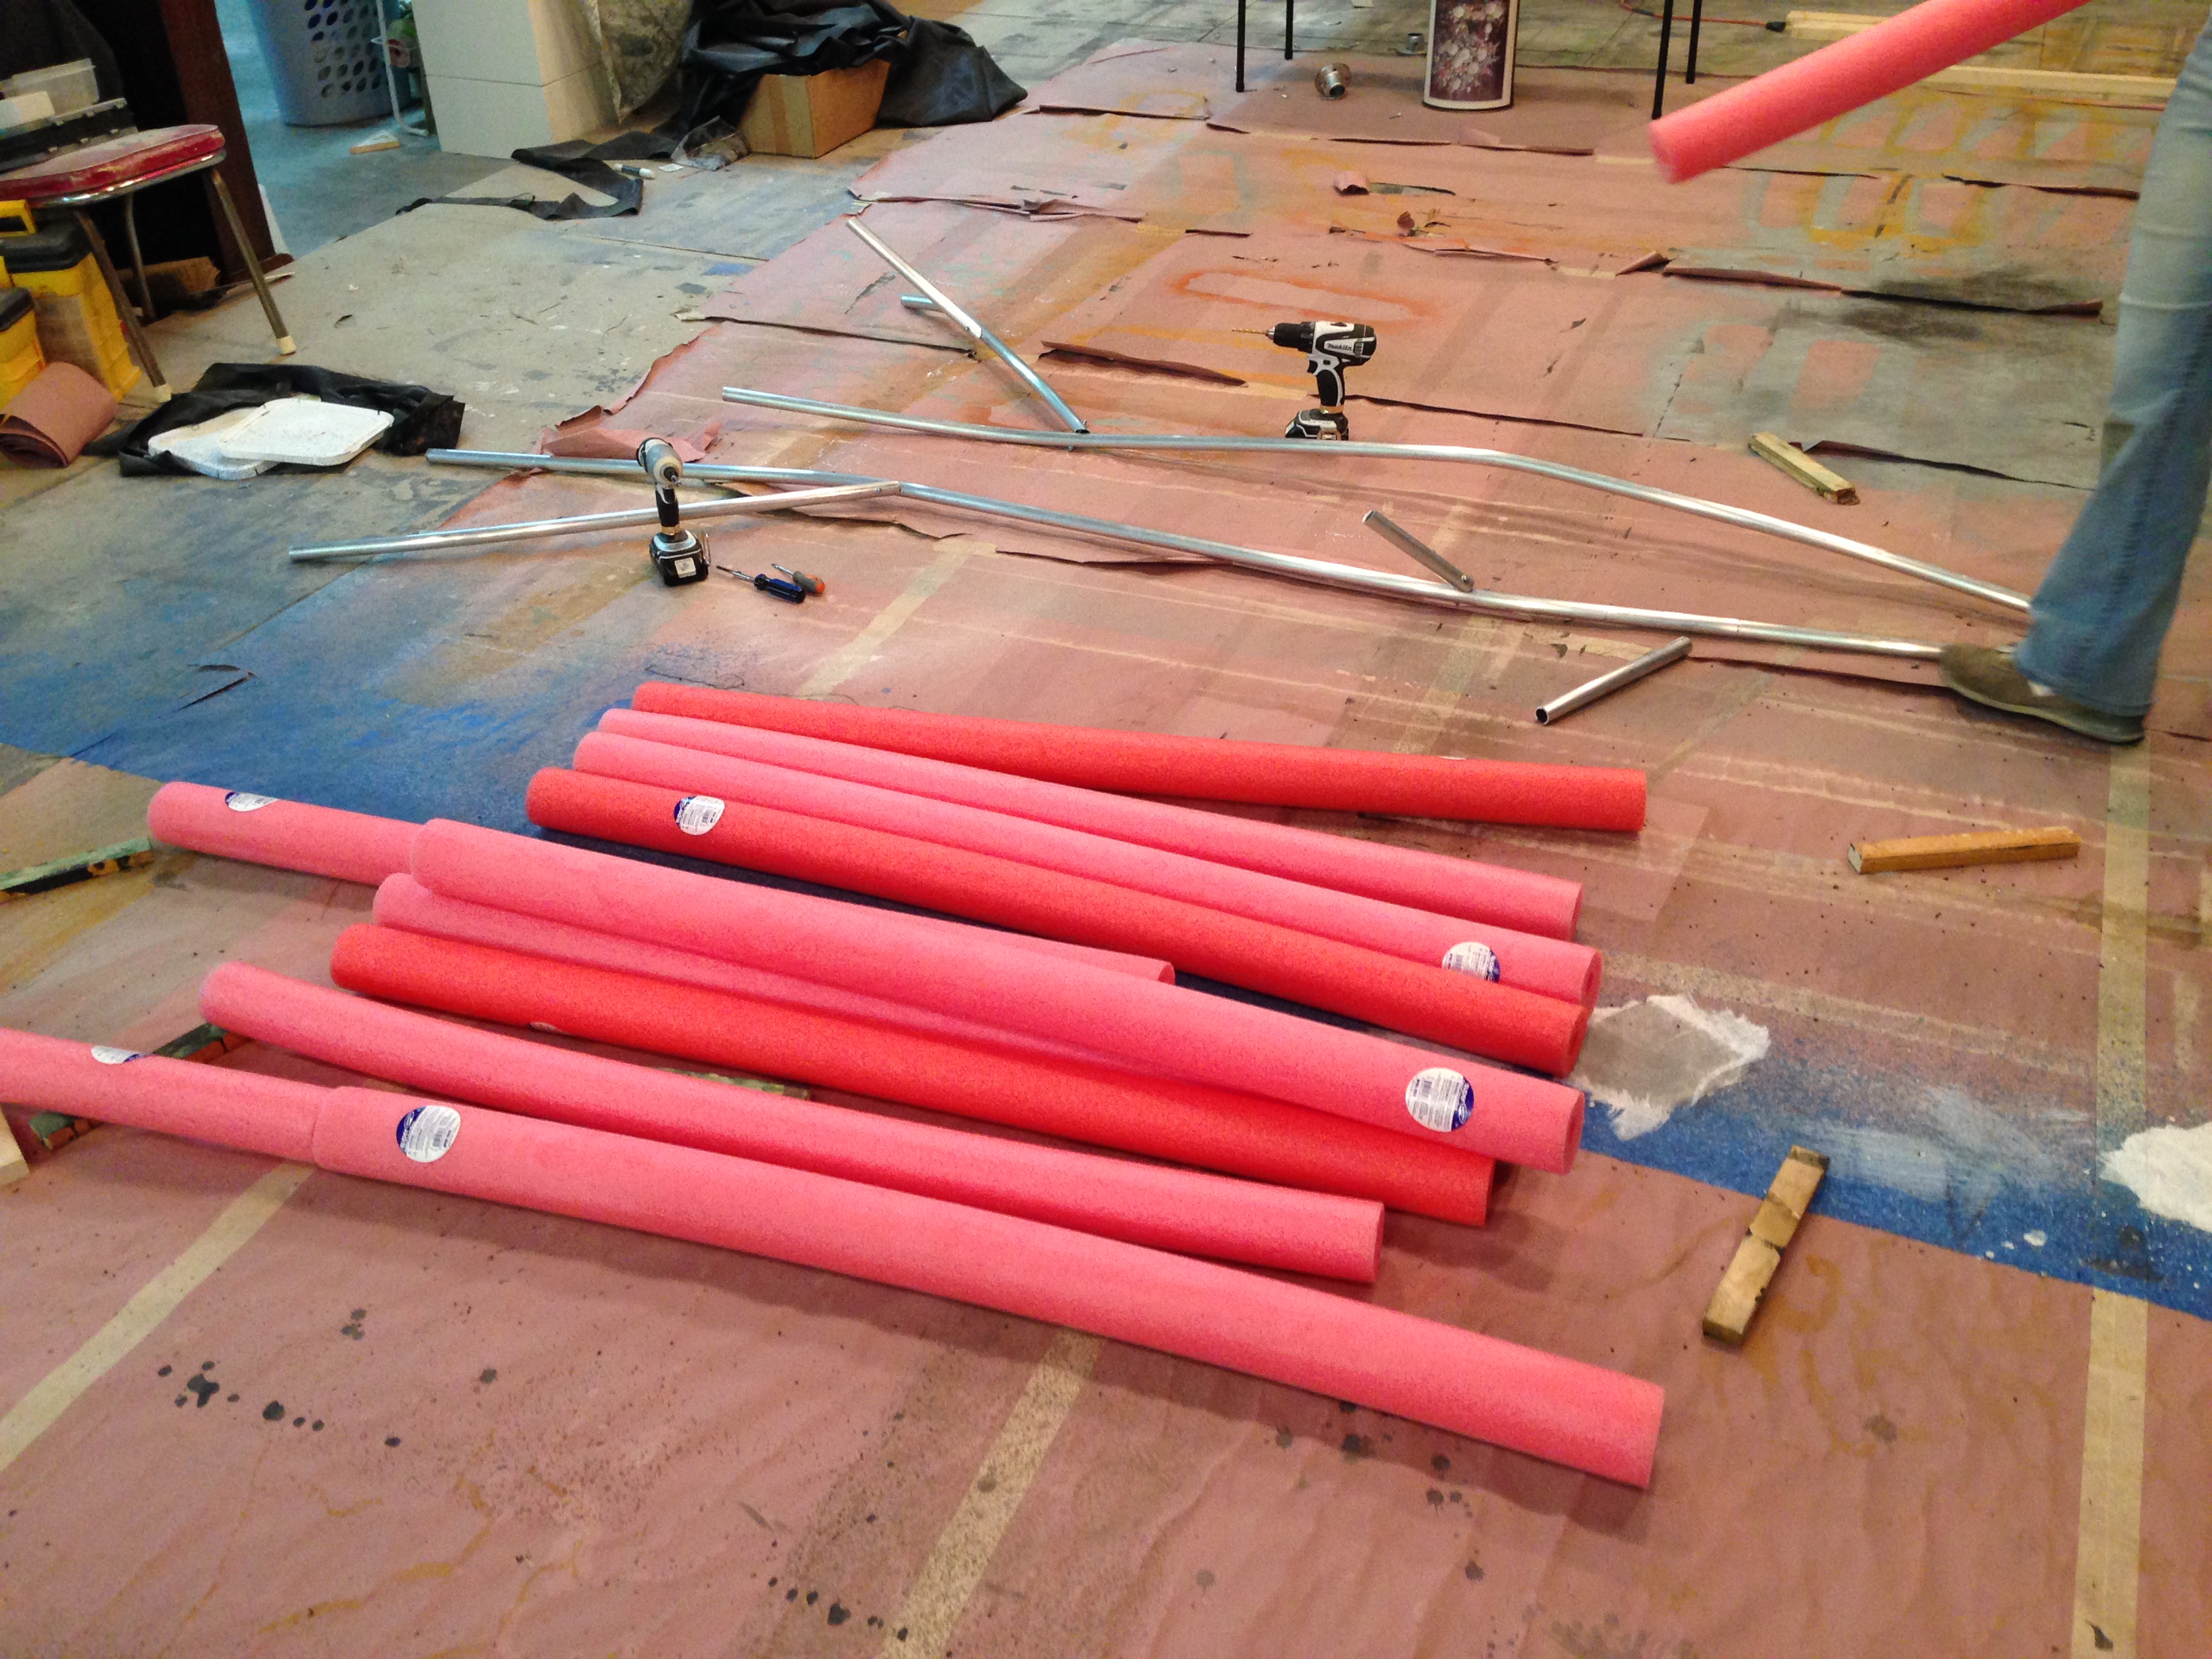
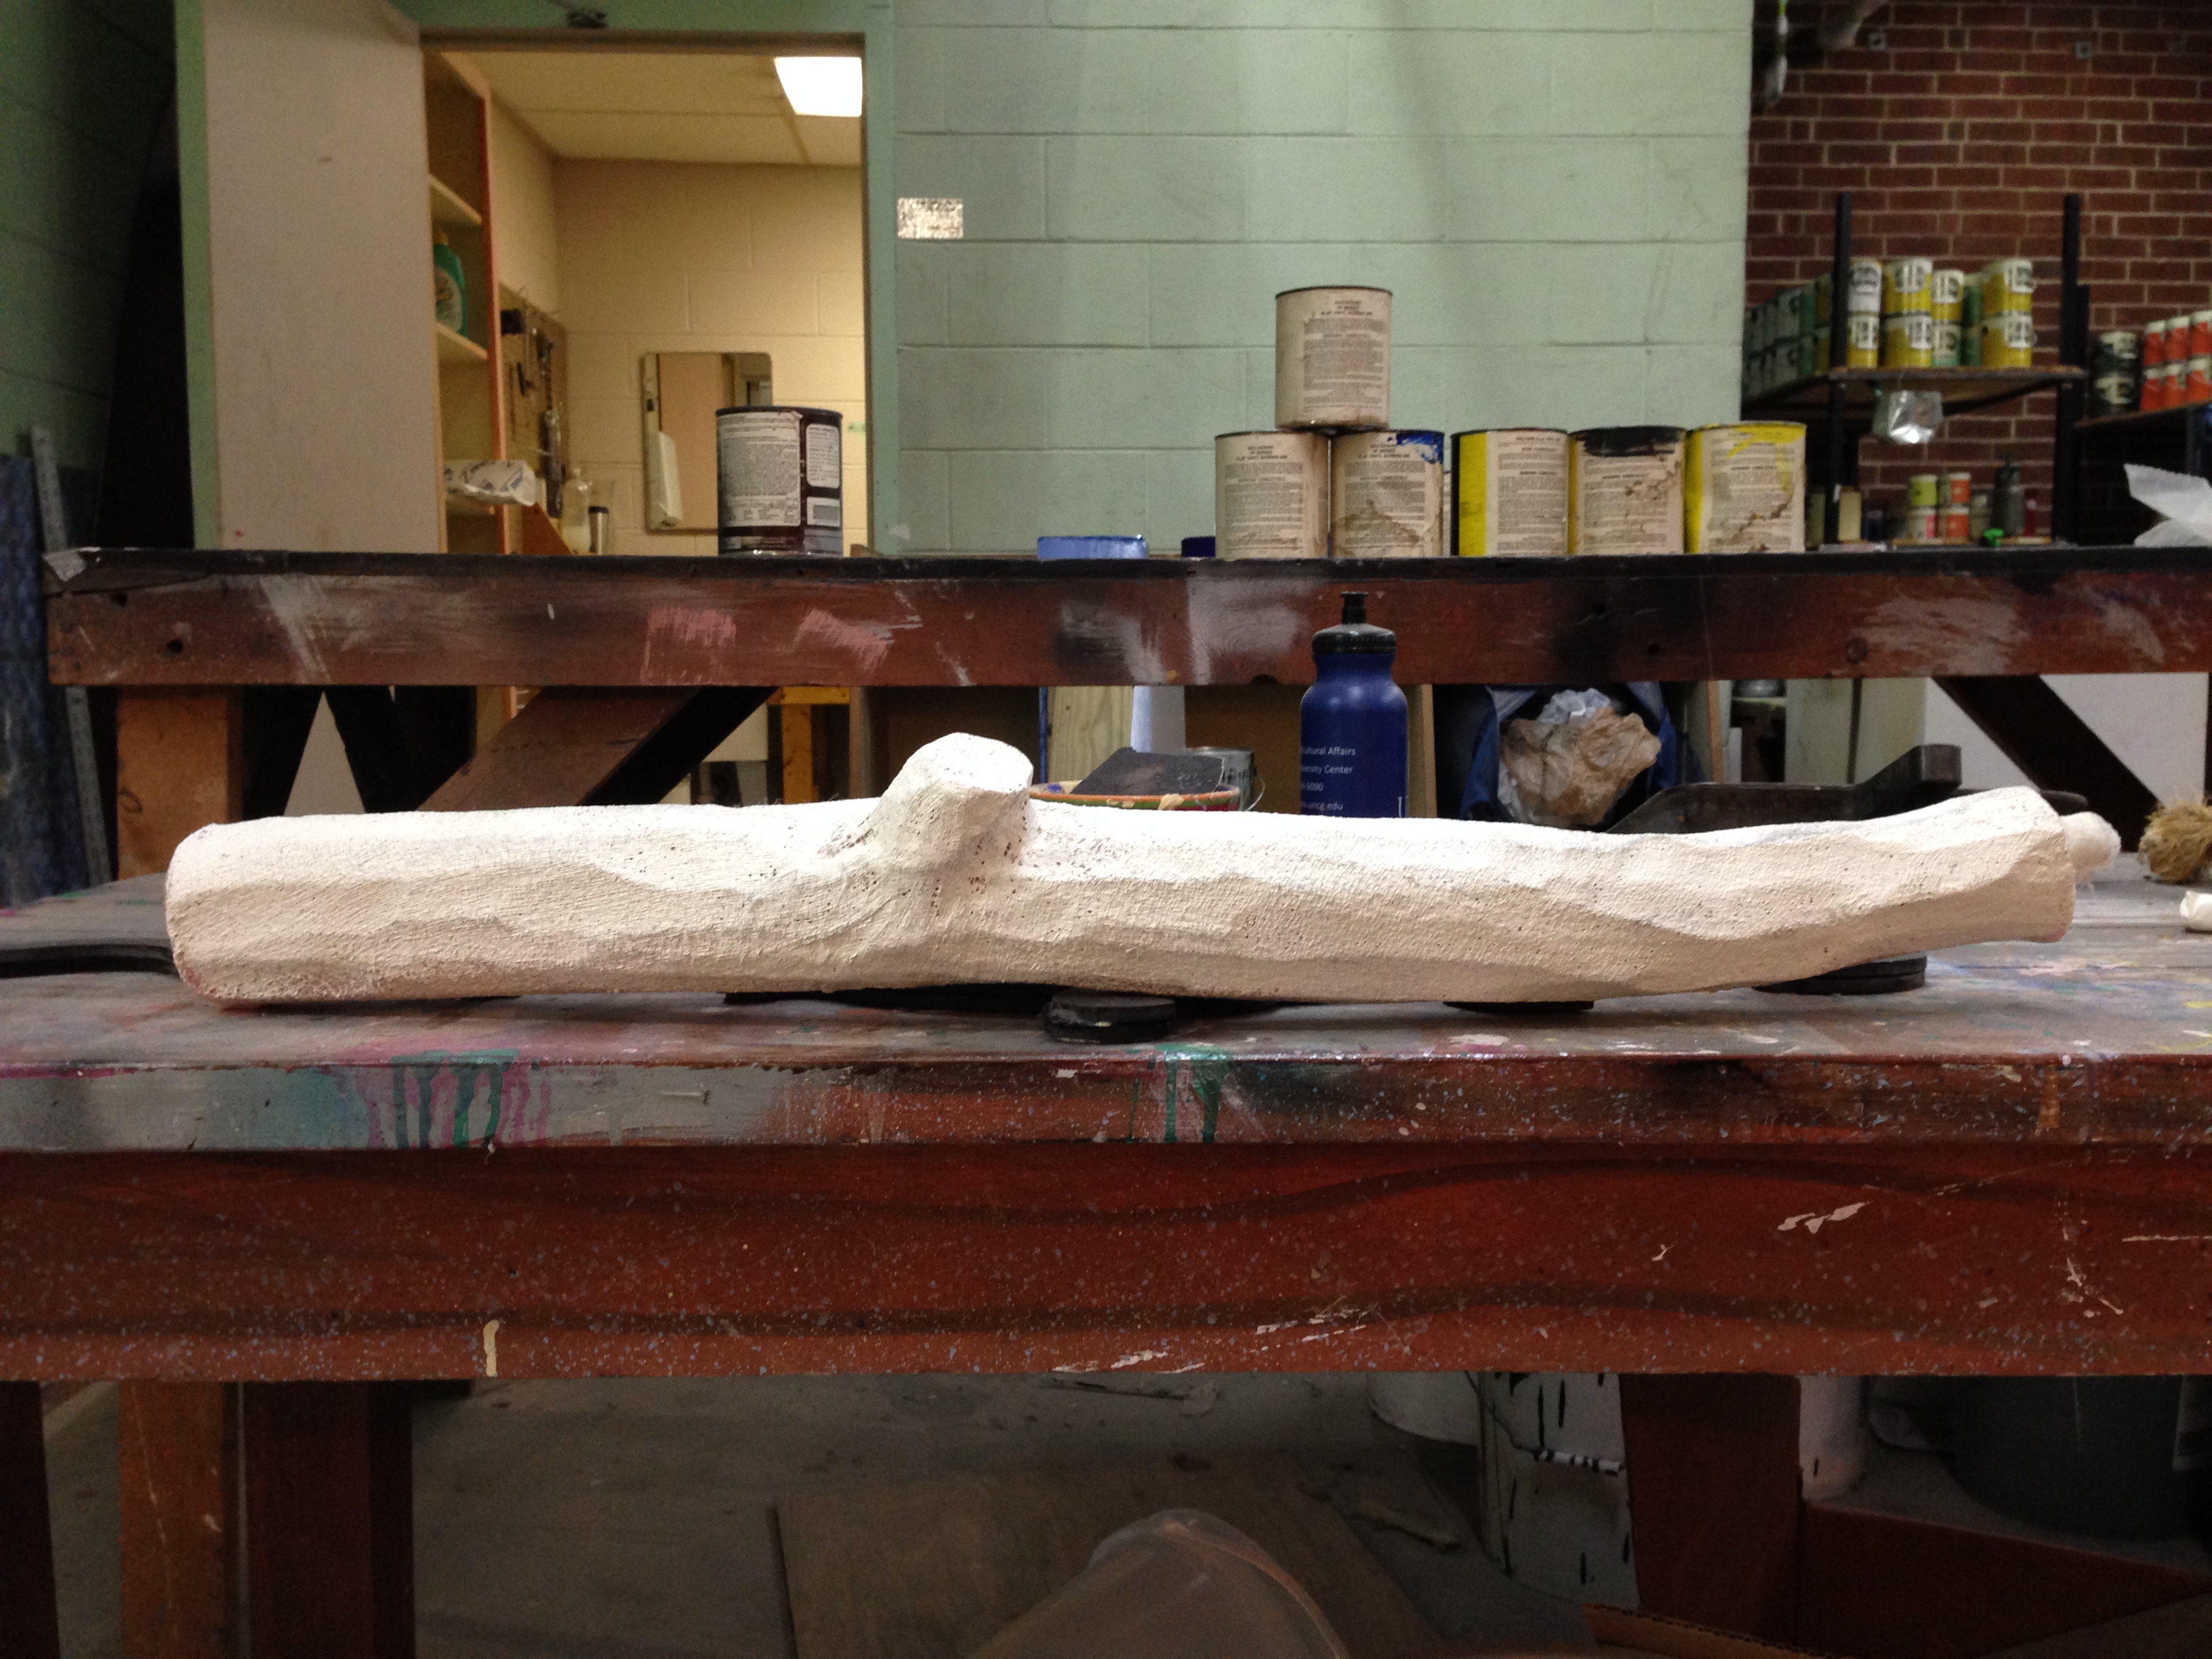
She adhered the separate pieces of pool noodle together with spray foam, which also filled the gaps. Once it had cured, she set to shaping the foam using a mix of knives and an angle grinder with an abrasive flap wheel.
Once the branches were properly shaped, she painted on the cheesecloth with a 50/50 mix of Elmer’s Glue and water. I should mention that the branches got a quick coat of grey primer, since the cheesecloth is fairly translucent, and we did not want pink trees.
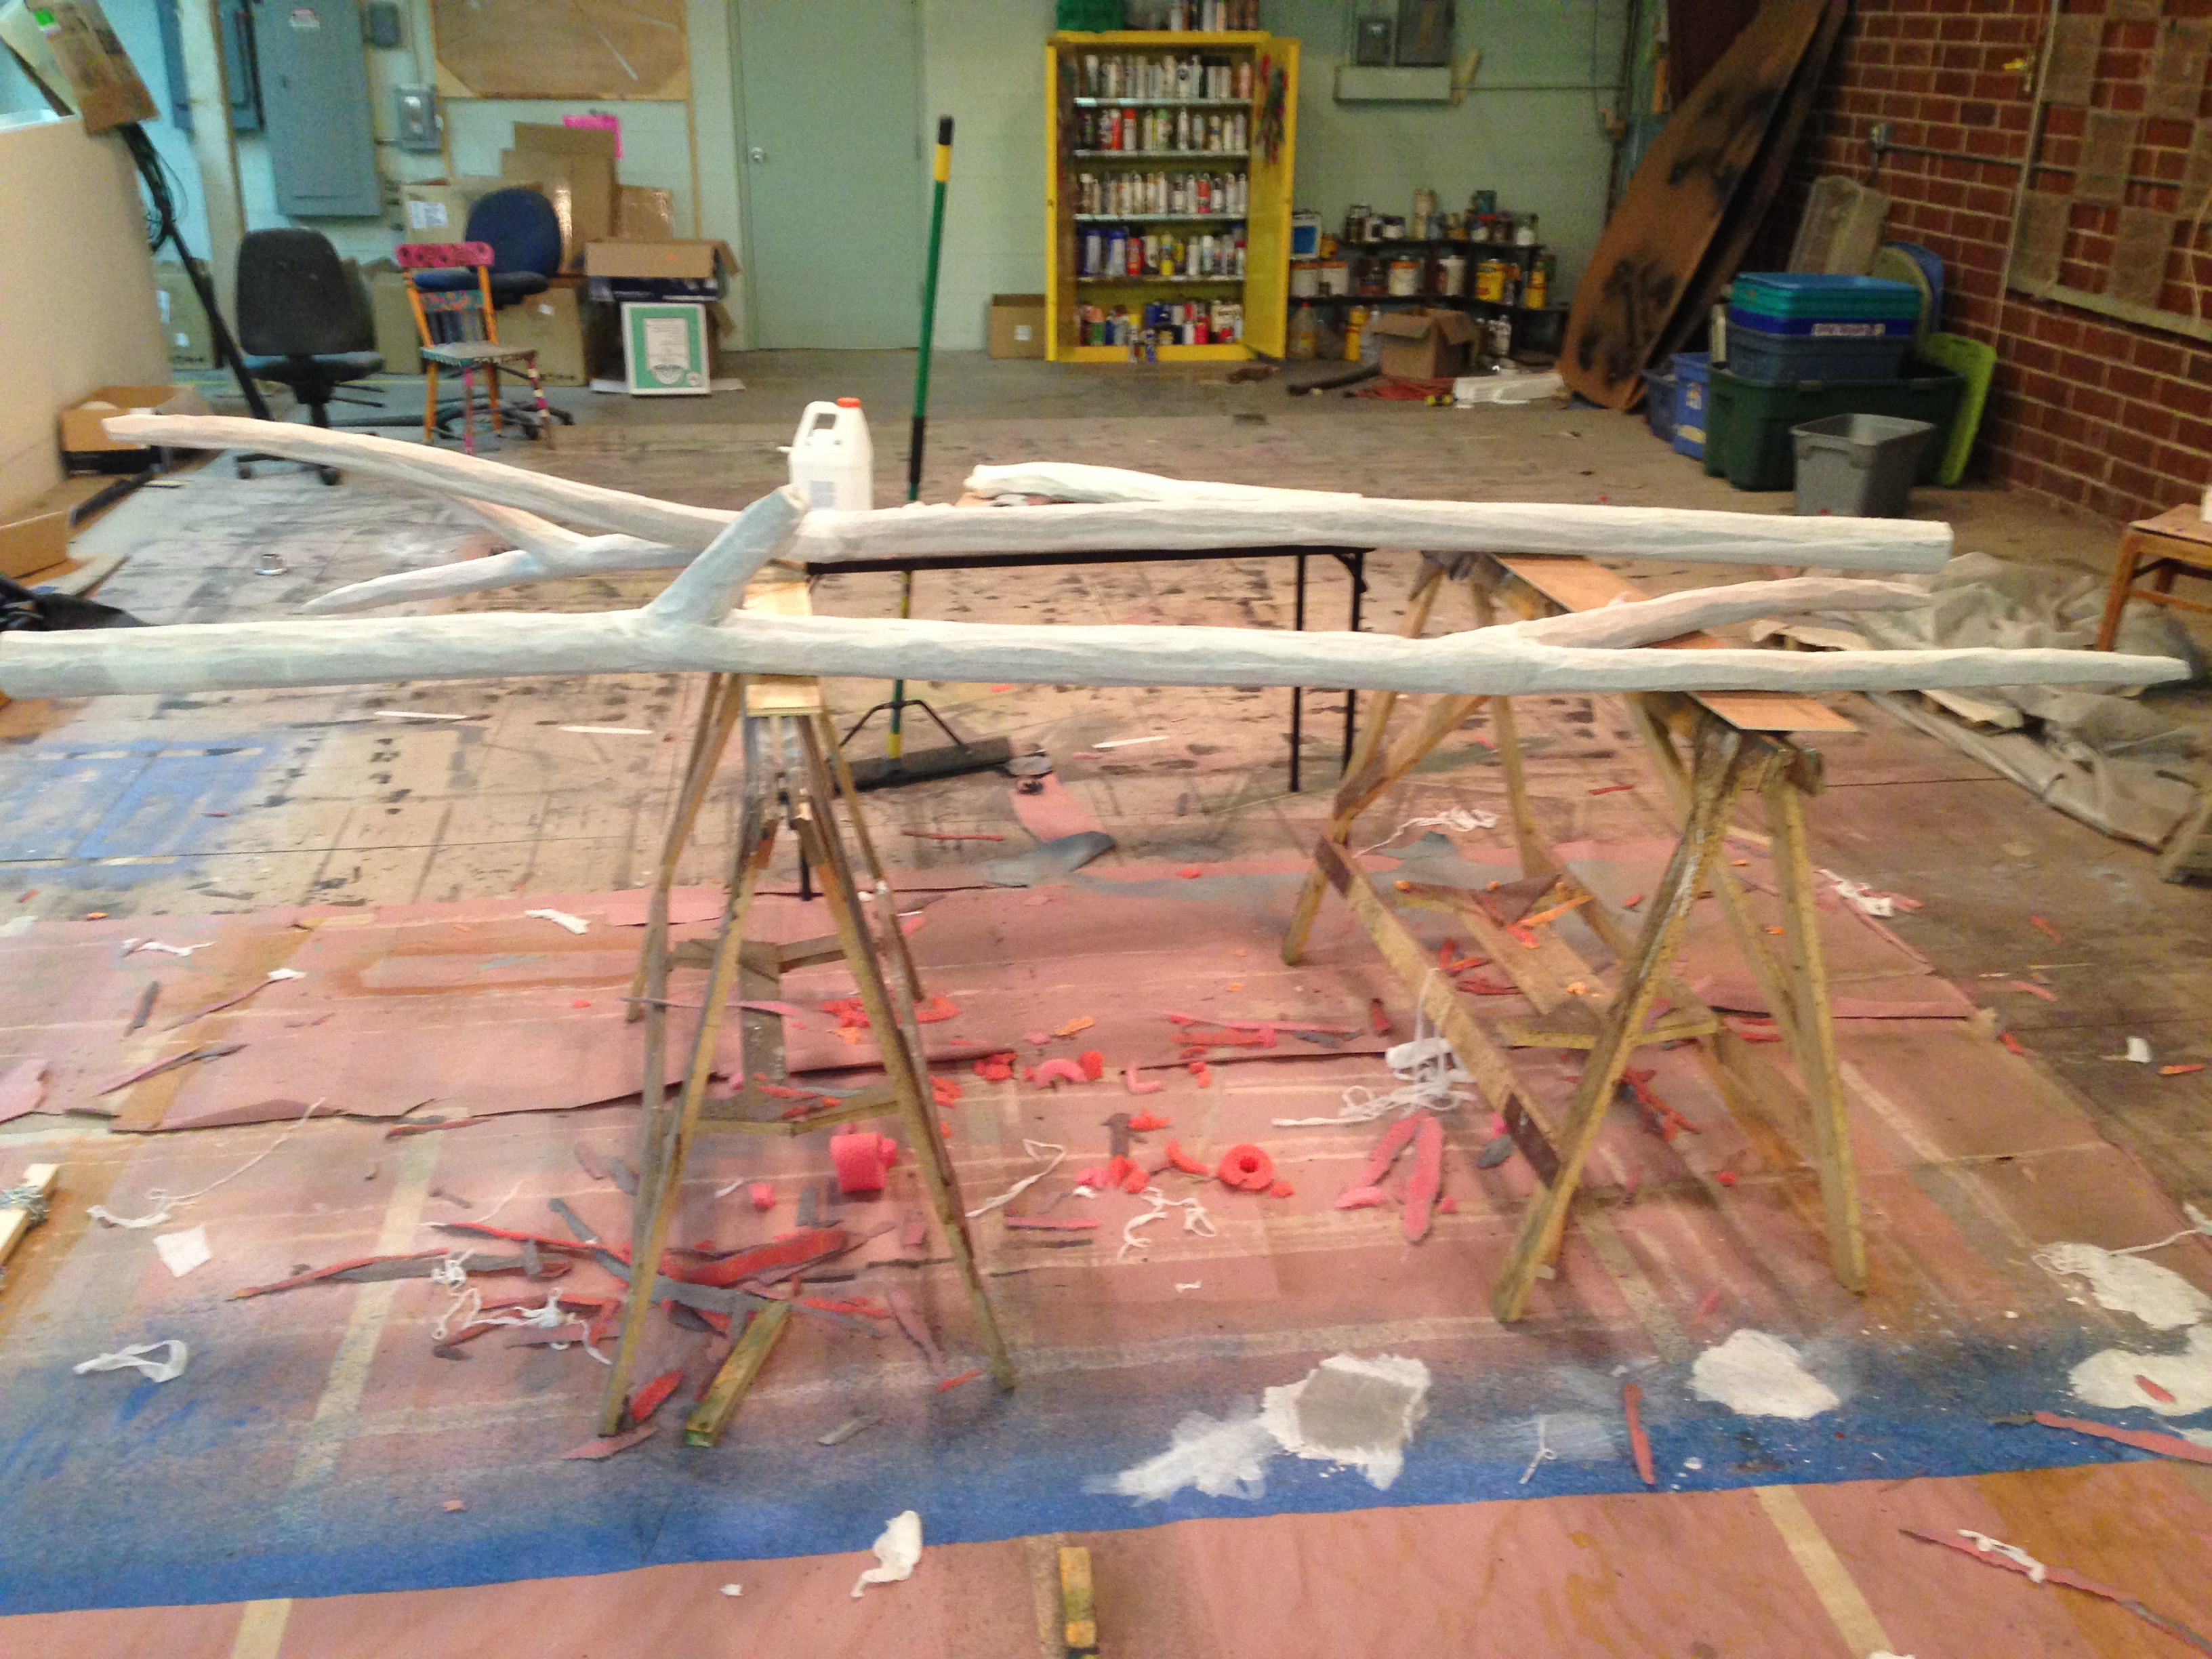
Once everything was dry, our scenic painter, Jessica Holcombe, gave the final paint treatment. It was a weathered grey wood, with a thin white wash over top. It matched all the wood elements in the scenery, so it was easier to just have her do the branches as well, rather than having us try to match it.
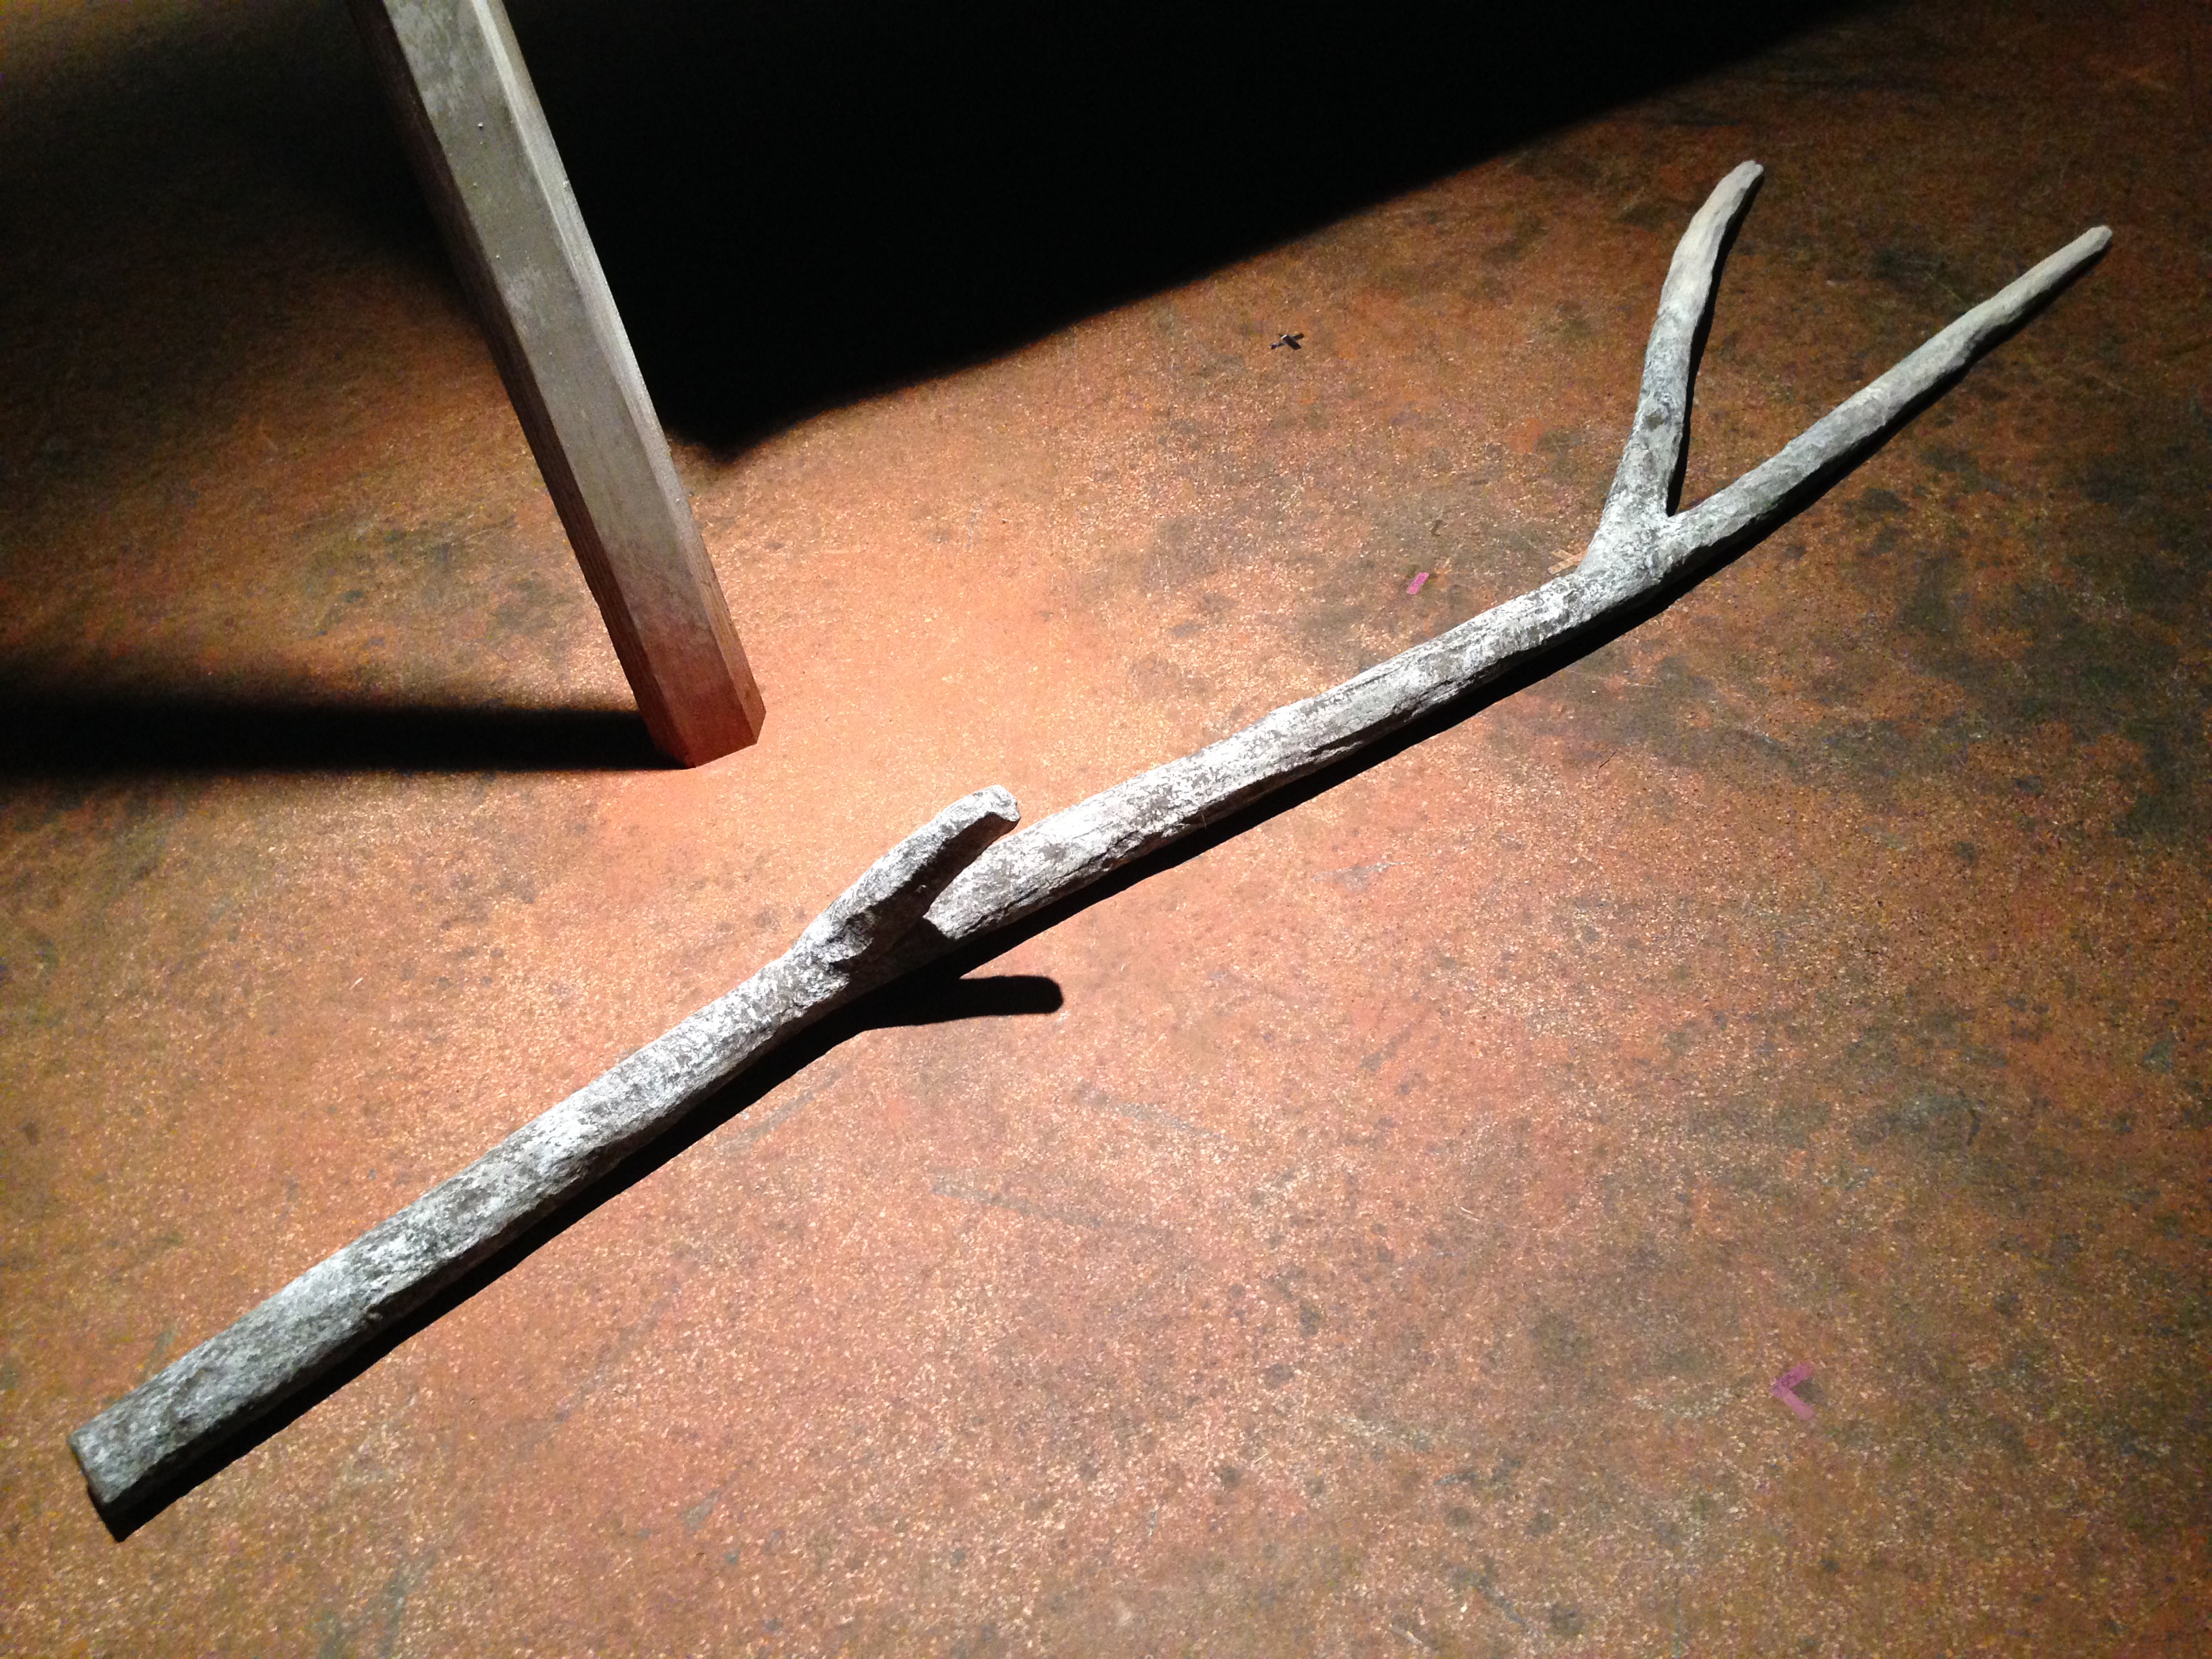
Overall, they worked pretty well. They are far lighter than a real tree branch, and they won’t hurt an actor if they accidentally make contact. There are a few spots at the tips where the pool noodle extends past the aluminum pole, and we found they were cracking at those points; a few times during the run, we had to glue on a “bandage” of cheesecloth to repair those cracks. Other than that, I thought they were a great solution.
Friday Week in Review
This week, famed illustrator and designer HR Giger passed away. Perhaps best known for his work designing the creatures in Alien, his aesthetic has found its way into numerous sci-fi and horror films, and even theatrical productions. BFI has a great post showing behind-the-scenes photos of Giger working on Alien,  while Creative Review has a good round-up of his conceptual and illustration work.
BBC Culture shares a viewpoint that filmmakers are returning to old-school special effects and real miniatures. While CGI can accomplish things that are impossible in reality, real sets, props and models still give more authenticity to a film, and in some cases, can be cheaper and easier to incorporate. So keep on proppin’!
The previous article stems from the announcement that Disney will be incorporating more practical effects and less CGI in their upcoming round of Star Wars films. Esquire also had an interview with Roger Christian, the set decorator on the original trilogy. He talks about how he took scrap metal from airplanes to make the halls of the Millennium Falcon, and other interesting tidbits.
Sticking with the Star Wars theme of today, Tested has the tale of how obsessive fans built a better Han Solo blaster. Several fans spent countless hours reverse-engineering the prop weapon used in the original film to come up with a replica that was as screen-accurate as possible. It’s like a detective story and a prop-making story all wrapped into one.
My Visit to RC4 Wireless
A few weeks ago, I visited Jim Smith out at RC4Â Wireless. I was working on a magazine article about Cirque du Soleil’s new show, Kurios, and their use of RC4 Wireless units. Since Jim was just an hour down the road from me, I thought I’d swing by and see how they’re made.
If you’ve never seen or used an RC4 Wireless dimmer, think of a small box that lets you control electrical devices from your theater’s lightboard. So, if you wanted a flashlight, or a lantern to turn on and off during a light cue, rather then having the actor use the switch on the prop itself, these are one of the wireless dimmers that can make that happen.

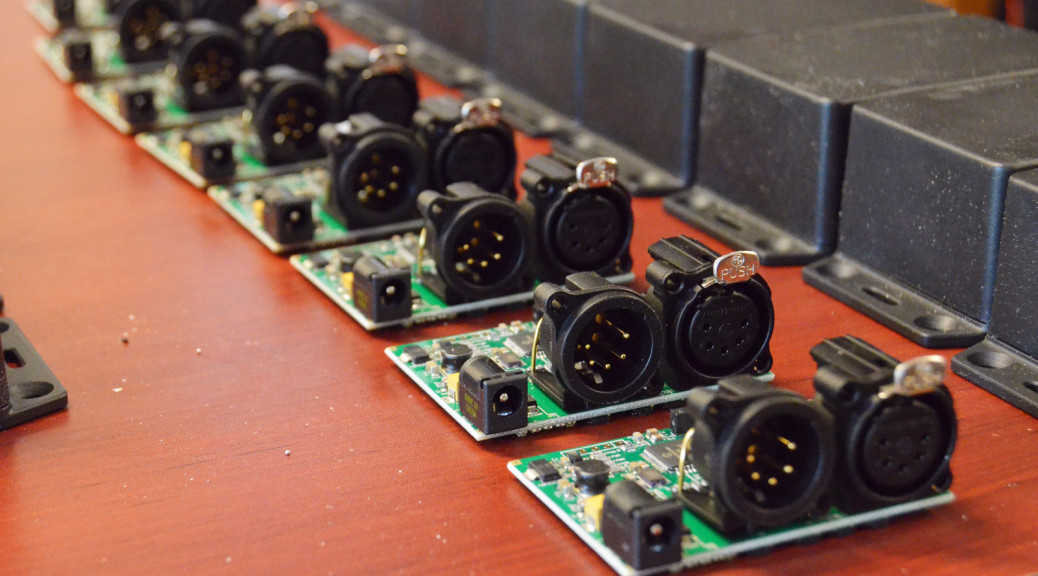
When I got to his workshop and he showed me around, what surprised me most was the fact that he was building every single unit right there by himself. He starts with a printed circuit board, or PCB. These he gets made up at a factory, but then he prints the circuit paths on in his shop.
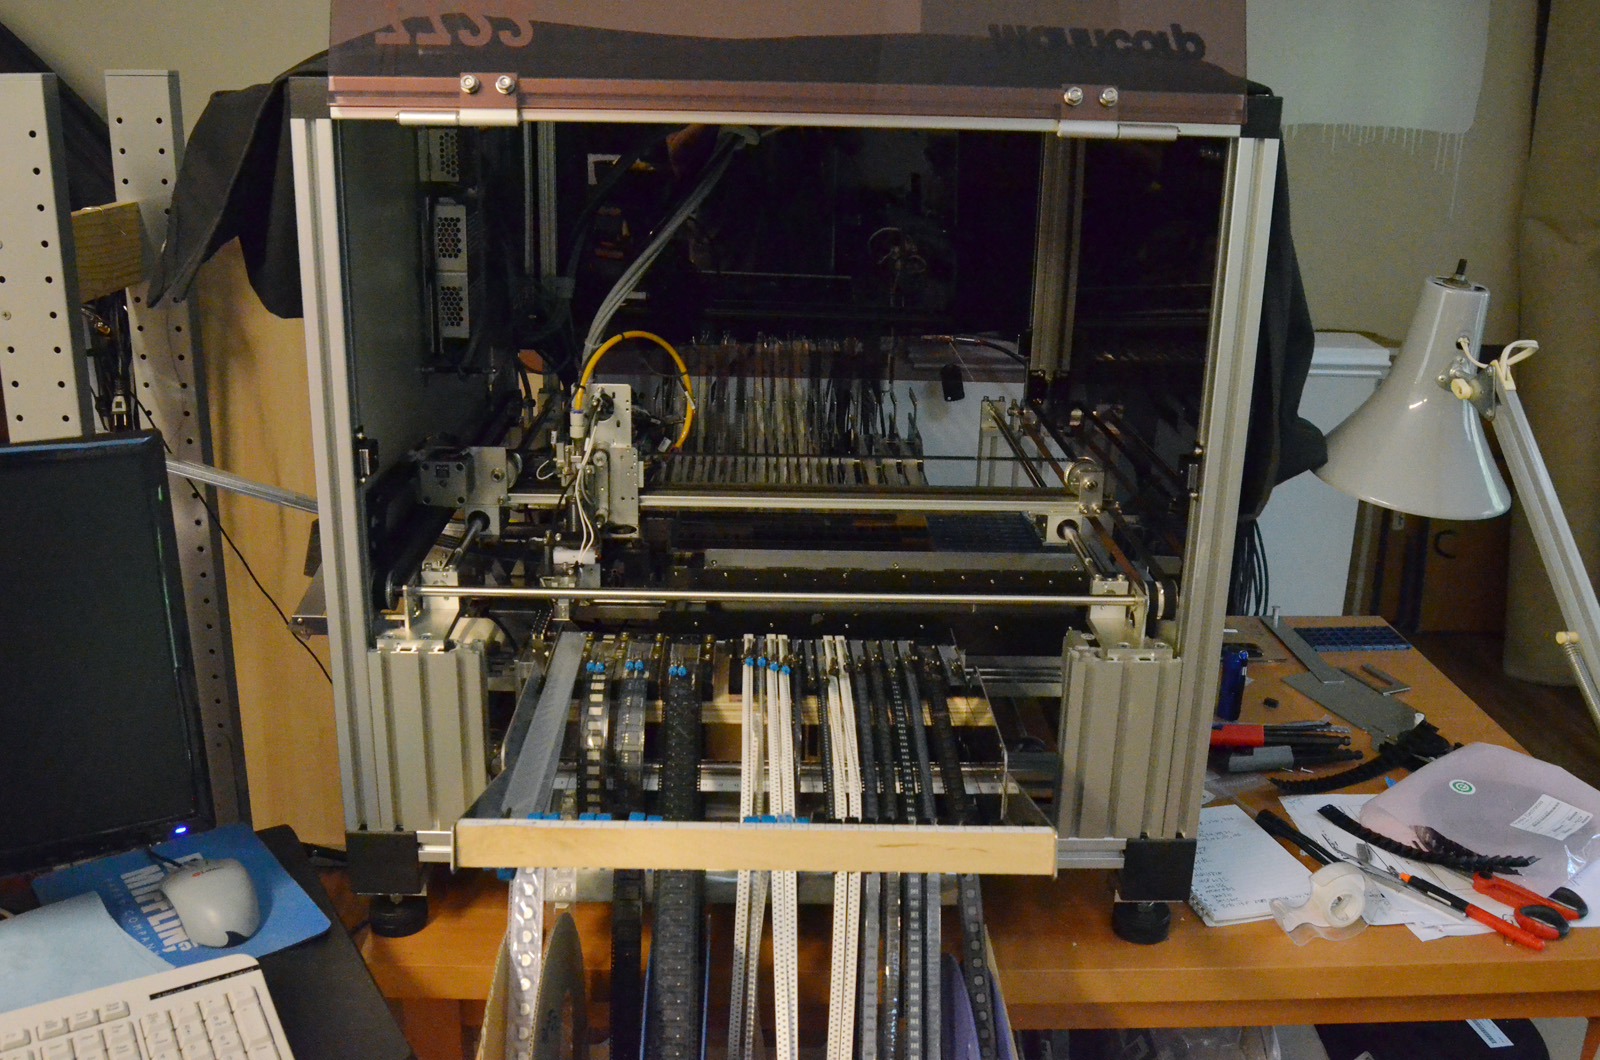
Next up, the boards go into his pick-and-place machine. Various components come on reels of “tape”. These are fed into the machine, which grabs what it needs, and places it exactly where it needs to go on the circuit board.
Before he got the pick-and-place machine, he was placing every component onto the board and soldering them in place by hand. Not only does the pick-and-place machine allow him to work much faster, but it allows him to use much smaller components. At a certain size, he has to use tweezers just to handle the components and a magnifying glass to see where to solder. He cannot physically work with anything smaller. With the machine, he can use smaller components, which mean smaller RC4 units overall.
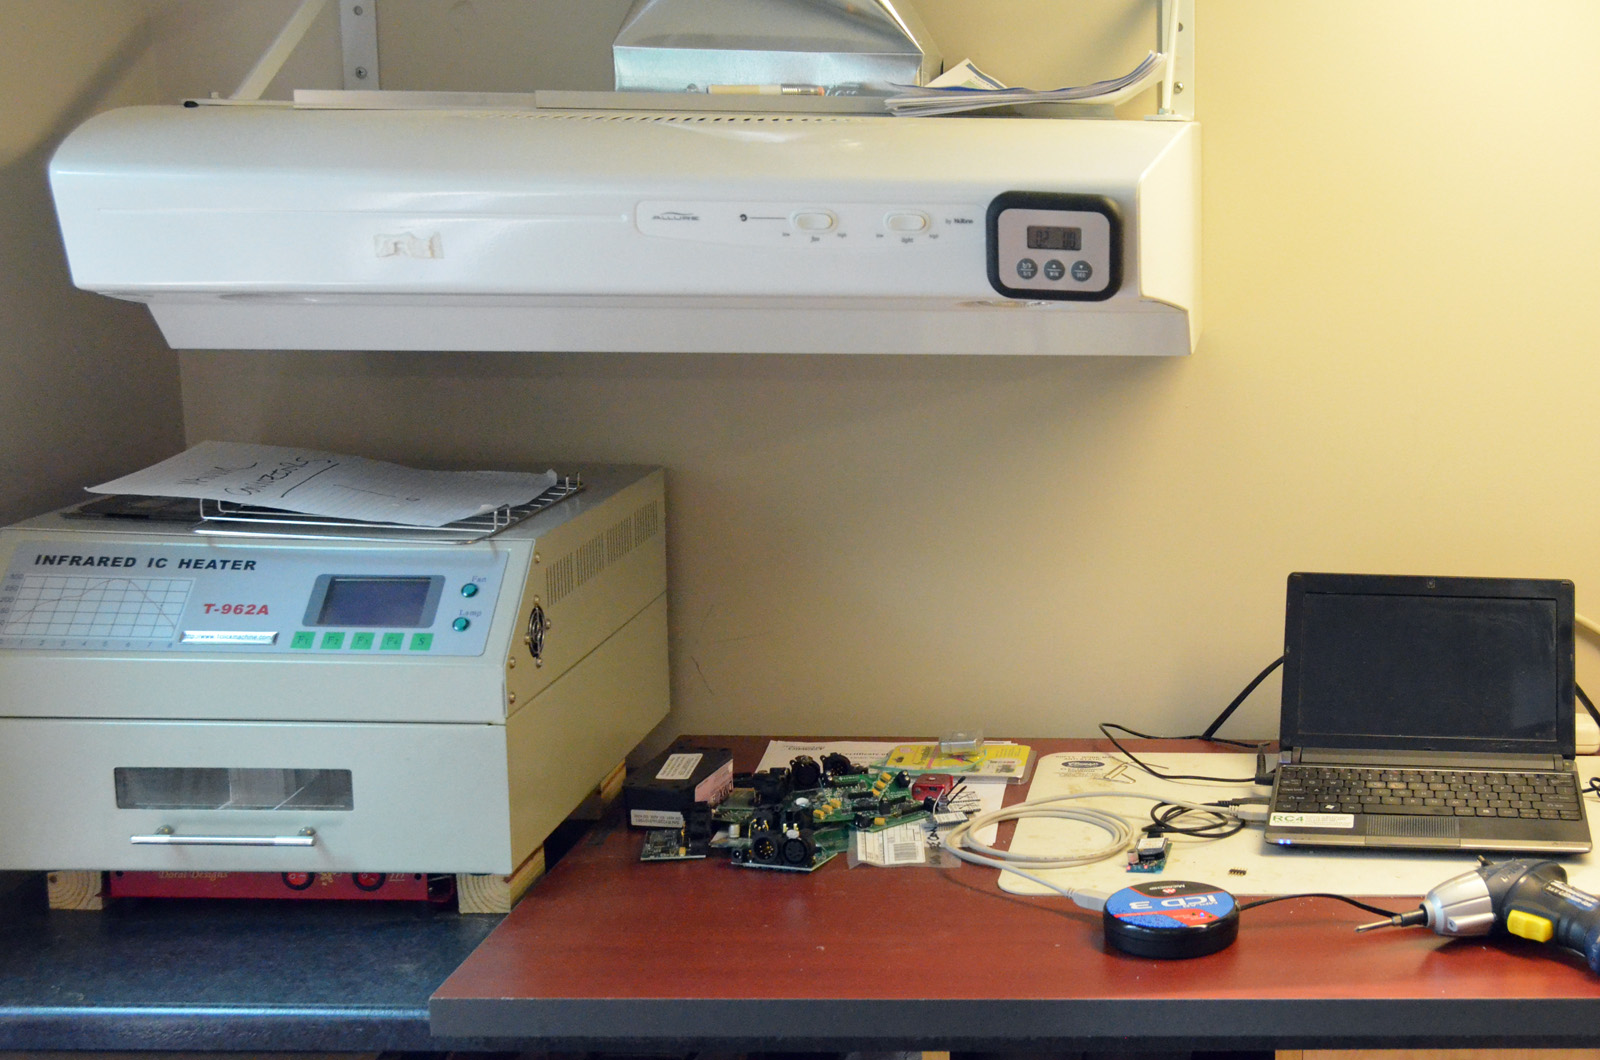
Once all the surface mounted components are in place, he brings them over to an oven, which bakes the solder and locks everything in place.

He then adds the through-mount components. These are things like the DMX connectors or switches or anything that will be poked and prodded by a user. Using through-mounts gives them a strong mechanical connection. It’s basically like bolting the pieces on, where the pick-and-place machine can be thought of as “gluing” the pieces on.
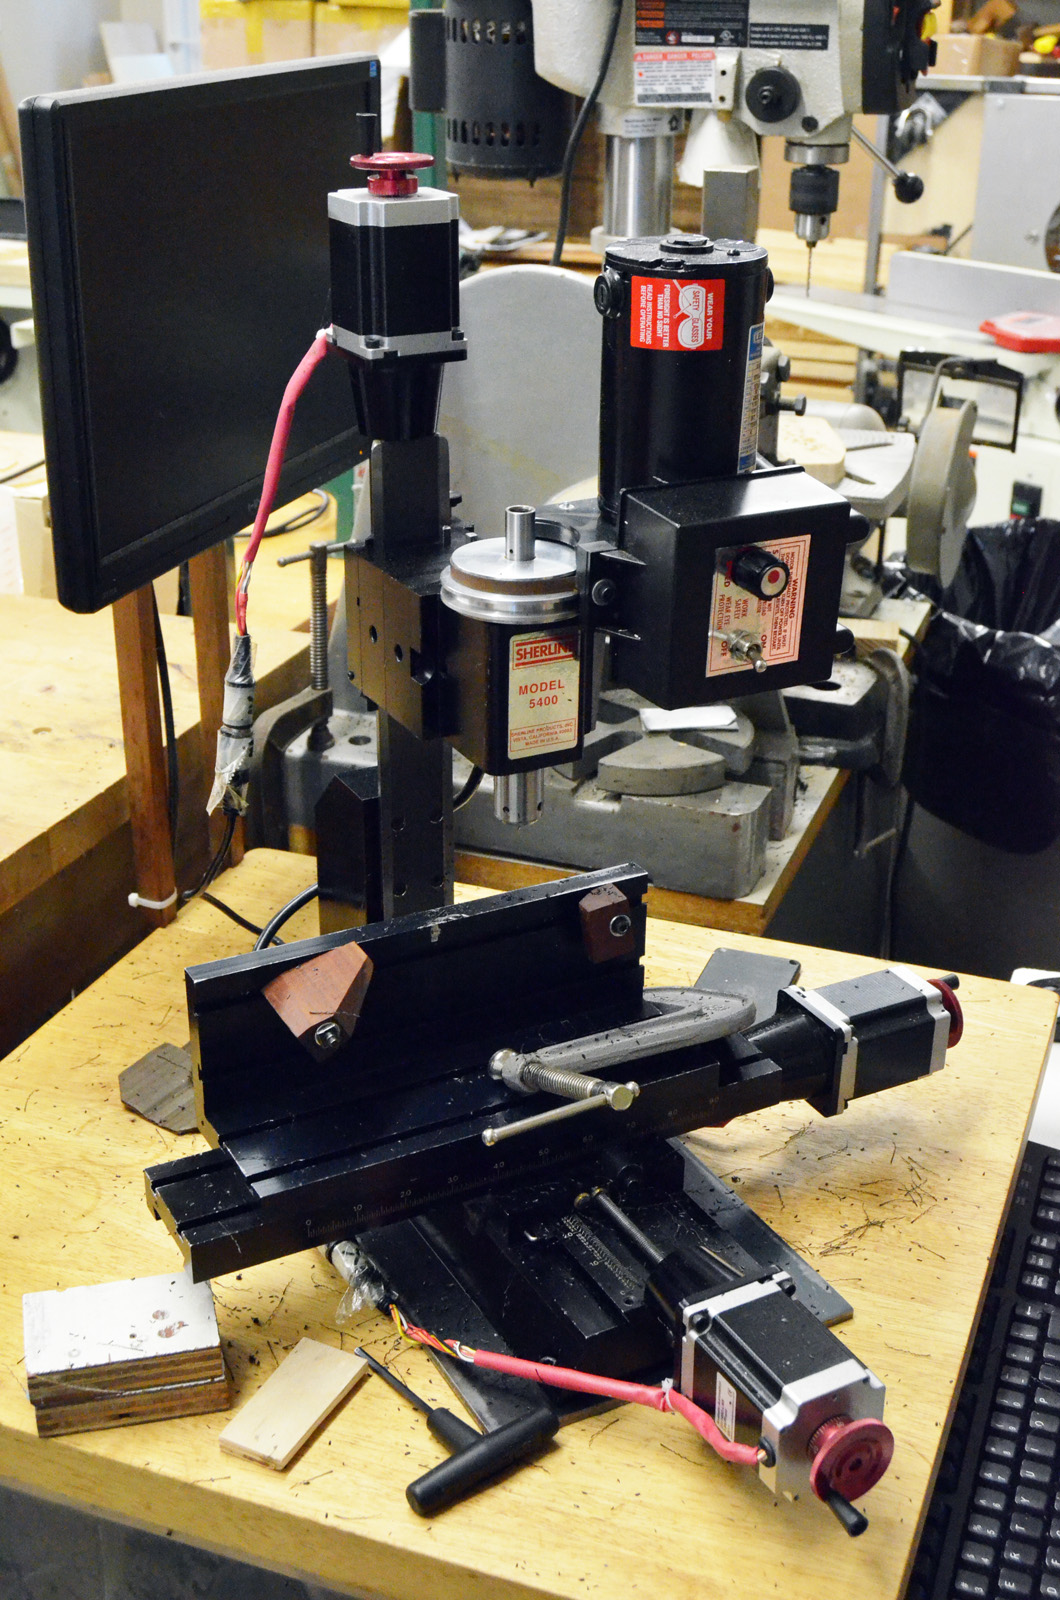
The cases he uses are standard cases that he can buy in bulk. He then puts them in his CNC milling machine to cut out all the holes for connectors, switches and mounting hardware. The finished units then head inside his house where they get tested, programmed, labelled and packed. From there, they head off to companies like Cirque, where they are used for… well, you’ll have to wait for my magazine article to come out to see what they are used for.