Category Archives: How-to

Guides to building props or using certain techniques and materials

Fake Food: Making Edible Replicas

They used to solve this problem in the breakfast scene of “The Duke of Killiekrankie” by having the food made of candy which would melt rapidly in the mouth, and so not interfere with enunciation. The hashed brown potatoes, for example, were nothing but spun sugar, browned, which looked substantial enough to the audience, but melted away almost as soon as they touched the tongue.

– The New York Times, April 1, 1906.

I have previously written about making inedible fake food. A props person may also have to make edible fake food. What is edible fake food? Say a character needs to eat a peanut butter sandwich, but the actress playing that character is allergic to nuts; you need an edible replica of peanut butter that contains no nuts.

Props people make edible replicas for a variety of reasons. Most common is the above-mentioned allergy issue; before planning a meal, you (or your stage manager) needs to find out what the actors are allergic to, and any special dietary needs. An actor may be vegetarian or keeps kosher. Besides allergies and diet, actors avoid other types of food while on stage; milk and cheese, or sugary drinks, tend to affect the vocal chords in ways which many actors dislike. A prop master’s greatest challenge is when he or she needs to serve a massive edible banquet, and an actor is vegetarian, allergic to gluten, and lactose-intolerant.

Another reason to make edible fake food is cost. Characters on stage may chow down on what appears to be hundreds of dollars of caviar in a single scene. You need a more cost-effective solution if you want to keep your budget under control. In a similar vein, certain foods may be time-consuming or complicated to prepare. Remember, your running crew needs to prepare the food before each show in addition to their other pre-show duties, and if your production has matinées, they may have an even tighter schedule between the two shows. It’s usually better to microwave a turkey substitute for thirty seconds than to roast a real turkey for four hours.

Third, the food on stage may require special properties which the real deal does not possess. A common example is when a director wants the characters to eat ice cream, but does not want to see the ice cream melt during the scene. It’s a tricky feat to pull off under those hot stage lights.

Finally, an actor may need to eat something which is normally not edible. Edible flowers are commonly called for, as well as paper notes. Be prepared for anything.

It is important to keep the food preparation area clean, which means separate from any work areas. If you keep a stock of preparation dishes and utensils, these should be kept separate from your regular stock of kitchen props; you don’t want to prepare your food in a dish that was painted with a toxic paint for the previous show. Likewise, the food needs to be stored properly in between shows, especially if you buy a whole bunch at once for multiple performances. It should also go without saying that you should not attempt to reuse uneaten food from one performance for the next one.

Creating edible food is a little bit sculpture, a little bit painting, and a whole lot of creativity. It’s good to develop a sort of “base” of materials which are readily available, easy to work with, and can mimic a great deal of foods. Bananas, breads, and food coloring have been some of the more popular bases for props artisans for well over a century.

Bananas can be mashed to imitate a great number of foods, such as cream or ice cream. With the right coloring and toppings, it can even substitute for meat or fish. When sliced lengthwise, you have a decent white meat substitute for chicken. Yogurt and cottage cheese work in a similar vein, but because of the milk content, they are less-commonly used.

Bread can take on a variety of shapes. Brown bread with the crusts removed and cut to the proper shape can simulate chops and roast meat. I saw the head of properties at the Walnut Street Theatre create a very convincing Salisbury steak each night with just a slice of pumpernickel covered in cold canned gravy. Switch the gravy with fruit glaze or some other red jelly and you have a slab of raw meat. A whole loaf with the crusts removed can be shaped into a number of different forms. If you use a loaf that is at least a day old, you can even carve it somewhat.

Tofu is another kind of base which can be built on for any number of fake edibles. It has the advantage of being vegan, and in some cases, gluten-free, so it’s a great choice for tricky eaters.

Food coloring adds greatly to your repertoire of faux food creation tools. It can be tricky to match the color and opacity of your intended goal; luckily, everything is edible, so you can eat your tests and samples. Specialty baking shops will stock a greater range of colors and sizes, so you don’t have to try to create every single color with those tiny bottles of red, yellow, blue and green. You can also find culinary colors in spray cans, which are a boon for the more artistically inclined.

Fruits are a friendly substitute for many foods, and can be tastier for the actors than old bread covered in cold gravy. I used a fresh grape and a dried apricot for my appetizers in Timon of Athens. I’ve also heard of shows which used half an apricot for an egg yolk and a pared apple for a raw turnip. Watermelon with some brown food coloring makes a convincingly juicy slab of raw meat. Dried fruits such as prunes and apricots can be cut up, shaped and squished to resemble a variety of things, and are especially handy when you have that large banquet scene that requires a variety of edible colors and textures to appear sumptuous.

Sausages and other imperishable meats serve a similar purpose as dried fruits. With the skin removed, they can be sliced and carved to mimic all sorts of appetizers and side dishes.

Fake edible food is a great exercise for students and interns because it forces them to distill an item (the real food) to its most recognizable characteristics, and then come up with a simple and economical replication of those characteristics. It makes them think about the constraints of a show, such as preparation time, cost per show, shopping time, etc. Finally, most people do not create fake food in their spare time, so they can’t fall back on familiar materials and methods, such as carpentry or foam carving.

A knowledge of cooking, baking, and food preparation is helpful, as it can help you learn how to thicken or thin various sauces and liquids, or give you clues how to cut and shape different foods. A trip to a culinary or baking store is great as well, as you can find all sorts of icing bags, cookie cutters and food-safe molds to help you out. I read about a production in 1906 which used a mold of a chicken to bake a sponge cake that could be carved and consumed on stage. Now that’s a tasty trick!

Making a Fake Newspaper

I found myself making a few fake newspapers this past year. One was for this summer’s All’s Well That Ends Well at Shakespeare in the Park. The director, Dan Sullivan, wanted Lafew to read a newspaper with the headline “King Lives” emblazoned on the front. The production was set in and around World War I.

Newspaper cover from All's Well That Ends Well

Since they wanted tabloid-size papers (11″ by 17″), printing was no problem; I used 18″ by 24″ newsprint from those giant pads you can get and fed them through the manual feed tray of our large-format printer. It’s a pretty crappy printer for most things, but it’ll print newsprint with no problem. Anyway, once folded over, you just need to trim a little bit off each side to get it to the proper size.

The other tricky part of fake newspapers is getting all the content inside. Now, I’m not going to touch on the complexities of copyright here—if this were television or film, you would need to get clearances on all the material you put into your newspaper. In this case, the period of the newspaper I was creating meant I could use a lot of public domain text and imagery.

Interior of the newspaper

The first thing to do is research (obviously). You want to find out how big the text was, what kinds of fonts they used, what the covers looked like, how many columns were on a page, and all those sorts of things. You probably won’t find a single image of a newspaper that will solve all your demands that you can just print out, but you can probably find one that will serve as a guide for proportion and layout.

I’ve discovered a few sources that I like to use for locating old-timey newspaper articles. The first is the New York Times Archive. You can set an advanced search to just look through their papers from 1851-1980. The great part is that for the earliest papers (I think it’s anything before 1920-something) you can access a scanned image of the actual newspaper page. This means you can search for specific subjects or keywords and certain dates to populate your newspaper; if you look at the larger version of the picture above, you’ll see all the articles are about World War I. The difficult part is that you cannot browse the newspapers, so it can be a pretty rigorous process to click through each article to see whether it is the right size or “look” for your needs.

Another great source I’ve just recently come across is The Library of Congress’ “Chronicling America” archive of historic American newspapers. This site lets you browse and search a large number of newspapers from all across the country. The papers from 1836-1922 are fully digitized as well. Unlike the Times’ archive, you can view full pages, complete with the ads and artwork.

Fake Variety for "Compulsion"

I like to do all my layout in Photoshop and keep the file until the show opens. That way, if the director or designer have a note, like enlarging a headline, I can just go back to the file, make the change, nudge everything else around to make it all fit, and print a fresh copy. In the above picture of “Variety” which I made for Compulsion, I had actor notes as well. Mandy Patinkin had to read and reference a real news article on the inside of the paper, so I had to make several variations on its size and placement before a final version was agreed to.

Inside of "Variety"
Inside of "Variety"

It can get pretty laborious to fill several pages with actual newspaper text, so I also searched for vintage ads to fill space. I also like to copy blocks of text and paste them onto other parts of the page; there’s no need for every word to be unique! In some cases where I couldn’t clean up smudges or distorted words, I actually retyped portions of the text with a closely-matching font.

Yoruban Sword

I made this decorative Yoruban sword back in 2004, when I was attending Ohio University and had a lot more beard.

Yoruban sword from "The Gods are Not to Blame"

The show was called “The Gods are Not to Blame”, and it is a Yoruban retelling of the Oedipus Rex tale from Ancient Greece (the Yoruba people are one of the largest ethnic groups in Western Africa, with a cultural history of hundreds, if not thousands, of years). My future wife was the set designer on this show, and nearly all the props had to be constructed to be completely authentic; her design involved extensive research into Yoruban artifacts, furniture, and design.

This sword, while appearing like a tradition sword, was built using very modern methods. It’s actually a fairly simple construction, although it has a few hidden tricks. I carved the handle from a piece of poplar, while the blade is taken from a sheet of steel plate. I traced the shape onto the steel and used a plasma cutter to cut it out. I also cut the cross shape out with the plasma.

Pieces of the sword
Pieces of the sword

Now for the hidden fun part. I took a steel rod and sharpened one end to a point. On the end of the tang of the blade, I notched a “V” shape. This is where the sharpened end of the rod went, and I welded the two pieces together; the reason for the sharpening and the notching was to give me a lot of surface area to attach my welds to.

I then had to drill a hole all the way through my carved figurine for the rod to slide into. I needed an extra-long drill bit for this part. I also notched the bottom for the tang to slide into. It was like cutting a mortise for a metal tenon. This step was necessary to keep the handle from spinning around the rod.

I threaded the end of the rod which was sticking out of the top of the figurines head, and tightened a nut down; this is how the handle remained attached to the blade. For one final little touch, I drilled out the top of the head so the nut could fit down inside, and then filled the whole thing over with some Bondo auto-body filler. The nut was now hidden within the top of the handle–with the unfortunate side effect that the handle was now permanently attached. Since this was a decorative sword and not a stage combat weapon (the blade was mild steel, and not to0l-hardened like a weapon’s blade), it would hopefully not need routine maintenance and tightening.

A collection of Yoruban swords

I traced the designs onto the blade from my full-scale drawing and engraved them with a Dremel tool. For my final step, I stained and sealed the handle.

Clean Shaven Eric
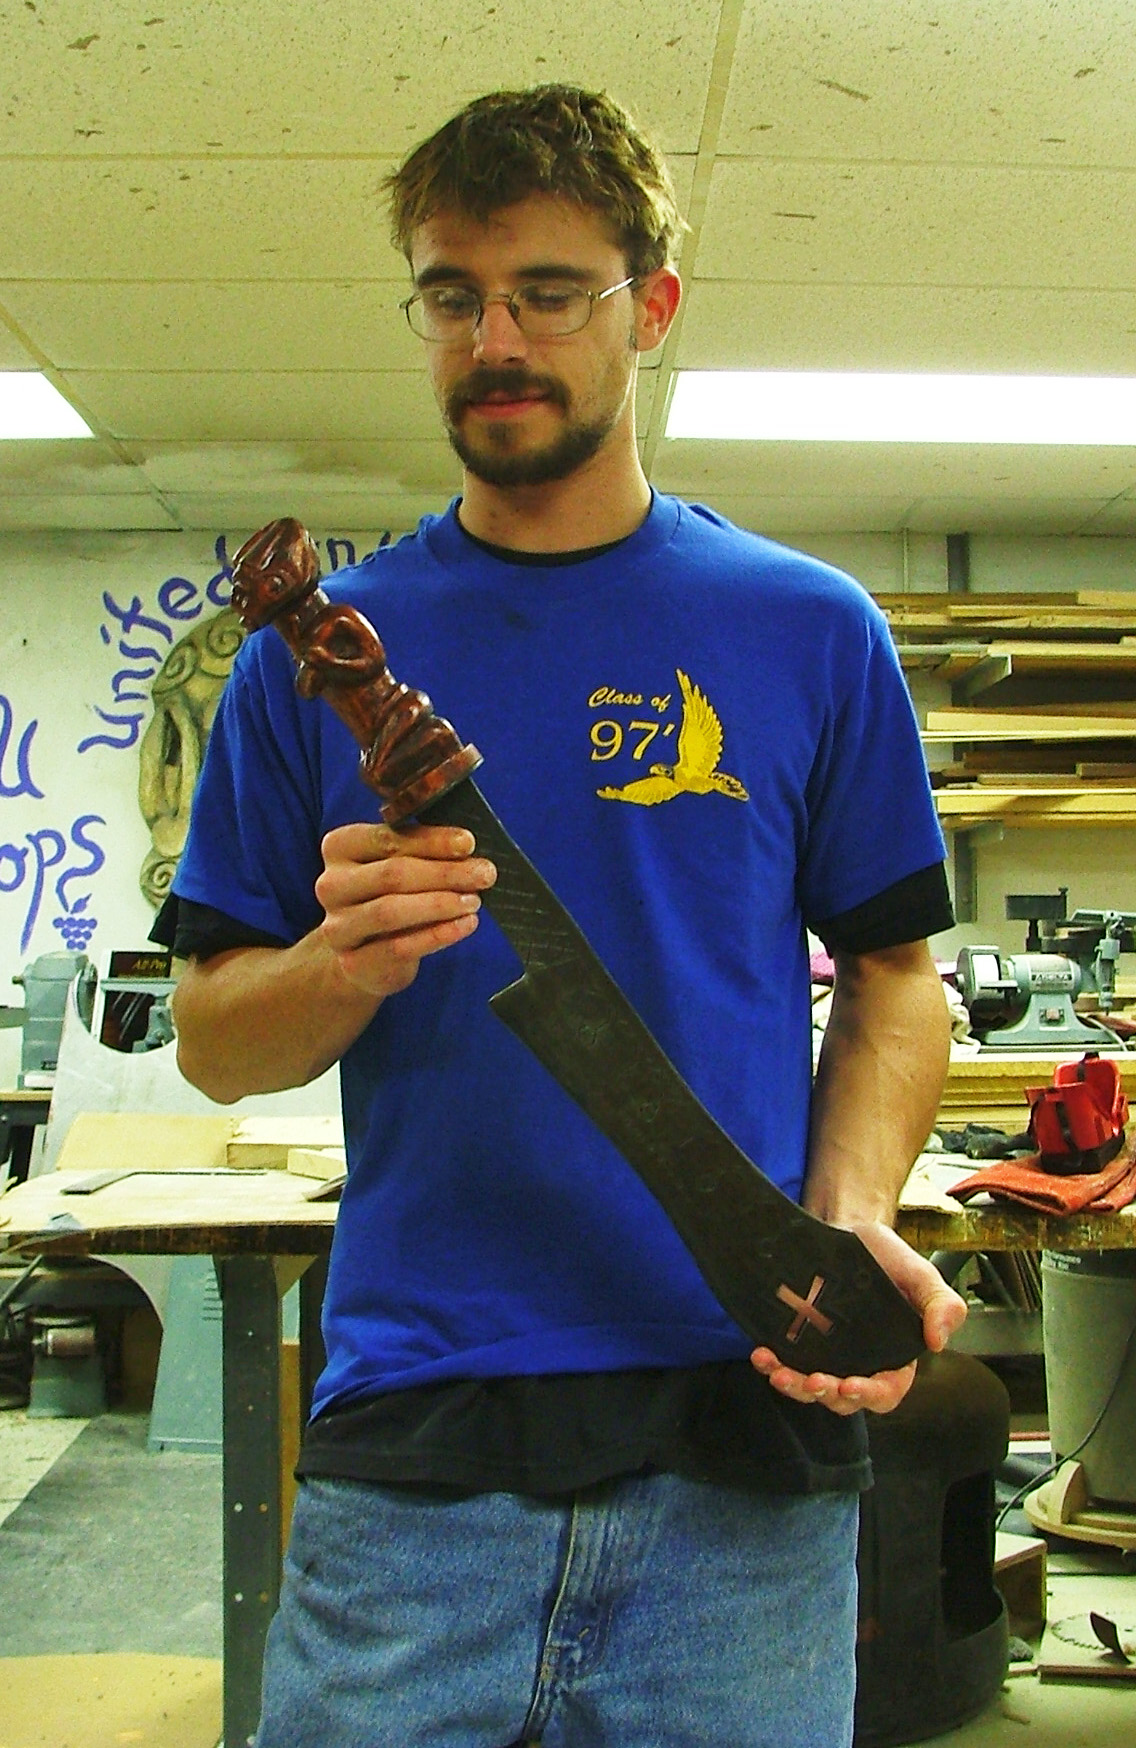
It was a very hefty sword and a lot of fun to swing around. One day, I wasn’t paying attention while swinging it around, and I accidentally cut all my facial hair off. And that, my friends, is the secret origin of “Clean-Shaven Eric”.

Pepakura

What is pepakura? Pepakura (or ペーパークラ) is a Japanese word which refers to the art of papercraft. In papercraft, you cut and fold paper (or heavier card stock) apart and glue the pieces together to create a three-dimensional object. This is different from origami (折り紙) in which a single sheet of paper is folded into a shape without cutting or gluing.

A papercraft Uzi printed from the internet

Papercraft first began appearing in magazines as printing became ubiquitous. It really boomed during World War II when paper remained one of the few materials to not be rationed in the US. When I was younger, I received a book called Make Your Own Working Paper Clock, in which you cut the book apart, assemble according to the instructions, and you are left with a working clock made completely out of paper (and a few paper clips). It took me awhile to work the courage up to actually start building it; I was in my late twenties when I began. Unfortunately, our apartment building burned down, including most of that book, and all I was left with was the center wheel.

Besides being a fun hobby unto itself, the ideas behind papercraft can find their way into props. Paper, card stock and cardboard are inexpensive materials which are easy to manipulate, so they lend themselves to quick mock-ups. You can whip together a quick papercraft model to help you figure out the scale and proportions of a complicated prop, or to help you determine complex angles and measurements. They can even be used for quick rehearsal props. Last year–no kidding–we made a Victrola with a giant cardboard horn coming out of the top for Merchant of Venice rehearsals. It allowed the director and actors to see whether that large of a prop would work with their intended staging before we committed to purchasing an expensive antique.

The finished papercraft Uzi


In addition to making your own models, you can search for papercraft models all over the internet; most come in common PDF or graphics files which you simply print out and start building. They can also feature colors and graphics to spice up your model. I recently finished the scale model Uzi pictured above in such a manner. It even features a removable magazine clip:

Uzi and a magazine
Uzi and a magazine


The term “pepakura” became more popular in the West with the introduction of a computer program from Japan called Pepakura Designer. The software takes a 3-dimensional object and turns it into a papercraft model; it arranges the individual pieces on pages you can print out, draws lines showing where to cut and fold, and even adds tabs for glue. Everything is labeled as well, so assembly is straightforward.

One of the more common sources of 3D objects for pepakura are video games. With the software, a hobbyist can print out the armor of his favorite video game character and wear it around. They began developing it into a construction method all its own, yielding strong and light-weight pieces. The basic method involves stiffening the outside with resin, then filling the inside with layers of fiberglass or some other stiffener; water-based materials are less popular because they warp the paper. Rather than tread the same steps already trod, I’ll point you to lists of resources which are far more comprehensive than I could hope to provide. The Replica Prop Forum has collected a huge thread of pepakura links, tutorials and tips. As I write this, it contains eleven pages of great information. The second great repository of pepakura information is at the 405th, an online community for people who build guns and armor from the HALO video games.