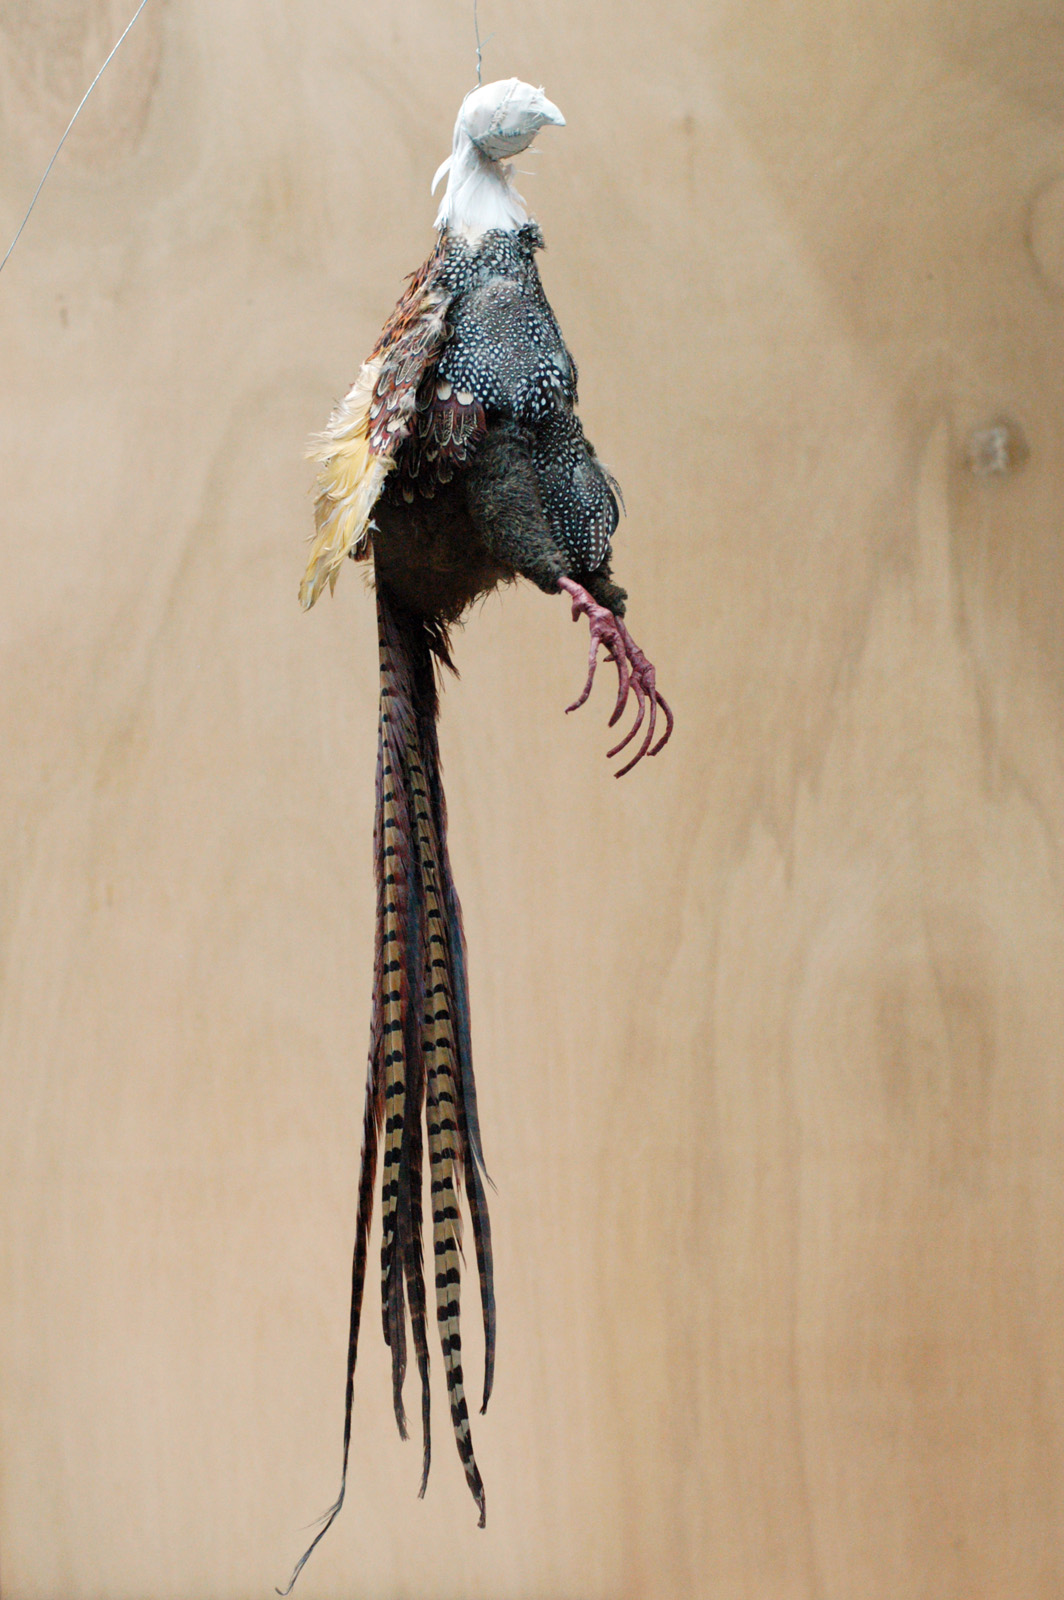
In our production of King Lear, which is in its last week of performances here at the Public Theater, one of the first props we knew we needed was a collection of dead animals for when the men return from hunting. I knew from doing Timon of Athens last winter that we had nothing in stock, no one in town had anything we could rent or borrow, and you can’t just go out and buy them, so I began trying to make a pheasant.
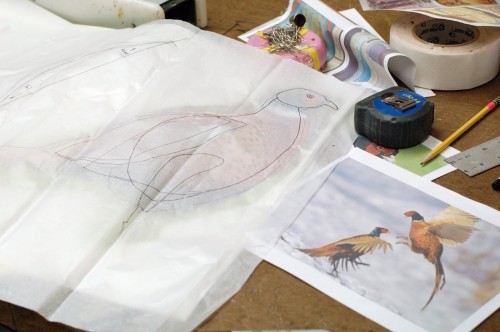
I began gathering research images and working out a pattern. I worked out the size by looking up average heights and lengths of pheasants, and from photographs where pheasants were next to people and other objects of known sizes. In retrospect, I should have looked at more pictures of dead pheasants; a pheasant has a really long neck. In most photographs of pheasants in action, the neck is contracted so the head appears close to the chest. When the pheasant is dead and hangs limp, the neck is actually a good five to six inches long. You can see I was drawing a bird with a contracted neck which left my dead pheasant looking stiffer than a real one. Ah well, now I know for the next time I have to build a dead pheasant.
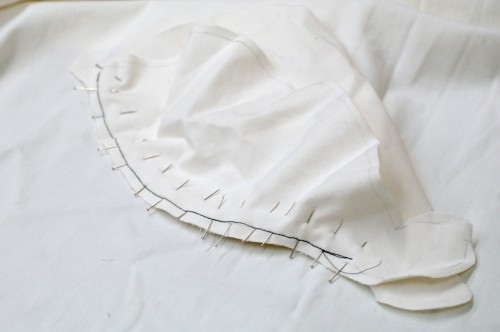
Once I had the pattern, I cut pieces out of muslin and began stitching them together. I left one side open so I could fill it with sandbags for weight. Some of the stitching was a little sloppy, which was okay because the whole thing was going to be covered in feathers and small imperfections would be obscured.
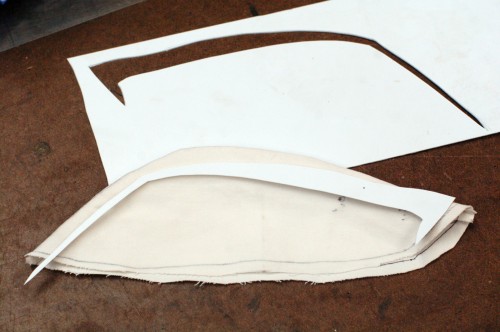
The wings were just flat pieces of cloth without stuffing, so I cut some plastic we had leftover from another project (I think it was styrene) to make a bone for the top and give the wings some “flappability”.
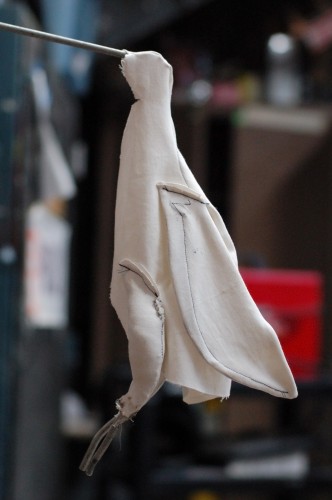
The legs were stuffed with polyester stuffing (like you fill plush toys with) and had a metal rod attached inside. It extended outside to make the bottom half of the legs. I made separate sand bags for the inside of the body for weight; I could have just filled the whole thing with sand, but I was worried that as the birds were manhandled on stage, the seams would eventually pull apart and sand would leak out.
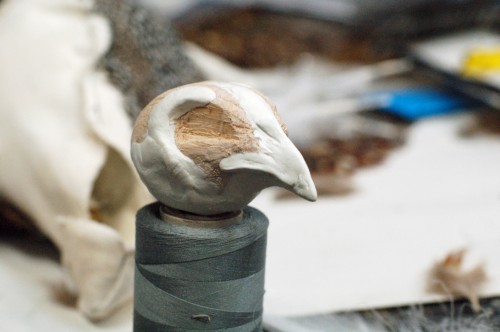
I began carving the head out of a chunk of wood. It wasn’t giving me the detail I wanted, so I added some Magic Sculpt (a two part epoxy putty used for sculpting and modelling) over top of it.
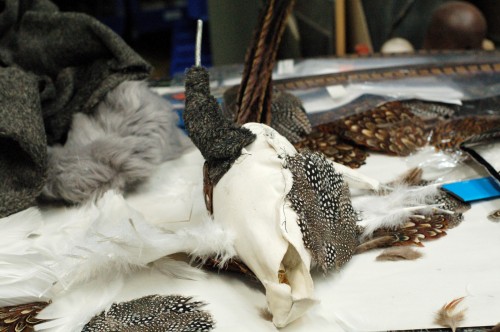
I had a bunch of loose feathers as well as hackle pads to cover the bird. Hackle pads are simply a bunch of feathers glued to a cloth pad. They are typically used for decorating hats and costumes. I also added fur to the legs and underbelly of the pheasant; this would be mostly covered by the real feathers, but I didn’t want any bare muslin peeking out anywhere.
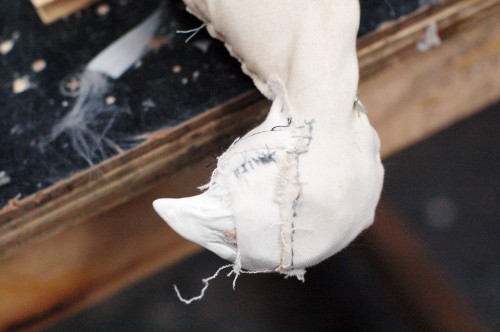
I sewed a rope into the neck to give it a bit of structure. For the head itself, I put it inside the muslin and stitched around it so it was trapped in place. You can see I had to add an extra bit of cloth since the head took up more room than I anticipated. Again, now I know for the next time I need to build a dead pheasant.
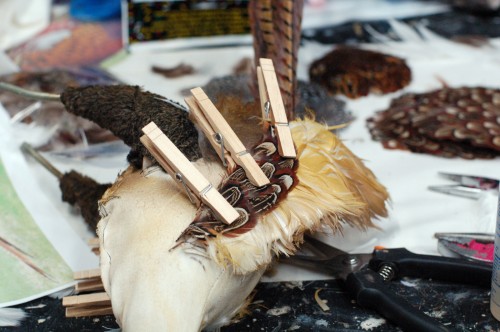
Clothespins came in handy to hold the feathers and hackle pads in place while the glue dried. I was using Magna-Tac to glue them in place. I also added a few stitches on the larger hackle pads to make sure they were really secure. You can also see how I began adding color; Design Master floral spray paints worked well for this.
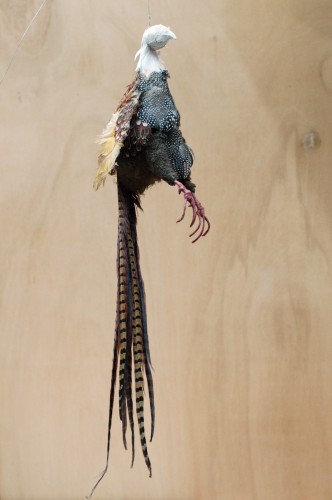
The Floral District had pheasant tail feathers; I guess they’re popular for decorators and florists. Adding them helped immensely in making this look like a real pheasant.
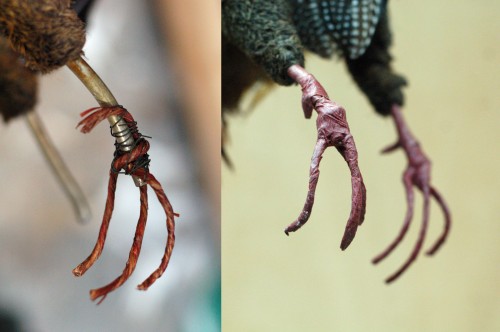
For the feet, we had a bit of wire covered in jute which was the perfect thickness for the individual toes. I wrapped that around the metal legs, and secured it further with some floral wire. I then wrapped all of that with some brown floral tape.
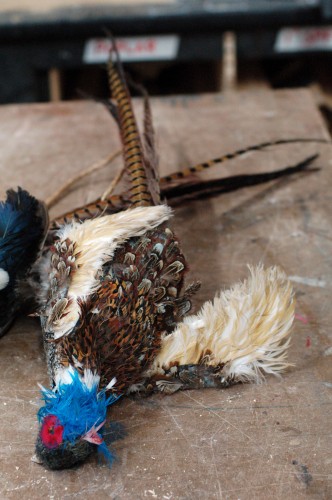
By that point, I had to move onto other projects, so Raphael actually added the feathers and colors to the head. I was pheasantly surprised with how well this prop turned out.

