Some Confusions in the World of Plastics

I’ve been researching the wide world of plastics for the book I’m working on. I’m trying to make sure my terminology is correct, and it’s proving daunting; plastics is a world where many terms can refer to the same thing, and common-use terms may not be technically correct. Add to the mix a bunch of trade names which are used generically, and you end up with one big confusing mess.

Take urethane rubber for instance. If you are into molding and casting you may have used it. “Urethane” in this case is a shortening of “polyurethane”, the same kind of plastic you use as a clear varnish among other things. “Urethane” is also a specific substance in the world of plastics; it is known as “ethyl carbamate”. Polyurethane does not contain ethyl carbamate, nor is it made from it.

Rubber can refer to a material or a substance. The substance, sometimes clarified as “natural rubber”, has historically been derived from the latex tree, though the proliferation of latex allergies has led to some companies experimenting with different plant sources. Synthetic rubbers, such as nitrile, do not contain latex; the “rubber” in their name refers to the fact that their properties mimic natural rubber. Technically, they are all referred to as “elastomers”.

Thus, “urethane rubber” contains neither urethane, nor rubber.

Speaking of latex, we all know and love latex paint for painting houses both inside and out. Sometimes we even use it to paint props. It does not actually contain any latex. It refers to paints which use plastics as their binders, such as acrylic, polyvinyl acrylic, styrene, etc. Vinyl resins are cheaper than acrylic resins, and most house paints contain a lot more vinyl than acrylic, which is why pure acrylic paint is a lot more expensive than house paint.

In case you are wondering, the acrylic in paint is the same acrylic found in sheet form, known commonly by trade names such as Plexiglas and Lucite. Crazy!

Miracle Materials

Though I’m knee-deep in Shakespeare in the Park at the moment (tech starts next week!), I’ve been looking forward to a slower pace this summer and a chance to experiment. Below is a list of some new materials I’ve come across lately that I’ve been wanting to play around with.

Inventables has a whole smörgÃ¥sbord of strange and interesting materials for props people. Squishy magnets, translucent concrete, aluminum foam, waterproof sand, rubber glass… I can go on and on, but the site begs you to just peruse everything for yourself.

Styrofoam has been a big boon to props artisans, but it brings with it a host of environmental concerns, both in its manufacturing (it is a petroleum-based product) and in its disposal (it will not bio-degrade for thousands of years). I’ve recently come across a foam made from mushrooms and bio-waste (technically, it’s made from the mushroom roots, which don’t contain spores and allergens). It seems promising as a potential replacement for some uses of foam, though I haven’t gotten my hands on a sample yet to test it out. Eben Bayer, one of the inventors and founders of the company, gave a TED Talk called “Are Mushrooms the New Plastics” where he goes into further details.

Along the same lines, researchers at the University of Nebraska-Lincoln are turning chicken feathers into plastic. It’s still a ways from being a usable product, but you can expect a whole host of non-petroleum-based and biodegradable plastics to be popping up over the next decade.

Shapelock is a new thermoplastic which becomes moldable at low temperatures (150°F). If you’ve ever used Friendly Plastic or Instamorph, this seems like similar stuff.

Finally, Sugru has been getting a lot of buzz lately. It seems similar to epoxy putty in its use and application, but it is a silicone, so it remains flexible, soft and waterproof.

Review: Grande Illusions 1 and 2

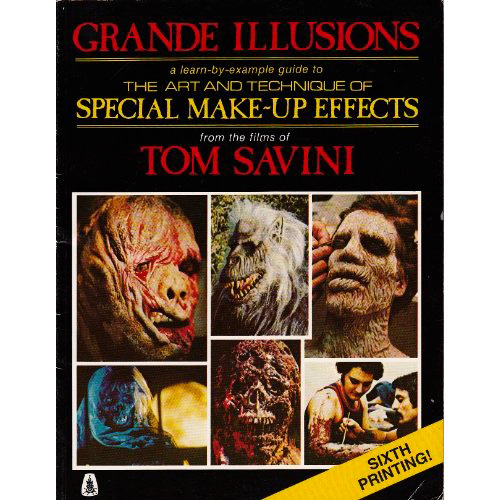
Grande Illusions by Tom SaviniHappy Friday the Thirteenth! If you are a horror film fan, you must surely recognize the work of Tom Savini if not the name; he created the horror effects for the film, Friday the 13th. He has a book called Grande Illusions: A Learn-By-Example Guide to the Art and Technique of Special Make-Up Effects from the Films of Tom Savini. His resume of films is quite impressive for this kind of work; besides the aforementioned Friday the 13th, he has also done makeup and horror effects for Dawn of the Dead, Friday the 13th: The Final Chapter, Day of the Dead, Monkey Shines, Creepshow, and many more. In addition to influencing many horror effects artists working today, he also runs the Special Effects Make-Up and Digital Film Programs at the Douglas Education Center in Pennsylvania.

It is beyond beneficial to us in having a book written by a man who has not only practiced these techniques for years, but has also pioneered many of these effects. It is even more fortunate that he has taken so many photographs and detailed notes of his process and working methods over the years that he can share with us. It would be like discovering a diary written by Shakespeare in which he discussed how he wrote his plays and how the productions evolved into what we know them as today.

In addition to the descriptions of his work on specific films, he has a number of step-by-step tutorials scattered throughout. Casting a head, casting teeth and fangs, working with foam latex and dealing with undercuts are some of the techniques Savini describes in this book.

What is great about these books is not only that Savini presents the materials and methods he uses, but he goes through so many examples in which he has used them. Rather than being repetitive, he shows how a repertoire of skills can be used and adapted for problems which seem similar at the outset but actually present new and unique challenges. A props artisan is always learning something new, even in fields they’ve already mastered.

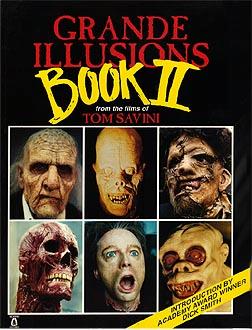
Grande Illusions 2 by Tom SaviniIn the same vein, Grande Illusions: Book II presents another batch of films which Savini has worked on. This book also features tutorials on creating a breakdown of makeup appliances from a sculpted head, punching hair, and making a case mold from a bust. Though either book is good on its own, together they present a fairly complete picture of Tom Savini’s work and the techniques he uses to achieve it.

This book does contain copious photographs of movie gore and injury, so if the sight of severed heads and impaled bodies, even fake ones, are not your cup of tea, steer clear. It’s also a good idea to screen it first before presenting it to younger makers (though I should add that unsupervised usage of the materials and techniques presented is far more dangerous than the possible psychological damage in seeing these images).

Yoruban Sword

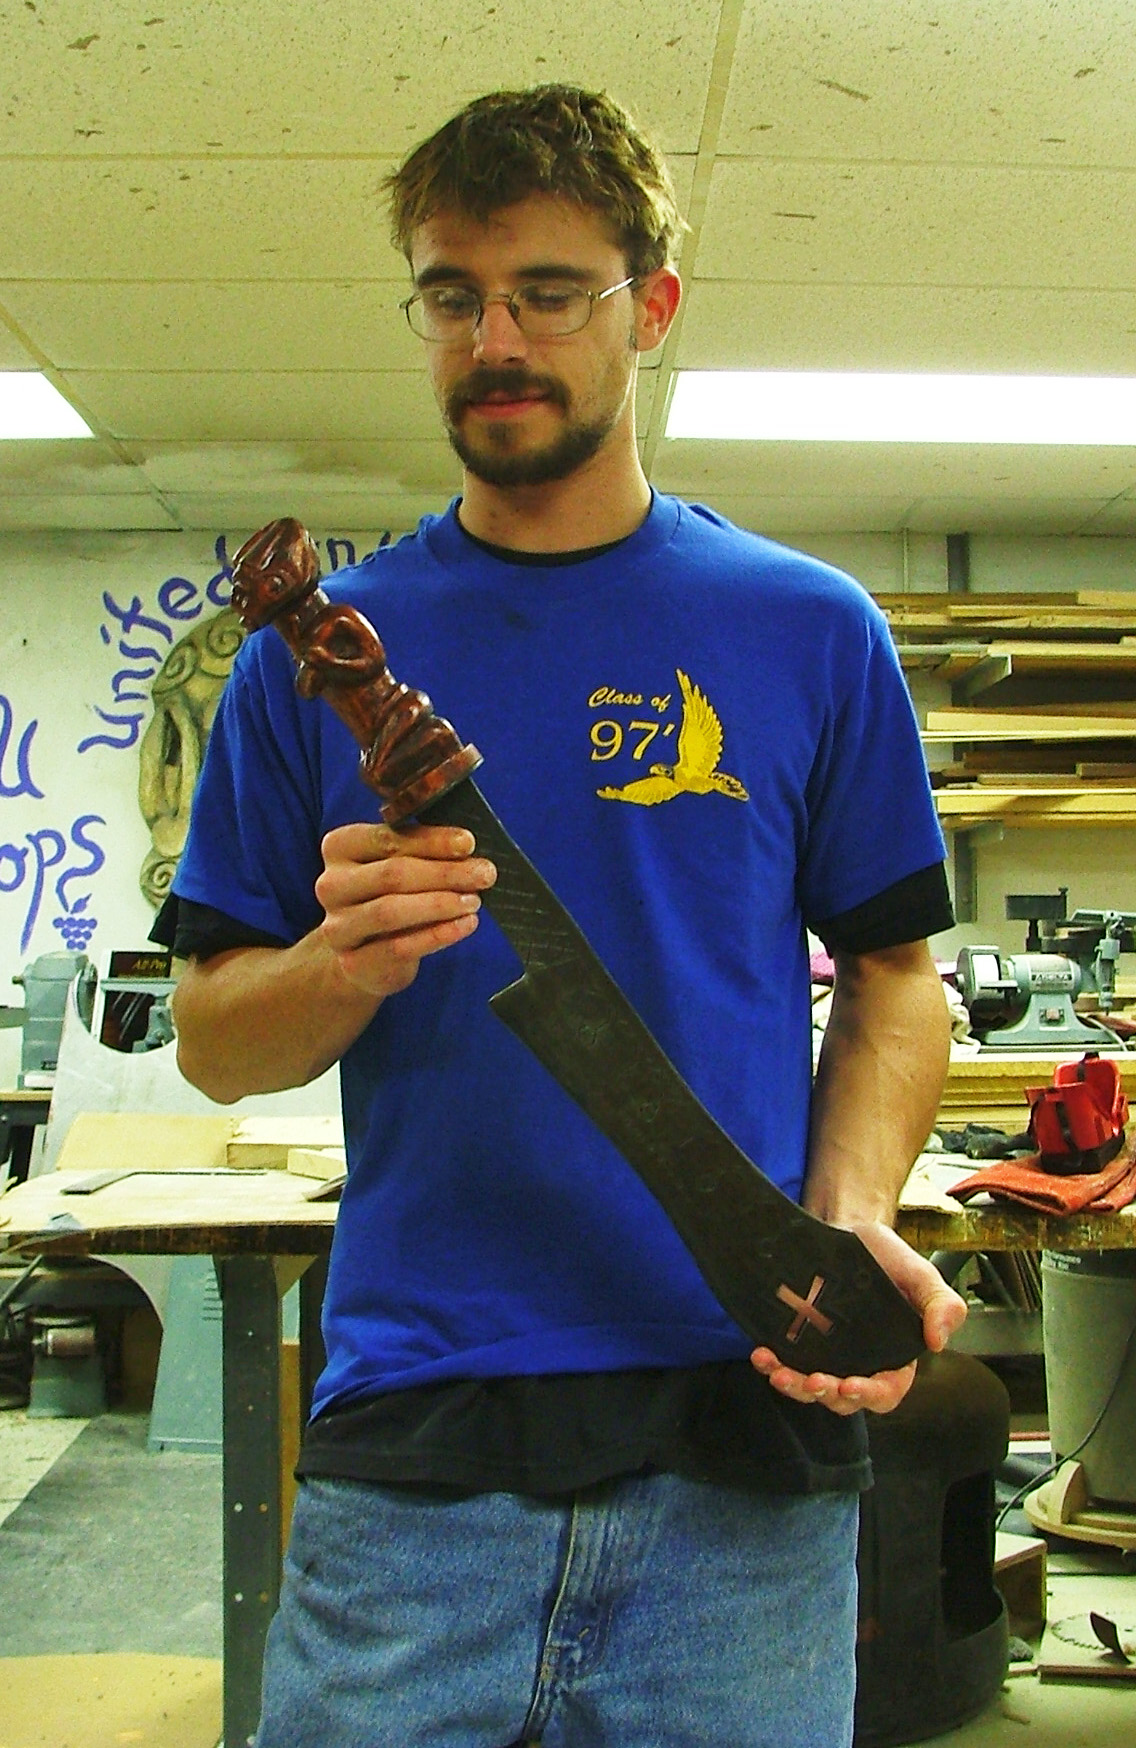
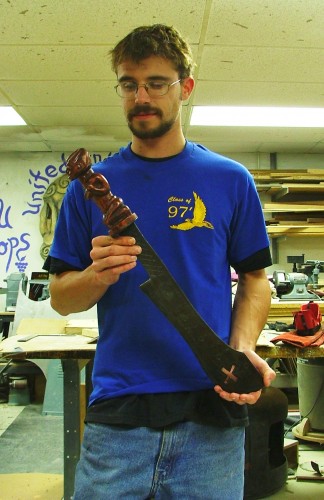
I made this decorative Yoruban sword back in 2004, when I was attending Ohio University and had a lot more beard.

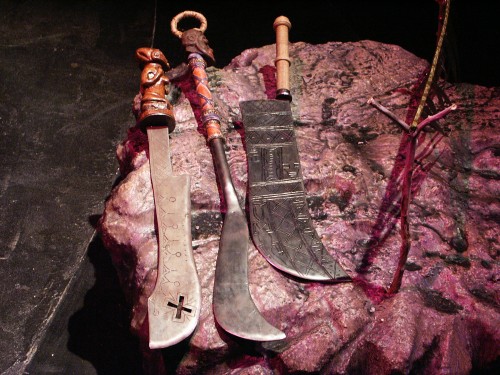
Yoruban sword from "The Gods are Not to Blame"

The show was called “The Gods are Not to Blame”, and it is a Yoruban retelling of the Oedipus Rex tale from Ancient Greece (the Yoruba people are one of the largest ethnic groups in Western Africa, with a cultural history of hundreds, if not thousands, of years). My future wife was the set designer on this show, and nearly all the props had to be constructed to be completely authentic; her design involved extensive research into Yoruban artifacts, furniture, and design.

This sword, while appearing like a tradition sword, was built using very modern methods. It’s actually a fairly simple construction, although it has a few hidden tricks. I carved the handle from a piece of poplar, while the blade is taken from a sheet of steel plate. I traced the shape onto the steel and used a plasma cutter to cut it out. I also cut the cross shape out with the plasma.

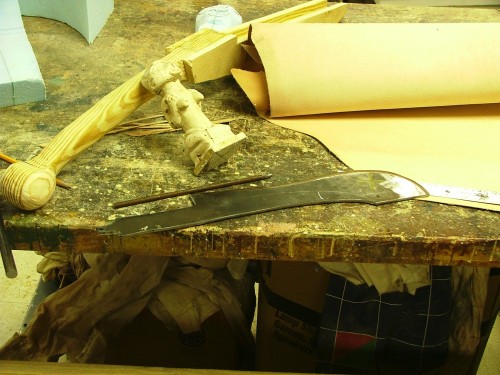
Pieces of the sword
Pieces of the sword

Now for the hidden fun part. I took a steel rod and sharpened one end to a point. On the end of the tang of the blade, I notched a “V” shape. This is where the sharpened end of the rod went, and I welded the two pieces together; the reason for the sharpening and the notching was to give me a lot of surface area to attach my welds to.

I then had to drill a hole all the way through my carved figurine for the rod to slide into. I needed an extra-long drill bit for this part. I also notched the bottom for the tang to slide into. It was like cutting a mortise for a metal tenon. This step was necessary to keep the handle from spinning around the rod.

I threaded the end of the rod which was sticking out of the top of the figurines head, and tightened a nut down; this is how the handle remained attached to the blade. For one final little touch, I drilled out the top of the head so the nut could fit down inside, and then filled the whole thing over with some Bondo auto-body filler. The nut was now hidden within the top of the handle–with the unfortunate side effect that the handle was now permanently attached. Since this was a decorative sword and not a stage combat weapon (the blade was mild steel, and not to0l-hardened like a weapon’s blade), it would hopefully not need routine maintenance and tightening.

A collection of Yoruban swords

I traced the designs onto the blade from my full-scale drawing and engraved them with a Dremel tool. For my final step, I stained and sealed the handle.

Clean Shaven EricIt was a very hefty sword and a lot of fun to swing around. One day, I wasn’t paying attention while swinging it around, and I accidentally cut all my facial hair off. And that, my friends, is the secret origin of “Clean-Shaven Eric”.

Making and finding props for theatre, film, and hobbies