Tag Archives: dragon skin

Lending a Hand to Titus

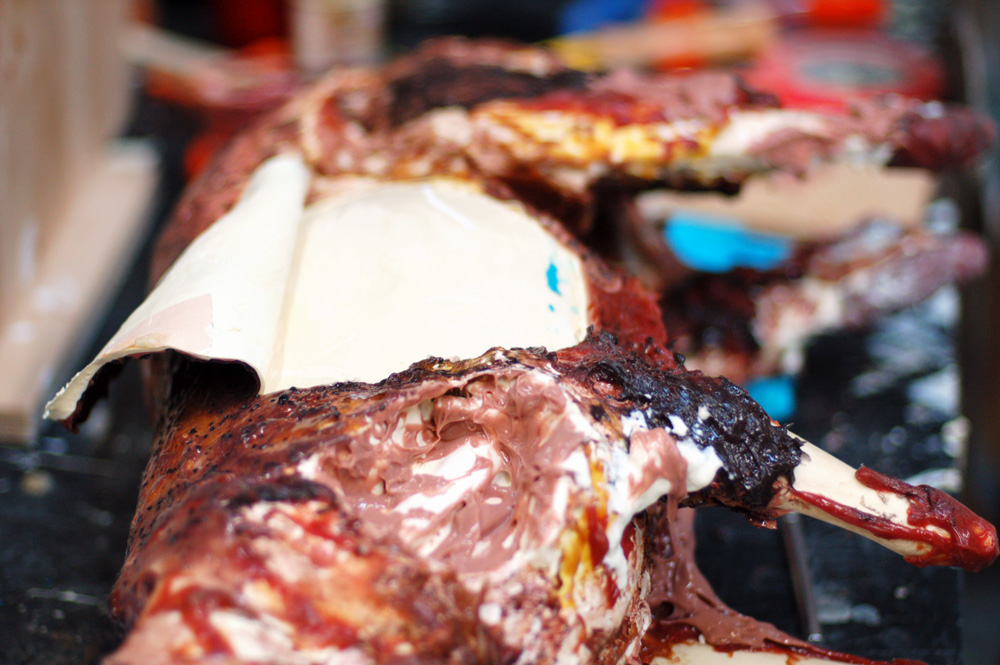
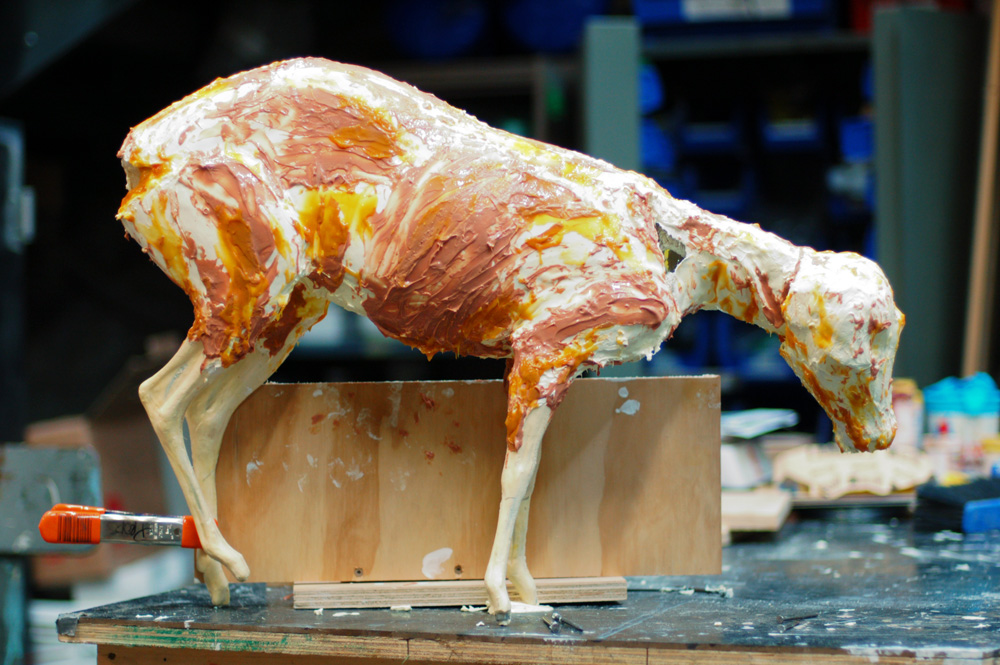
Our last show of this calendar year was Titus Andronicus, which, depending on the budget, could be a prop person’s dream or nightmare. Meghan Buchanan was the prop master on this show, and her company, Paper Mâché Monkey, was handling most of the acquiring and construction of the props. Since King Lear was winding down, I offered to lend a hand, and as luck would have it, they needed a hand. Jay O. Sanders hand, to be precise; after he cuts it off, it shows up in a later scene.

Mixing the alginate
Mixing the alginate

Life casting a hand is one of the easier parts to do; the only tricky part here was that they were rehearsing uptown at Second Stage Theatre and I only had an hour, so I had to prep everything beforehand so I could be in and out like a ninja hand caster before anyone knew what had happened.

Jay O. Sanders molding his hand

I used alginate because it’s cheap, non-toxic, safe on the skin, and sets up quickly. It’s made from seaweed and used in dentistry to make molds of your teeth and gums. After mixing the powdered alginate with water and filling a hand-sized container, I asked Jay to pose his hand and submerge it. It doesn’t heat up like plaster; it just slowly thickens. In about ten minutes, it had solidified enough to where Jay could remove his hand. It’s stretchy enough that he could pull his hand out without breaking or tearing the mold (if done slowly), and it doesn’t really stick to anything (no mold release is needed). The little bit that does stick can be washed off with water.

Pouring plaster in the alginate mold

The thing with alginate is that it starts shrinking right away as it loses water. You only have about two or three hours to make a cast before it has shrunk noticeably. I mixed up some plaster while still at Second Stage and poured it in. After it had hardened enough, I packed up my stuff and took the subway back down to the Public Theater.

Plaster hand inside the alginate mold

Now I could just tear the alginate away until the plaster hand was free.

Brush-on mold
Brush-on mold

I decided to do a brush-on mold for this because of the shape of the hand. I had only attempted a brush-on mold once before and it didn’t go so well. This time around was only marginally better. I ended up making it work, but that’s about the only good thing I could say. After the rubber mold set, I built a two-piece plaster shell around it for support. I ended up having to cut open some of the silicone mold to remove the plaster hand inside.

Unpainted silicone rubber hand

I cast the hand itself out of Smooth-On Dragon Skin, which long-time readers may remember being used in both the dead body and head for The Bacchae, as well as the dead lamb for Little Foxes. Dragon Skin itself cures fairly translucent and colorless, so I tinted the whole mix with a flesh color. I also embedded some dowels inside to cut down on the amount of silicone rubber I would need and to act as bones.

Hand of Titus Andronicus

I “painted” more Dragon Skin over top, tinted with different colors. I rubbed some darker colors into the cracks and crevices to give it a bit of depth, and added a bluish tint onto the veins. I was using a fairly thick mix so it wouldn’t run. Silicone rubber is self-leveling unless it is thickened, and it can be pretty glossy if allowed to do that. I didn’t want that on the hand, but I took advantage of that for the fingernails, where I used a pretty thin mix and only a touch of color to get a shiny and translucent effect.

"I kind of feel like that kid who found the severed hand..."

The hand has gone through some changes since I took these pictures; the bones on the back were cut down in length, and a lot more blood was painted on. All told, it only took about three days between them asking me to lend a hand making a cast of a hand to the cast having a hand in hand for rehearsal.

Fake Dead Lamb Part Three

Welcome to the thrilling conclusion of this fake dead lamb I’ve built. If you haven’t already, please read part one and part two so you can catch up and see what has happened before.

When last we left our lamb, I had given it a “meat pocket” to experiment filling with fake meat that the actors could eat on stage. The prop master (Matt Hodges) and the chef figured out what they wanted, so I had the go-ahead to carve out the rest of the pockets. The main one was going to be the ribcage: Matt had some fake rib bones that would be covered with meat. The actors would rib nearly the entire rib cage out and break it apart one by one.

As I mentioned in the last post, the silicone rubber peels right away from the foam body.

Opening up the ribcage

I carved away a lot of the foam, even making a hole through the body. The idea was to make the lamb appear like it would at the end of a meal; the fake meat would fill it in. I also wanted to put some contrast in the color, as the outside would have crispy, seasoned skin while the inside would be just fat and muscle.

After the ribs are removed

The lamb needed a tongue. I decided I would carve one, mold it, and cast it directly out of Dragon Skin.

Drawing of a tongue
Drawing of a tongue

I cut it out of a scrap piece of MDF and carved it down as quickly as I could. I tried to add some taste buds and texture too by hitting it with pointy things. I took a piece of Kleen Klay, shoved the tongue inside and pulled it out. The Kleen Klay liked that. A lot of oil-based clays contain sulfur, which keeps silicone rubber from curing, which is not conducive to casting pieces in it. Kleen Klay is one of the types that is sulfur-free.

Quick mold of the tongue

I don’t think you’ll find this method in Thurston James’ book on molding and casting, but it served my purposes fine; namely, I had poured a batch of silicone rubber within twenty minutes of starting the whole process.

Filling the mold
Filling the mold

After a little over 75 minutes, I broke the clay mold open and removed the tongue. None of the clay stuck to it, but I could tell it was still a bit tacky on the outside. Not to worry; the instruction booklet says that might happen occasionally. The solution is to let it sit out and cure in the air for a few minutes. If it remains tacky after a long enough time, you have to remove that layer; in this case, I was lucky and the rubber cured fully on its own. And I got some tongue!

Tongue in my hand
Tongue in my hand

That’s pretty much the end of the process. I added more thin coats to color and tint the lamb until it matched the research. There was one more meat pocket in the back leg; I carved it to look like it was eaten to the bone.

Portrait of a Lamb
Portrait of a Lamb

You can see it more clearly in the closeup below.

Closeup of meat pockets

So there you have it: an easy-to-clean fake dead lamb with the ability to fill it with fake food for actors to eat on stage. As I mentioned earlier, now I know how to improve on my process for the next time I need to make a fake dead lamb.

Little Sheep of Horrors

Fake Dead Lamb Part Two

(This is part two of a series. Read Part One to catch up).

If you remember the body I built for The Bacchae last year, you remember I used Dragon Skin for the majority of the project. At the time, we were using Dragon Skin Q, which was a formulation that set in 75 minutes. I discovered this year that they renamed all the products. Dragon Skin Q is now Dragon Skin 10 Fast. Regular Dragon Skin is now Dragon Skin 10 Medium. They also have Dragon Skin 20 and 30, which are new products to give different hardnesses. I learned all that at the Compleat Sculptor, which is a really great store here in NYC.

Anyway, after I coated the whole lamb with a skin of Dragon Skin, I began adding more layers with different colors. Silicone rubber sticks great to itself, and it’s easy to color with a number of pigments that they sell. You can also control the translucency and consistency of the Dragon Skin you’re putting on, which makes it possible to create a very dimensional and realistic coating.

After two more coats of Dragon Skin were added

Again, it sets up in only 75 minutes. I was also adding Thi-Vex, another Smooth-On product which thickens the silicone rubber; just a few drops makes it possible to brush it onto vertical surfaces without oozing off. You can really build up a lot of layers quickly, which was vital for the short time-frame of this project.

More color layers added

At this point, I needed to reshape some of the parts to match the research better. As I mentioned in the previous part, silicone rubber doesn’t actually stick to anything but itself. The reason it stays on the lamb is because it completely surrounds it and until you peel it away, it has a bit of surface tension and suction holding it on. I needed to slice my lamb open though, and the “skin” peeled right away, even though the body is made of fairly fragile urethane foam. Once I carved the foam into a more-correct looking shape, I folded and sort of tucked the skin back around. Some more Dragon Skin “glued” it back together, and after a few more coats, the colors blended together so well you couldn’t see the cuts anymore.

Removing the guts
Removing the guts

You’ll notice in the next picture I also cut the front legs down, so they would match the research better. In a bit, the back legs will be chopped in half as well. You’ll also notice the colors are fairly exaggerated. The reason is two-fold. First, once it gets on stage under lights, it will look less exaggerated. I found in making the body for The Bacchae that subtle effects disappear into a muddy mess on stage, and a bit of overemphasizing of colors and details is necessary to read from the audience. Second, the whole lamb is going to get a brown glaze over it, which will dull down the contrast and colors quite a bit.

Looking crispy
Looking crispy

Now, one of the additional tricks to this prop is that the actors need to be able to pull chunks of meat off of it and eat it in front of the audience. To that end, I carved out a hunk in the front leg as a test. We had a chef who was working on a vegetarian fake meat substance to fill it with. My goal was to make it look like what would be left after the eating is finished.

Adding a meat pocket

At this point, I was ready to start adding the final coats to bring the whole thing together. In the research, the outer skin looked like it was heavily seasoned. I found some coarse sand that resembled the crushed pepper in some of the photographs, and mixed it into a batch of brownish Dragon Skin. Platinum-cure RTV silicone rubber only reacts with a few things: sulfur and latex are some of the more common things to watch out for. Otherwise, you can kind of mix anything you want in there like it’s paint.

Adding seasoning to the mix

Here is a closeup of what the skin starts to look like after only a thin coat of the “glaze.”

Close up of the seasoning

If you think he’s starting to look good now, wait until the thrilling conclusion in part three!

First coat of glaze
First coat of glaze

Fake Dead Lamb Part One

I was recently contacted about making a dead cooked lamb for The Little Foxes at New York Theatre Workshop. This was an interesting prop. The creative team made a film in which they slaughtered a lamb, cleaned and prepared it, and then roasted it on a spit. They played this video during the performance, and then the actors carried out a tray with what was supposed to be the same lamb. They then tear into it with their bare hands and eat parts of it. Obviously, they couldn’t use the same lamb as in the video, as it would only last one performance. Another curve ball was that some of the actors were vegetarian.

Thus, the idea was to construct a fake lamb which matched the appearance of the lamb in the video. This lamb would have “pockets” which could hold some kind of fake meat. Matt Hodges, the prop master, brought in a vegan chef to deal with the execution of a faux meat product. The whole thing would also need to be easy to clean, otherwise there would be serious hygiene and safety problems after a few performances.

I first mentioned Dragon Skin over a year ago on this blog, and used it extensively to build the body for our production of The Bacchae. You can reread part one and part two and see the various heads we had to make. If you are more interested in what it is or how to work with it, check those articles out. I decided on Dragon Skin for two reasons: first, I knew I could achieve the right look with it. Second, nothing really sticks to silicone rubber except silicone rubber, so it could be hosed down with water or washed in the sink with soap without worrying about it falling apart or dissolving. Finally, it is pretty fast to work with, and since I ended up with little over a week to turn this guy around, I couldn’t afford to work with something that took all day to dry.

To save time, we started with a taxidermy form. Matt Hodges had measurements and photographs of the kind of lamb they would use, and found a small deer form from Van Dykes which was the closest facsimile. Also, I hope I don’t need to mention that I had a lot of reference photographs to work from, which is integral to this kind of project.

Taxidermy form of a deer

The first step was cutting it apart and reassembling it. First, it was not in the correct pose. Second, it would look ridiculous to have a stiff lamb on stage, especially with the actors tearing at it. It needed some movement, so I had to make the joints loose.

Cutting the form apart

The neck was where the most movement was possible. I got rid of the entire foam piece, and replaced it with several pieces of thick rope. I also added some slices of PVC pipe to bulk it up and act as vertebrae.

Creating a movable neck

I wired the whole thing together when I was happy with it. I spent some time tweaking the lengths of the different rope pieces and the placement of the vertebrae until it had the kind of movement that looked realistic to me.

The interior of the neck

I decided I would wrap the whole neck with muslin dipped in Rosco FlexBond.  When you mix Dragon Skin, it’s fairly viscous and runny; you can add thickener to it to make it thick enough to brush on and stay on vertical surfaces. Either way, you need a surface for it to stick to. I suppose the “correct” way to construct a prop like this is to make a mold of the body, and suspend the armature inside, then cast the whole thing with Dragon Skin. It’s how they construct animatronic creatures. That way would be far to time and money intensive, though. In retrospect, I could have slipped pantyhose over the neck to achieve the same thing. Ah well, I’ll keep that in mind for the next dead lamb I make.

The legs were also reattached with strips of muslin dipped in FlexBond. I realized the FlexBond took far too long to dry, so when it came time to attach the front legs, I just used Gaffers tape. Really, I only needed to hold them in place until the whole piece could be coated in Dragon Skin.

Reattaching the pieces

At this point I decided I would cover the whole lamb in sort of a “base coat” of Dragon Skin, and then brush on the various colors and lumps of flesh. As I mentioned above, silicone rubber only sticks to more silicone rubber, so you can peel it away from the foam which the lamb is made out of. The only way to keep that from happening is to cover the whole thing so it’s one continuous “shell”. I figured I would pour the first coat on rather than brushing it, so it could flow into every crack and crevice. I put up a “dam” with aluminum foil to keep it from running down the sides.

Creating a dam with metal foil

I made the base coat a very opaque off-white to match the foam. This would help give it a uniform color as well. In retrospect, I may reconsider these first few steps. It took a lot of Dragon Skin to cover up all the white Dragon Skin from the first coat. On the other hand, it’s always better to work from light to dark when building something up with many translucent layers. Again, maybe I can try something different when I build my next fake cooked lamb.

Pouring the first coat of Dragon Skin

You may have noticed in the first picture that the animal’s head isn’t quite right; it has a section cut out with a wood plate hidden inside. It’s where you are supposed to mount the antlers of the deer you are trying to recreate. I needed to fill that area in. I decided to try a product called Magic-Sculpt. I’ve always liked doing quick modeling with epoxy putty. It’s easy to work with, it adheres to many things, and when it sets, it’s rock hard. Magic-Sculpt is essentially epoxy putty formulated specifically for modeling. It doesn’t shrink or crack, and with a little bit of water, you can smooth it to a slick surface while you’re manipulating it. You can also buy large quantities of it for far cheaper than you can buy the same quantities of epoxy putty from the hardware store. Their website says you can work with it sans gloves; that is absurd. Epoxies are skin sensitizers, and with enough exposure, you can develop severe allergies. Wear nitrile gloves when working with it.

I shaped a chunk of it to fill out the top of the skull. I also added some in the mouth to sculpt out some teeth.

Molding the skull
Molding the skull

For now, let’s let this little guy dry before moving on. Continue on to the second part of this build.

A body for Bacchae: Part Two

In part one of “making a body for Bacchae“, we developed a series of samples and prototypes of dead body parts out of spray foam, Foam Coat, and Dragon Skin. Since then, we’ve been able to show the pieces to the whole production team; John Conklin, the scenic designer, and JoAnne Akalaitis, the director, gave us the go-ahead to continue on with the actual body pieces.

We started with a skeleton. We were originally going to get a skeleton from a medical supply store, but I found a corpsing tutorial at “Skull and Bones.com” which shows that you can get a “4th quality” skeleton from certain companies for a lot cheaper. It may be missing some hardware and fasteners, and the overall quality will be less, but all the pieces are there, and for our purposes, it was perfect.

The full skeleton laid out on a table

We broke the skeleton apart into several pieces. In the play, King Pentheus is killed through sparagmos, and we had to make the end result. The legs and skull were three separate pieces. We left one shoulder blade and upper arm on the torso, which left us with one complete arm, and one forearm.

The first steps in adding muscle to the bones

Like the sample pieces, we built the muscle up by spraying expanding foam onto the bones, carving it into muscles, and coating everything with Rosco Foam Coat.

Continue reading A body for Bacchae: Part Two