I really like this illustrated chart of hand tools over at Popular Mechanics. The chart itself is good-looking enough to hang up in your shop, while the tools pictured on it give you a great idea of what your shop is missing.
If you ever wanted to take the time to make chain mail by hand (as opposed to just spray-painting some crocheted yarn), Make Projects has a great tutorial on just that.
This past week was the 53rd USITT conference in Milwaukee. This year’s conference featured a lot of things for props people. I couldn’t get to them all, but I saw a lot of them. I took notes which I may go through later, but since I’m writing this on the flight home (and have to work first thing in the morning), I’ll just give the highlights.
First off, there was the Expo floor, filled with companies, organizations and universities peddling their wares. Wonderflex World had plenty of samples of their products, including a sneak peek of a new product coming out soon that is pretty exciting.
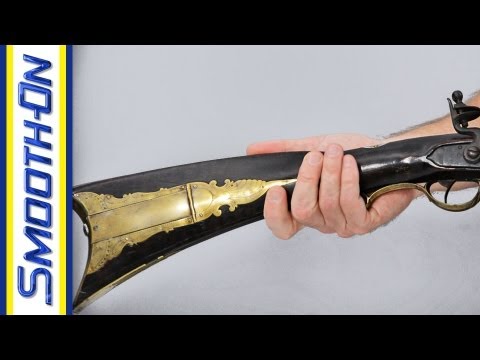
Smooth-On had their usual cool booth with all the rubber monsters and foam cinder blocks you can make with their products. There’s a possibility I may start getting samples of their new products to test out for this blog. That would be neat.
StageBitz had demos of their props management and inventory software. I first tested them out about two years ago, and it’s almost completely different now (in a good way). You can do a 3-week free trial of their software from their website, which is really the only way to start discovering how easy and seamless this can make propping a show, from letting the designer share images and research with you, to letting you send the designer pictures of items in your stock, to keeping up with changes in rehearsal, creating to-do lists to send to your artisans and shoppers, maintaining a budget, to finally adding all the props to your stock when the show closes.
RC4 Wireless Dimming had tiny wireless dimmers. It sounds simple, but it’s amazing how these little devices act so seamlessly to let you control any sort of battery-powered light or motor from your theatre’s lighting console. I also attended a session called “Wireless Light and Motion for Propmasters”, where a couple theatres were showing off various ways they used the RC4 units.
One of the last sessions of the conference was on sustainability in design and production led by Donyale Werle. It included the exciting unveiling of the College Green Captain Toolkit, based off of the already-successful program which every Broadway show participates in (I’ll post a link when it appears, or you can contact the Broadway Green Alliance for more information). Jacob Coakley from Stage Directions Magazine live-blogged much of the session.
An earlier session on “Reimagining Theatre with Green Ideals” also featured information about sustainability and the Broadway Green Alliance. Once again, Jacob Coakley live-blogged the whole discussion.
“Grave Matters” was a session with a lot of good tips and tricks for making gore and corpses. One of the speakers, Gary Benson, has his presentation online , including step-by-step photographs of how he made some skulls.
“You’ll Shoot Your Eye Out” was a bit disappointing since 3 of the 4 presenters could not be there. However, you can check out the handouts on firearm safety that they had. You will also find a link for a survey they are running to discover how various theatres deal with guns on stage (and off). I’m not sure how long that link will last, so you should download those files rather than bookmarking them.
I got to check out the Young Designer’s Forum, which had some great work. I was also able to meet two of my future coworkers this summer at the Santa Fe Opera.
The Milwaukee Rep props shop hosted a SPAM get-together at their space, though it was nice to see plenty of non-SPAM props masters and prop makers there as well. I wrote about their shop for Stage Directions this month, but to actually see their work space and storage facilities in person was a great treat.
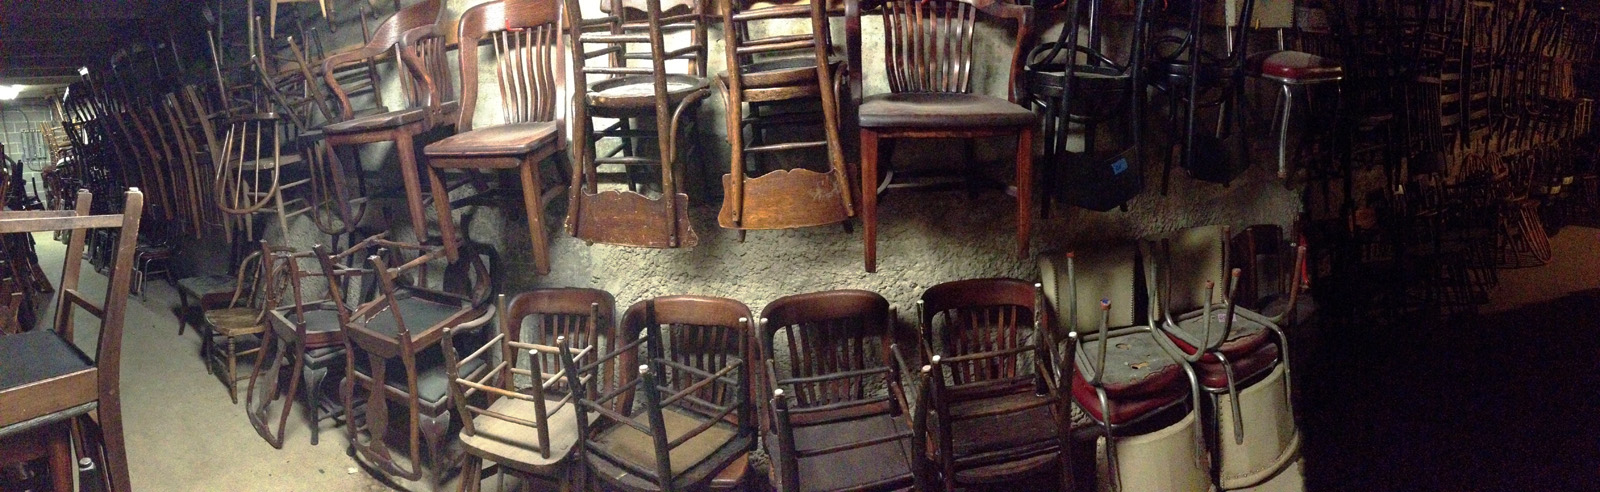
Chairs as far as the eye can see.
Oh yeah, I also sold out of my book by the end of my signing. The response has been overwhelming so far. I am ecstatic that so many people are excited about this book, and I can’t wait to hear back from those of you who use it or teach from it.
Did I forget anything about the conference? Was there something I missed? Let me know in the comments what you saw at USITT that excited you.
Hello, internet. It’s been a pretty busy couple of weeks;Â Crazy for You (which I am prop mastering) begins tech this weekend. It has quite a large number of elements keeping me pretty busy, so I did not have time to write a blog for this past Wednesday. But I do have some fun links I’ve come across that should fill you with proppy goodness.
Anna Warren seems to be even busier than me over at Milwaukee Rep, but she has returned to write a new blog post, and it’s a cool one. She details how she molded and cast fried chicken out of latex and foam, using real fried chicken as the model.
The flip-side of molding and casting real food to make fake food is molding an object to cast it out of an edible material. This brings up many safety concerns, as very few molding materials and mold releases are food-safe. Smooth-on has a wonderfully-illustrated tutorial for casting edible items using a food-safe silicon putty.
I have yet to catch the TV series Face Off, in which special-effects makeup artists compete in time-intensive challenges (like Project Runway for the sci-fi set), but I’ve heard good things about it. Jamie Frevale interviews Rod Maxwell, one of the contestants on the show, about his work and what it was like “performing” that work on television.
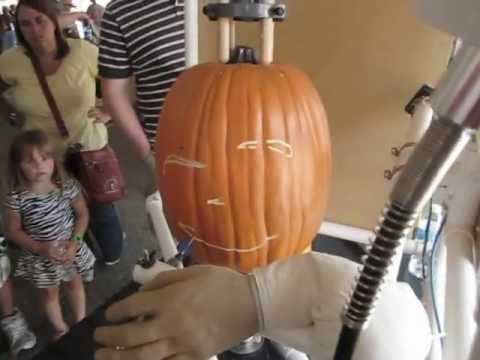
Finally, just in time for Halloween, we have this video of a CNC machine which can carve Jack-o’-lanterns:
Life casting a hand is one of the easier parts to do; the only tricky part here was that they were rehearsing uptown at Second Stage Theatre and I only had an hour, so I had to prep everything beforehand so I could be in and out like a ninja hand caster before anyone knew what had happened.
Jay O. Sanders molding his hand
I used alginate because it’s cheap, non-toxic, safe on the skin, and sets up quickly. It’s made from seaweed and used in dentistry to make molds of your teeth and gums. After mixing the powdered alginate with water and filling a hand-sized container, I asked Jay to pose his hand and submerge it. It doesn’t heat up like plaster; it just slowly thickens. In about ten minutes, it had solidified enough to where Jay could remove his hand. It’s stretchy enough that he could pull his hand out without breaking or tearing the mold (if done slowly), and it doesn’t really stick to anything (no mold release is needed). The little bit that does stick can be washed off with water.
Pouring plaster in the alginate mold
The thing with alginate is that it starts shrinking right away as it loses water. You only have about two or three hours to make a cast before it has shrunk noticeably. I mixed up some plaster while still at Second Stage and poured it in. After it had hardened enough, I packed up my stuff and took the subway back down to the Public Theater.
Plaster hand inside the alginate mold
Now I could just tear the alginate away until the plaster hand was free.
Brush-on mold
I decided to do a brush-on mold for this because of the shape of the hand. I had only attempted a brush-on mold once before and it didn’t go so well. This time around was only marginally better. I ended up making it work, but that’s about the only good thing I could say. After the rubber mold set, I built a two-piece plaster shell around it for support. I ended up having to cut open some of the silicone mold to remove the plaster hand inside.
Unpainted silicone rubber hand
I cast the hand itself out of Smooth-On Dragon Skin, which long-time readers may remember being used in both the deadbody and head for The Bacchae, as well as the deadlamb for Little Foxes. Dragon Skin itself cures fairly translucent and colorless, so I tinted the whole mix with a flesh color. I also embedded some dowels inside to cut down on the amount of silicone rubber I would need and to act as bones.
Hand of Titus Andronicus
I “painted” more Dragon Skin over top, tinted with different colors. I rubbed some darker colors into the cracks and crevices to give it a bit of depth, and added a bluish tint onto the veins. I was using a fairly thick mix so it wouldn’t run. Silicone rubber is self-leveling unless it is thickened, and it can be pretty glossy if allowed to do that. I didn’t want that on the hand, but I took advantage of that for the fingernails, where I used a pretty thin mix and only a touch of color to get a shiny and translucent effect.
"I kind of feel like that kid who found the severed hand..."
The hand has gone through some changes since I took these pictures; the bones on the back were cut down in length, and a lot more blood was painted on. All told, it only took about three days between them asking me to lend a hand making a cast of a hand to the cast having a hand in hand for rehearsal.
Welcome to the thrilling conclusion of this fake dead lamb I’ve built. If you haven’t already, please read part one and part two so you can catch up and see what has happened before.
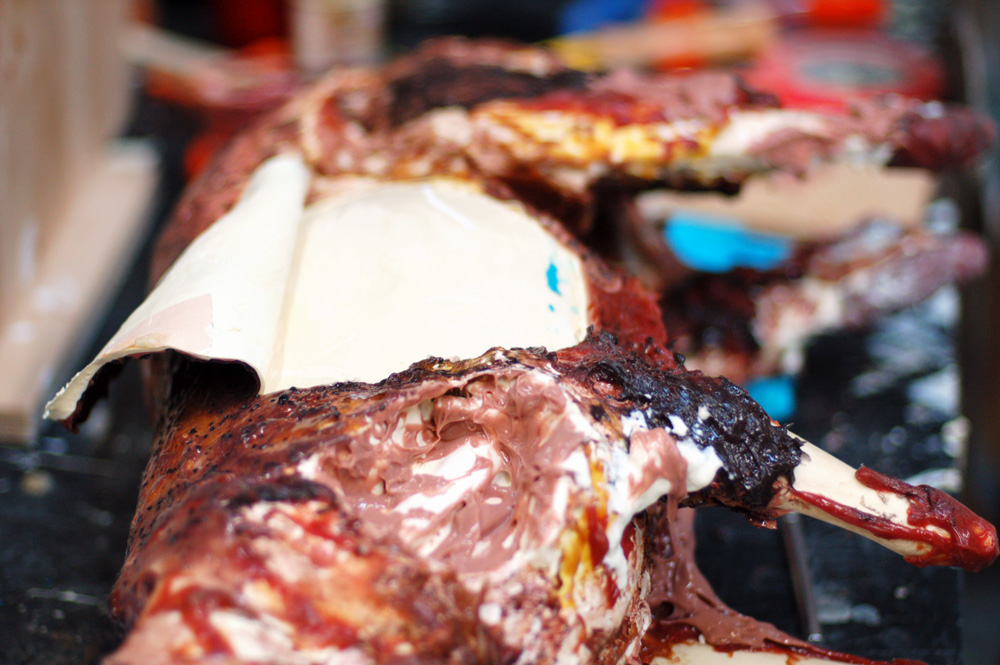
When last we left our lamb, I had given it a “meat pocket” to experiment filling with fake meat that the actors could eat on stage. The prop master (Matt Hodges) and the chef figured out what they wanted, so I had the go-ahead to carve out the rest of the pockets. The main one was going to be the ribcage: Matt had some fake rib bones that would be covered with meat. The actors would rib nearly the entire rib cage out and break it apart one by one.
As I mentioned in the last post, the silicone rubber peels right away from the foam body.
Opening up the ribcage
I carved away a lot of the foam, even making a hole through the body. The idea was to make the lamb appear like it would at the end of a meal; the fake meat would fill it in. I also wanted to put some contrast in the color, as the outside would have crispy, seasoned skin while the inside would be just fat and muscle.
After the ribs are removed
The lamb needed a tongue. I decided I would carve one, mold it, and cast it directly out of Dragon Skin.
Drawing of a tongue
I cut it out of a scrap piece of MDF and carved it down as quickly as I could. I tried to add some taste buds and texture too by hitting it with pointy things. I took a piece of Kleen Klay, shoved the tongue inside and pulled it out. The Kleen Klay liked that. A lot of oil-based clays contain sulfur, which keeps silicone rubber from curing, which is not conducive to casting pieces in it. Kleen Klay is one of the types that is sulfur-free.
Quick mold of the tongue
I don’t think you’ll find this method in Thurston James’ book on molding and casting, but it served my purposes fine; namely, I had poured a batch of silicone rubber within twenty minutes of starting the whole process.
Filling the mold
After a little over 75 minutes, I broke the clay mold open and removed the tongue. None of the clay stuck to it, but I could tell it was still a bit tacky on the outside. Not to worry; the instruction booklet says that might happen occasionally. The solution is to let it sit out and cure in the air for a few minutes. If it remains tacky after a long enough time, you have to remove that layer; in this case, I was lucky and the rubber cured fully on its own. And I got some tongue!
Tongue in my hand
That’s pretty much the end of the process. I added more thin coats to color and tint the lamb until it matched the research. There was one more meat pocket in the back leg; I carved it to look like it was eaten to the bone.
Portrait of a Lamb
You can see it more clearly in the closeup below.
Closeup of meat pockets
So there you have it: an easy-to-clean fake dead lamb with the ability to fill it with fake food for actors to eat on stage. As I mentioned earlier, now I know how to improve on my process for the next time I need to make a fake dead lamb.
Little Sheep of Horrors
Making and finding props for theatre, film, and hobbies