Tag Archives: gore

USITT 2013 Wrap-Up

This past week was the 53rd USITT conference in Milwaukee. This year’s conference featured a lot of things for props people. I couldn’t get to them all, but I saw a lot of them. I took notes which I may go through later, but since I’m writing this on the flight home (and have to work first thing in the morning), I’ll just give the highlights.

First off, there was the Expo floor, filled with companies, organizations and universities peddling their wares. Wonderflex World had plenty of samples of their products, including a sneak peek of a new product coming out soon that is pretty exciting.

Smooth-On had their usual cool booth with all the rubber monsters and foam cinder blocks you can make with their products. There’s a possibility I may start getting samples of their new products to test out for this blog. That would be neat.

StageBitz had demos of their props management and inventory software. I first tested them out about two years ago, and it’s almost completely different now (in a good way). You can do a 3-week free trial of their software from their website, which is really the only way to start discovering how easy and seamless this can make propping a show, from letting the designer share images and research with you, to letting you send the designer pictures of items in your stock, to keeping up with changes in rehearsal, creating to-do lists to send to your artisans and shoppers, maintaining a budget, to finally adding all the props to your stock when the show closes.

RC4 Wireless Dimming had tiny wireless dimmers. It sounds simple, but it’s amazing how these little devices act so seamlessly to let you control any sort of battery-powered light or motor from your theatre’s lighting console. I also attended a session called “Wireless Light and Motion for Propmasters”, where a couple theatres were showing off various ways they used the RC4 units.

One of the last sessions of the conference was on sustainability in design and production led by Donyale Werle. It included the exciting unveiling of the College Green Captain Toolkit, based off of the already-successful program which every Broadway show participates in (I’ll post a link when it appears, or you can contact the Broadway Green Alliance for more information). Jacob Coakley from Stage Directions Magazine live-blogged much of the session.

An earlier session on “Reimagining Theatre with Green Ideals” also featured information about sustainability and the Broadway Green Alliance. Once again, Jacob Coakley live-blogged the whole discussion.

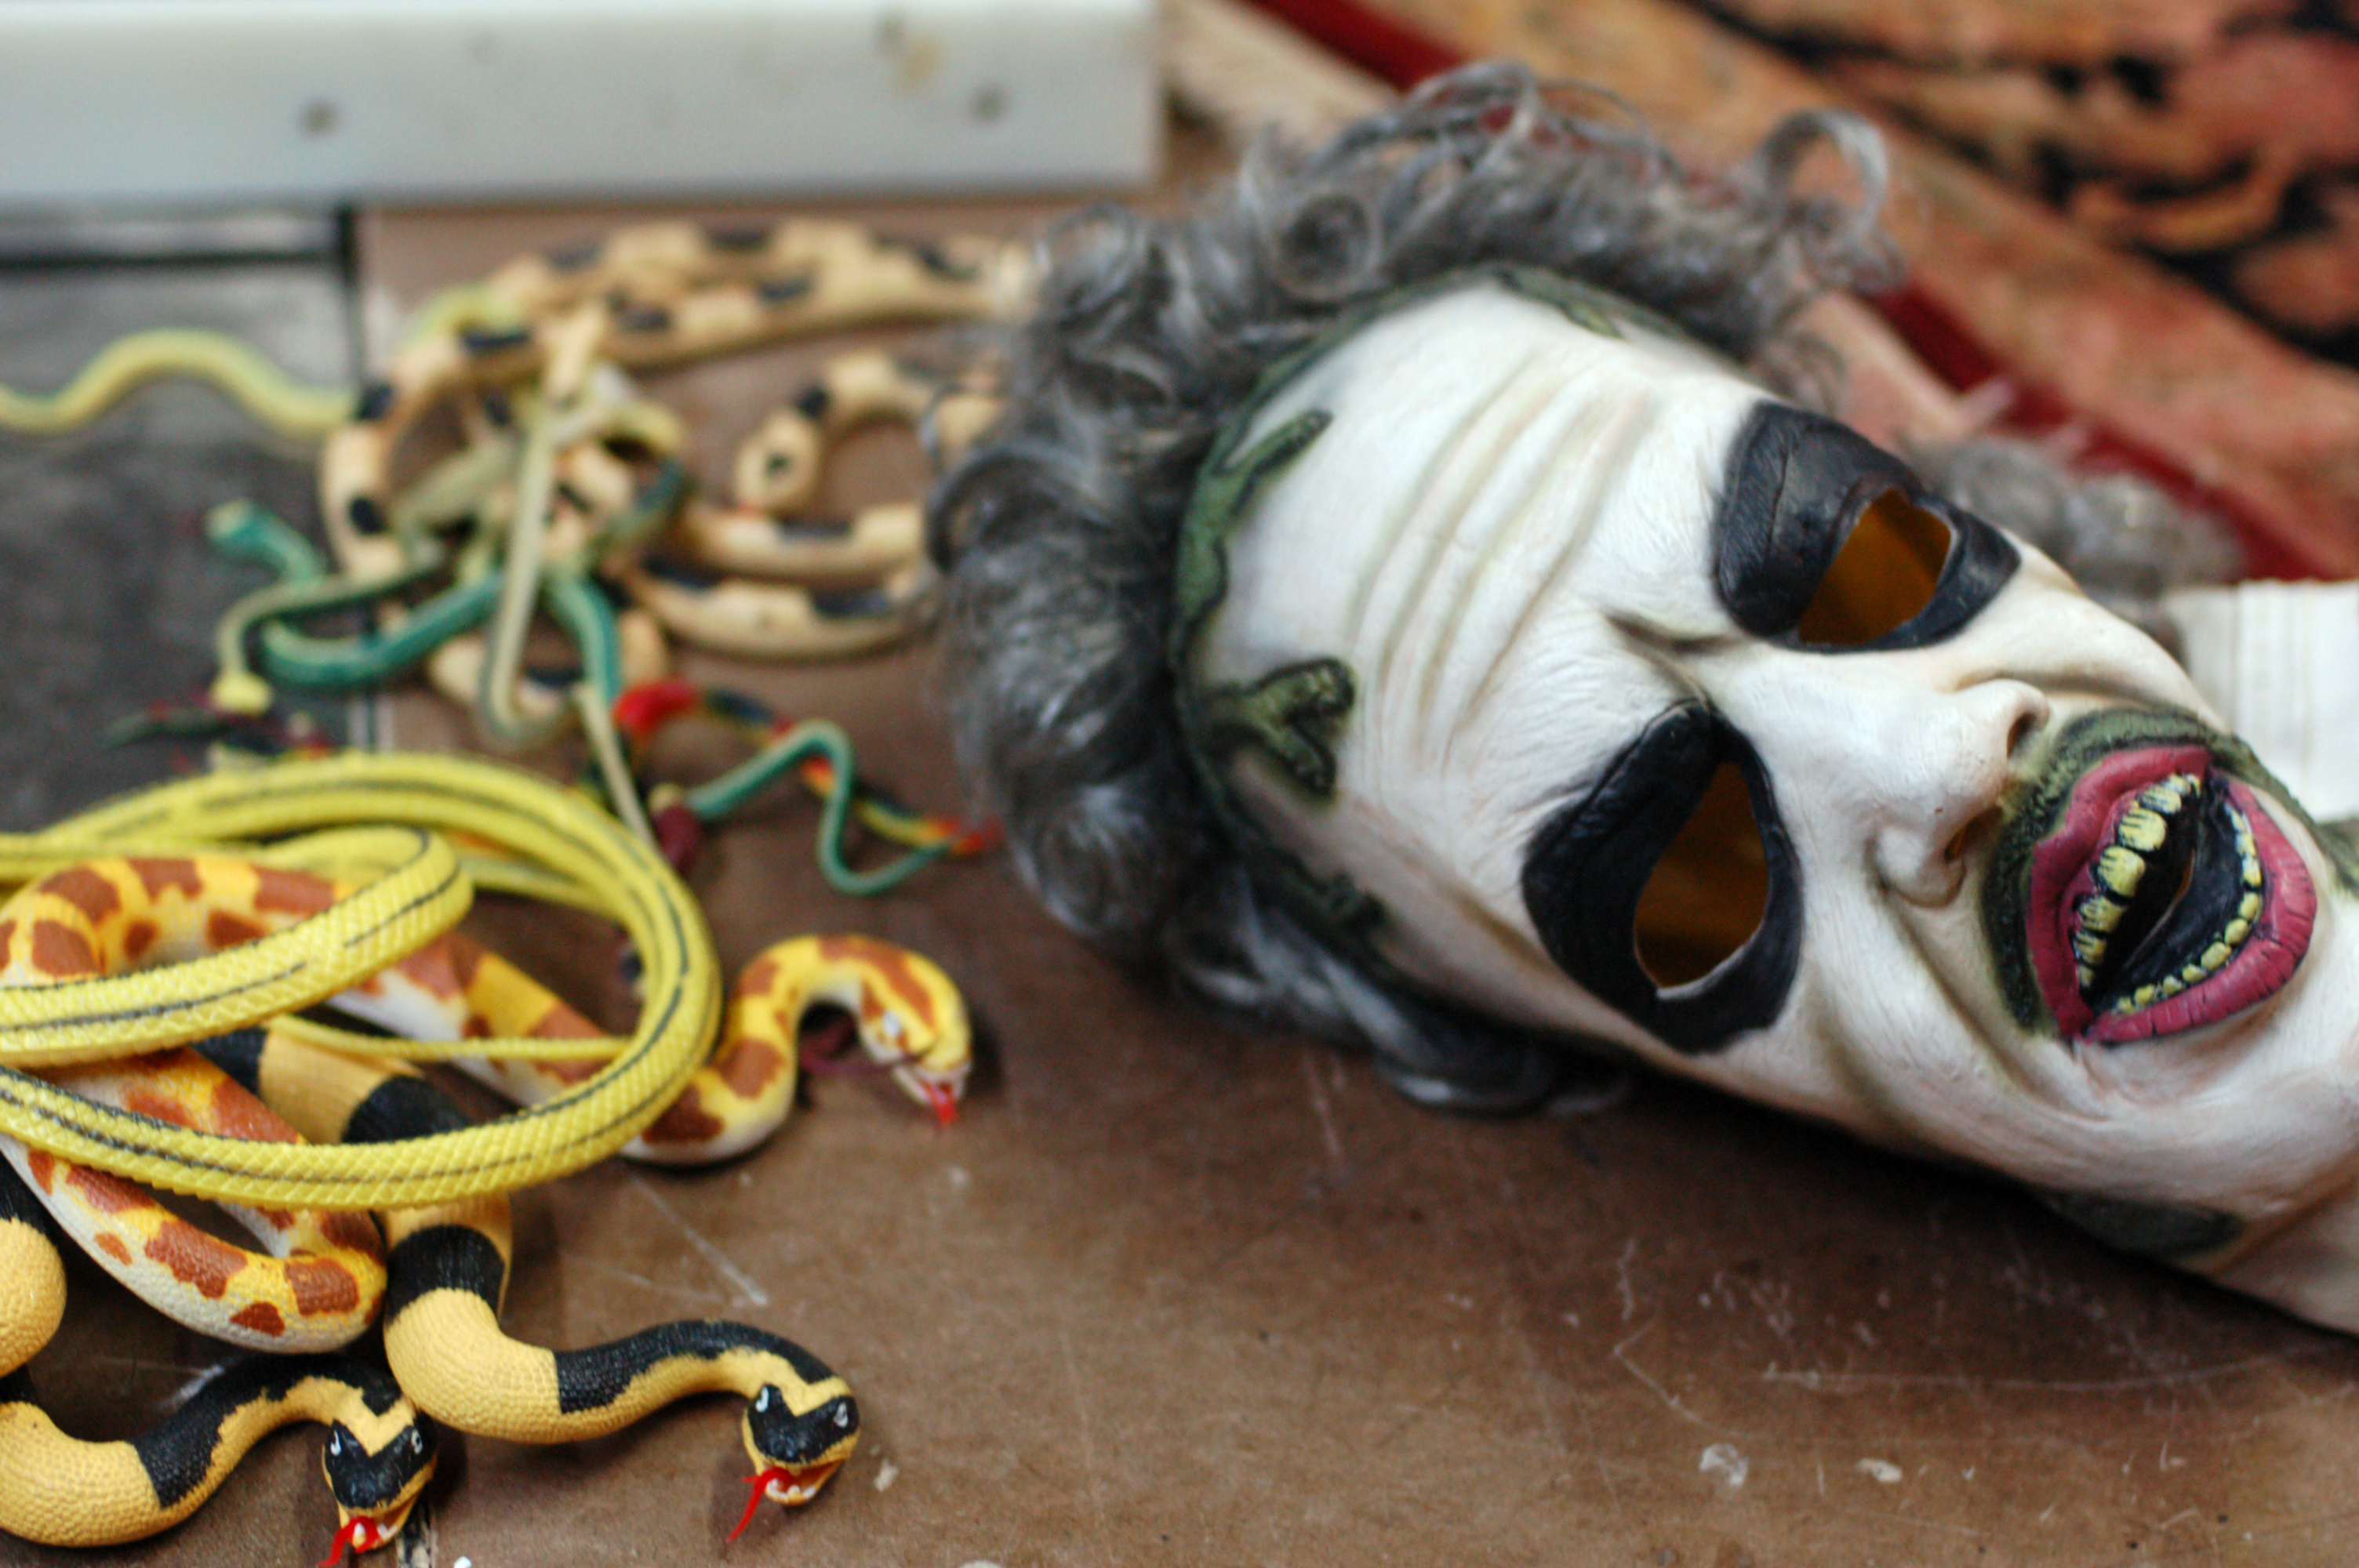
“Grave Matters” was a session with a lot of good tips and tricks for making gore and corpses. One of the speakers, Gary Benson, has his presentation online , including step-by-step photographs of how he made some skulls.

“You’ll Shoot Your Eye Out” was a bit disappointing since 3 of the 4 presenters could not be there. However, you can check out the handouts on firearm safety that they had. You will also find a link for a survey they are running to discover how various theatres deal with guns on stage (and off). I’m not sure how long that link will last, so you should download those files rather than bookmarking them.

I got to check out the Young Designer’s Forum, which had some great work. I was also able to meet two of my future coworkers this summer at the Santa Fe Opera.

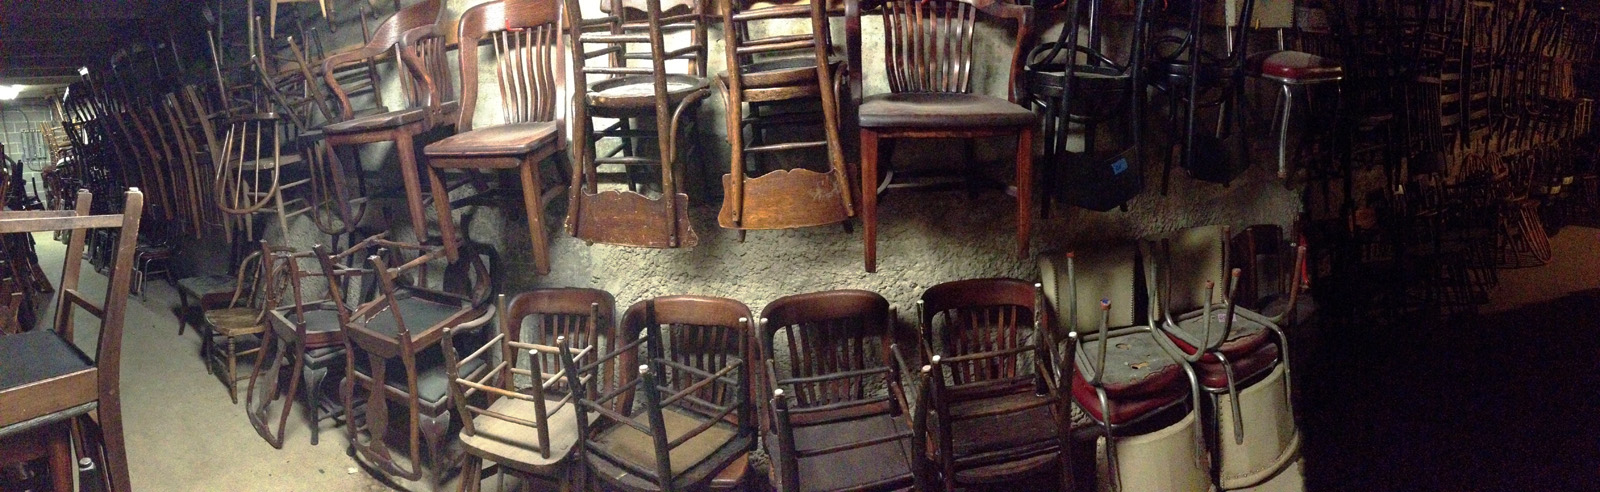
The Milwaukee Rep props shop hosted a SPAM get-together at their space, though it was nice to see plenty of non-SPAM props masters and prop makers there as well. I wrote about their shop for Stage Directions this month, but to actually see their work space and storage facilities in person was a great treat.

Chairs as far as the eye can see.

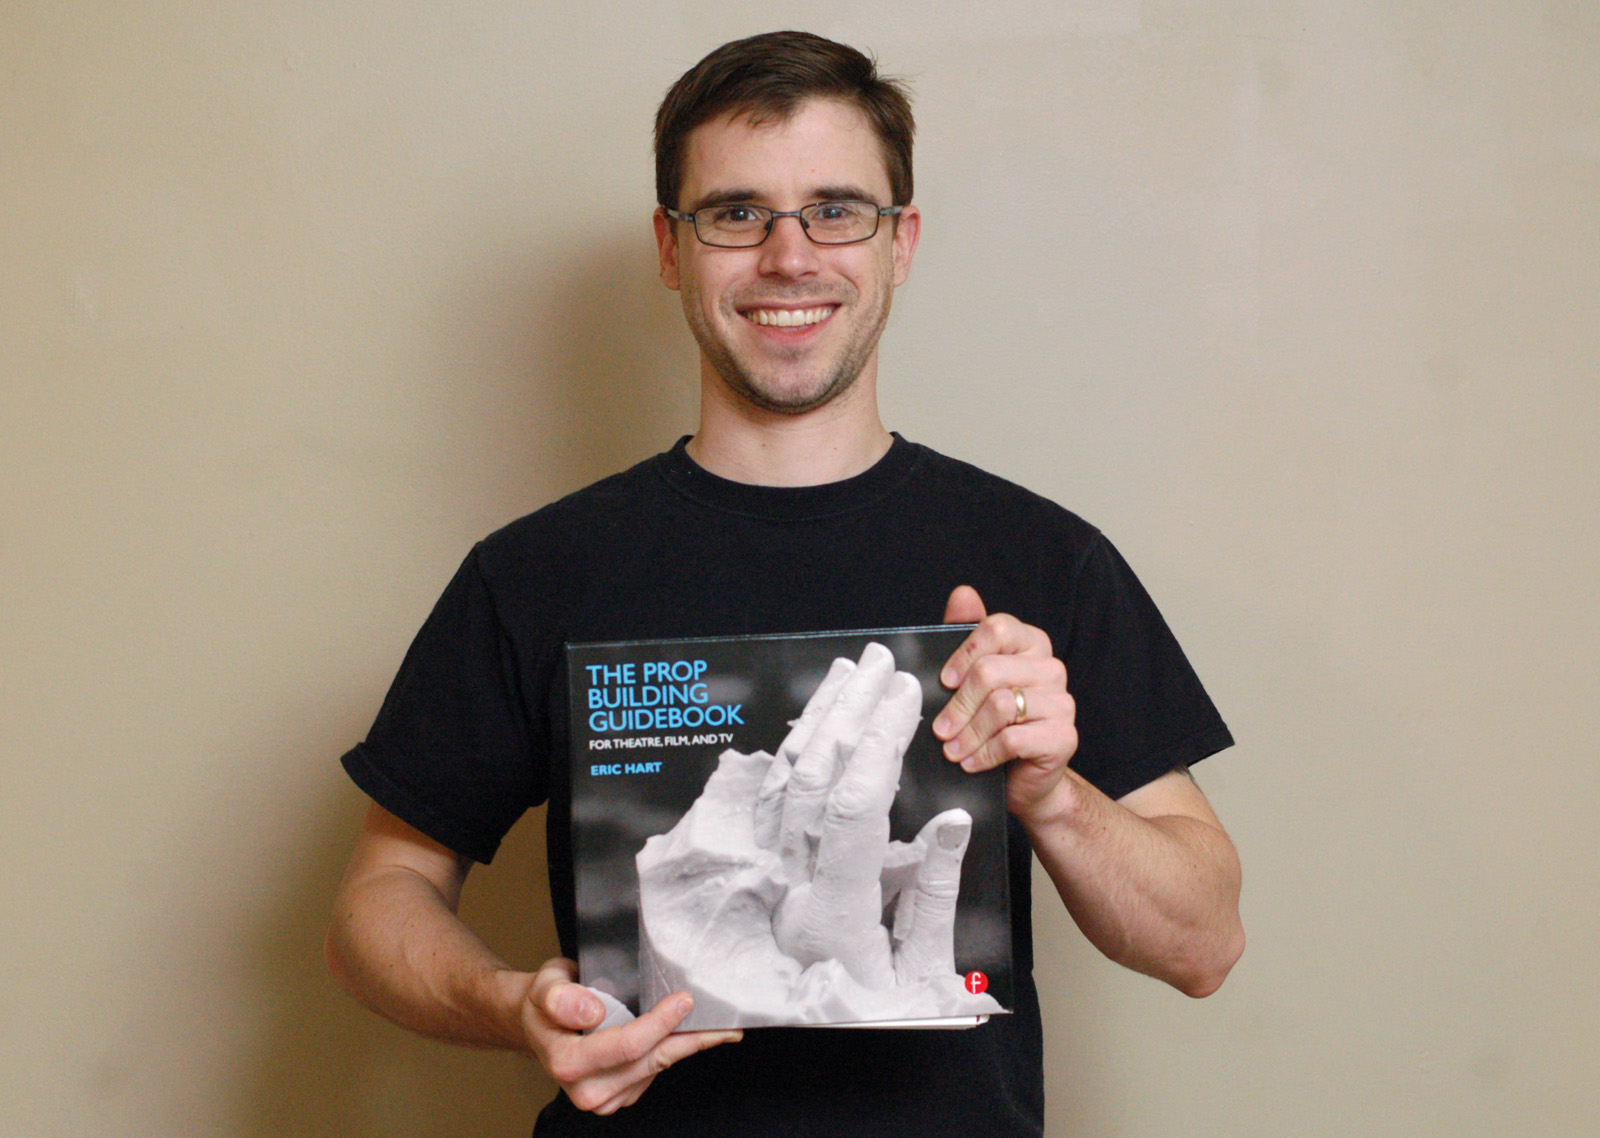
Oh yeah, I also sold out of my book by the end of my signing. The response has been overwhelming so far. I am ecstatic that so many people are excited about this book, and I can’t wait to hear back from those of you who use it or teach from it.

Did I forget anything about the conference? Was there something I missed? Let me know in the comments what you saw at USITT that excited you.

This Week I got a Book

So the big news this week is that I received my advance copy of The Prop Building Guidebook: For Theatre, Film, and TV.

The Prop Building Guidebook

I cannot wait for people to start reading this. It’s the culmination of several years’ work. It clocks in at around 380 pages, and has photographs, charts, and illustrations on nearly every single page.

But enough about me, let’s talk about what else you can read on the web this week:

The House of von Macramé is a new pop musical running at the Bushwick Starr. It’s about a killer who targets models during Fashion Week. Waldo Warshaw did all the blood effects, delivery systems and splatter choreography, which Erik Piepenburg at the New York Times presents to us in this great article and slideshow called “A Scream. A Splash. Send in the Mops“.

This is actually from a month ago, but the Smithsonian Institute has received production-used costumes and props from the Broadway production of Wicked for display in their National Museum of American History. I think more props belong in a museum.

Everybody knows Google Street View, right? Well they have some special galleries hidden in different places. One very cool one is the inside of Scott’s Hut in Antartica. It’s an exploration hut from 1911 which the cold has preserved perfectly. It makes for some really cool primary research. If that link doesn’t work, or if you want to see what other galleries they have, you can view all their collections.

Blood Sponge Bag

I touched briefly on the idea of blood sponges in a short video from last summer; we were preparing to use them for The Bacchae, but the scene was re-blocked in a way that negated their necessity. A “blood sponge bag” is an extension of that idea. This effect allows you to produce blood on cue with an easily-hidden apparatus.

Supplies I used
Supplies I used

You need some cling wrap (aka “clear plastic wrap” or “Saran wrap”), thread, blood, and a sponge. Don’t be fooled by the preceding photograph; even though I’m using a fancy natural sponge, cutting a chunk off a regular kitchen sponge will serve you just as well.

Wrap the sponge in saran wrap

Soak the sponge in your blood and wrap it up in the saran wrap. You can fill the saran wrap with extra blood so the sponge is swimming in it if you want.

Wrap the sponge in saran wrap

In lieu of cling wrap, you can also use plastic sandwich bags; your end goal is to create an impermeable membrane which is easily burst by squeezing. Balloons and Ziploc may prove too tough, and paper or fabric will allow the blood to seep through and spoil the surprise.

Tie the end up with thread

Tie it all up by wrapping thread around the end. You don’t even need to tie any special knots; just wrapping it a couple dozen times should hold it. You can wrap tightly to put the bag under pressure; this will make it easier to burst.

Concealing the prepared blood bag

You can now conceal the completed blood bag on your person until the blood is needed. Just give it a squeeze and out it comes. There is, of course, the possibly noticeable sound of the bag bursting; usually this can be covered through the fight choreography. Because the blood is being held by a sponge, you can speed up or slow down the rate of blood flow by altering the pressure with which you squeeze it.

Squeeze to burst
Squeeze to burst

Medusa Head

I was contacted to make the head of Medusa for a show. An actor would pull it out of a bag, but it did not have to stand up on its own. The face did not need to match any of the actresses in the cast, so that freed me up in my options. It needed to be inexpensive too, so I used as many store-bought items as I could.

Supplies for the Medusa head

I bought a Beetlejuice mask and some rubber snakes from Halloween Adventure, a year-round costume store in the East Village. His hair turned out to be a wig which pulled right off.

Filling the face with foam

I filled the inside of the mask with a layer of expanding foam insulation. In order to keep the foam from distorting the shape of the face as it expanded, I buried the face in a tray of sand. Expanding foam gives off harmful vapors when curing, so use in a well-ventilated area, preferably in a spray-booth or near some kind of system that can pull the air away from you. Expanding foam does not cure properly when you put it on too thick, so fill the mask one layer at a time. I ended up rotating the mask after each coat and putting only a single layer on each side. The mask remained hollow but the sides were strong enough to hold the shape.

Snakes
Snakes

I used wire to hold the snakes on the head. I arranged it so it would be easy to grasp Medusa from the top. I had printed out some pictures of various depictions of Medusa in art through history, and that gave me a good reference on how to arrange the snakes so they would look the most “Medusa-like”.

Basecoated mask
Basecoated mask

I made eyes out of epoxy putty. Epoxy putty comes in tubes, and you simply break a piece off and mix it around in your hands until it is a uniform color. It has the consistency of a clay like Sculpey, and hardens over time (depending on which kind you get, that can be anywhere from five minutes to an hour). Epoxy can be absorbed through the skin and you can become sensitized to it over time, so where disposable gloves when working with it. I had set the eyes in place before filling the mask with the expanding foam, which held them in place when it dried. I sprayed a coat of paint over the entire mask (I actually did this before putting on the snakes).

Cutting the eyes out of paper

I found a picture of an iris and pupil and printed it out to the appropriate size. I cut two of them out and used five-minute epoxy to attach them; I coated the entire eyeball with the epoxy to make it glossy, and lay the paper iris on top of that. After the first coat dried, I covered the entire eyeball with another coat of epoxy. This made it appear like the iris and pupil were behind the cornea.

Don't look into her eyes

At this point, I also cut off some of the nose and upper lip and carved it down to look less like Michael Keaton and more like Medusa. Once happy with the new shape, I re-coated the foam with automotive filler (Bondo). This is also toxic and requires a well-ventilated area. The advantage is that it dries very quickly; if you have more time, you can use something far more innocuous, such as Foam Coat.

Face painting
Face painting

The next several steps involved painting the face with acrylics and spray paints.

Filling in the neckhole
Filling in the necknole

I filled in the bottom of the neck with a chunk of blue foam carved to fit. I spray painted it with red, and then blasted it with a hot air gun to create the above effect. Again, you need a well-ventilated area for this, preferably a spray booth.

Covering the head with blood

I thought the head needed some splattered blood. I mixed up some more five-minute epoxy, and then stirred in some paint. I had some red paint and some black paint. I did not mix it to a uniform color, but rather swirled it so the parts had differences in both translucency and tint. I filled the rest of the neck hole, smeared a lot around the bottom of the neck, and then splattered and flung some upwards so it would look like her head was sliced off in one swipe.

The head of Medusa
The head of Medusa

Now that you know how to make your own head of Medusa, get Kraken!

A Shocking History of Stage Horror

Tabula Rasa has a history of gore effects used in theatre. Some highlights include:

  • Loading a dummy with animal blood and animal intestines for realistic disembowelings
  • Hiding a lamb’s tongue in an actor’s mouth to simulate him biting it off

The history goes all the way back to Ancient Greece. It’s interesting to see how real blood and offal was used throughout all but our most recent history. Though the information presented is brief, it’s a great starting point for anyone interested in this kind of thing.