Tag Archives: making

Product versus Process

I heard a story awhile back from a fellow props artisan. A large company was in town, putting on the kind of show that required hundreds of specialty props, all created specifically for their production. They started out working with one of the larger prop shops in the area. The shop was good, but they were still not happy with a number of the props; the performers themselves needed to talk directly to the artisan in order to give all the details and needs they were looking for. When the prop was finished, they wanted to be able to use it in rehearsal for a bit, then work with the artisan again to suggest changes and ask for modifications.

The large prop shop wasn’t set up to do business like this. They were used to taking drawings and draftings from a designer, constructing the prop, and delivering it to the theatre. They could certainly deal with the changes and additions that happen in every production, but the kind of individual one-on-one experimentation with props throughout the rehearsal process that these actors wanted was beyond their capabilities. This is where the fellow props artisan comes in. He was able to provide this kind of daily collaboration. He would talk through the prop with the performer, making notes and asking questions, then head to his shop for the rest of the day. The next morning, he would bring a newly constructed prop to the performer who would try it out and then suggest new changes and additions based on what was learned.

This is the difference between props as a product and as a process, and it is one of the reasons why good props artisans will always be needed. In one case, you are “ordering” a custom prop from a prop shop. In some ways, it is just like you would buy some of your props off of eBay or from a catalog. Having this shop continually make changes and modifications becomes expensive, inconvenient, or even downright impossible. Even if all of the props are built by an outside group, you will still need an artisan on hand who can modify and work with the props to make them do what the show needs them to do. Having an artisan on hand also allows the props department to be a bigger part of the whole collaboration. Like a conductor who lowers the volume of the trumpets or speeds up the tempo at certain parts in the music, an artisan can alter the weight or balance of a prop, change the color, or add a secret handle between rehearsals.

I’m not trying to knock commercial prop shops in this post, but rather make a point about the continuing need for artisans in an age where our industry is seeing more and more computerized fabrication. CNC routers and 3D printers are great technologies, and hold even more promise in the future, but they are no replacement for a good props artisan. They create products. They don’t replace the process.

A CNC router can cut an intricate shape out of a piece of plywood with very precise measurements, and it can do it a thousand times with no difference between all the pieces. A props artisan is more than just his ability to cut out a shape drawn on a piece of plywood. A props artisan takes the needs and wants of a prop, balanced with the input of the director, the designer, the actor and the stage manager, and weighs it against the limitations of the theatre, the shop, her skills, and all the resources available to her. She chooses the materials and techniques which best fit all of these requirements to construct the prop. And she does it knowing that it may need to be changed or modified later, or even cut entirely from the show.

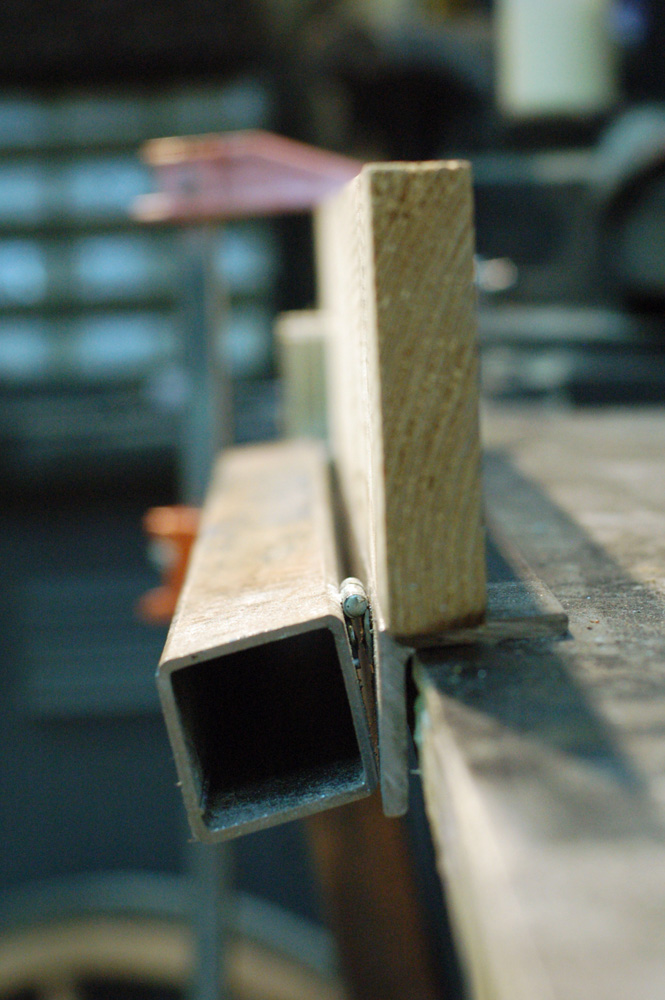
A smart props artisan will keep on top of the changes in technology and tools available to him and learn when to integrate them into his process. We’ve integrated computer printers into our manufacturing of paper props. Even with all the amazing things one can do with graphics software, artisans still use a surprising amount of non-computerized techniques to add life to paper props. A good artisan uses all tools and methods available to him rather than altering the prop so it can be manufactured by a certain machine.

Baby Steps and Jumping In

Where do you get started with making props? Maybe if you have a block of wood and a knife you want to start carving. You can also buy a lump of clay and start trying to shape something. If you want to learn construction techniques, try building a box with some wood and nails. Papier-mâché has been used in prop making for hundreds of years and is an easy and inexpensive method to experiment with. The important thing to do is get started working with your hands. Tools and materials all have their own quirks and characteristics, like a secret inner life. The only way to discover these and begin to familiarize yourself with them is to work with them. All the reading and planning in the world will not bridge the gap between theory and practice.

You may be afraid to make mistakes. Don’t worry; you will. You will not turn out a beautiful pristine prop on your first try. You need to go through all the hours of familiarizing yourself with the materials and methods before your work becomes good. You may feel silly just jumping in; if you just start carving a piece of wood with a knife, surely some more experienced artisan will come along and tell you that you are using the wrong knife, or that the type of wood you have is not very good for carving. You’re probably right. Even the most experienced artisans do not know everything, and when we start working with new materials and processes, there is some learning curve before we find the ideal tools for the job.

In many cases, tool and material choice is a matter of preference, culture, experience and any number of other factors. I’ve read about experienced woodworkers who treat their way of working as gospel, only to run across a seventeenth-century engraving of experienced woodworkers of that time using tools in precisely the opposite way of what should be “right”.

My point is that even experienced artisans do not know everything about everything, not with the sheer amount of crafts, tools, methods, materials and processes which a prop artisan can call upon. You can easily spend your entire life studying under master craftsmen and still not learn it all. While blogs like this one are great because it gets you thinking and spreads information efficiently, you need to jump in and start making things while you learn as well.

Sheet Metal Bending Brake

As I mentioned in my last post, I had to (or rather, wanted to) make a sheet metal bending brake for one of my latest projects. A brake is basically a tool (or jig) in which you can insert a piece of sheet metal, and then make a clean fold or bend in a straight line.

Front view of the brake

Again, I have to credit this post on Dave’s Sheet Metal Bending Brake for getting me up to speed on the best way to design a brake.

Side view of the brake

The piece of angle-iron is screwed to the worktable. The square tube is attached to the angle-iron by two small hinges, which are welded on. The tops of the bar stock, hinges and angle-iron are all in line with each other. Finally, I have a piece of wood which can be clamped down to the brake; the front face of the wood is lined up with the front face of the angle iron.

Sequence showing a fold being made

The metal is laid on the box tube and angle iron. The wood is clamped down. The fold will happen at the edge of the wood, so we mark the metal where we want the fold, and line that mark up with the edge of the wood. When you lift the handle, the metal bends with a nice sharp crease.

Here is a brief video of the brake in action making all the folds on one of the footlights.

Art Deco Footlights

A footlight
A footlight

I recently finished up a number of footlights for a company called Punchdrunk for their upcoming New York production of Sleep No More. Their Boston production used traditional shell-shaped footlights; for this update, the stage had a giant art deco backdrop whose shape would be mirrored in the footlights.

They provided me with a full-scale drawing of the piece with all the angles already figured out. I traced the patterns onto sheets of aluminum. I kept the top edge along the factory edge of the aluminum sheets; with that edge being front and center, I wanted it to be the straightest and cleanest part of the footlight. The first light I cut out using my pair of tin snips. It gave me a clean edge but took forever. I cut the next one out on the bandsaw. It was a lot faster but was harder to keep nice-looking. I ended up using both of the tools to cut, with the bandsaw cutting out the rough shape and making the easy cuts, and the tin snips cleaning up the edges and cutting the trickier parts.

Once cut, the edges needed a lot of sanding and deburring to get them nice and straight and not razor-sharp. I polished them to get them a little shinier as well.

Tracing the template

I was now ready to begin making the bends. I’ve bent sheet metal before using a hammer and some clamps, but I needed a much cleaner and more precise way to make these bends, especially since I was producing sixteen identical footlights. I needed a sheet metal brake. Not having one, I decided to make my own. I looked at a number of tutorials and plans online, and found Dave’s Sheet Metal Bending Brake to be the clearest and most useful description; he’s just a working-class guy trying to build an airplane.

The next two photos show the brake making a fold. First, I had made a mark on a piece of scrap metal and lined it up in the brake to make a bend; this showed me where to line up the marks on the brake in order to place the fold where I needed it to go. Once I was confident with the workings of the brake, it was just a matter of making all 128 folds, one at a time.

Metal in the brake
Metal in the brake
Making the fold
Making the fold

I cut and attached MDF bases to the lights to give them a way to attach to the stage, and for the birdie lights to attach to them as well.

Attaching the bases
Attaching the bases

I then put masking tape along the borders of each panel. This quarter-inch area was to remain metallic while the rest was painted gloss black.

Taping the paintlines

With the masking in place, all that was left to do was a couple of light coats of gloss black spray paint to build up a nice shiny and even surface.

16 footlights
16 footlights

Snow

Every winter, many performing arts institutions put on some kind of winter or holiday show. From a traditional Christmas Carol or The Nutcracker Suite, to the more modern A Christmas Story and The Santaland Diaries, many of these shows involve snow to some extant. Now, depending on the context of the snow and the traditions of the theater you work at, snow can be the responsibility of one or more departments: props, scenery, sometimes even lighting. Still, it doesn’t hurt to know some of the many ways snow is recreated, whether or not it ends up being the prop department’s responsibility.

For the 1936 Broadway production of Ethan Frome, scenic designer Jo Mielziner was very specific about the properties of the snow which covered most of the stage. It fell to Joe Lynn, the property master, to come up with a recipe. After much trial and error, they arrived at a mixture of white cornmeal, ground quartz and powdered mica flakes. As Mielziner himelf explains:

The cornmeal provided the right consistency, the quartz gave the crunching sound and the mica simulated the sparkling surface of snow in moonlight.

(from Designing for the theatre: a memoir and a portfolio, by Jo Mielziner; Atheneum, 1965, pg. 90)

Joe Lynn also added some rat poison to the mix to keep vermin away, which is probably not the safest solution available to today’s theatres. Also, using particles and powders as a floor covering—this is true of sand as well—can trigger issues with your fire marshal and even Actor’s Equity; you want to make sure you involve them as soon as possible so that you don’t end up using something which is not allowed.

For snowballs, previous props people have used white bar soap shaved into bits with a cheese grater. The resulting bits can be packed into a snowball which explodes on impact. Others suggest instant mashed potato flakes. In either case, water can be mixed in or spritzed on to make the snowballs stick better. If the actors are throwing the snowballs at people, obviously you want the snowball to break apart on impact as easily as possible. A lot of variables come into play: how hard the actor throws it, what it is hitting against, the temperature and humidity in your theatre, how far in advance you need to make the snowballs, etc. As a result of all these variables, there is no “exact recipe”, and research and development is essential.

Another option is the interior of disposable diapers (new ones, not used ones). They contain a powder called sodium polyacrylate, a polymer which absorbs 800–1000 times its own weight, effectively turning a liquid into a solid gel. It is also sold in magic shops and novelty stores as “slush powder”.

If a show calls for falling snow, it is often the props departments duty to procure the snow, while scenery is in charge of making it fall from the air. I know, it’s bizarre. The preferred method for at least the past hundred and thirty years is using clipped paper. Unfortunately, regular paper will not pass today’s fire retardant standards. If the thought of fire-proofing every snowflake for every performance is too overwhelming, theatrical suppliers, like Rose Brand, sell flame-proofed paper snow flakes. Expect to pay a lot though, and be aware that everyone needs snow during the winter and they are often sold out by this time of the year.

A more modern alternative is plastic flakes. Rose Brand sells these as well, but you can make your own if you wish. You can find paper shredders (for offices) which not only cut in strips, but also crosscut those pieces to make confetti. You can run white grocery bags or garbage bags through one to make your own plastic snow flakes. Bear in mind that you need a lot of snowflakes to make even a short-duration snowfall over a small stage. You’ll need more for multiple performances. You may be tempted to sweep as much as you can from one performance to use in the next one. Be aware that when you are picking up the old snow, you are also picking up all the dirt and dust from the stage. You don’t want to rain crud down onto your performers during a show; the dust can get in their eyes, and larger particles may even injure them when dropped from the top of the stage.