Tag Archives: table

Farm Table for Abundance

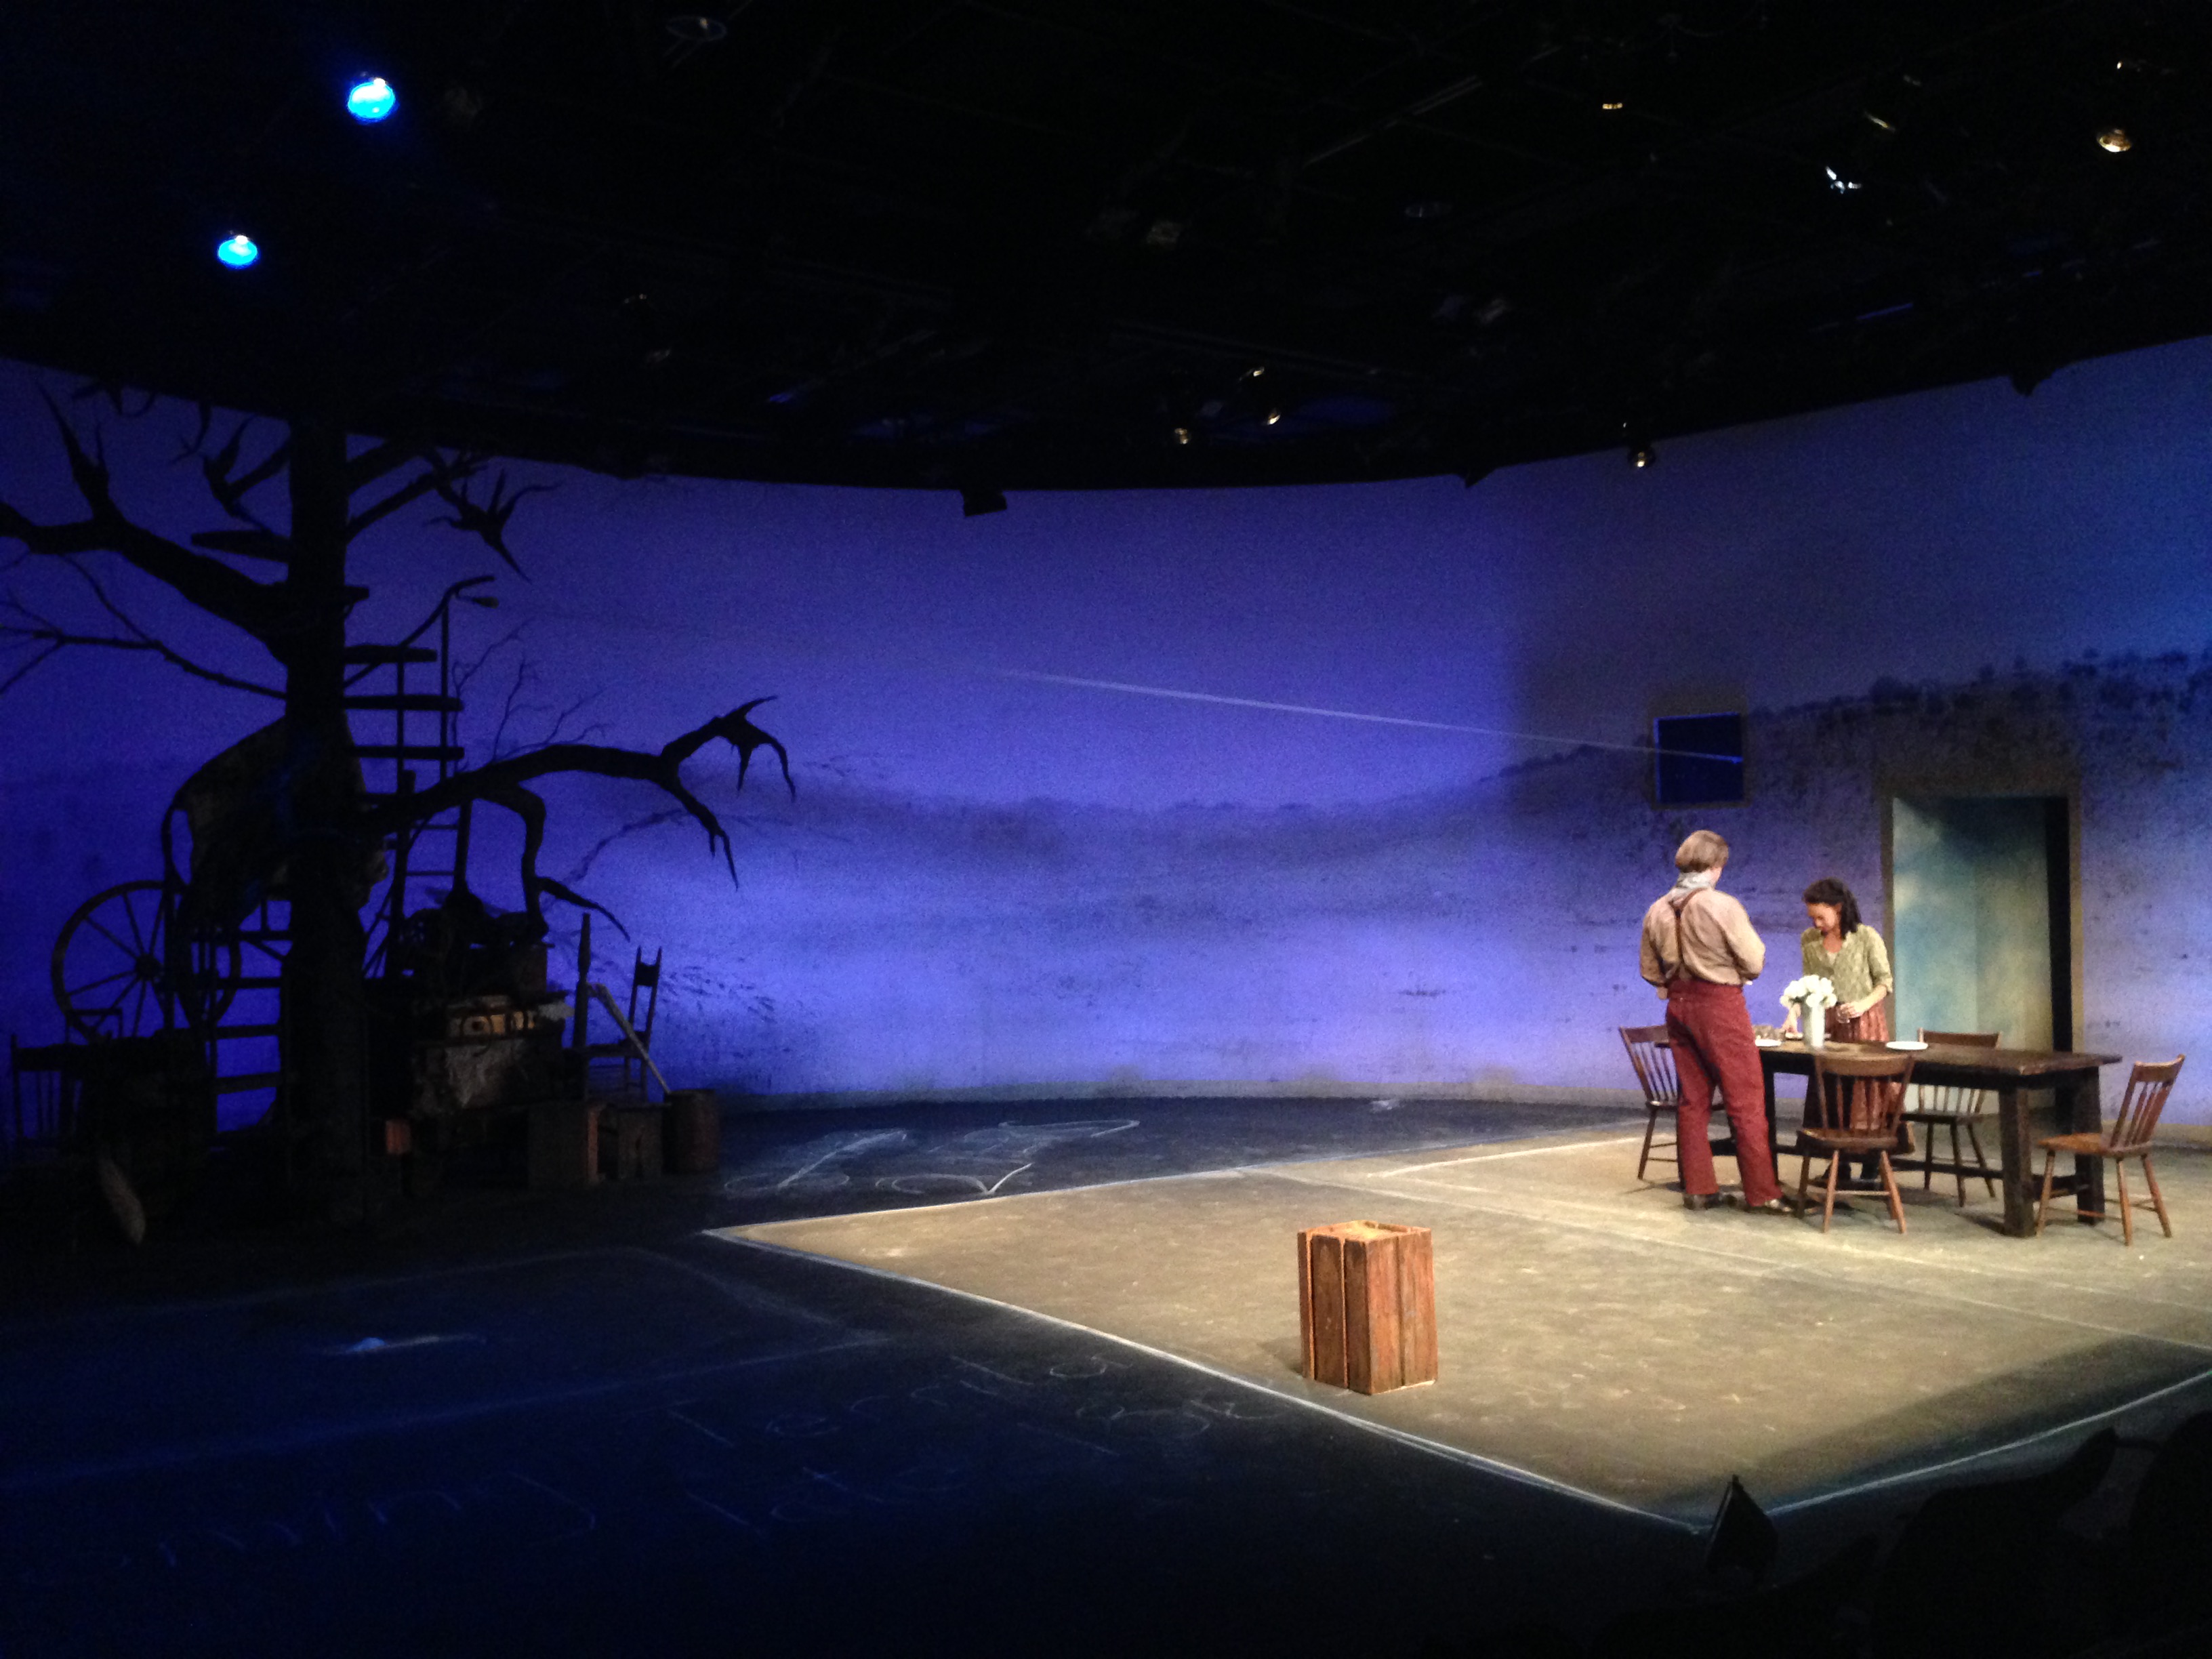
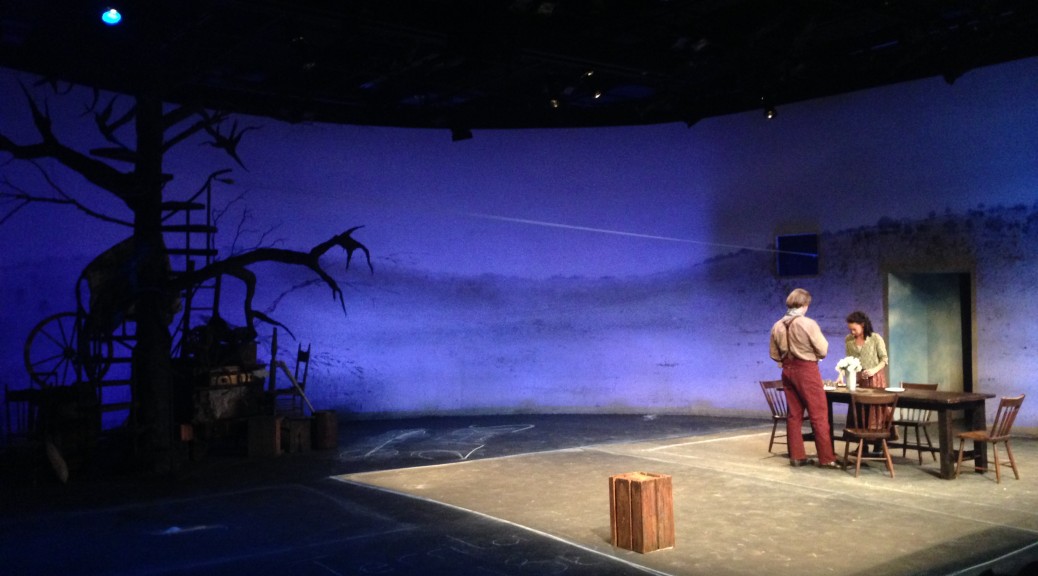
Last spring, Triad Stage did a production of Abundance, one of the lesser-performed plays by Beth Henley. It was directed by Preston Lane, with scenic design by Robin Vest. One of the main furniture pieces was a giant farmhouse table. I decided to build it because finding a farmhouse table this size would blow the budget, and they are usually pretty hefty.

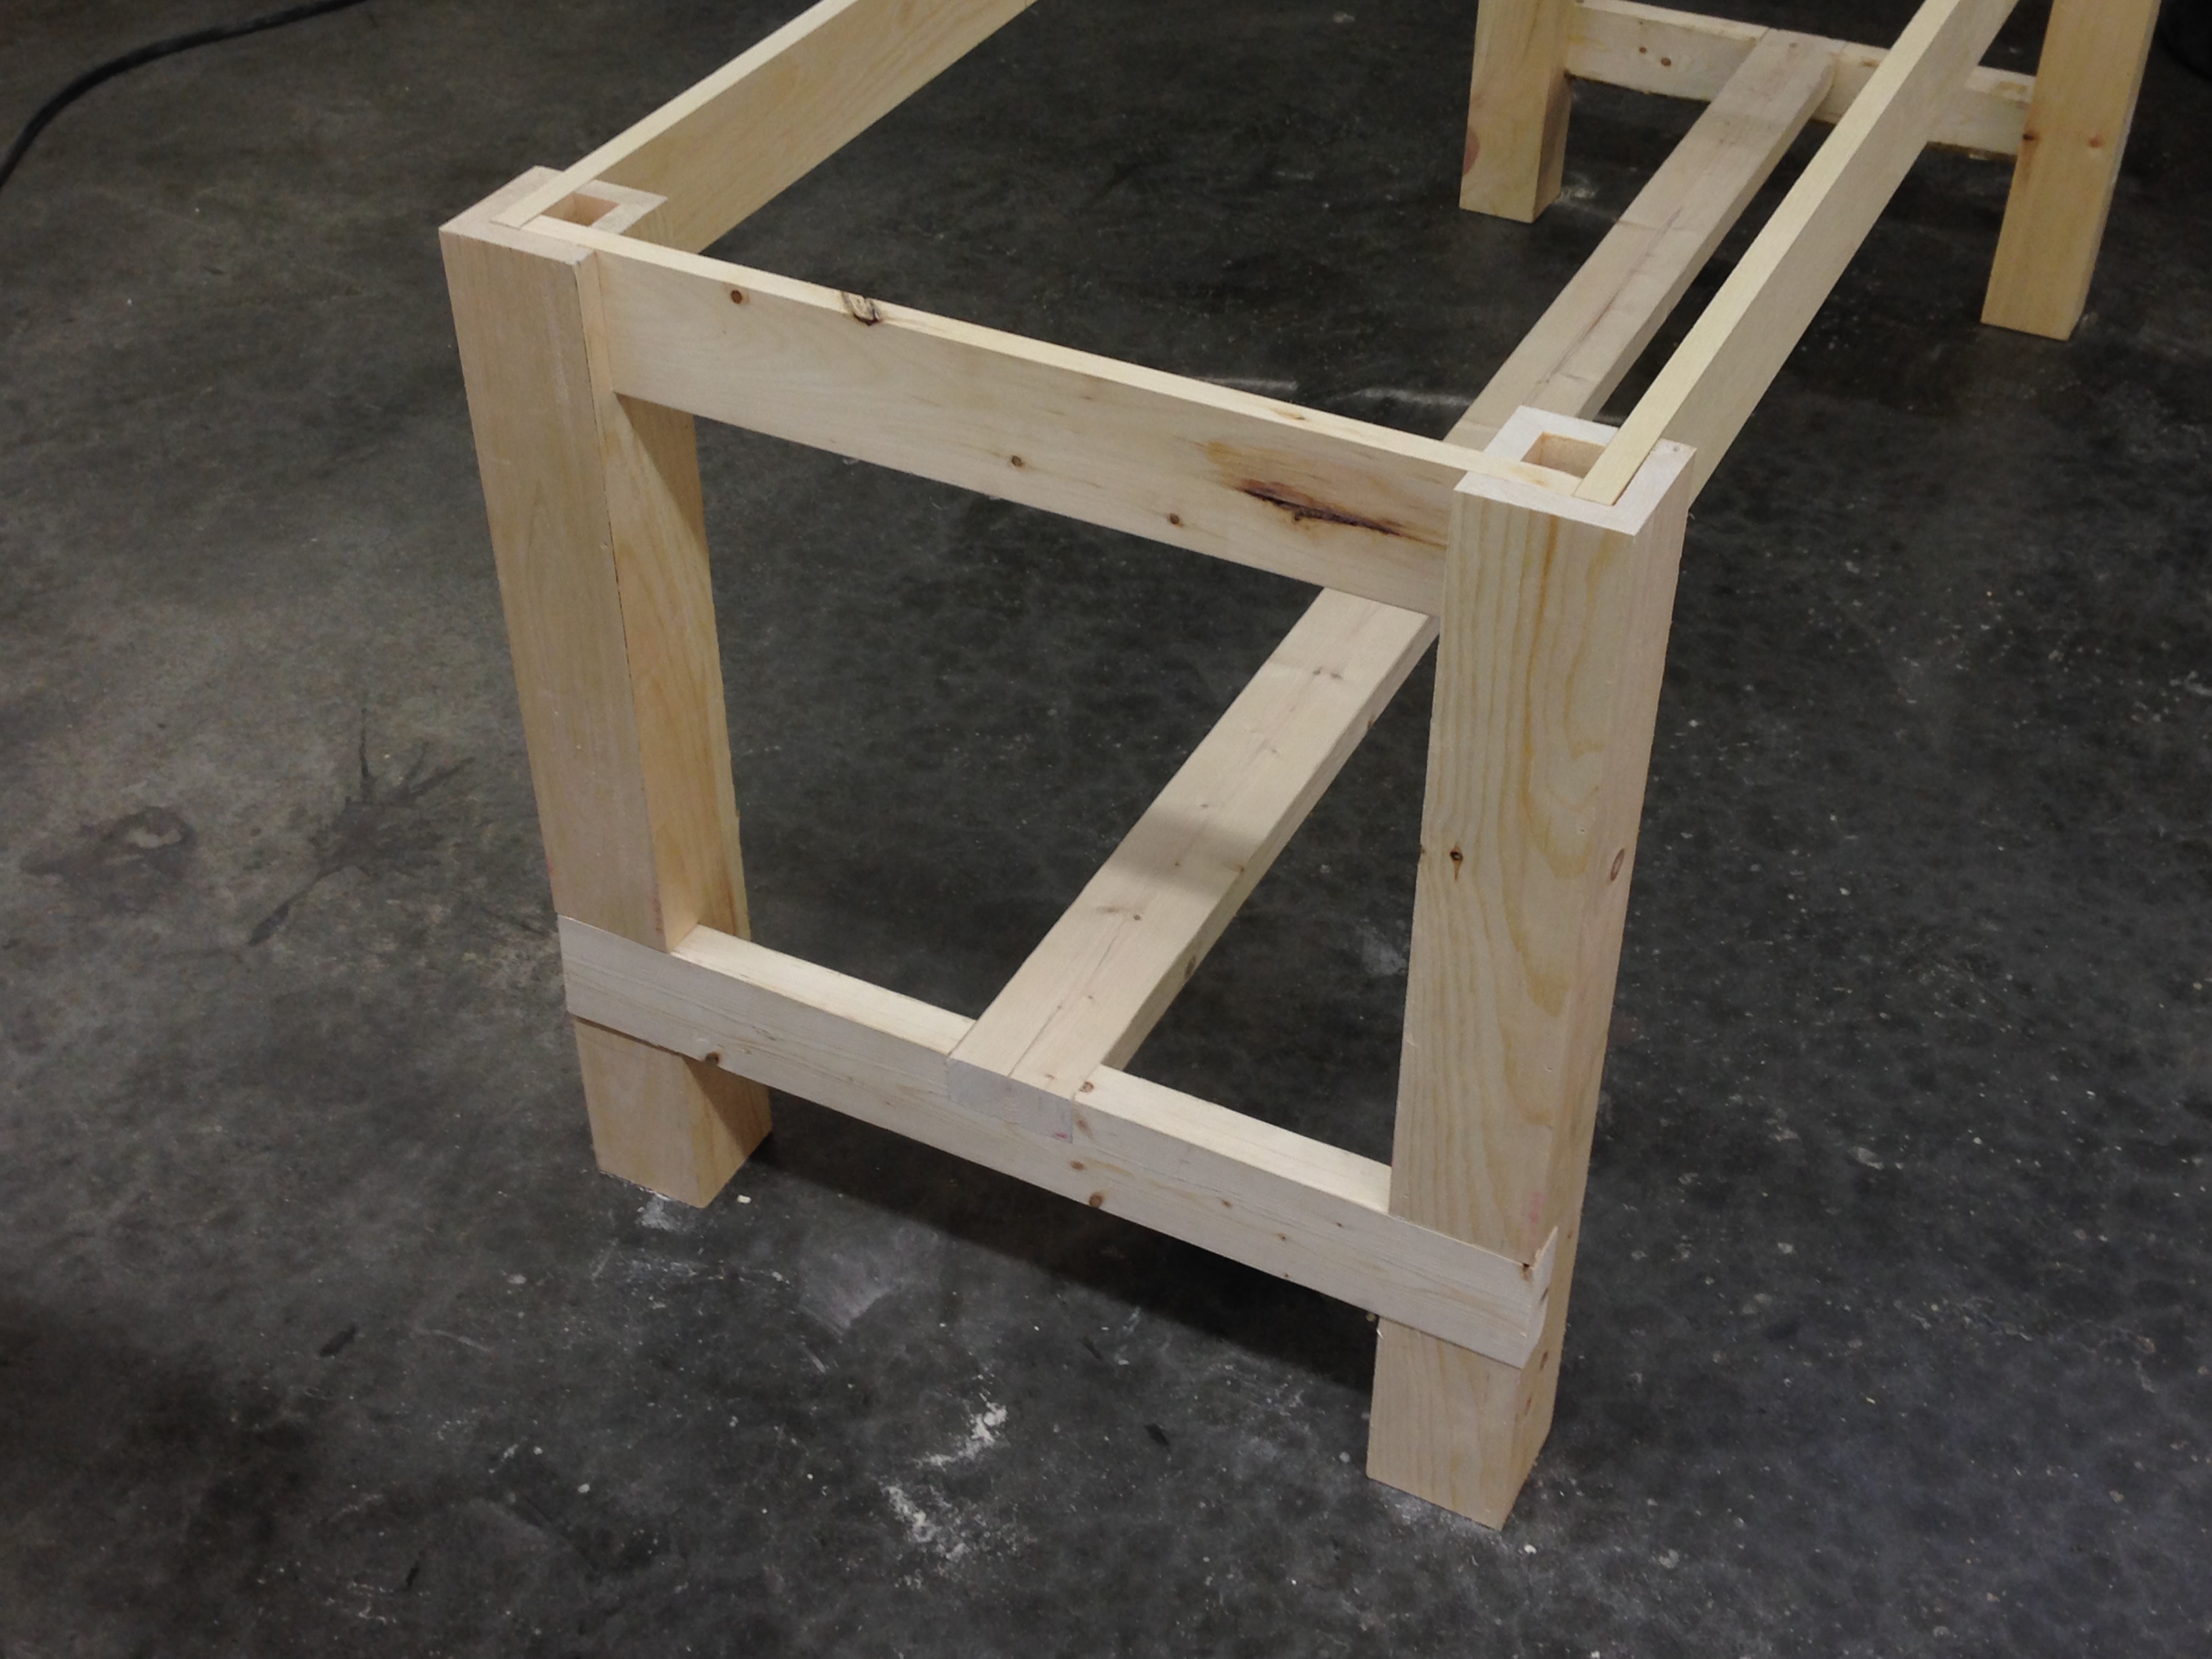
It needed to be super sturdy but fairly lightweight, because they jumped up and down off of it, flipped it onto its side, and dragged it around on stage. To cut down on the weight, only the boards around the perimeter of the top were the full thickness; the ones on the inside were thinner, with a bit of hidden framing to sturdy them up.

Underside of the table

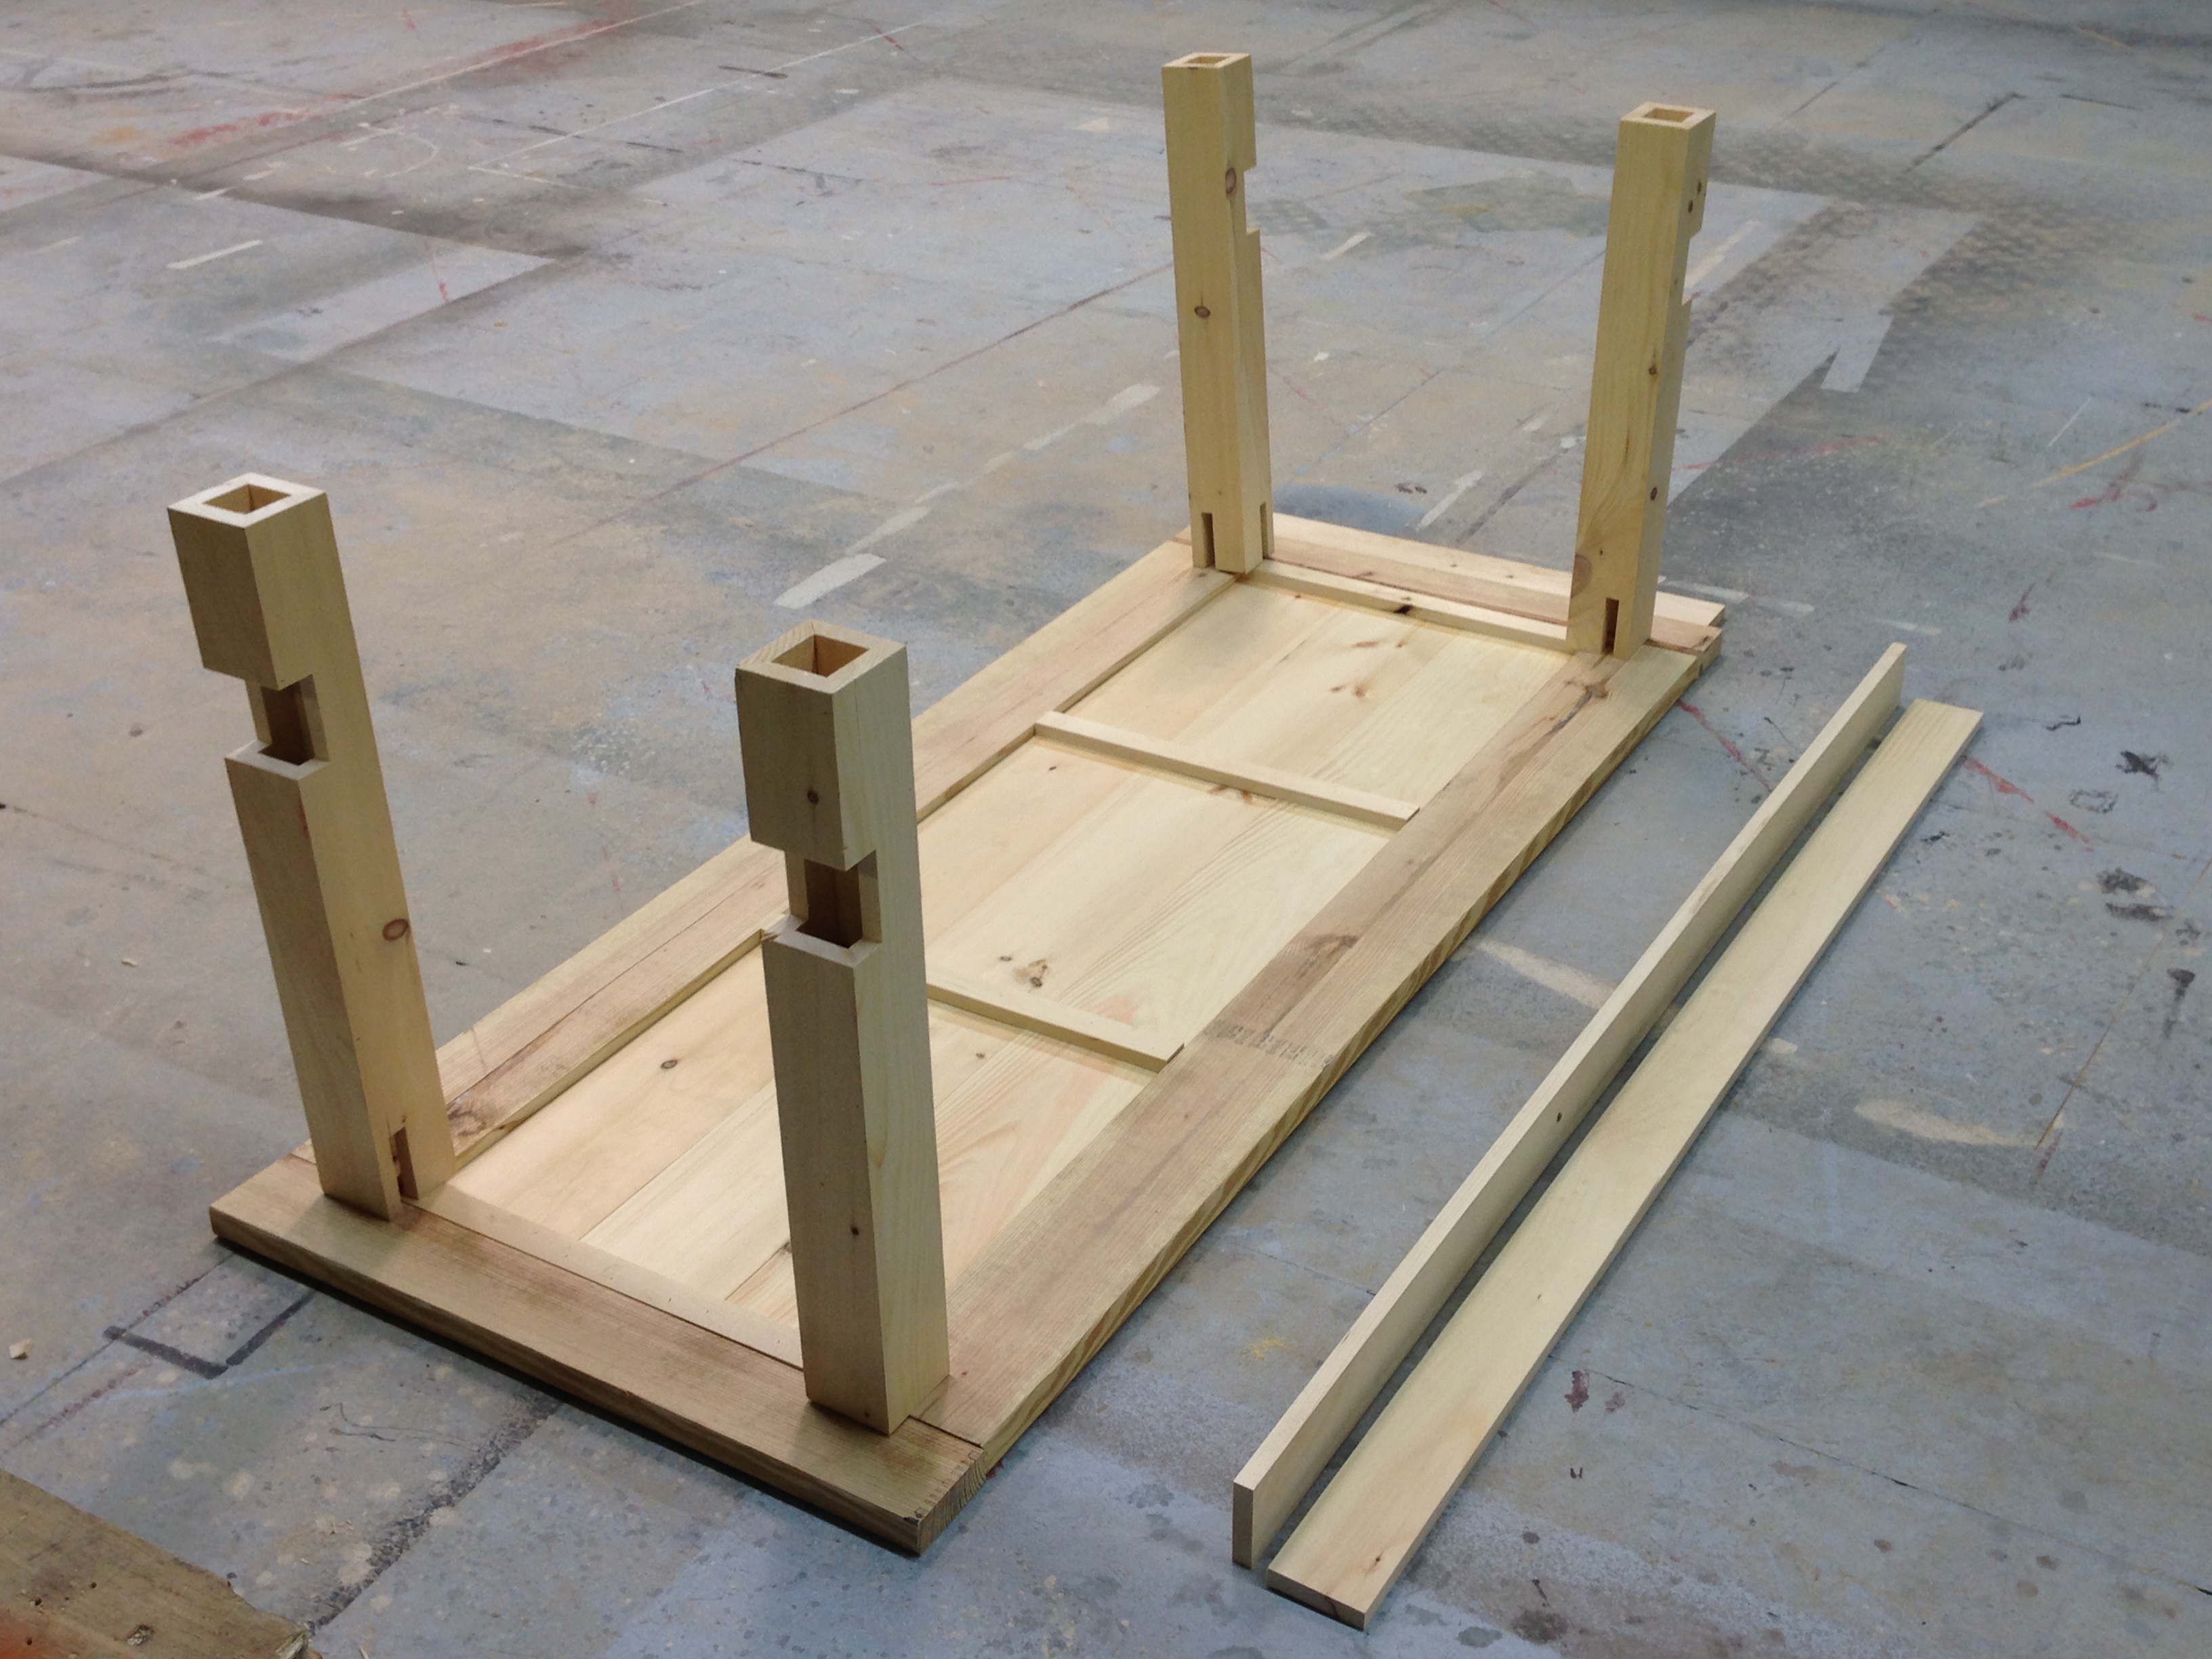
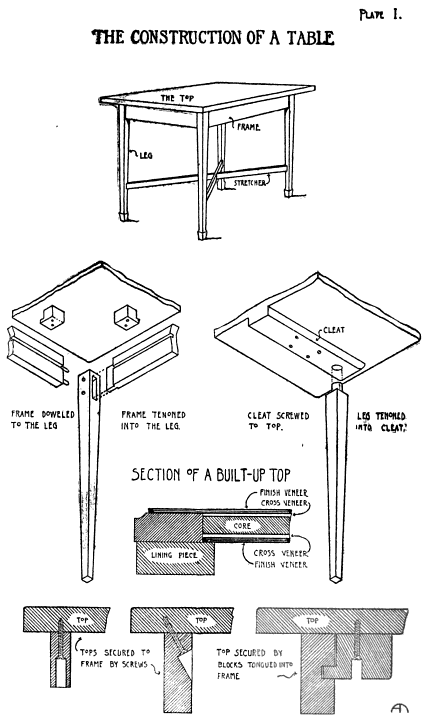
The breadboard ends allowed me to hide the different thicknesses of wood used for the top. I positioned the legs so they would straddle the joint where the breadboard was attached so it would not snap off if the actors ever stepped on the very edge.

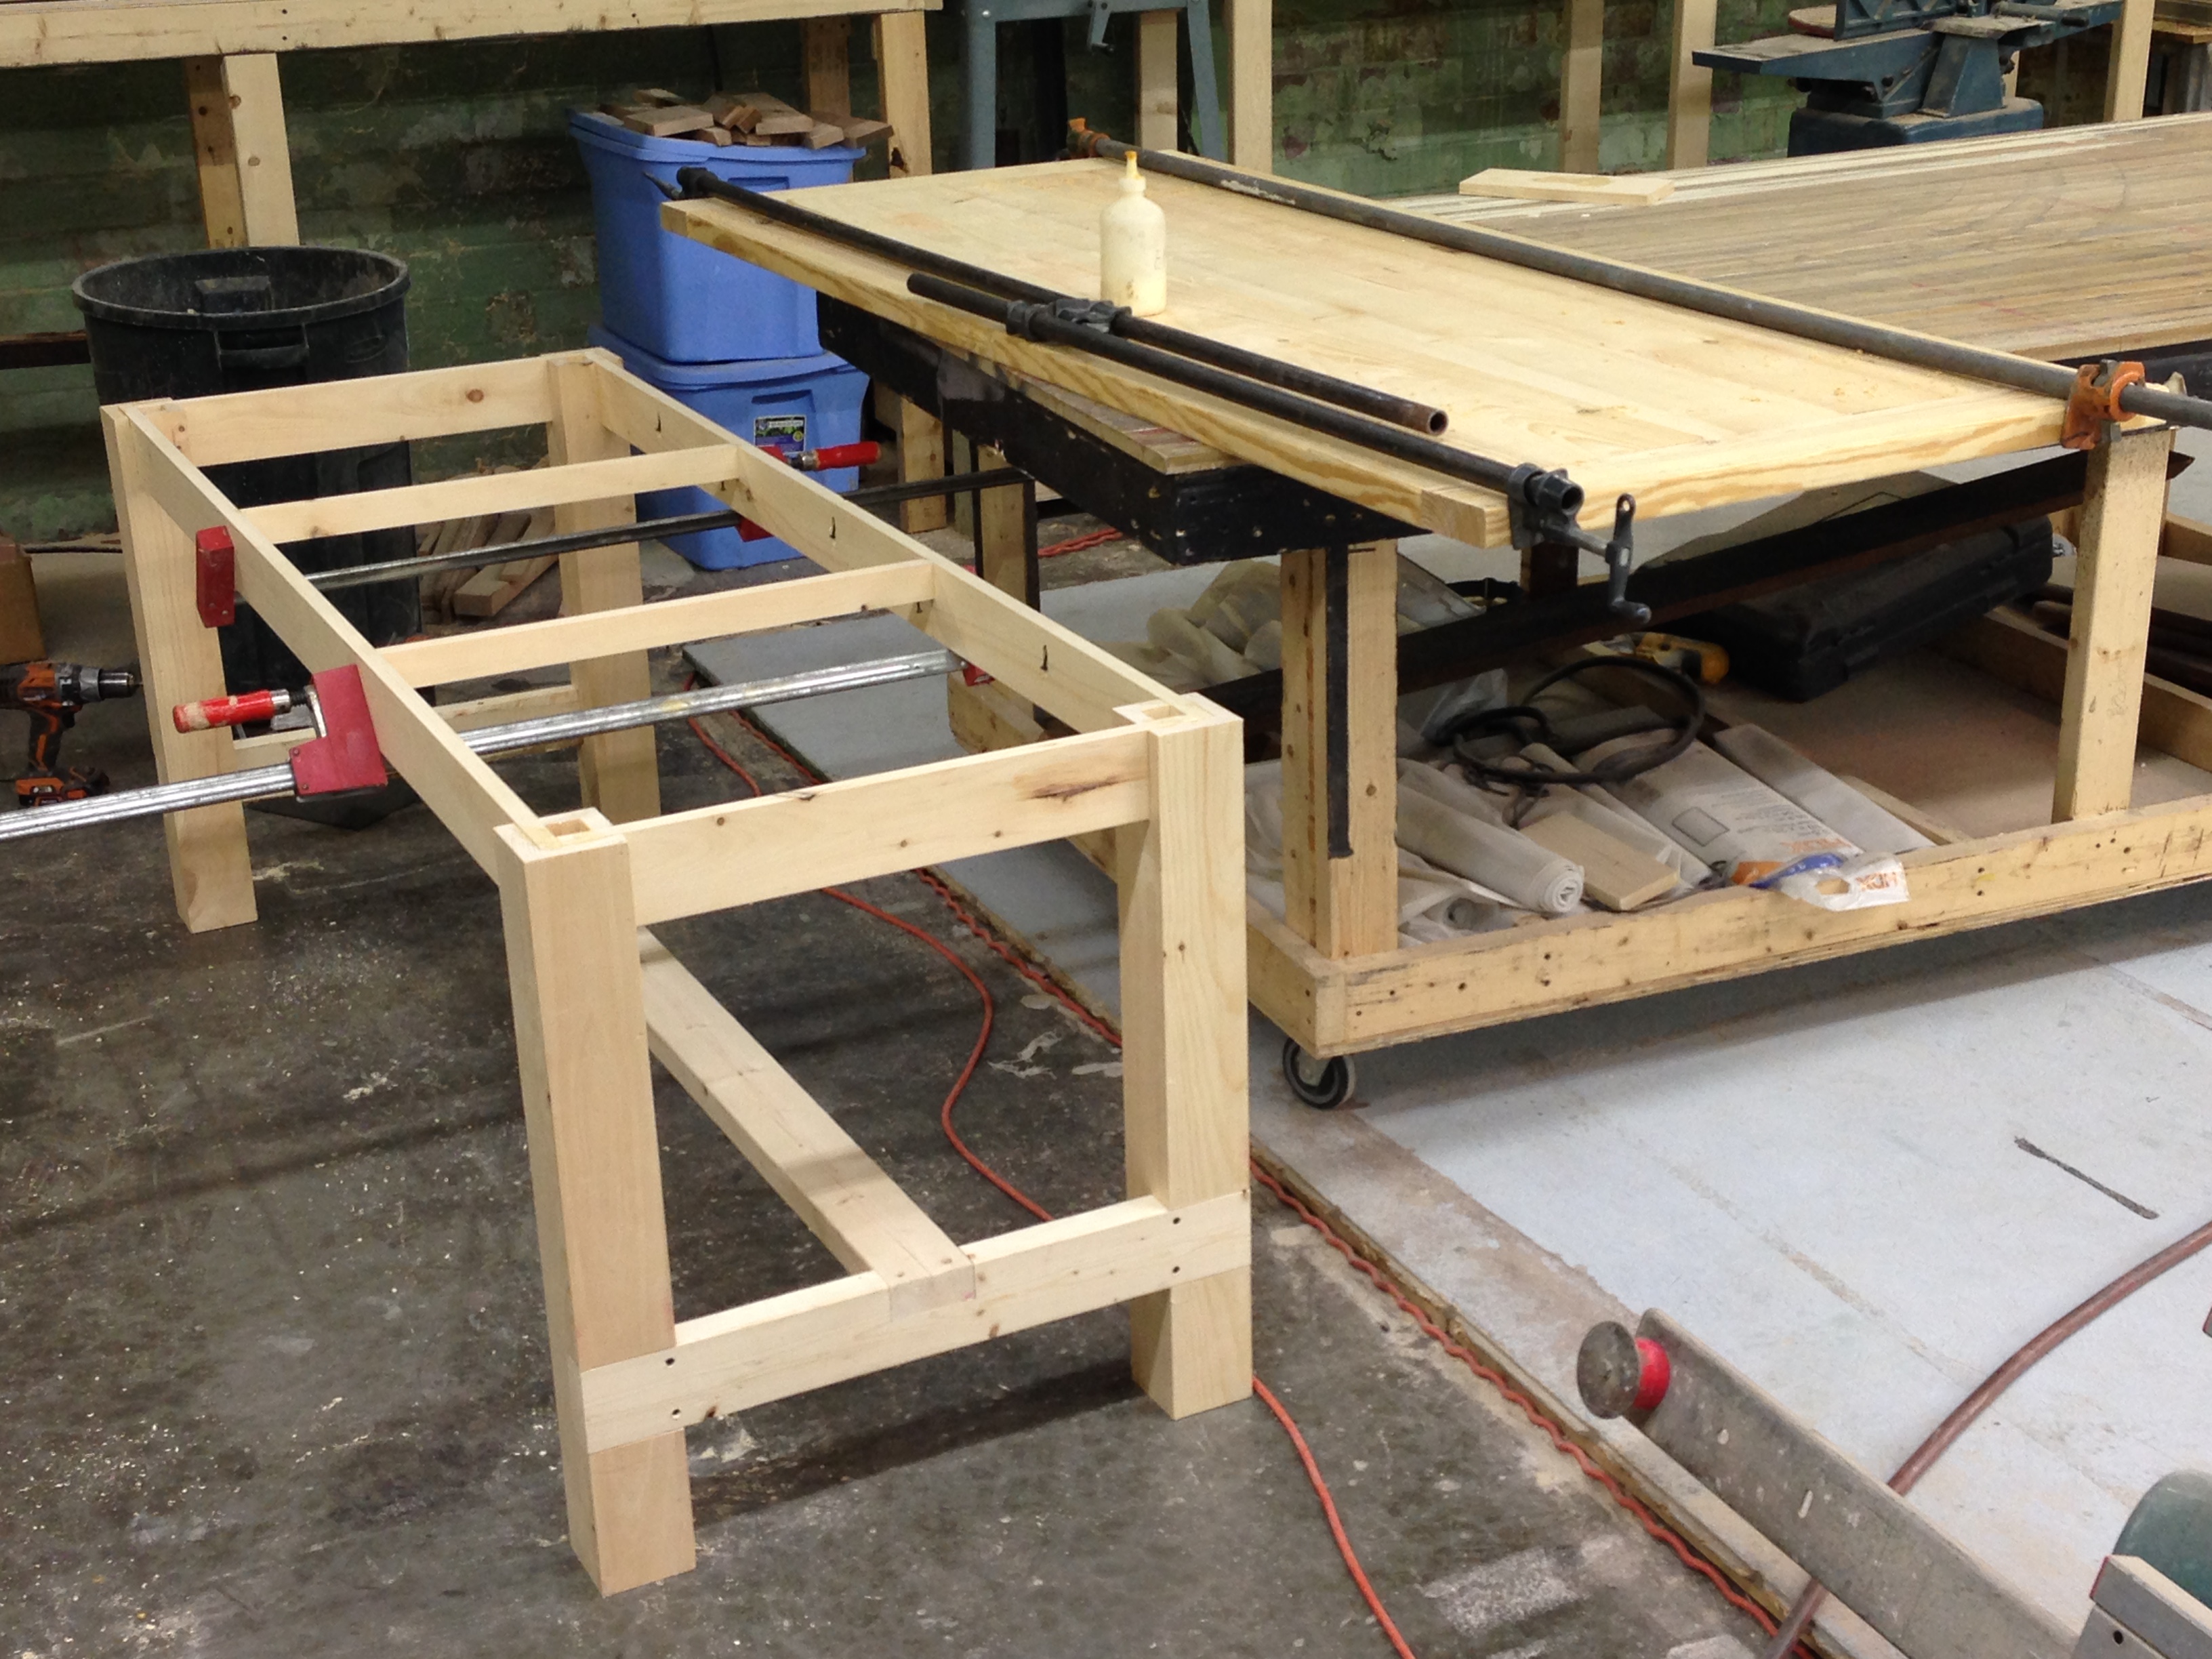
I also made the legs hollow. They were made from four pieces of wood with mitered edges glued together. To save time, I glued up four long pieces of wood, and when dry, cut it into the four legs.

Joinery
Joinery

The research images for the table led me to a website called “Ana White”, which also had plans for the table the designer liked. I’ve since come across several woodworking forums which resent White’s style of furniture, since it seems to be flooding the market with this kind of shabby chic table that won’t hold up to seasonal changes. Ah well, the look was right, and it was easy to slap together.

Clamp it up
Clamp it up

I experimented with some new (for me) finishing techniques to get a really aged, rustic appearance. The first step was scorching the entire surface with a propane torch and rubbing the charred wood away with steel wool. It took forever; I wonder if an oxy-acetylene torch would have been faster, or if it would have just started an unstoppable fire.

Burning the wood
Burning the wood

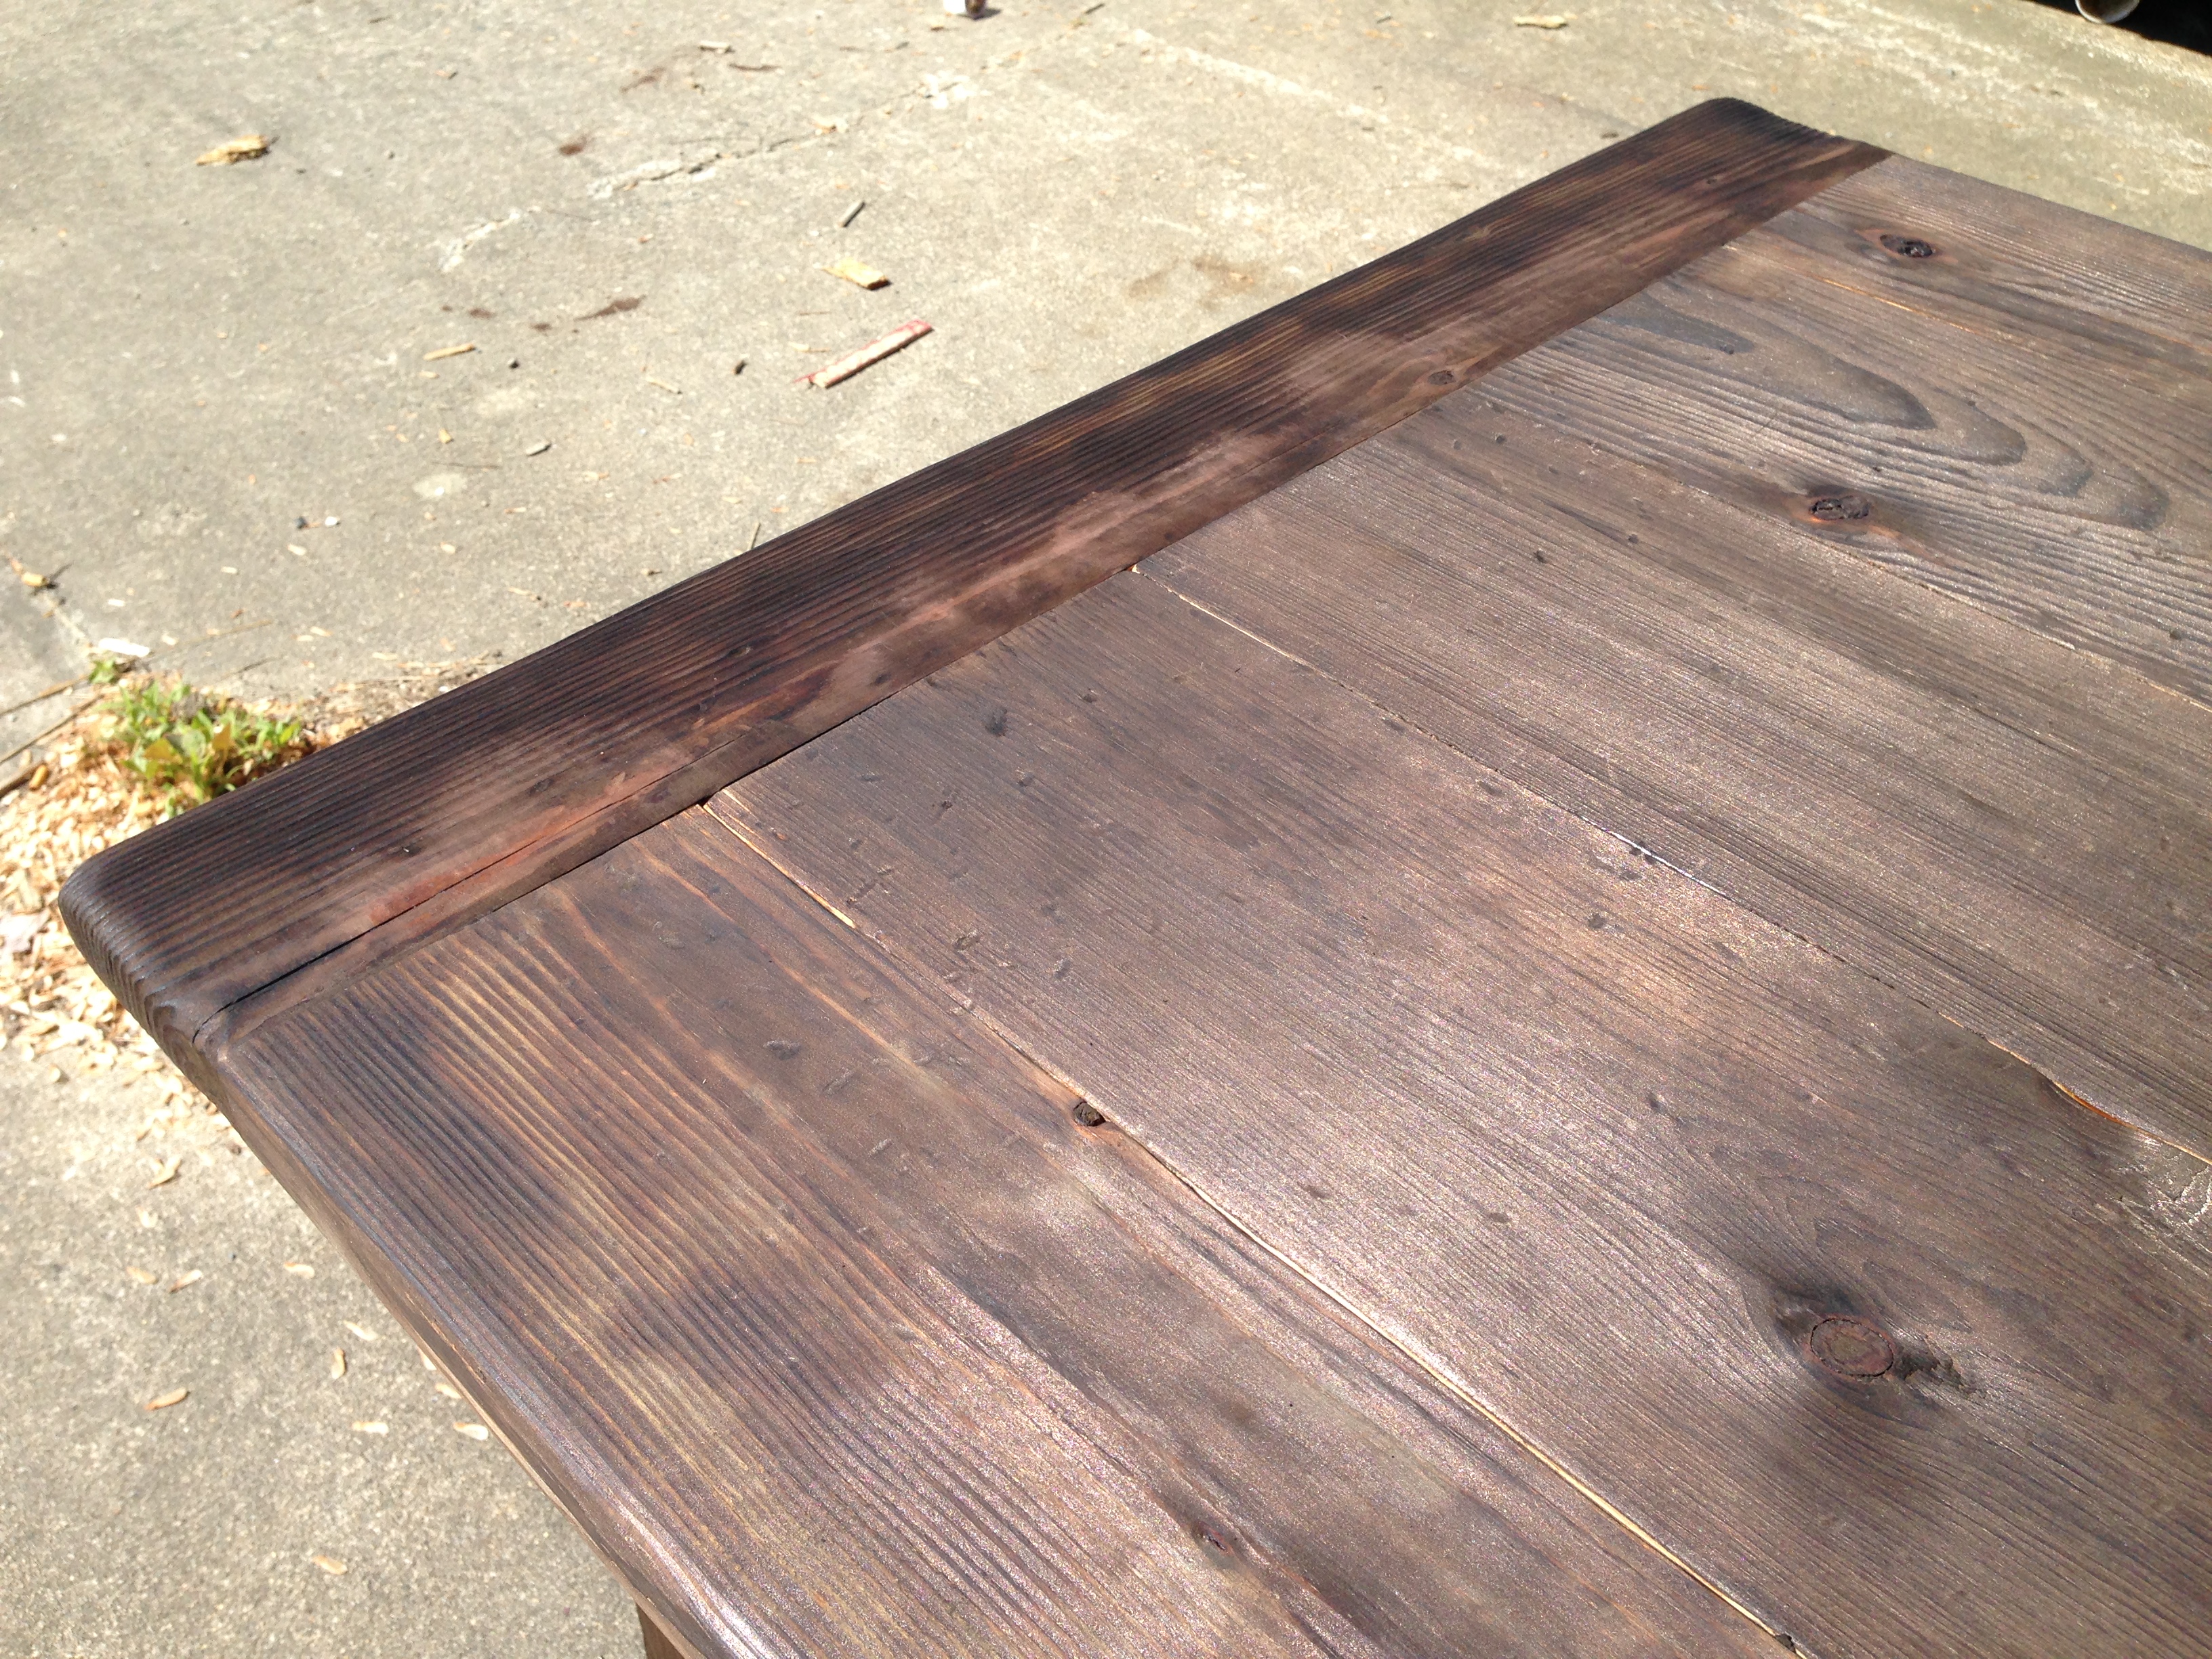
After that, I rubbed an oxidizing solution over the whole thing. You can find instructions on various websites; basically, you let a piece of steel wool dissolve in vinegar for a few days. Apply it to the wood with a paintbrush and it starts to darken and grey the wood over the next few hours. Once it was all done, I rubbed a coat of paste finishing wax onto the whole thing.

Final table
Final table

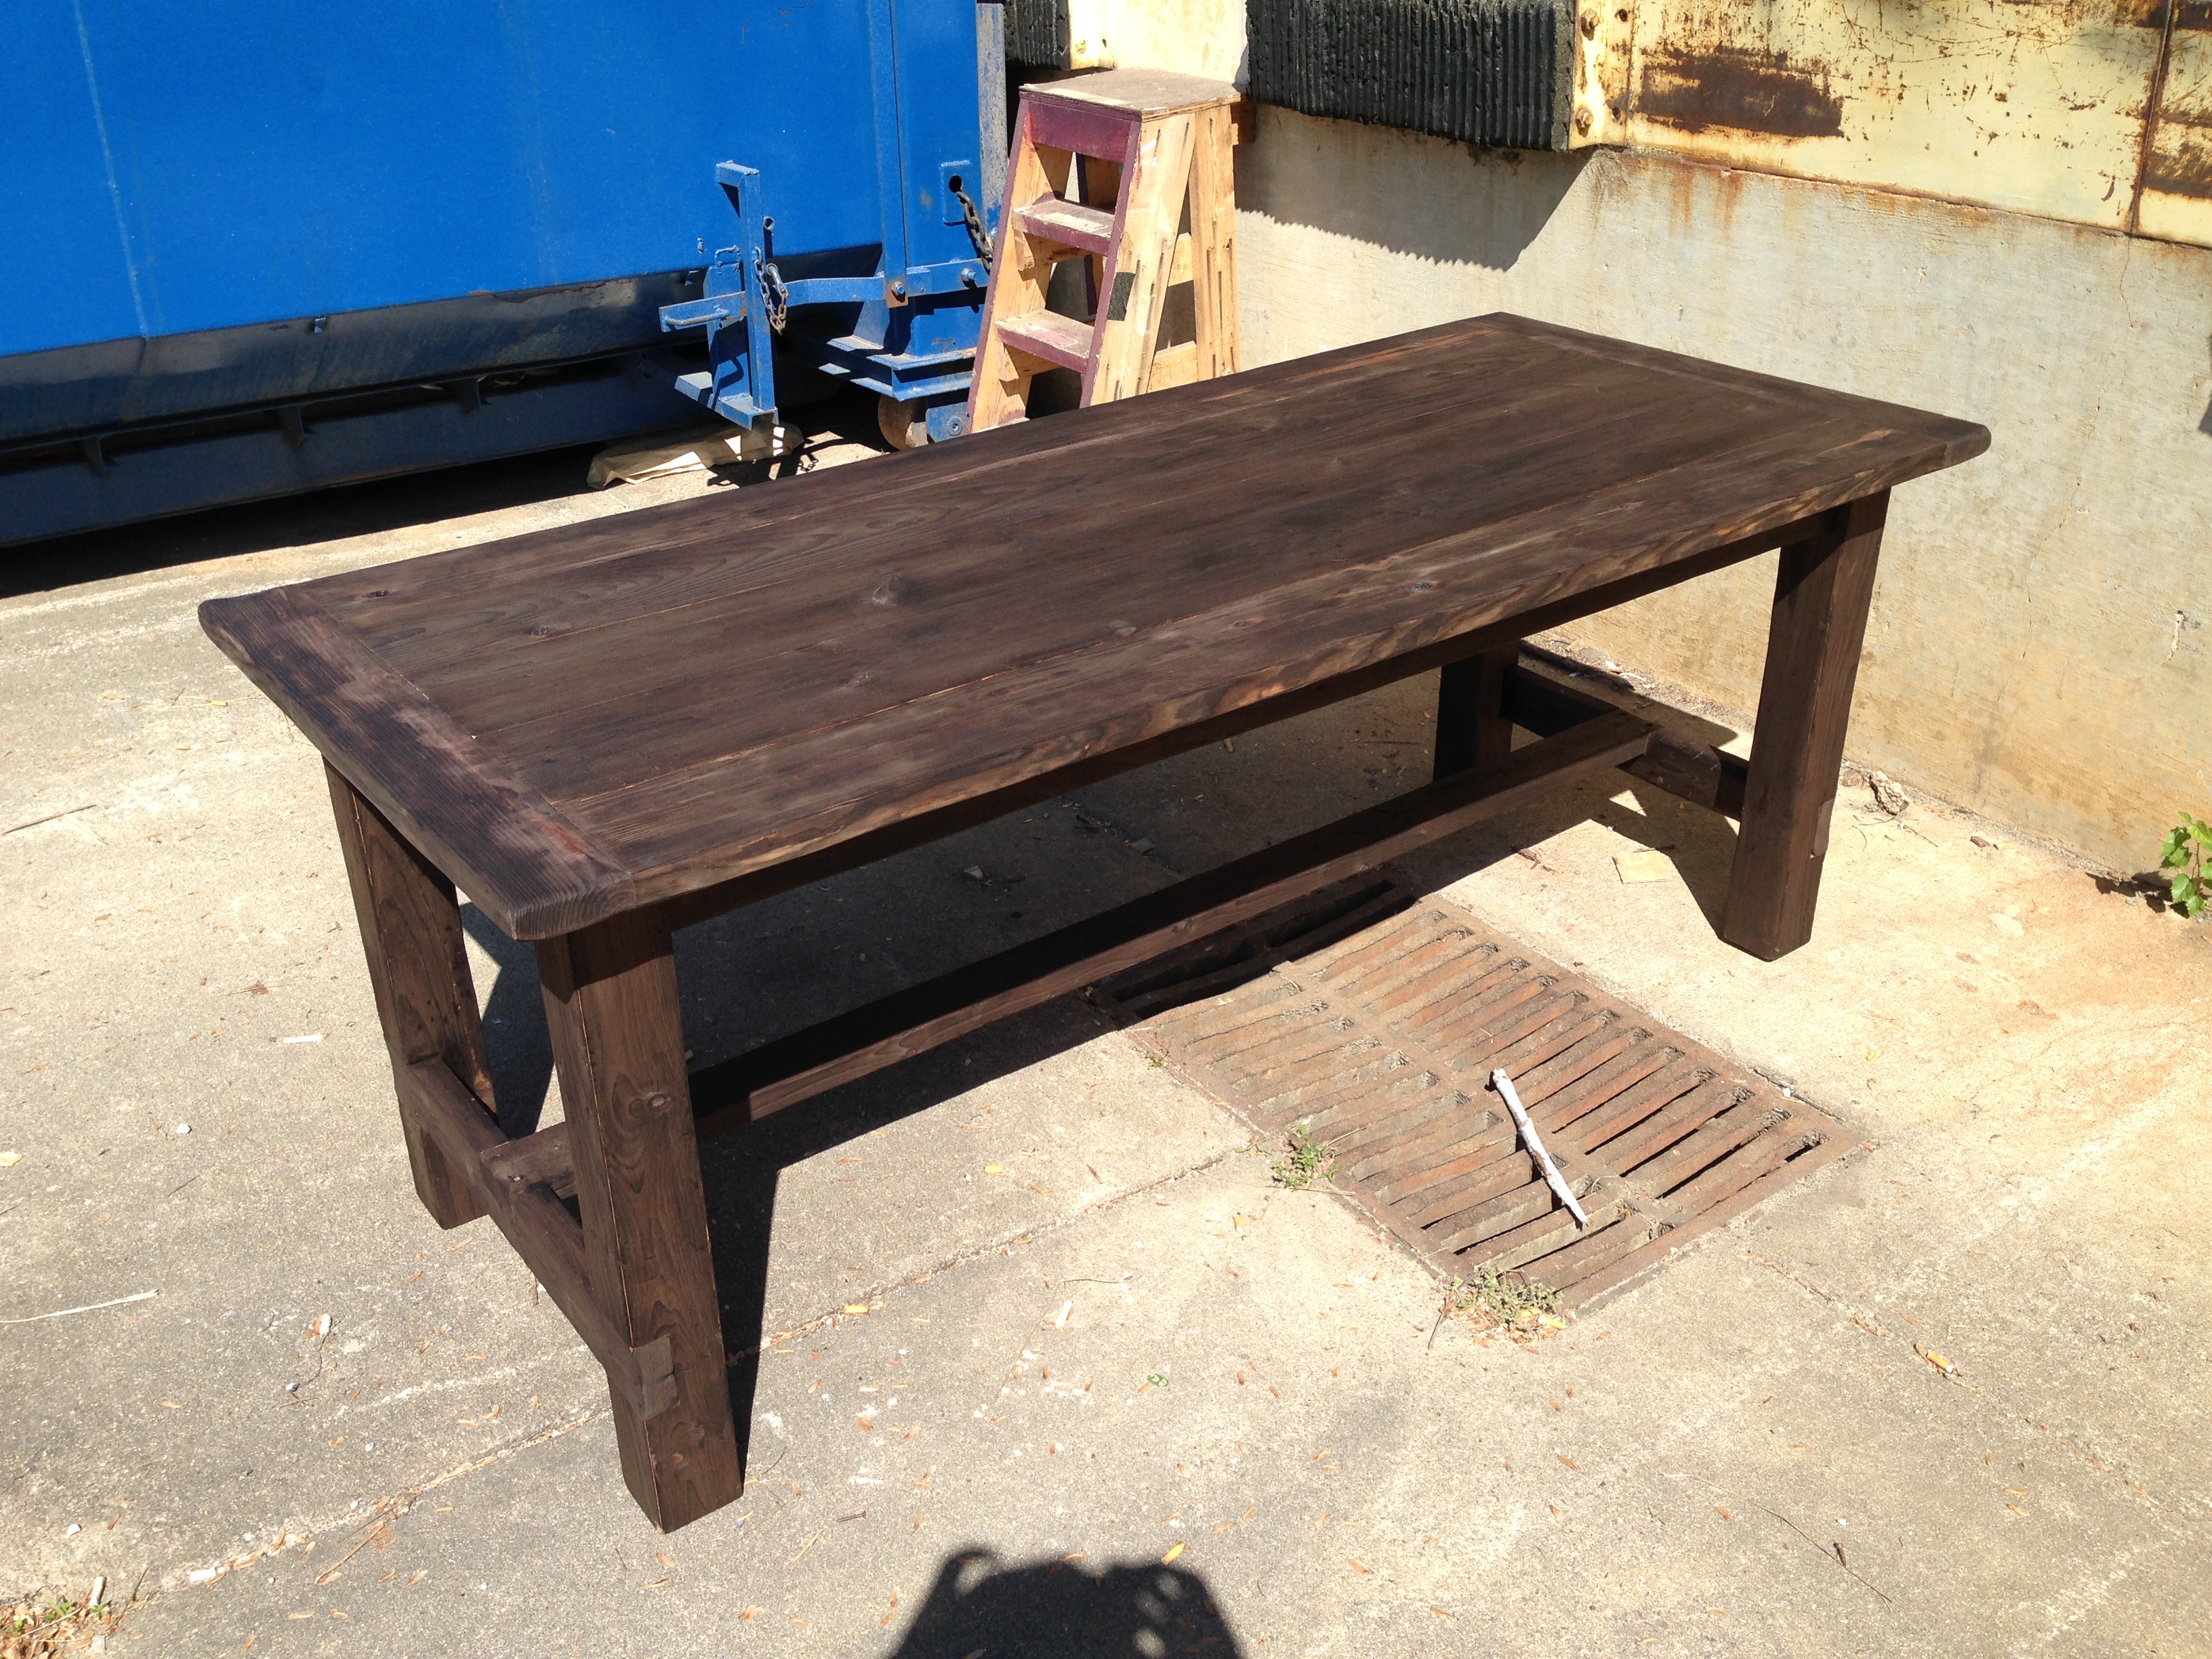
It ended up being a great table for the show. I could actually carry it around myself, though for the show, it was always two actors moving it. It only started loosening up during the last show, after weeks of being tossed up on its side, which placed a lot of stress on its legs.

Abundance
Abundance


The Construction of a Table

From Furniture Designing and Draughting (1907), by Alvan Crocker Nye, we have this wonderful diagram on how to make a table.

Construction of a Table

The top row shows names of the common parts of a table.

The next two images show a number of ways of attaching the legs. The one on the left shows the frame both being doweled to the leg and using a mortise and tenon. The frame itself is connected with blocks which tongue into a groove in the frame. The drawing on the right shows a cleat screwed to the top, with a leg tenoned into the cleat.

Continuing down the drawing is a “section of a built-up top”. As a solid wood top is expensive and hard to come by, tops were often built up with a core and covered with a finish veneer to make it look like a piece of solid wood. A piece of cross veneer was placed between the core and finish veneer; this is a piece of veneer in which the grain runs perpendicularly to the core and finish veneer.

The bottom row shows various means of securing the top to the frame. The left shows a screw which is countersunk nearly halfway through the height of the frame. The middle illustrates a pocket hole screw. The drawing on the right shows the blocks which were previously illustrated up above.

The Making of the Props for The Making of a King

I recently finished my first major gig down here in North Carolina. I was building props for the productions of Henry IV and Henry V at PlayMakers Repertory Company in Chapel Hill. It was a lot of fun, and also an interesting change of pace to return to a job where I am building all day without any managerial duties.

base of a chaise lounge

The base for this chaise lounge was fairly straightforward. I began by building a nice sturdy frame out of oak. The design evolved later to a piece which was completely covered in moulding. The oak ended up being completely obscured by all the moulding. Ah, well.

CNC routed headboard design

The king’s headboard had a fairly intricate cut-out design, so the props shop sent a piece of 3/4″ plywood to the scene shop to be CNC routed.

Completed headboard
Completed headboard

When I got the CNC’d piece back, I cleaned it up and attached some other layers, moulding, posts and finials to make the full headboard.

Trestle table base
Trestle table base

Above is a nice trestle table base I built for the tavern scene. The feet and the pieces on top of the legs are made of solid wood; I had to laminate a few pieces together to get those thicknesses. The legs themselves are actually boxed out, with a two-by-four hidden inside for strength. The wedged tenons on the sides of the legs are just fake pieces glued on the outside.

Finished table
Finished table

The table top had already been built for the rehearsal piece, so I just had to attach it. The scene shop also added some metal diagonal braces, which were needed to keep the table from collapsing under horizontal forces.

Papier-mache tub
Papier-mache tub

Finally, the props shop was building a hammered copper bath tub out of some good old-fashioned papier-mâché. I jumped on this project in the middle, adding a few layers to what was already started and attaching the large Ethafoam rod along the top. The initial layers were done with an ordinary flour and water paste. The next few layers were done with strips of paper and a product called “Aqua Form” to make it harder and more water-proof. Aqua Form markets itself as a nontoxic water-based polymer which replaces resins for use in laminates; it worked great with the paper, but it also claims it can be used in lieu of resin for fiberglass. I certainly look forward to learning more about it.

Design Briefs

In fields such as graphic design, design briefs are used to define the scope of the project. A design brief is a collection of information defining the intended results of a project, as opposed to the aesthetics.

A good prop master or artisan has internalized the process of creating a design brief. The most important consideration in determining the construction of a prop is figuring out what the prop needs to do. For more complicated props, it may be helpful to actually create a design brief.

The first and most important part is asking questions to determine a prop’s needs. Suppose you want to create a table. Your questions may include:

  • How tall does it need to be?
  • What size is the top?
  • How is it used?
  • What is the finish on the table? Stain? Paint? Raw material?
  • What material is it made out of? More appropriately, what material is it supposed to look like it is made out of?

Most props artisans know that when a table is requested, you should automatically ask the following questions as well:

  • Will actors be climbing on top of it?
  • Will actors be dancing and jumping on top of it?
  • How many actors at a time will be on it?

I swear, some directors only want tables so they have a place for actors to dance.

If you were just building a regular table, the information you need for your design brief may be complete. As this is a theatrical table, you have some additional questions to ask:

  • How does it need to come on and off stage?
  • Where is it stored backstage?
  • Where is it being built?

Why does the last question matter? Most props are built in one location (the prop shop) and transported to another location (the stage). Whenever you are transporting an item, it needs to fit through the smallest opening in that path. Often that is a doorway or an elevator. If the stage is on the second floor of a theatre with only a tiny passenger elevator, you need to build the table so it fits in the elevator and can be reassembled once on stage.

Other props will have different questions to ask. The important thing is to determine exactly what a prop needs to do.

Parts of a Table

Parts of a table
Parts of a table

Tables are a type of furniture which have innumerable variations, types and styles. Nonetheless, some basic parts show up in the majority of tables, especially the kinds which find their way onto the theatrical stage. Knowing the names of these parts is helpful for facilitating communication between designers, artisans and other members of the team; if the set designer asks for the apron to be smaller, you want to know which part you should change. What follows is some quick definitions of the parts in the illustration above.

top – the flat surface of a table

apron, skirt or frieze – the under-framing which connects the legs to the top

leg – the main vertical piece which supports the top and raises it off the floor

knee – the upper portion of the leg

foot – the bottom part of the leg which touches the floor. A table may have completely straight legs with no distinct knee or foot.

drop leaf – a portion of the top which overextends the apron and can be hinged down to take up less space when not in use

stretcher – cross pieces which connect the legs to add strength and stability. Some common configurations of stretchers include the H stretcher, X stretcher, and box stretcher.