All posts by Eric Hart

10 Things to Know about your Table Saw

Stephen Dobay using the table saw.

1. There are two main types of table saws: contractor and cabinet.  Contractor saws are lighter and cheaper, and often built to be portable. They are also usually less exacting and have less power. Cabinet saws have an enclosed “cabinet” base, making them quieter and easier to use dust collection on. Compared to contractor saws, they typically have a larger table size and are more precise, but can be far more expensive, and are definitely not portable. They also typically require a 220v outlet. Most permanent props shops use cabinet saws, as contractor saws are not sturdy enough on their own to handle full-size sheet goods. Some manufacturers are now making hybrid saws, which capture features from both. You can also find hobby saws in specialty shops, which are small and fit on a table top. They can be useful for small projects and model work (though a full-size machine can also do this work with the proper setup). Hobby table saws range from cheap and inaccurate toys, to highly precise machines packed into small bodies.

2. Watch for kickback. While a SawStop can prevent your fingers being cut off (a very expensive accident), the most common injuries on a table saw come from kickback, which is when the spinning blade catches the material and flings it back at you. Never stand directly behind the piece you are cutting, but rather, just to the side. And never, ever let go of the wood while it is in contact with the blade; even if kickback is in progress, you have more control if you keep hold of the board than if you panic and let go. A splitter, or “riving knife”, is the single most effective method for preventing kickback. Never force the wood through; the blade may be too dull, or it may be binding, either of which can cause kickback. Pay attention to the sound of the blade; if it is whining or sounds like it is slowing down, you’re getting close to a kickback.

3. Double-check your measurements. Always measure from the fence to the blade, especially when using a particular saw for the first time. The ruler which is attached to the fence rail may not be accurate or precise. Only when you are certain the ruler on the machine is accurate and precise should you use it for setting your fence.

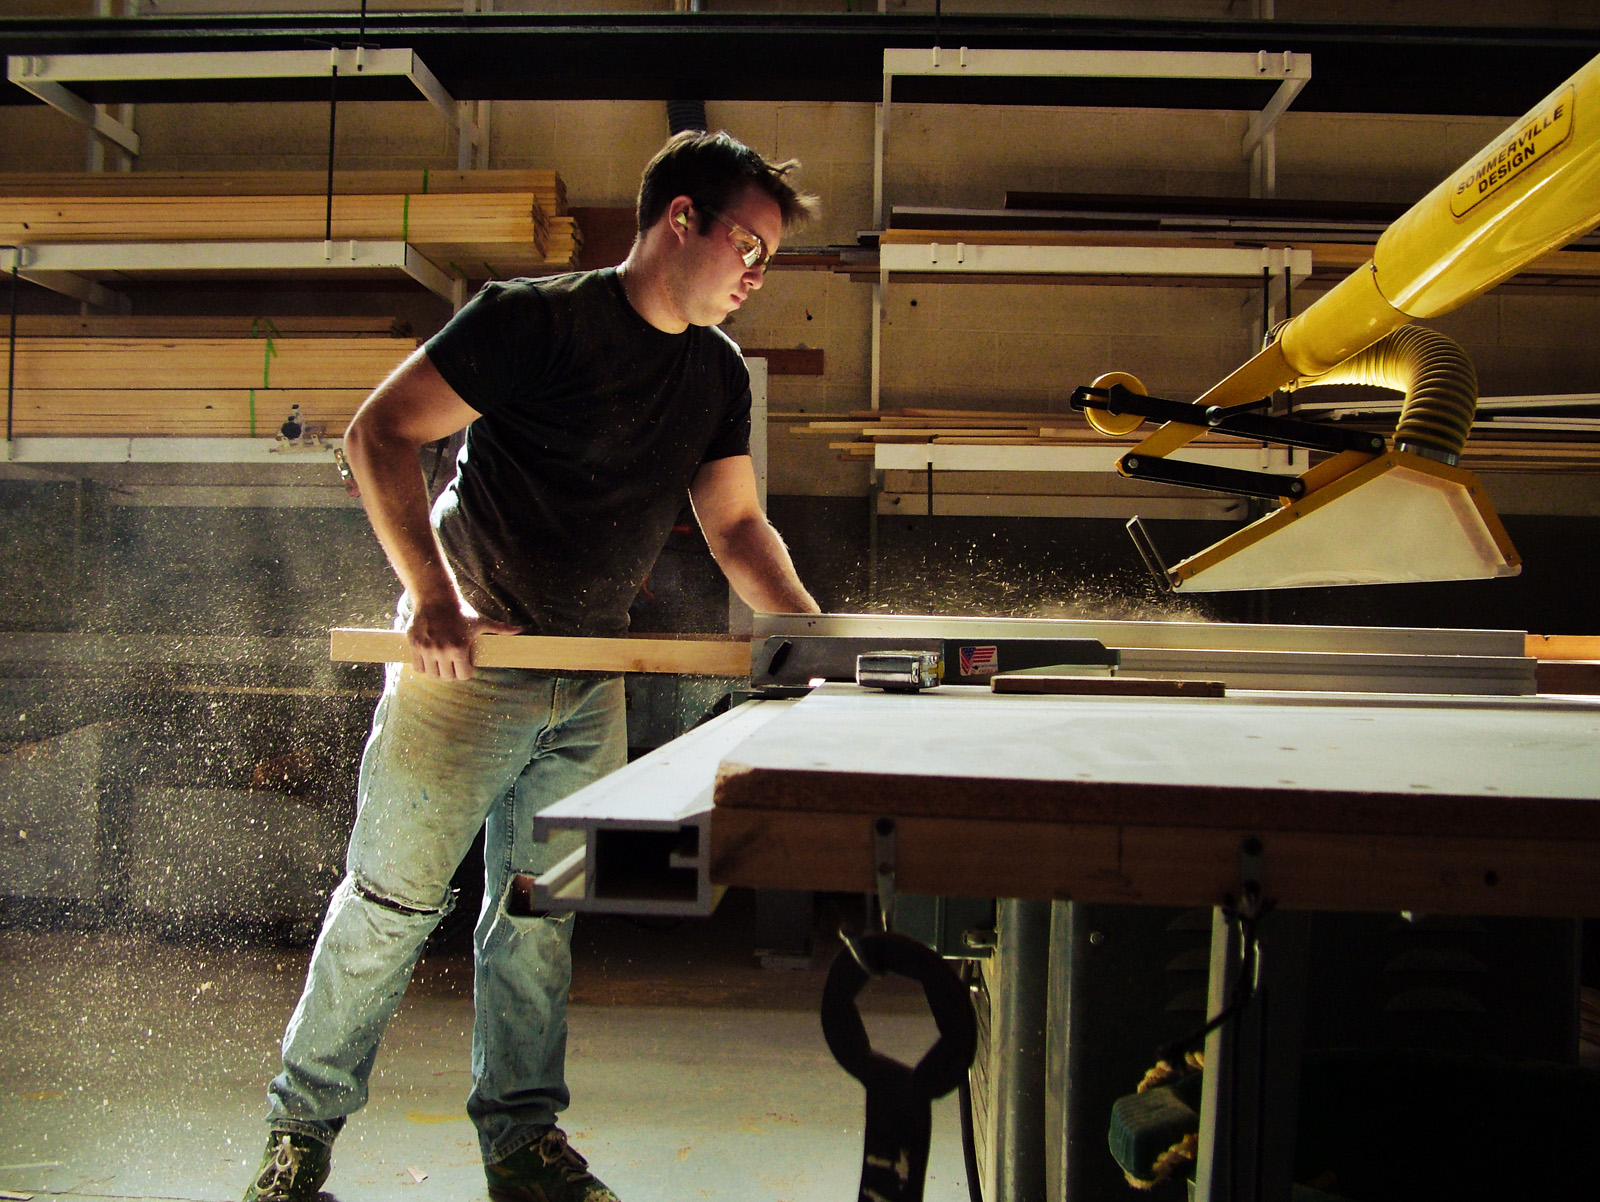
4. Keep the wood in place. Your wood (or other material) needs to be held snugly against the rail and down against table. Use featherboards or other attachments to hold your wood if your fingers will get too close during a cut. Featherboards are especially useful on miter cuts. Push sticks and push shoes are also vital accessories for holding your material snug and keeping your fingers away from the blade.

5. Never wear gloves when cutting. If a bit of the glove, or even just a single loose thread, gets caught by the spinning blade, it can be pulled into the blade, which will catch more of the fabric and pull more of the glove into the blade. This creates a vicious chain reaction where your entire hand can be pulled into a spinning blade within a fraction of a second. Without gloves, the blade cuts through the skin or bones before being able to grab on and pull more in. On this same note, avoid rings, ties, necklaces, loose hair, apron strings in the front, &c. If you are wearing long sleeves, roll them up tightly before using the table saw.

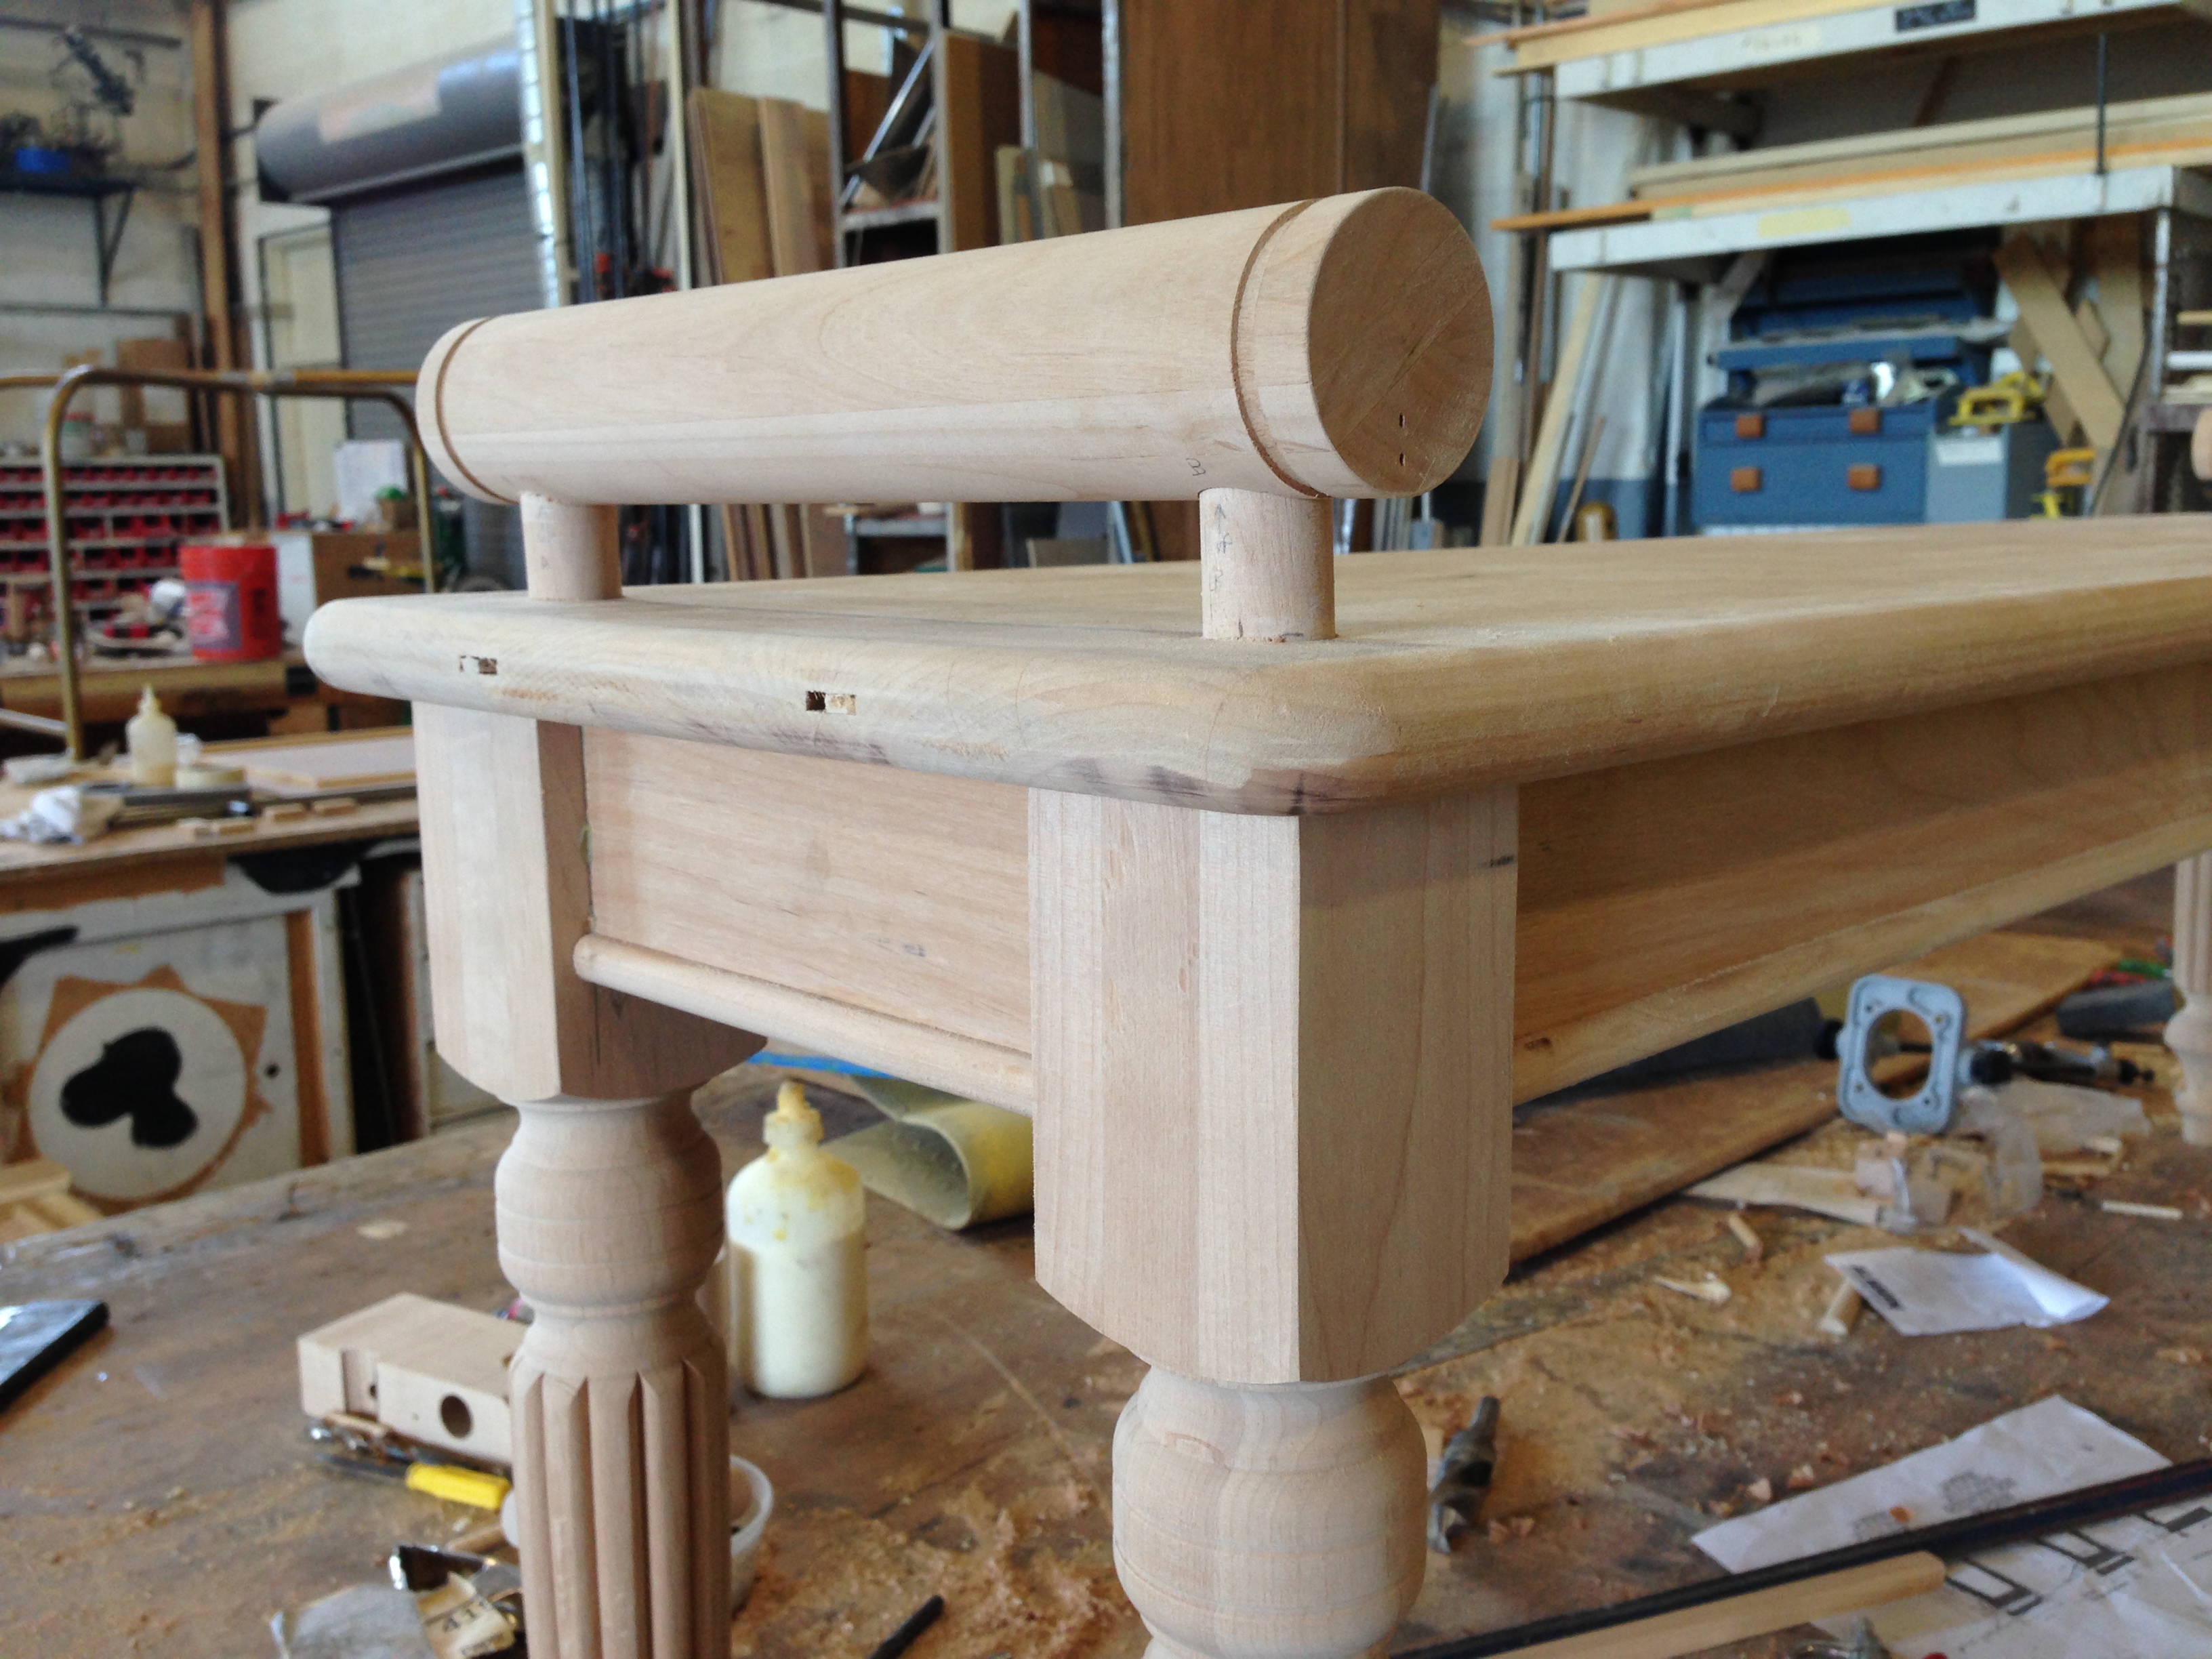
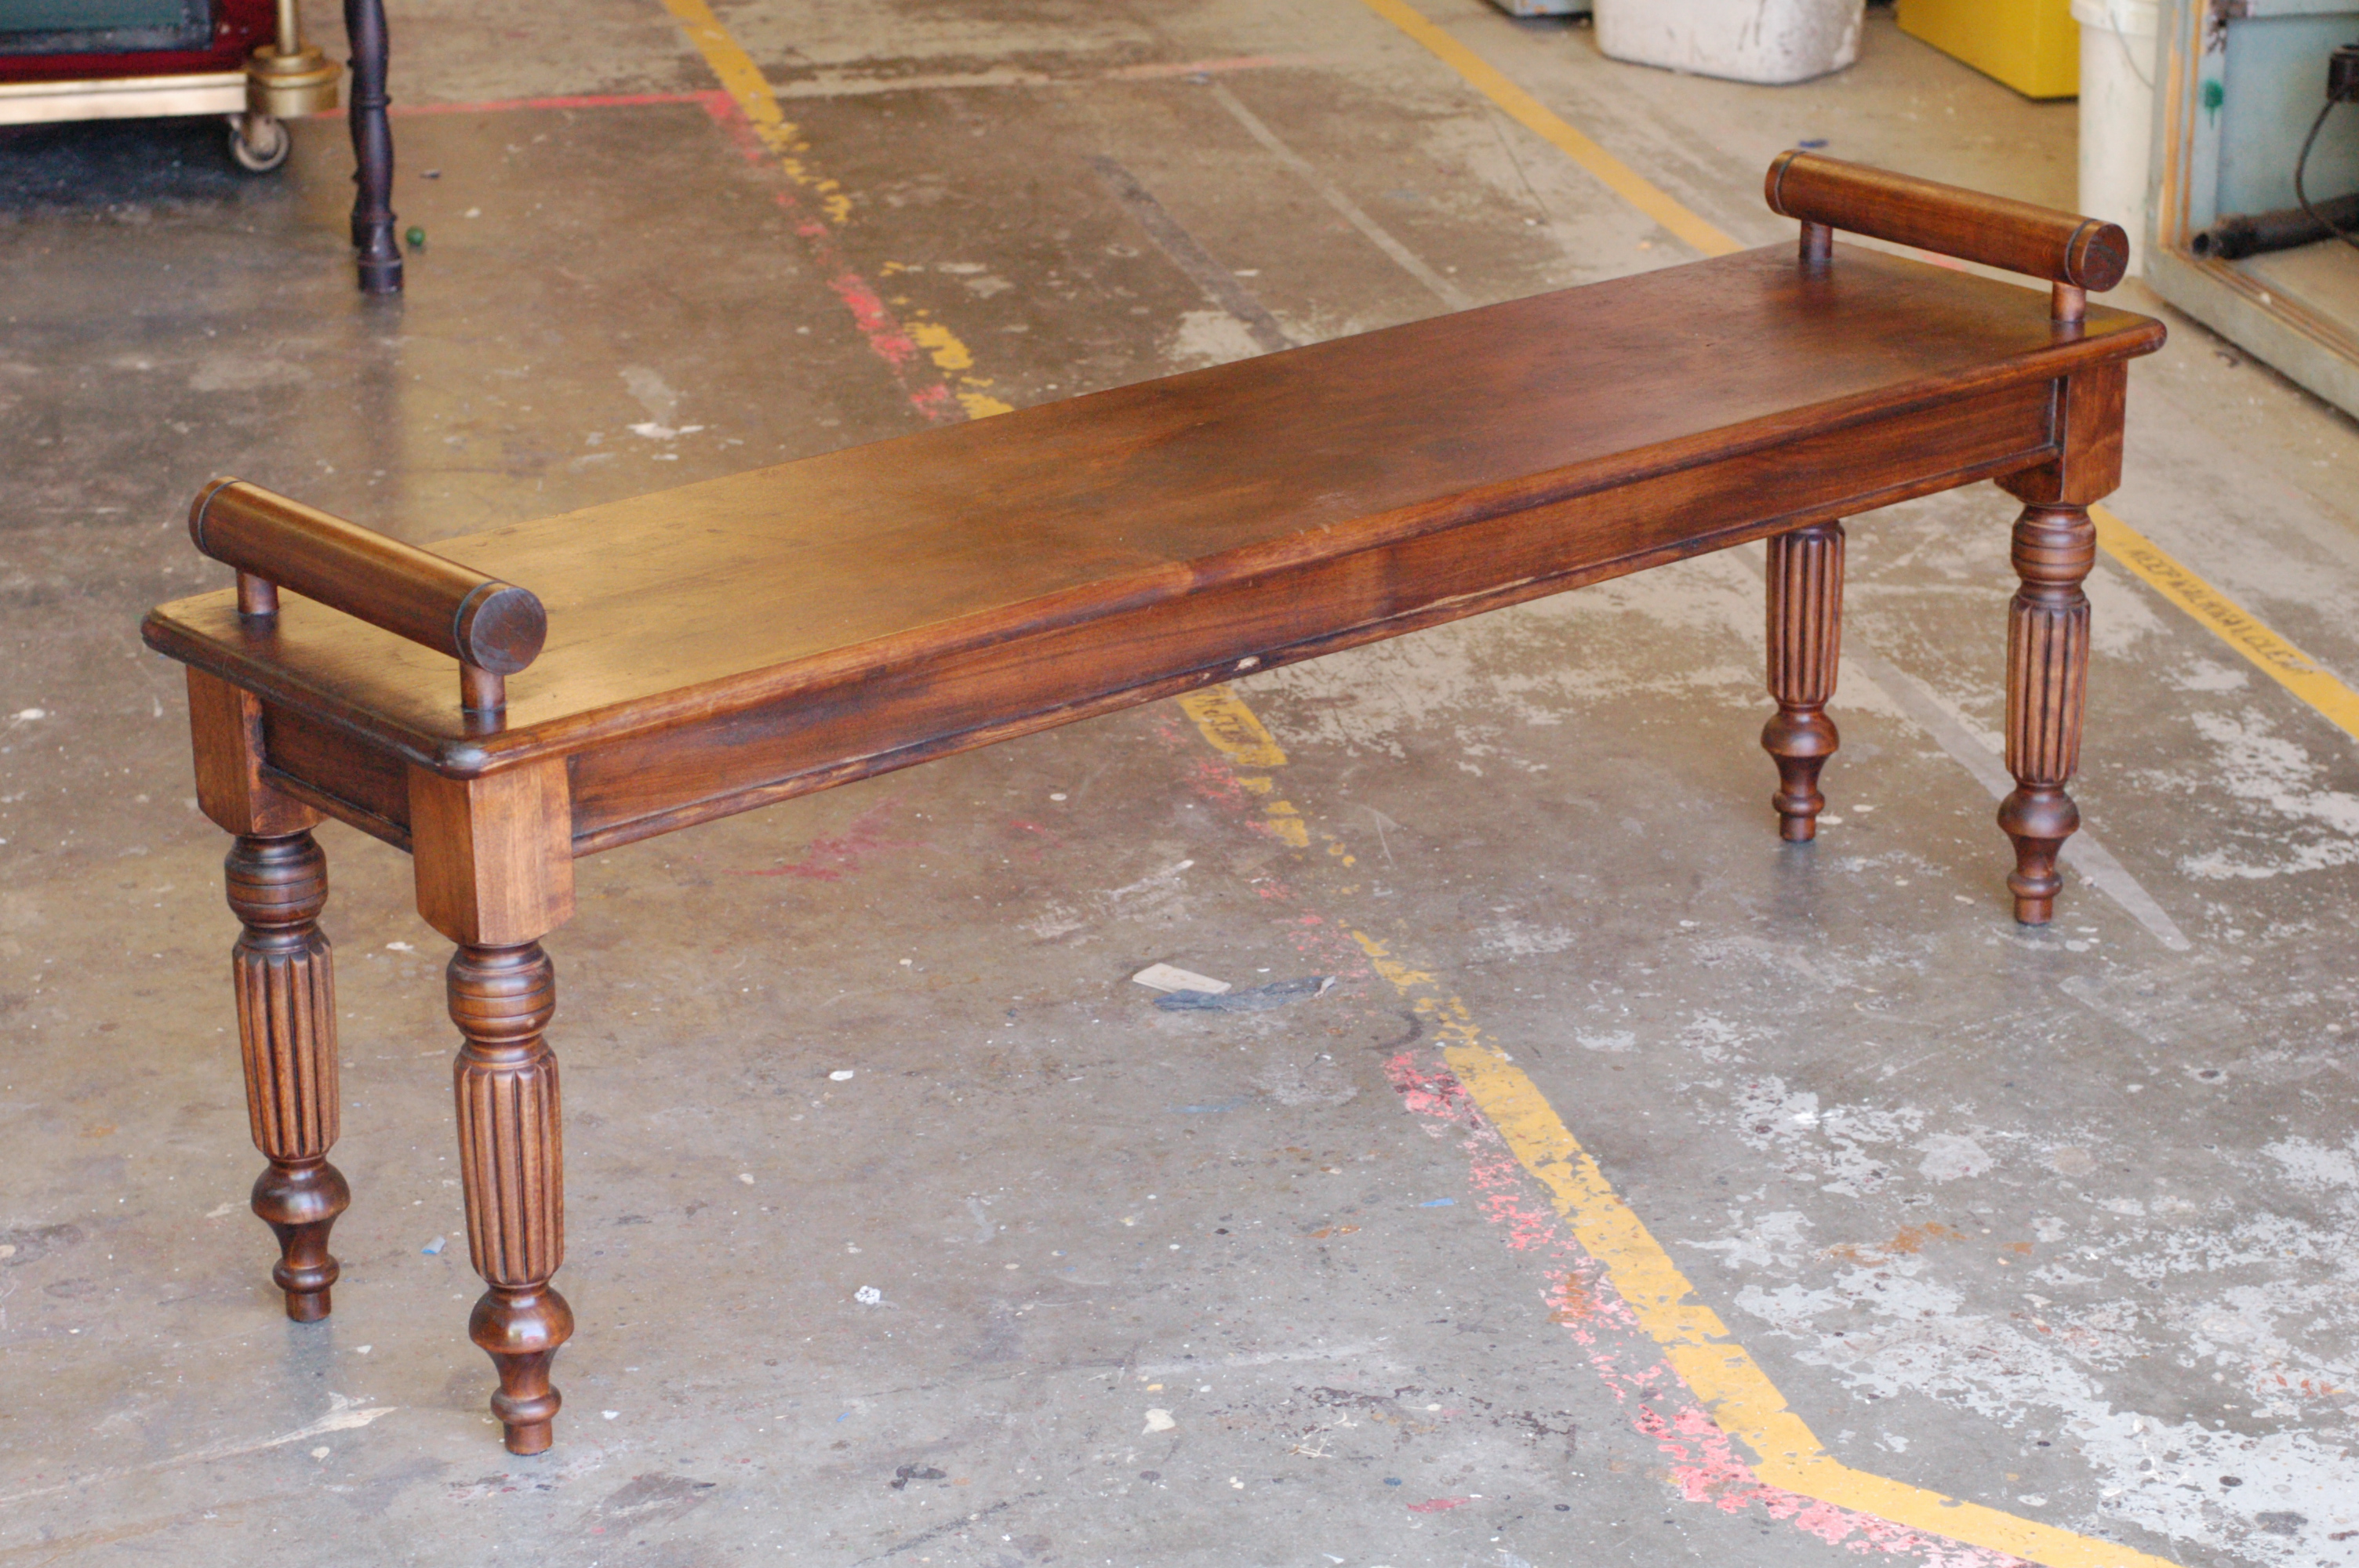
6. With the correct jigs, you can do almost anything on the table saw. You can cross-cut, cut slots and channels, cut patterns, cut tapers, cut circles, taper long boards, make cove molding, and much more, and you can do it all safely. For tricky cuts or complex operations, it will actually take longer to set up the tool than to carry out the actual operation.

7. Maintain the top of your table. Rust will slowly damage the top, making it hard to push material through. It will also discolor your wood. Clean the top with metal cleaners, or even steel wool for stubborn rust spots. When clean, you should wax and polish it to prevent further rusting. Paste wax works well, particularly carnauba-based wax; anything made for cars will work as well. A freshly-waxed surface will also make your materials slide through the saw much more effortlessly.

8. Watch where your wood goes. Never start a cut until you know that the wood can go all the way through without falling off the edge or hitting an obstacle, and that you can reach it and keep hands on it at all times. Use stands, outfeed tables, or a friend when necessary. You may wish to “walk-through” a cut first, to check all this before you cut. Do not forget that the balance of the wood will change after it is cut into two pieces; where a full-size piece may rest comfortably on your table, the off-cut may tip off the side.

9. Use the right blade. Some blades are made for ripping, some for cross cutting, while more specialty blades exist for cutting veneers, laminates and plastics. For most props shops, you will be ripping and cross-cutting plywoods and soft woods throughout the day, and constantly changing the blade will be inefficient, so invest in a good combination blade that will work for the majority of your most common operations.

10. Set the correct blade height. Your blade should be high enough so the gullets of the teeth (the spaces between the teeth) are at or just below the top of the wood’s surface. This allows the blade to clear sawdust and introduce fresh air into the cut, while minimizing the amount of exposed blade to your fingers.

Friday Link-o-Rama

First up is a really great article on Russell Bobbitt. He is described as a prop maker, but he is really more of a props designer. He is responsible for designing and creating Iron Man’s Arc Reactor, Captain America’s shield and Thor’s hammer, among other things. It’s the kind of job most prop makers dream about. He also does a great service in reminding filmmakers about the importance of physical objects in a world where more and more elements are being computer generated.

If you are a Sons of Anarchy fan, you will enjoy this interview with Bryan Rodgers, the property master on the show. Rodgers shows off some of the fake body parts, foam weapons and other props he has provided for the series.

For fans of the show Haven, here is a nice little interview with Jason Shurko, the property master. The show actually contains a few wonderful little hand-made prop artifacts, which Shurko and his team produce in-house.

By now, many of you must have seen the video of “Tradinno”, a fire-breathing animatronic dragon that holds the record as the world’s largest walking robot. He was built for the German production of Drachenstich, which has been performed in the Bavarian town of Fürth im Wald for the past five hundred years. Check out the video below:

Bench from “Oscar”

Our final opera at this past season of the Santa Fe Opera was “Oscar”, a world premiere based on Oscar Wilde. I made a bench for it. It was a simple bench, and the legs were purchased rather than made by us, but it was all solid alder wood, and the end result was quite attractive.

Gluing up the seat
Gluing up the seat

I picked up a truckload of alder from the local lumber store, and planed and jointed some boards for the seat. The seat was a full inch thick, so it was quite hefty. After gluing them together, I rounded off the corners and routed a round-over along the whole circumference.

Hole-drilling jig
Hole-drilling jig

The trickiest part were the bars on either side which stood on top of the seat. I turned them out of the same alder I had bought. I then constructed a jig for drilling the holes. The jig allowed me to drill the hole exactly perpendicular to the bar, as well as to place the hole directly in the center (width-wise) of the bar. I also marked the bars so I could drill both holes along the same line.

Attaching the side bar

Next, I had to line up the holes on the bars with the holes on the seat. The dowels connecting the bars to the bench were also turned by me out of alder. They ran through the top into the legs, so you could pick the bench up by the bars very securely.

For an extra touch, I fabricated the half-round molding along the bottom of the apron from the same alder I used on the rest of the bench. Since the legs we bought were also alder, this meant the entire bench was solid alder, and it would have a consistent appearance when stained.

Bench from "Oscar"
Bench from “Oscar”

The final bench was stained by our paint department; I had actually constructed two (the one above and a much longer one), but the second one was cut. Again, it was fairly simple, and the legs were not turned by me, but working in solid wood is always fun and interesting.


Know What Chemicals You Are Working With

This past week, we learned that Gordon Billings, a UK props master, died from exposure to asbestos. Billings had suffered from shortness of breath and coughing for awhile, and passed away from lung cancer this past August. It was not until last week that the coroner issued his ruling that Billings’ death was due to asbestos exposure.

As a props master, Billings worked on films such as Empire of the Sun and TV series like The Sweeney. Part of his job was sweeping dust and debris from derelict buildings used as sets. Before his death, he had made a witness statement that he was not aware he was being exposed to asbestos.

As props people, we may be exposed to toxins, poisons and harmful chemicals on a daily basis. We may not even be aware of what we are exposing ourselves to. The harm from some of these chemicals may not manifest themselves for years, or even decades, after being exposed.

We may be smart about the particularly nasty chemicals; the ones that smell really bad and that have warnings all over their labels. But those chemicals that we only use once or twice a year may not cause as much harm as those which we subject ourselves to every day. Many harmful chemicals do not even have an odor, or give an indication that we are being exposed. As with Billings, you cannot tell whether you are breathing asbestos or whether you are just inhaling dust. The two-part polyurethanes we use in molding and casting have little to no odor, yet can be some of the more toxic chemicals you come into contact with in a props shop. Cleaners such as Simple Green or any of the “natural” cleaners which have “Orange” in the name can actually contain chemicals which cause reproductive problems, organ damage and even cancer, if you use them without gloves or adequate ventilation. The list goes on.

Protecting yourself from harmful exposure to chemicals is one area of safety where you cannot rely on assumptions or so-called “common sense”. Adequate protection can only come from gathering as much information about the products you use, and building the correct safety infrastructure to deal with them.

For every product in your props shop, you should have an MSDS which lists all hazardous ingredients and what safeguards should be taken. You can also find MSDS for the individual ingredients if you wanted more information. Websites such as the Chemical Abstracts Service and Toxipedia can guide you to more information about various chemicals. And, of course, Monona Rossol’s book, The Health and Safety Guide for Film, TV, and Theater is a must-read for anyone working in our industry.

It is one of the great downfalls of our industry that this kind of information is not taught as consistently or in-depth as it needs to be. Even when the desire to have a safe workplace is there, the knowledge of what that means, or the funds to make that happen are often lacking. A visit from OSHA can certainly point out all the dangers in a shop space, but the fear is that the company will be hit with steep fines or even shut down. One of my dreams is to have some kind of funded organization that could audit shop spaces for their safety infrastructure without fear of being reported, and train employees in proper safety procedures. The larger companies can already do this, as can areas with strong union presences, but there still exists so many smaller theatres and ad hoc film production companies with practically no knowledge of safety. Colleges and universities also suffer greatly from a lack of proper precautions, and these are training the next generation of technicians and managers.

Until that happens, it is up to each of us to protect ourselves. Know what chemicals and hazards you are dealing with. You do not want to devote your entire life working like Gordon Billings, only to spend your last years on Earth suffering from health problems.

The Luck of the Links

Happy Friday the 13th! While the rest of the day may be unlucky, at least with this blog, you’re lucky to get a great list of things to read today.

Kamui Cosplay has a great tutorial on using expanding foam for prop making. You can find this stuff in a can at home improvement stores, with names like “Great Stuff” (it’s used to seal and insulate cracks in houses). While it is certainly “great stuff” for some applications, it is a polyurethane foam, so you should only use it in a well-ventilated area and it should be allowed to cure in an area with separate ventilation from where you are working. If you work at home, you especially should not let this stuff cure in your house, where it will off-gas toxic and irritating fumes for 24 hours or more.

Over at Theatre Projects, Jesse Gaffney makes a half-eaten chicken carcass. With just bits of wood, some Model Magic, muslin, and a few coats of latex and Glossy Wood Tone, she comes up with a pretty convincing prop that looks like it came straight from someone’s fridge.

Here’s a great tutorial on turning clear glass into tinted glass. It is not useful for glass jars that need to be filled with water, but it uses nothing more than Mod Podge, food coloring and an oven.

Make Magazine reminds us that it is not only useful, but vital, that we document the process of building our props. Taking process shots is useful not only for your own portfolio, but it can help with the creative process itself. It is also helpful with sharing your work with others, since others can learn from your process, even when you think what you have done is simple or common knowledge.

A book called 507 Mechanical Movements has been around for awhile, and a number of reprints can be found at bookstores and online. Now, you can view all 507 mechanical movements online as well. The website is great because it has animated some of the movements, and has plans to animate more of them. These movements are useful when building moving or trick props, and you need to figure out, say, how to make a prop spin when you pull a string, or how to make a rod move in a straight line using a spinning motor.