Tag Archives: me

This site is four years old

While my new book is one of the most exciting things on the horizon, let’s not forget that this blog continues to deliver lots of fun and free writing about props, and it will do so long after the book comes out. This blog turned four years old last week, and I almost forgot about it! I thought it would be fun to recap what has appeared here, just like I did after the first year, the second year, and the third year. It now contains 585 published posts, with a total of 266,384 words; that’s one and a half times as many in my book!

I’ve written a few little “featurettes” in the past year. I try to discover who the first prop maker was. I show off some photographs of prop artifacts held at the Victoria and Albert Museum. I take a look at prop expenses from 1716. I had a multi-part series of how they built Fafner the dragon at every production of The Ring Cycle which the Metropolitan Opera has done since it was founded (part one, part two, and part three). I explored who invented the jig saw, and looked at whether it should be called a saber saw or a jig saw. I did a story called To Broadway and Back, and looked at where to find summer jobs. I also did a few safety-oriented posts: Weapon Safety is nothing new, and The Nose Knows Not.

I have toured some places and wrote about some events. These include Wesley Cannon’s awesome film prop collection, a visit to Roy Underhill’s Woodwright’s School, a visit and lesson at Dick Snow’s blacksmithing shop, the Burlington (North Carolina) Mini Maker Faire, a tour of the Costume Armour facilities in New York, and the NYC Annual Props Summit.

I added some more of my own illustrations, including formal dinner settings, and “Better Proud than Shy“. I have begun shooting a lot more video in the past year, such as adding a flange to PVC pipe, vacuum forming for zero dollars, an exploding cuckoo clock, sculpting in oil clay, making a plaster mold, and sculpting and carving foam.

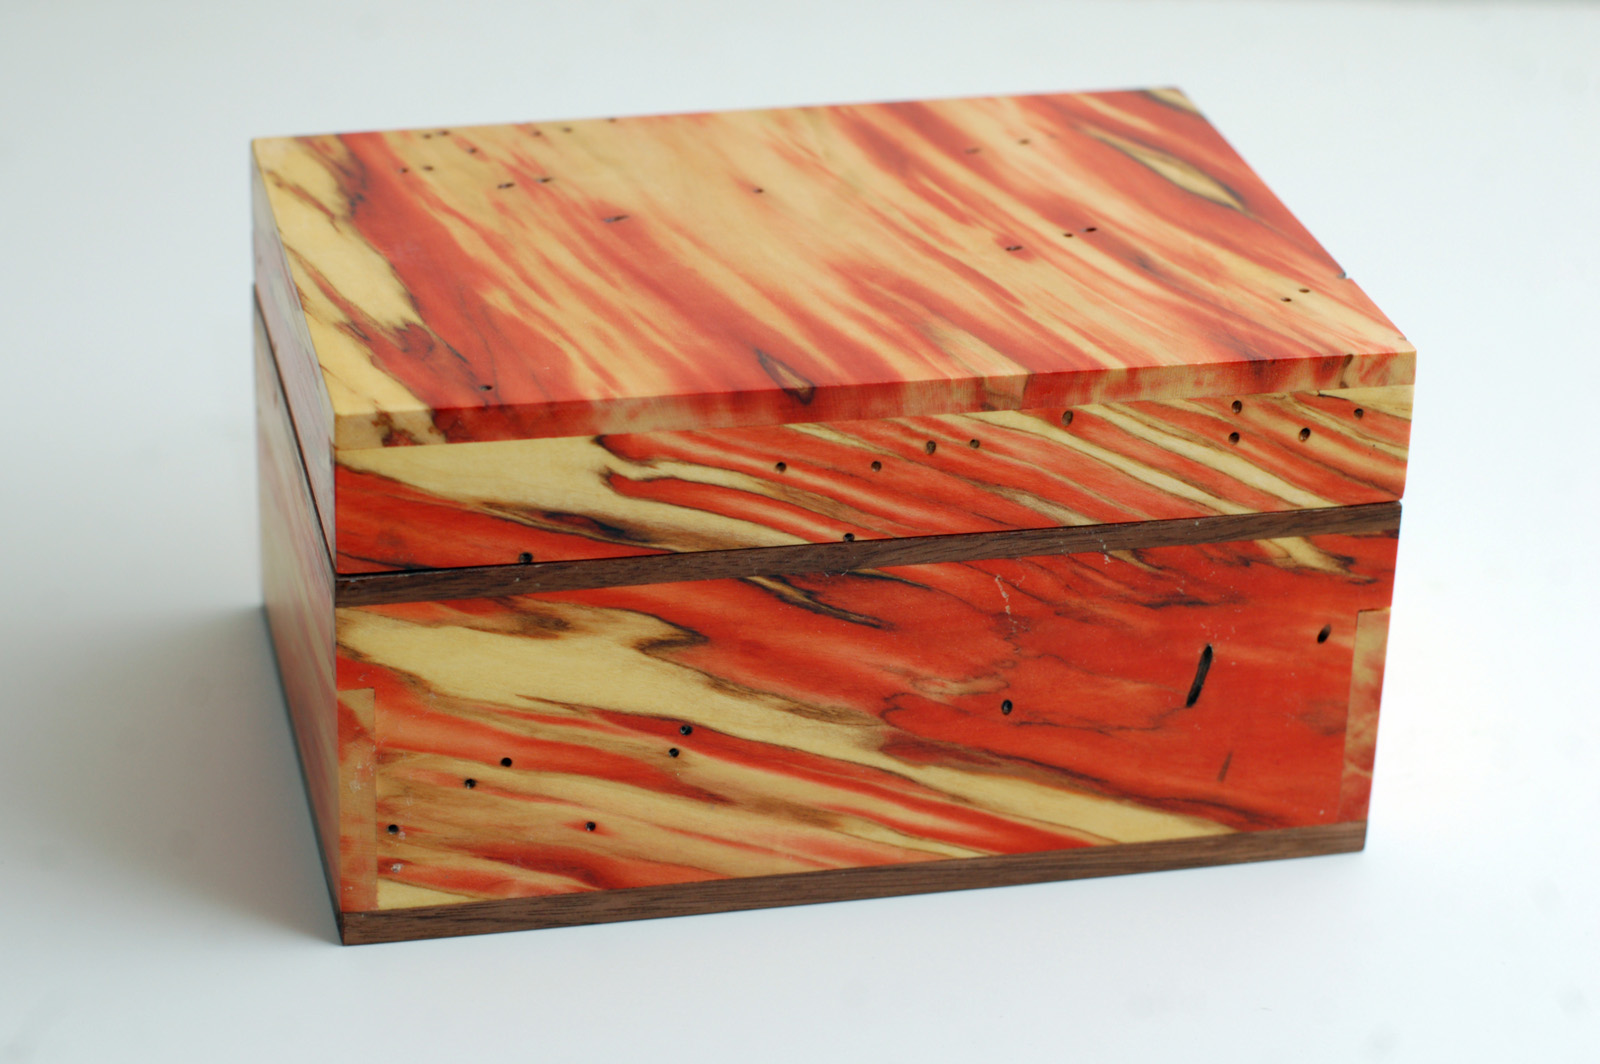
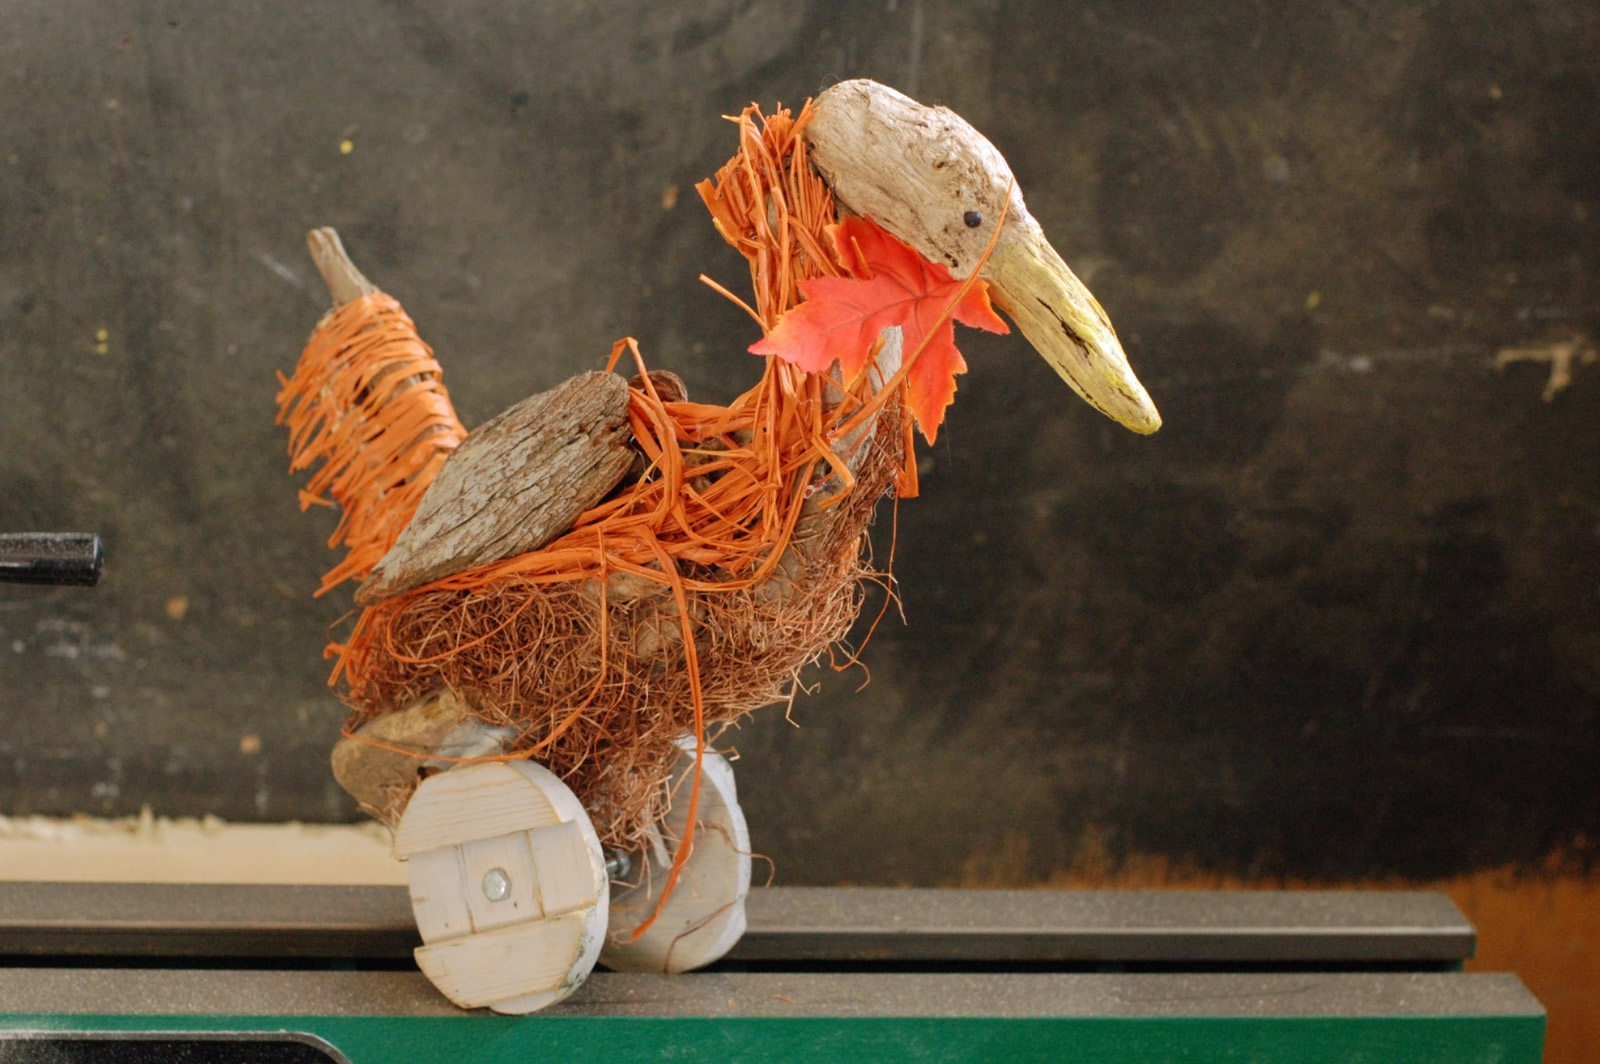
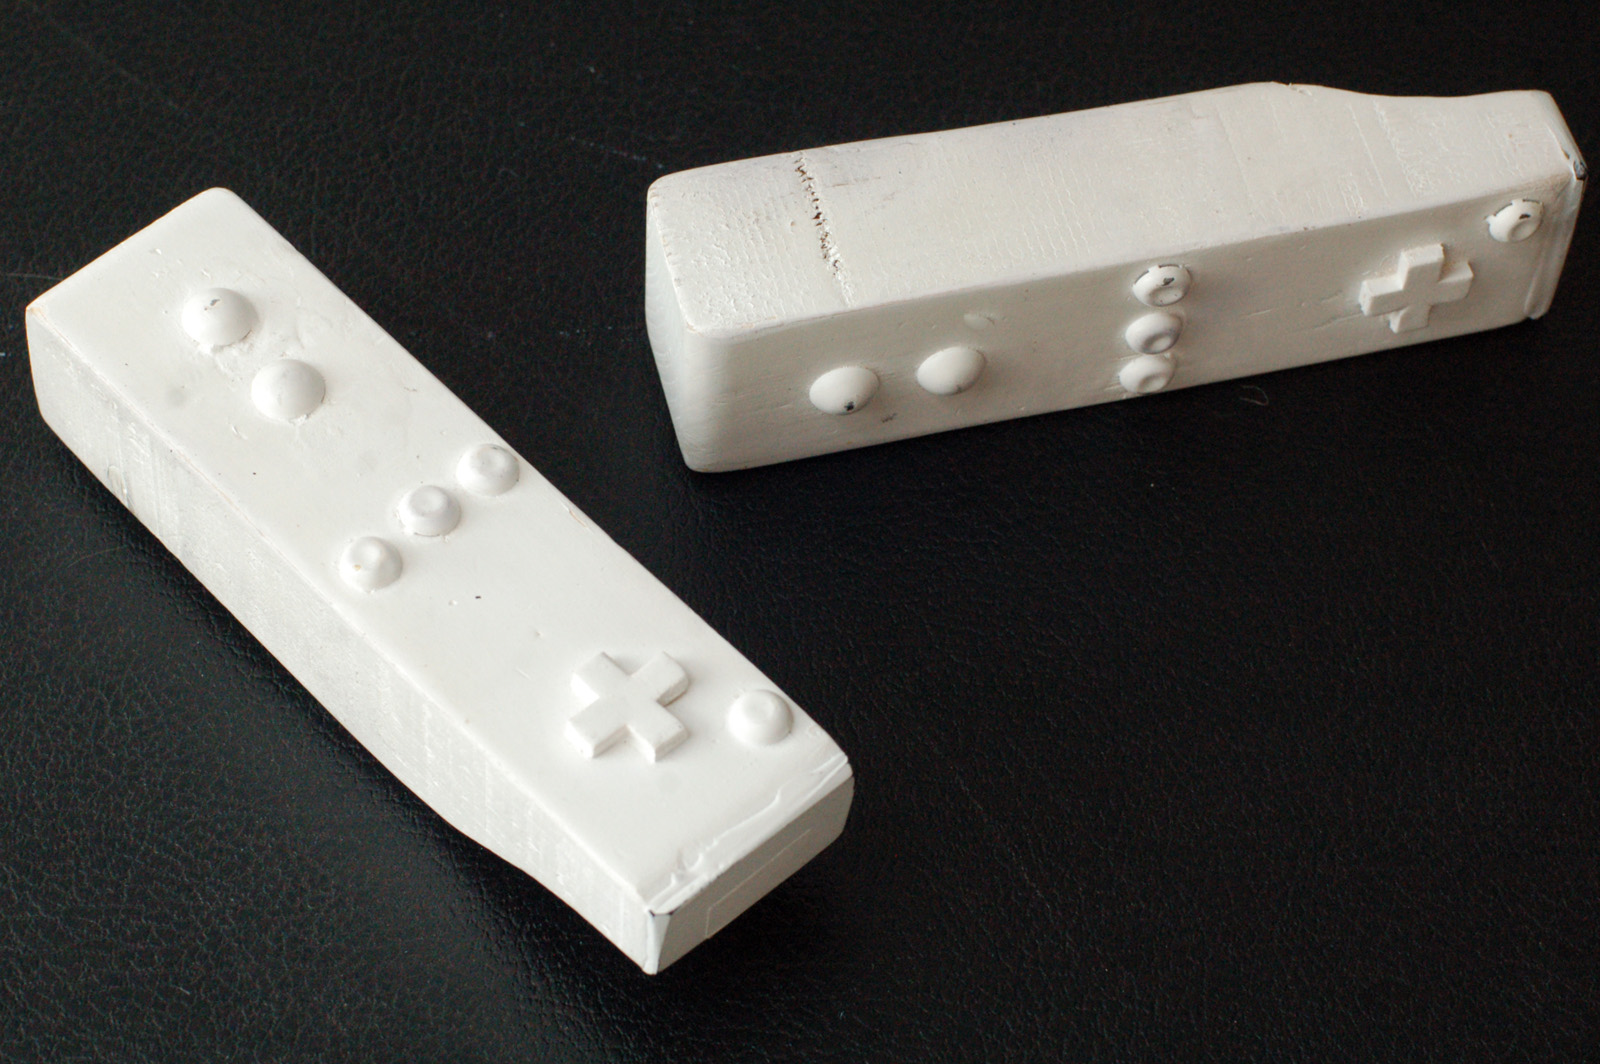
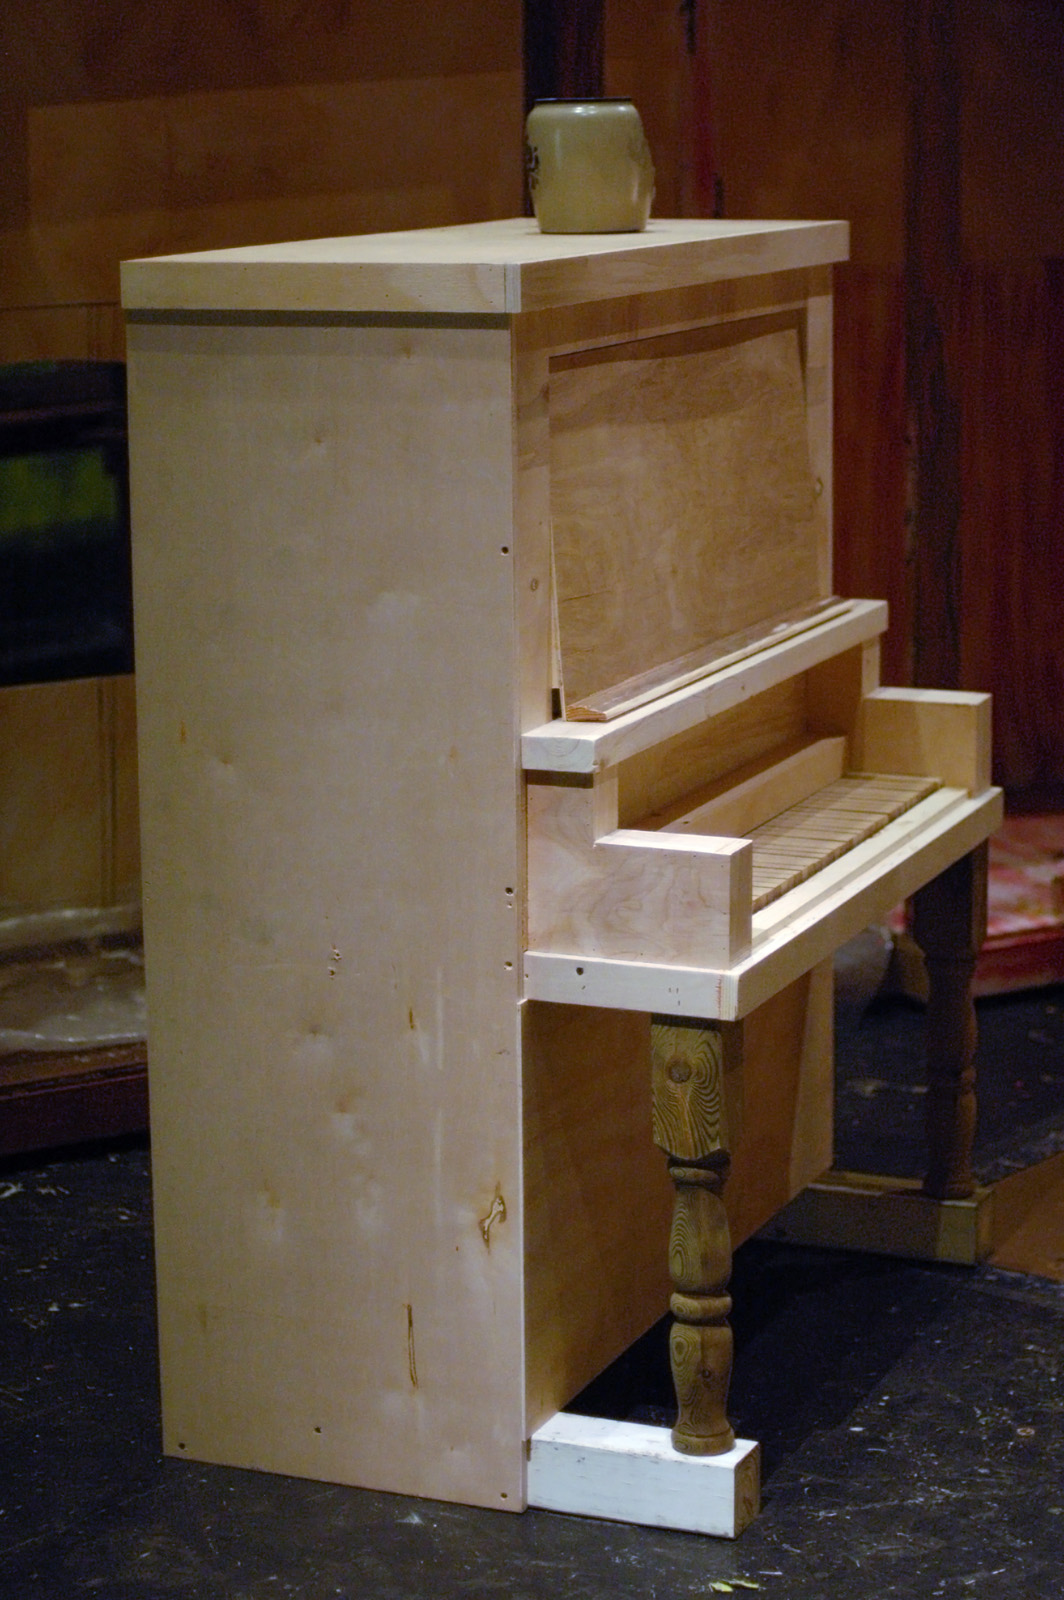
Of course, I posted pictures and explanations of various props I have built: Furniture for Henry IV and V at Playmakers Rep, a crepe cart at the Santa Fe Opera, a six-foot tall microscope, a dead deer at Shakespeare in the Park, King Roger’s throne at the Santa Fe Opera, twelve candlestick phones for Elon University, a player piano for Elon, various props for Crazy for You at Elon, Milky the Cow, Puppets for Into the Woods, some box elder boxes, and a CNC cast iron bench.

This year, I’ve also published some cool things submitted by other people. First up is Specter Studios building a foam axe prop, followed by the condensed history of their company. Next up is Costume Armour making a disappearing turkey. I also posted the video of Jay Duckworth’s KCACTF keynote speech on being a props master.

Regular readers know I like to dig out old historical writings about props. This year, these included the following: Actors in IATSE (1898), Backstage Views (1900), What Becomes of Stage Scenery (1903), A multi-part reprint of an article on prop maker E.L. Morse (1904): part 1, part 2, part 3, part 4, part 5, part 6, and part 7; The Covetous Property Man (1904), A Factory for Making Plays (1909), Good Furniture and Moving Pictures (1915), How David Belasco shops for props (1919), William Bradley, Property Man (1927), Why Film Prop Men Often Die in Their Youth (1938).

There were also some great illustrations I’ve reprinted here: daggers and poniards of the Christian Middle Ages, an illustration detailing the construction of a table, cooking pots history, 1642-1969, chair back styles, and construction and upholstery of chairs.

Finally, I reviewed Costumes and Chemistry by Silvia Moss. Though not a review, I also did a brief interview with Sandra Strawn about her recently published book, The Properties Director’s Handbook.

So there you have Year Four in a nutshell. I post lots of other links and videos in addition to what I’ve written here. If you don’t want to miss any future posts, you can subscribe to my blog with your favorite blog reader, or sign up to get all articles through email. For even extra prop goodness, you can follow me on Twitter as well.

Box Elder Boxes

Welcome back, everybody! I hope the holidays went well. There is a lot of great stuff on the way for this blog as we count down to the release of The Prop Building Guidebook, one of the first guides to building props to be published in a decade, and one of the most complete ever.

Today, I wanted to show off some boxes I made as Christmas gifts. These were done awhile ago, but I did not post them because the recipients read this blog. It was interesting working with “nice” wood and building an item the “real” way, because it makes you realize how many shortcuts you can take in prop making, and how much you can get away with when an object is only viewed at a distance from the audience.

Not that the props I and others make aren’t well-made; frequently, they are sturdier and more polished than many items you can find in the store. But there is a difference when the item you are making will be held up close, and any joints that are a bit proud can actually be felt, or an errant glue drip on the inside will be studied closely.

Four boxes made from box elder.

I used an exceptional piece of box elder for these boxes. You can see in the open box above, the inside is completely unfinished. The polyurethane coating adds a bit of contrast and depth to the surface, but otherwise, that is the natural color of the wood. The red streaks comes from a fungal growth. Box elder is rarely harvested commercially, because it grows in flood plains. Many people do not realize it can look like that on the inside, so they just burn it as firewood or turn it to mulch when they need to get rid of a box elder tree that has fallen down or died.

I found my pieces at a local sawmill that specializes in salvage lumber. The sawyer had rescued a bunch of box elder trees when the park services cleared a riverfront. My wife and I saw this wood at a wood show awhile back and were asking questions about it. The next day, we returned to the show and the sawyer had set aside some particularly bold pieces of the box elder for us.

A box made from box elder.

I used a piece of walnut for the bottom and as an accent around the lid opening. The boxes were cut entirely on my table saw. As I mentioned above, I finished them with a few coats of polyurethane; specifically, I used spar varnish because it imparts a lot of UV protection. The red coloring will actually fade away when left in direct sunlight, which would be a shame.

Into the Woods Puppets

In my last post, I detailed the build of a “Milky-White” puppet for Into the Woods. I made some smaller puppets for that production as well, including two birds and the hen that lays golden eggs.

For the birds, I began experimenting with various ways with how they could be carried and flap their wings. The production team liked one where the bird was held aloft on a pole, and their wings flapped by moving a piece of PVC pipe up and down over the pole. Bamboo lashed with twine created the mechanism, and more twine was used as the “hinge” to connect the wings to the body.

Bird puppet
Bird puppet

I covered the wings with leaves to continue with the concept of using “natural” materials to create the puppets. If you remember from the last post, the goal was not to make realistic animals, but to make items that appeared distinctly hand made from materials one might find in a forest.

Covered in feathers
Covered in feathers

I brainstormed awhile on the hen, trying to come up with a look that was interesting and distinct from the other puppets. The designers had provided me with some research of horse sculptures constructed of driftwood, so I decided to have a go at a driftwood hen.

I began with a full-scale reference sketch of a hen, and began mixing and matching pieces of driftwood until I got an assemblage that looked like a hen. I drilled tiny holes in the pieces so I could wire them together (later reinforcing some of the joints with hot glue).

Driftwood hen
Driftwood hen

The director wanted the hen to be on “wheels” and pushed out with a stick. The stick is later removed and the hen is carried around. I built some rustic-looking wheels, and drilled a hole in the back so a stick could be added and removed. He also got some small eyes glued on.

Hen on wheels
Hen on wheels

After a few rehearsals, the team wanted a hen with some more presence on stage. I added some bright orange raffia along the top, some brown moss along the bottom, and a bright orange leaf for a wattle. I also painted the eye black and the beak yellow to help distinguish the parts a bit better.

The hen that lays the golden egg

Overall, it was a fun challenge to build “puppets”, since I’ve worked with them a lot in the past, but never had the chance to build my own. It was also interesting to work with various materials I’ve never worked with before.

To Broadway and Back

Wiimote
Wiimote

What, exactly, are we looking at? Fans of the Nintendo Wii may recognize these as vaguely resembling the remote used to play games on that system (known as the “Wiimote”).

Flashback a few years. I was working on the off-Broadway production of Bloody Bloody Andrew Jackson. Fans of the show will know that it has just a bit of set dressing, so you can imagine that the props department had their hands full. We had made it past tech and into previews, but changes were still occurring. The various sight gags at the beginning of Act II (when Andrew Jackson has just become President and is in the White House) were still evolving. A note came down that they wanted to add Wiimotes for one of the background characters to be playing with. Easy enough, right?

Well, our budget was fairly shot at the moment. We couldn’t really justify the $40+ per Wiimote (they wanted two) for a background gig. We searched high and low for used ones, ones to borrow, and even broken ones. At one point, someone found “candy” versions (a fake Wiimote filled with candy), but these proved to be too diminutive for our purposes.

“Hey,” I said. “I can make something really quick, so they at least have something in their hands while we continue searching.” I cut some shapes out of a 2×4, added some upholstery tacks as buttons and a small cross cut out of MDF for a directional pad, gave it a coat of gloss white spray paint, and called it good.

We ended up running out of time to find better ones. No one gave us any notes to improve these “stand-ins”. Opening night came. Watching the show, you couldn’t really see what was in the actor’s hands during this scene, even if you knew to look for them.

Flash forward. The show transfers to Broadway. All the props get recorded, packed and trucked off. I get tickets to see it. I pay attention to the beginning of Act II to pick up on any changes. The Wii gag is still there, but I can’t make out the props. “It’s Broadway,” I think. “They probably just bought two Wiimotes with their big budget.”

Flash forward again. It’s been over a year since the show closed and the props are still in storage. My boss pushes to get them back as the chances of a transfer diminish. After several go-arounds, he finally arranges for a trip out to the storage facility to pick up some of the items to bring back to our stock. Most of the hand props are packed into a few boxes, and we don’t really know what is in them (the boxes are labelled “action props”, which is Broadway’s term for “hand props”).

We unpack the boxes and guess what I find? Hint: It wasn’t a pair of “real” Wiimotes.

I am not sure what the moral of the story is. It is certainly an interesting side note to add to the list of strange ways and circuitousness routes which objects take on their way to the Broadway stage. Perhaps it is also a small reminder that you should always do your best work, because you never know where a prop may end up. Perhaps, too, it reveals how “theatre magic” can be created even with decidedly un-magical items.

Or maybe it’s just a funny-looking prop with an interesting story.

Player Piano for Crazy for You

Another project I worked on for Crazy for You at Elon University was a player piano. The piano sits against the wall of the saloon for a number of scenes. It has a couple of gags; when we first see it, a cowboy is playing a song on it, then gets up and walks away as the piano continues to play. Later, another cowboy fires a gun which hits the piano and causes it to start playing on its own again until it is kicked.

We began by looking for a real piano which we could take apart and modify. After a few weeks of unsuccessful searching, I decided I would just build one. After all, it needed to be a custom size to fit into the set, so transporting and modifying a real piano might be just as labor-intensive. The exterior of a piano is not really that complicated; it’s mostly a giant box with various levels of molding and details. The tricky part was getting it to play on its own.

Detail of the piano keyboard

One of the perks of working at a university is that you have a lot of crew members backstage who can operate tricks by hand. I knew the player piano could be worked manually from behind, so I just needed to figure out how to make that work. I cut out a set of piano keys from 3/4″ MDF and drilled a hole through each one. I ran a piece of metal rod through all the holes; I added a washer between each piece of MDF as a spacer. You can just make out the washers in the photograph above, catching a glint of light. This method allowed the MDF “keys” to pivot around the rod. I set the “keyboard” in the piano and added  blocks underneath to limit their movement to that which a piano has. You will notice the holes were drilled offset from the center. The extra length in the back gave the back extra weight; when you let go of a key in the front, gravity would pull the back down, returning the key to its natural position. This simple mechanism would allow someone in front to play the keyboard normally, and someone in the back could make the piano appear to play on its own by pushing the keys up.

A view from the back

In the view from the back, you can hopefully get a better sense of what is going on. The keys can be accessed from behind; pushing them up causes the keys in front to move down, as if the piano is playing itself. When you let go of the keys in behind, they return to their normal position. The piano was pushed up against the wall, and a hole was cut in the flat, allowing a crew member to reach in and “play” the piano without being seen by the audience. The music itself was played live by the orchestra.

The finished, unpainted piano

The photograph above shows the piano immediately before it is painted. I managed to build the entire thing with scrap material, amazingly enough. The scene shop at Elon has a CNC machine, and it produces some wacky off-cuts. The scene shop usually doesn’t have time to trim the edges to make them square and usable again, but I do, so it gives me some nice large pieces of quality plywood and lauan.

The saloon in Crazy for You

The piano was painted to match a lot of the other woodwork used in the saloon scene. I cut some black keys out of black foam core and hot glued them on top of the white keys; they basically moved along with the white keys as they were played, but were not playable on their own. With the keys painted white and the piano painted with dark wood tones, it gave enough contrast that even the balcony seats could witness that the piano was playing on its own. All in all, it was a pretty fun prop for having been built in little over a day.