Spend All the Monies

A few years back, I was working on a project in a facility that had a number of groups using the space. There was a group of students doing the props and furniture for a show, and they were so proud of how far under budget they had come. They were given $300 to do all the props and furniture, and they had only spent $30.  Here’s the thing though: it looked like they had only spent $30, and spending a bit more money could have made it look a whole lot better.

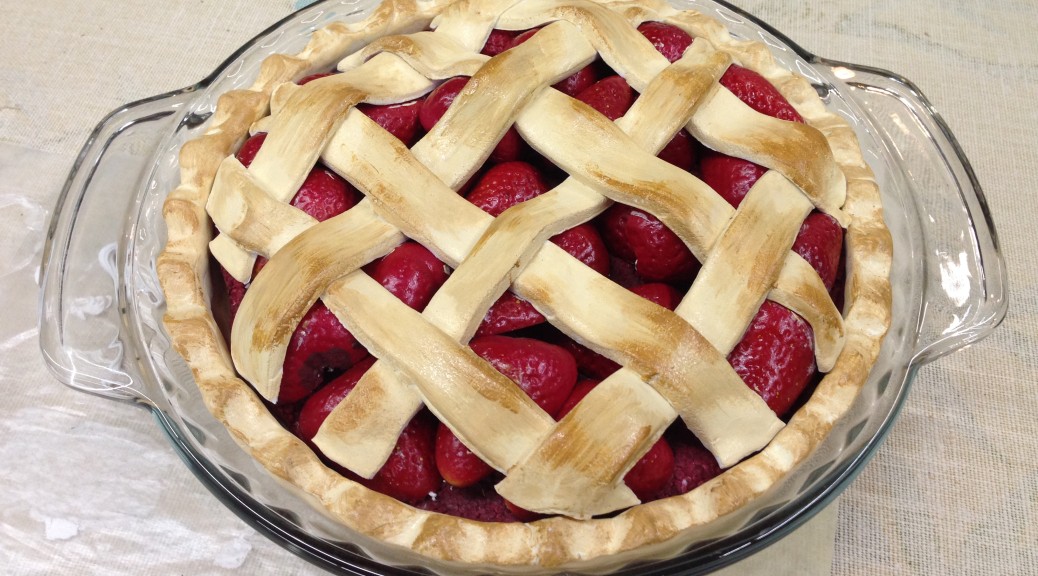
We talk about the importance of not going over budget, but we rarely talk about the flip side: not using enough of your budget. As props people, we are always looking for a great deal or a bargain that other mere mortals may think impossible. And it’s great to get an item for a fraction of the price you would normally pay… if it looks like the full-priced item. If you have $300 to spend, it should look like you spent $3000.

It’s a great skill to try and produce as much as possible for as little money as you can. If you have zero budget and you only spend $30 on all the props and furniture, that’s quite the achievement. But if you are given a budget of $300 and you still come in with the $30 solution, it makes me wonder what happens when you have a budget of $1000. Or $3000. Or $10000. Are you still going to show up with the $30 solution? Because managing larger budgets has its own set of skills: knowing when to buy nicer materials, or when to buy certain items to save time fabricating them; paying money for little details that make your prop look more like the real thing; hiring extra help or outside contractors to help you get more done in the same limited time frame.

It makes sense if you compare it to your other resource: time. If you only have two hours for a project, you will probably come up with a very creative and inventive solution, albeit not a very impeccable one. Now, if you have two weeks for the same project, imagine showing up with a prop that looks like you whipped it out in two hours. You wouldn’t let your time go to waste just to prove you can make a prop with minimal effort, so don’t let your budget go to waste just to prove you’re a spend-thrift.

With time, we are almost always working right up until the props are taken from us (or the audience is being seated). I usually have a few notes left on my to-do list by Opening Night because I can always find things to improve. The show is certainly fine if I never get around to them; I just find it difficult to declare, “Everything in this show is perfect, and I can stop working on it.”

The same is true with the budget. I allocate all the money I have to specific items; I don’t leave any large chunks sitting around (other than contingencies, which I build into the budget). Of course, as rehearsals progress, the budget shifts around; items are added or altered, I discover solutions that allow me to save money, etc. If a change requires me to spend more money than I was anticipating, I take that money from something less essential. However, if new conditions cause me to save more money than I was anticipating, I find somewhere else to spend it. Maybe I was using a cheap solution for a nonessential prop, and now I can buy a nicer version for stock that I know I will use in later shows. Maybe I buy some hardware that I was planning on fabricating, and save myself some time that I can use elsewhere. Or maybe I just buy some more dressing, because you can never have too much dressing. If everything works out, by the time I get to opening, my budget is pretty much on the nose.

Sometimes, things are cut or changed at the last second, and the opportunity to spend the money never comes up, and I come way under budget. I don’t just run out and start buying random things. The important point is that I had plans for that money. You should have a plan for how you are going to spend every dollar in the budget given to you, rather than trying to avoid spending any dollar. You can tell when things were done for cheap.

Mid-Week Links

Things have been hectic here in the Hart Household, and you may have noticed I’ve missed a few posts. So I am switching things up and posting a bunch of links on a Wednesday rather than a Friday. Here we go:

Chris Ubick has been the props master on dozens of films, such as The Help, Practical Magic, Milk, and The Internship. Dianne Reber Hart has written a great article on her life and career which you should check out.

This article is a few years old, but worth mentioning: The Last Electronics Project I Completed. It’s a little deep and heavy at times (the author was building a fake bomb prop in lower Manhattan in early September of 2001) but it brings up some questions about the questionable legality of what we sometimes find ourselves building.

On a lighter note, here is how to force a patina on carbon steel. Short answer? Shove it in a lemon.

And finally, here is an interesting Instructable on assembling a vacuum-formed model. If you have tried vacuum-forming before, you will know that making the parts on the machine is just the beginning. You still have to trim, assemble and reinforce the parts to get a usable prop. This Instructable steps through some of those processes to make a fake ammo drum.

Two Fake Pies

We opened Pump Boys and Dinettes here at Triad Stage a few weeks ago. Set in a diner famed for its home cookin’, we needed some pies. They sing about them, after all. Of course, we didn’t want to be buying brand new pies for every performance, so I asked my assistant, Lisa Bledsoe, to make a few.

Pie crust and base
Pie crust and base

She started off making the pie crusts out of Crayola Model Magic. She shaped a layer into a glass pie tray and let it harden over night. She cut some white bead foam discs to fill most of the inside.

Strawberry filling
Strawberry filling

She was making two pies; a fruit pie and a coconut cream pie. For the fruit pie, she had some fake strawberries from the floral section at Hobby Lobby, and cut all of them in half to make a layer on top of the foam disc. She painted the disc red to continue the illusion that it was strawberries all the way down.

Toasted coconut
Toasted coconut

To top the coconut pie, she used actual dried coconut flakes. They were painted with acrylics to make them look toasted.

Coconut cream pie
Coconut cream pie

The Model Magic did not stick to the pie tray, so she was able to pop the whole pie out and paint the crust with acrylics before popping it back in. The cream on top was made from acrylic caulk. She had visited the hardware store and picked up a few different brands and types of caulk and spackle to test out which would dry the most like a cream pie.

Strawberry pie
Strawberry pie

The strawberry pie got a lattice crust made of more Model Magic painted with acrylics. So there you have it; the Double Cupp Sisters’ famous pies!

Last Links in April

Hey, if you haven’t gotten my Prop Building Guidebook yet, you can get it direct from Focal Press for 20% off until April 29th! Just use code MRK95 at checkout. It makes a great gift for graduation (hint hint).

This seems like one of those weird Buzzfeed articles, but it actually has a whole lot of cool photographs from a tour inside Jim Henson’s Creature Shop.

Legacy Effects has a great video on the making of the suit from the new Robocop film. Sure, there is a lot of 3D printing and digital fabrication involved, but there is also a surprising amount of traditional artistry going on, including sculpting, painting and sewing.

La Bricoleuse discovers an armor maker right here in North Carolina. Dr. Eric Juengst is the Director of the Center of Bioethics at UNC Chapel Hill, and he spends his spare time fabricating historic suits of armor (and suits of armor for animals). Check out these photos and video of his workshop and his creations.

Here’s a good step-by-step tutorial on how to do a life cast of a face from Lauren Daisy Williams, a student at UNCSA. I met Lauren at the USITT Young Designer’s Forum this year, where she had all sorts of fun molding and casting projects on display, so it’s nice to see her share the process for some of her work online.

Mysteries of the Prop Room part 4, 1902

The following tour of a property room at the Grand Theater in Saint Paul, MN, first appeared in The Saint Paul Globe in 1902. This is the third selection from that article, with the first appearing here, the second here, and the third here.

Like the property room on the stage floor of the Metropolitan this property room behind the stage of the Grand serves to house the “props” that are in immediate use. And these “props” as a rule belong to the company that happens to be playing the week’s engagement. However, there are many little things in the way of stage furnishings that few companies carry and these, of course, are supplied by the house. Adjoining the property room at the Grand is a completely fitted out carpenter’s shop, the sanctum sanctorum of the stage carpenter. In this shop all the stage furniture is made. Just now the stage carpenter is at work on a set of parlor furniture of Florentine design. As soon as it is finished this furniture will be placed in the property room and designated a “prop.”

The Grand possesses something that is not often found in theaters in this country and that is a property room in the fly gallery. This fly gallery is nothing more than a platform that swings out half way between the stage and the roof of the theater. The gallery is reached by means of a spiral staircase made of iron. Two windows looking out upon a court furnish a dim light for the room. […] The property room of this fly gallery at the Grand is peopled with odds and ends that, looked at separately, would never be connected with the stage below. But all of them have played their brief part in some drama and because of this have earned their right to the dignified title, “prop.”

For instance, there is a complete outfit for a cosy corner to be found in this particular property room. This outfit consists of three long pikes with broad heads, a flimsy covering of Oriental stuff, a seat cushioned with Oriental cotton and a swinging Oriental lamp. Seen from the auditorium the effect of such a cosy corner is always picturesque. A nearer view takes away all the enchantment that distance lends. The wobbly pikes, the flimsy faded cotton and the seat that is anything but “cosy” are suggestive of nothing so much as those magazines that tell the credulous how, with the cut of a tomato can and a few tacks, almost anything in the shape of furniture can be evolved. Opposite this fly gallery, to the left of the stage, a place has been found for two more property rooms of the Grand. In one is neatly arranged a variety of chairs and odd bits of furniture, card tables, hat trees, foot stools, etc., each one fitted deftly into its proper place. All of this furniture is kept in excellent repair and although of inexpensive woods, is substantial looking enough to harmonize with the most elegant stage setting.

Originally published in The Saint Paul Globe, February 23, 1902, page 22.

Making and finding props for theatre, film, and hobbies