Tag Archives: welding

Umbrella Gun

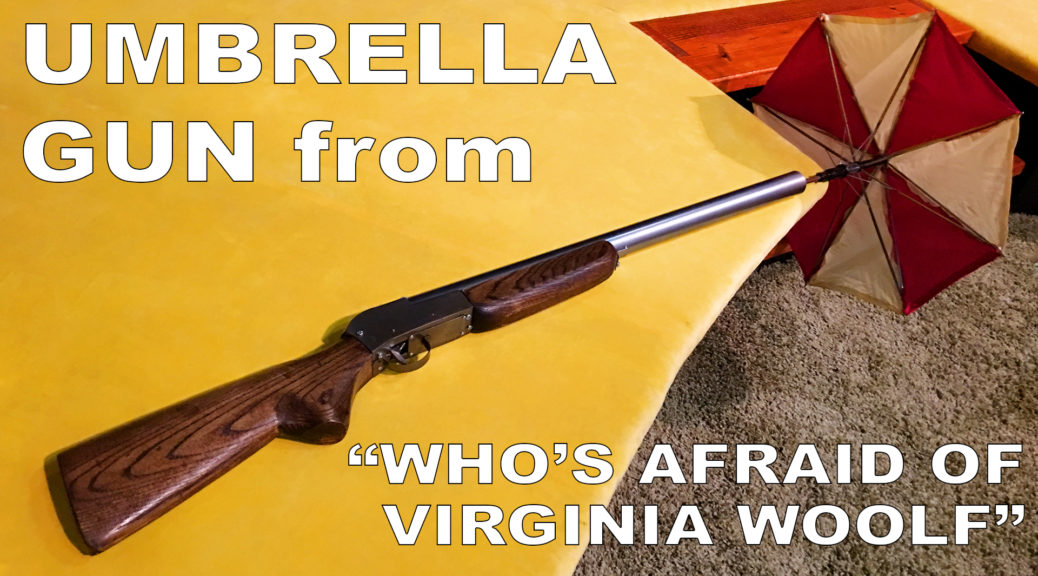
The umbrella gun scene in Who’s Afraid of Virginia Woolf? is one of the most visually memorable in the play. George, tired of his wife Martha’s insults in front of their guests, exits offstage. He sneaks back wielding a shotgun aimed at her head. The guests see him and scream as he pulls the trigger. Instead of the loud report of a bullet, though, a brightly-colored umbrella emerges from the barrel. Hilarious, right?

The original production was written to use a trick umbrella they already had in stock, but every production since has given the props master a headache as they try to figure out the gag. I initially checked with other theaters who had done this show, but theirs had either broken or been disassembled. The rental options out there were either too expensive or looked unrealistic. I decided I needed to build my own.

Drawing the stock and fore-end

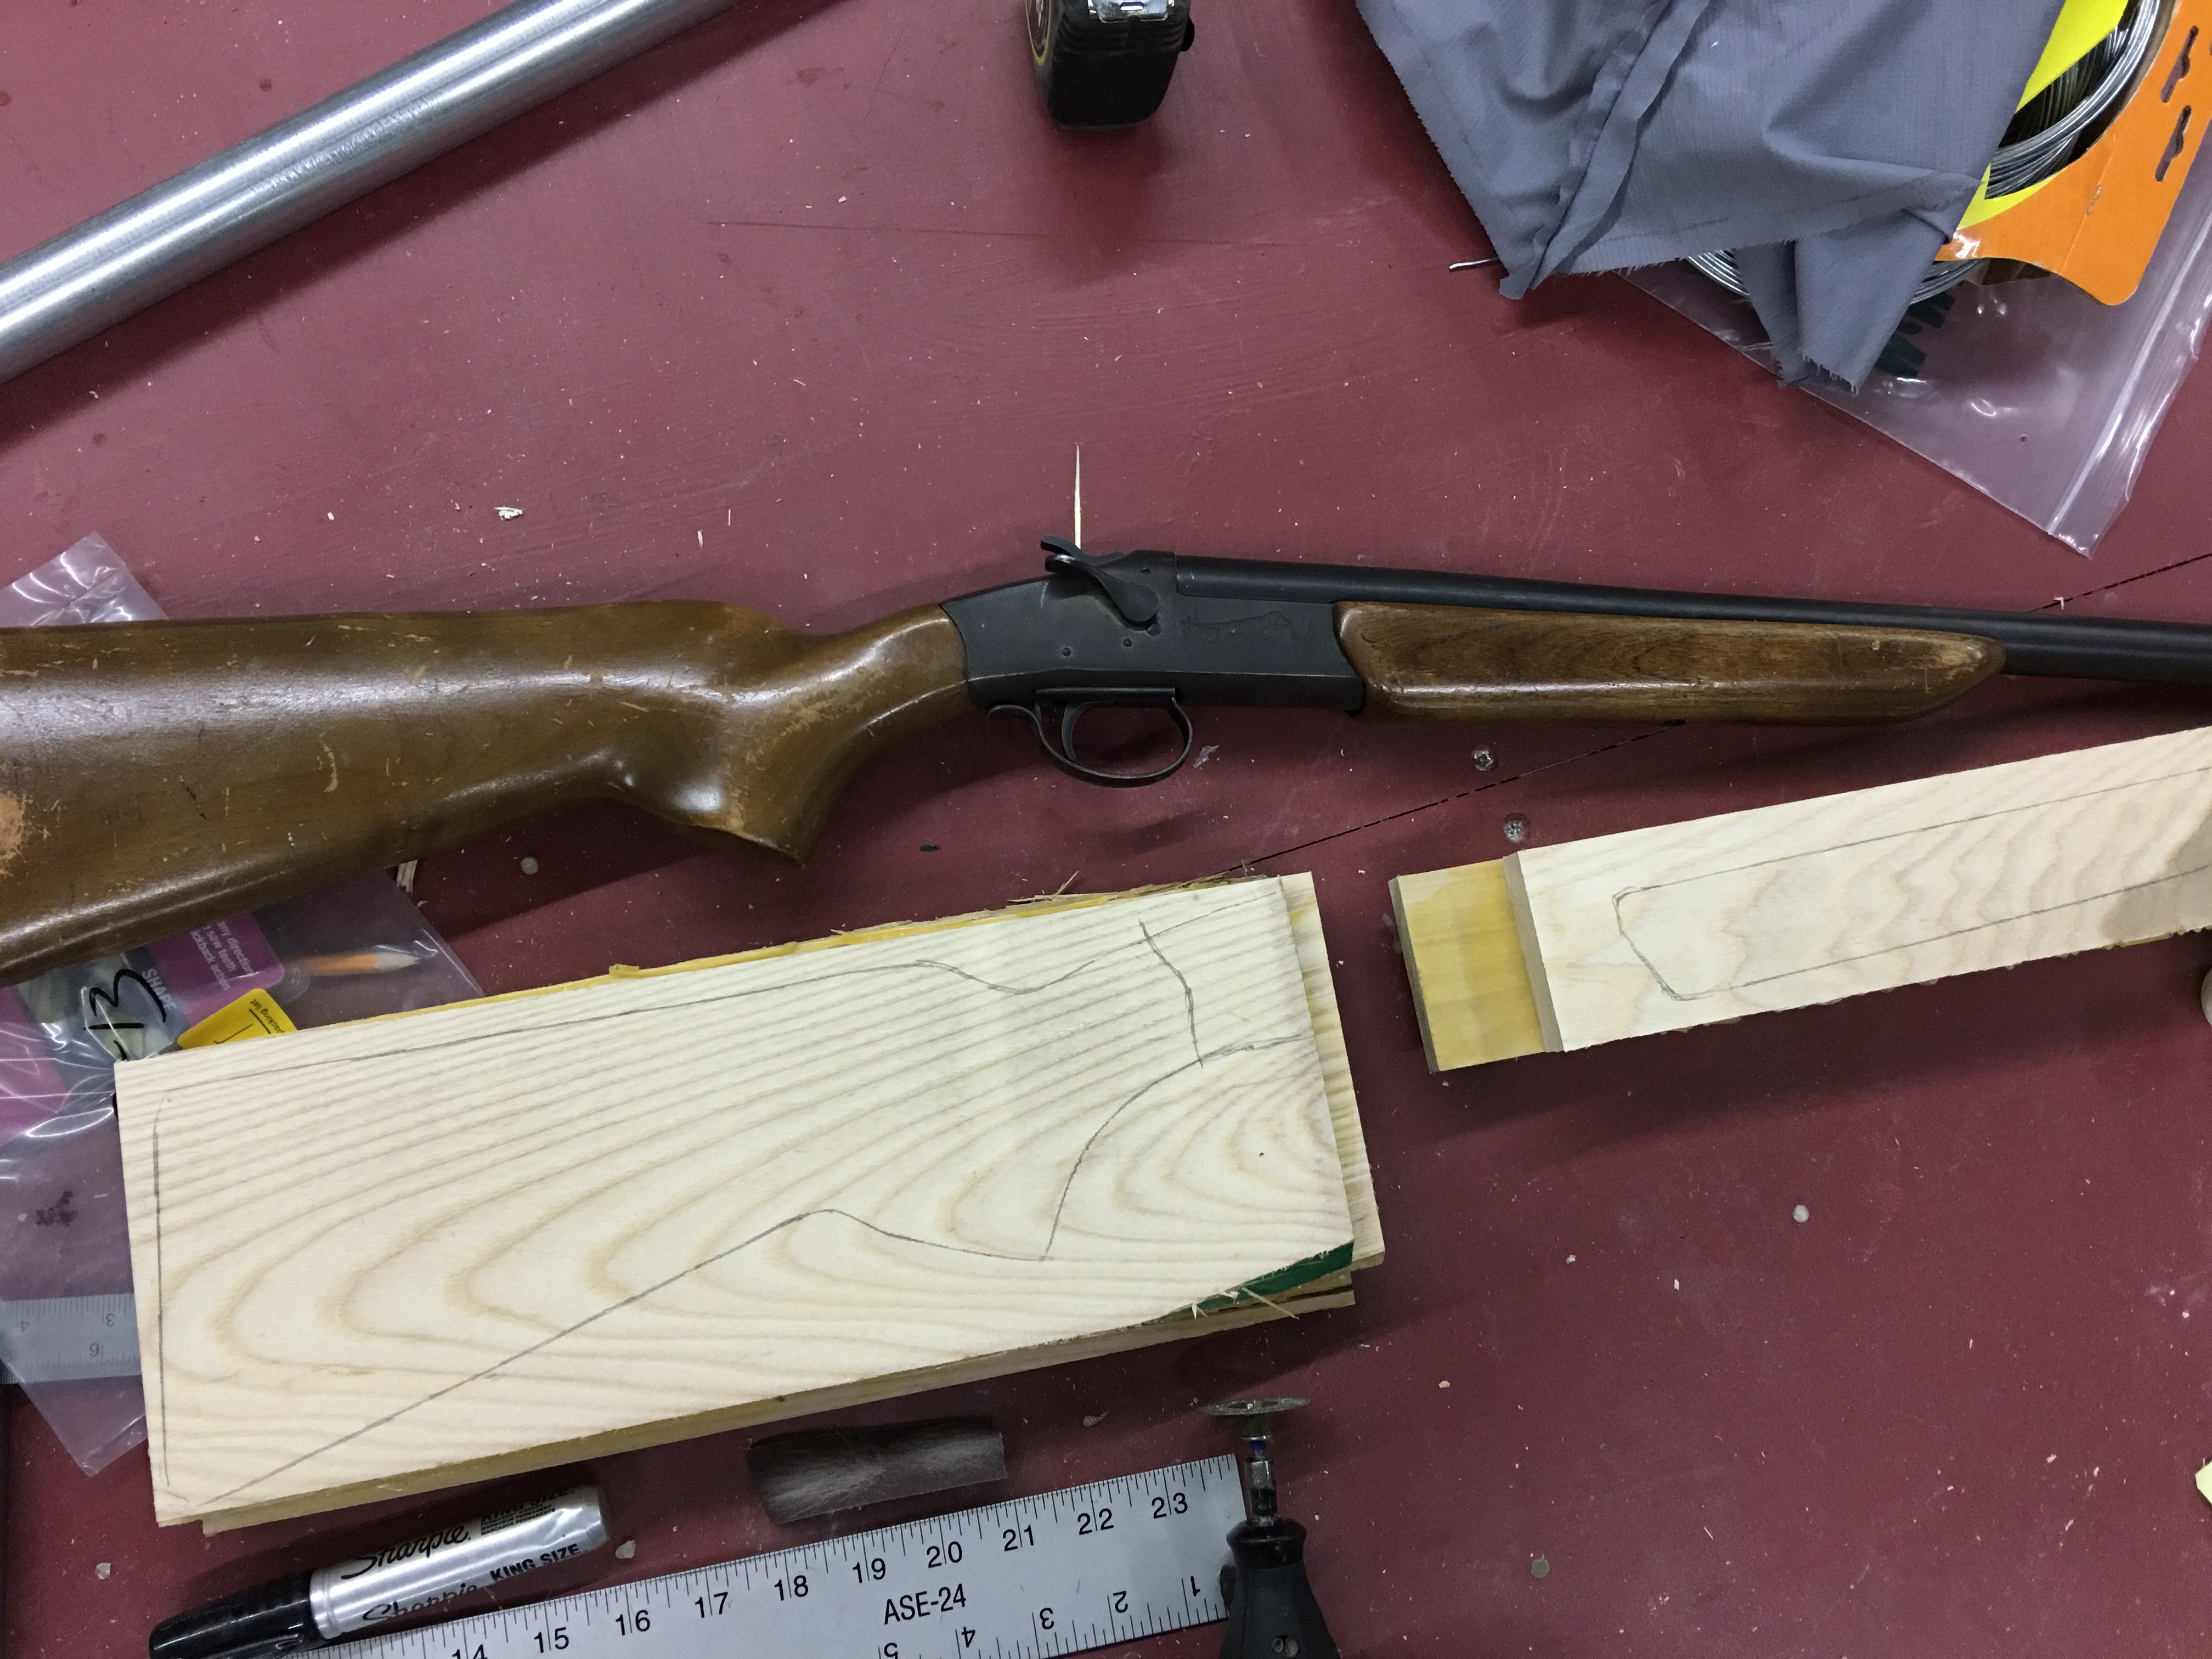
I needed a pretty thick barrel to fit an umbrella inside. It would look out-of-proportion if I just stuck it on a regular shotgun body. I scaled up the stock and fore-end to cut and shape out of oak.

Chainsaw disc shaping the wood

I bought a chainsaw grinding disc for this project because I had always wanted to try one. It was amazing; it acted like a wood eraser. I just pointed it to the wood I didn’t need and it made it disappear. I will never attempt wood carving without one of these again.

Scaling the receiver to match the stock

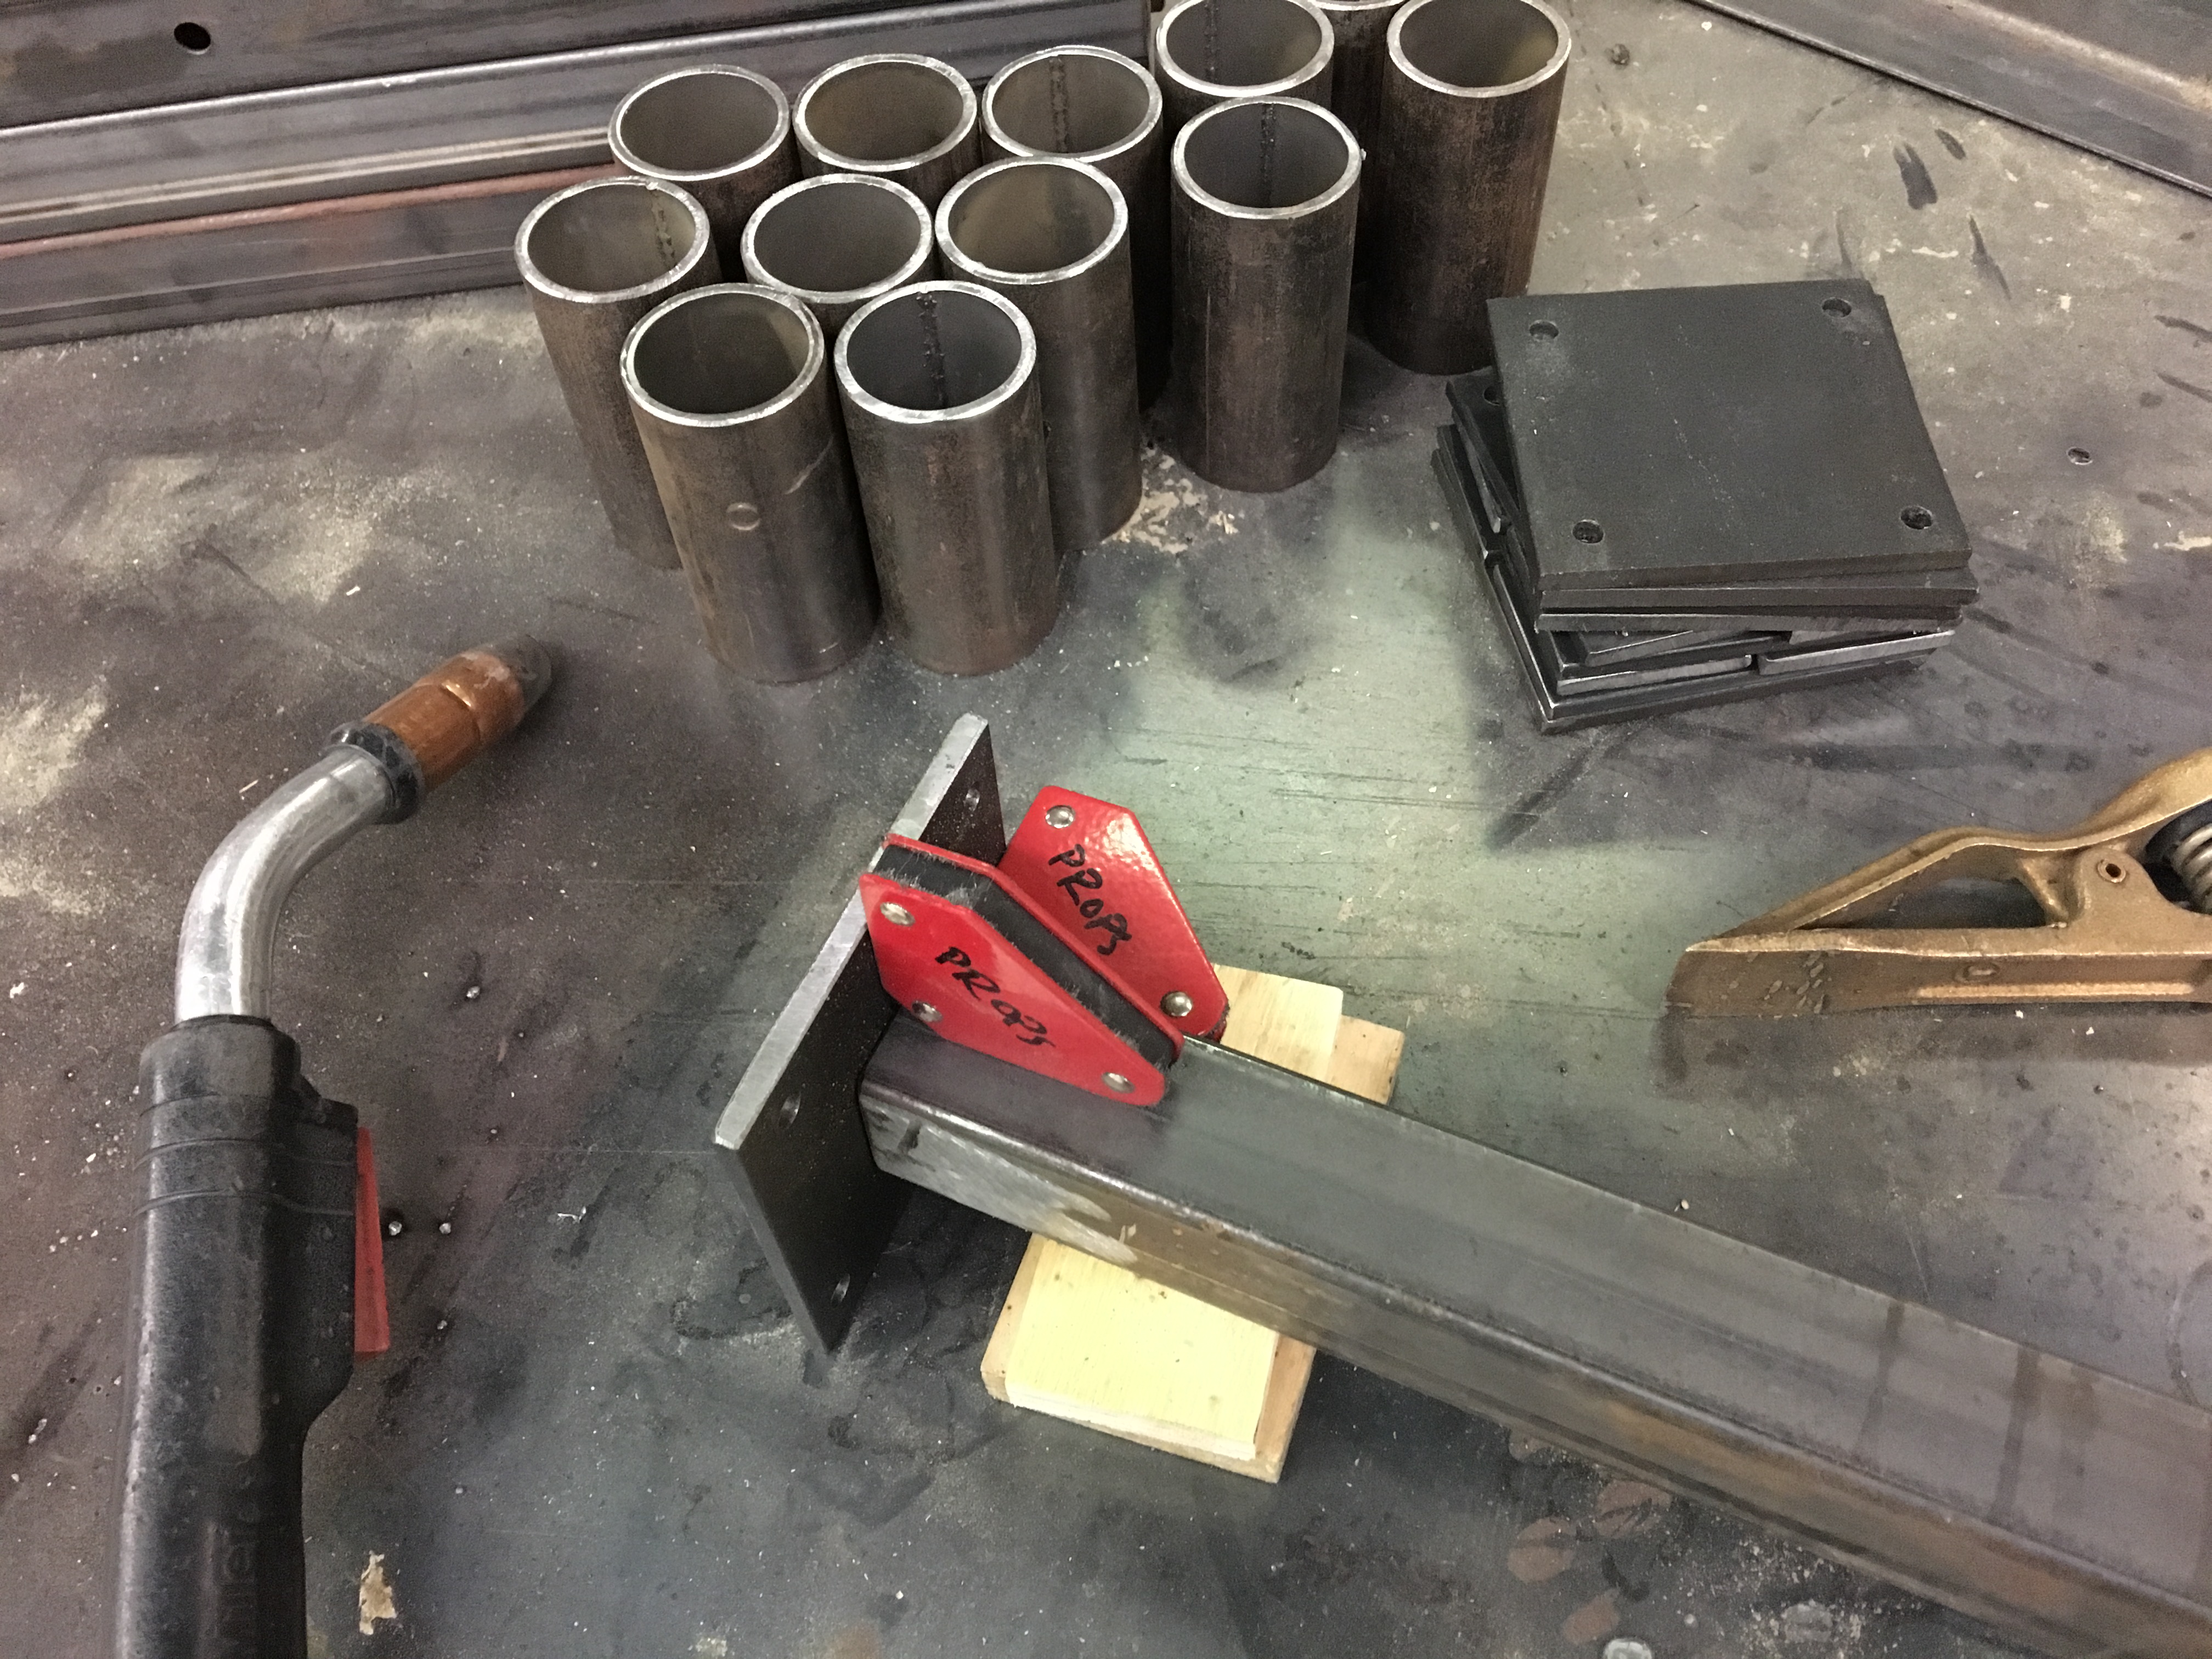
The receiver would need to hold all the parts of the shotgun together and hide all the mechanisms inside of it I cut out several pieces of flat steel stock to weld a hollow container.

Welding the receiver from steel

With just a welder, angle grinder, and belt sander, I was able to fabricate a decent looking receiver.

Spring mechanism for umbrella

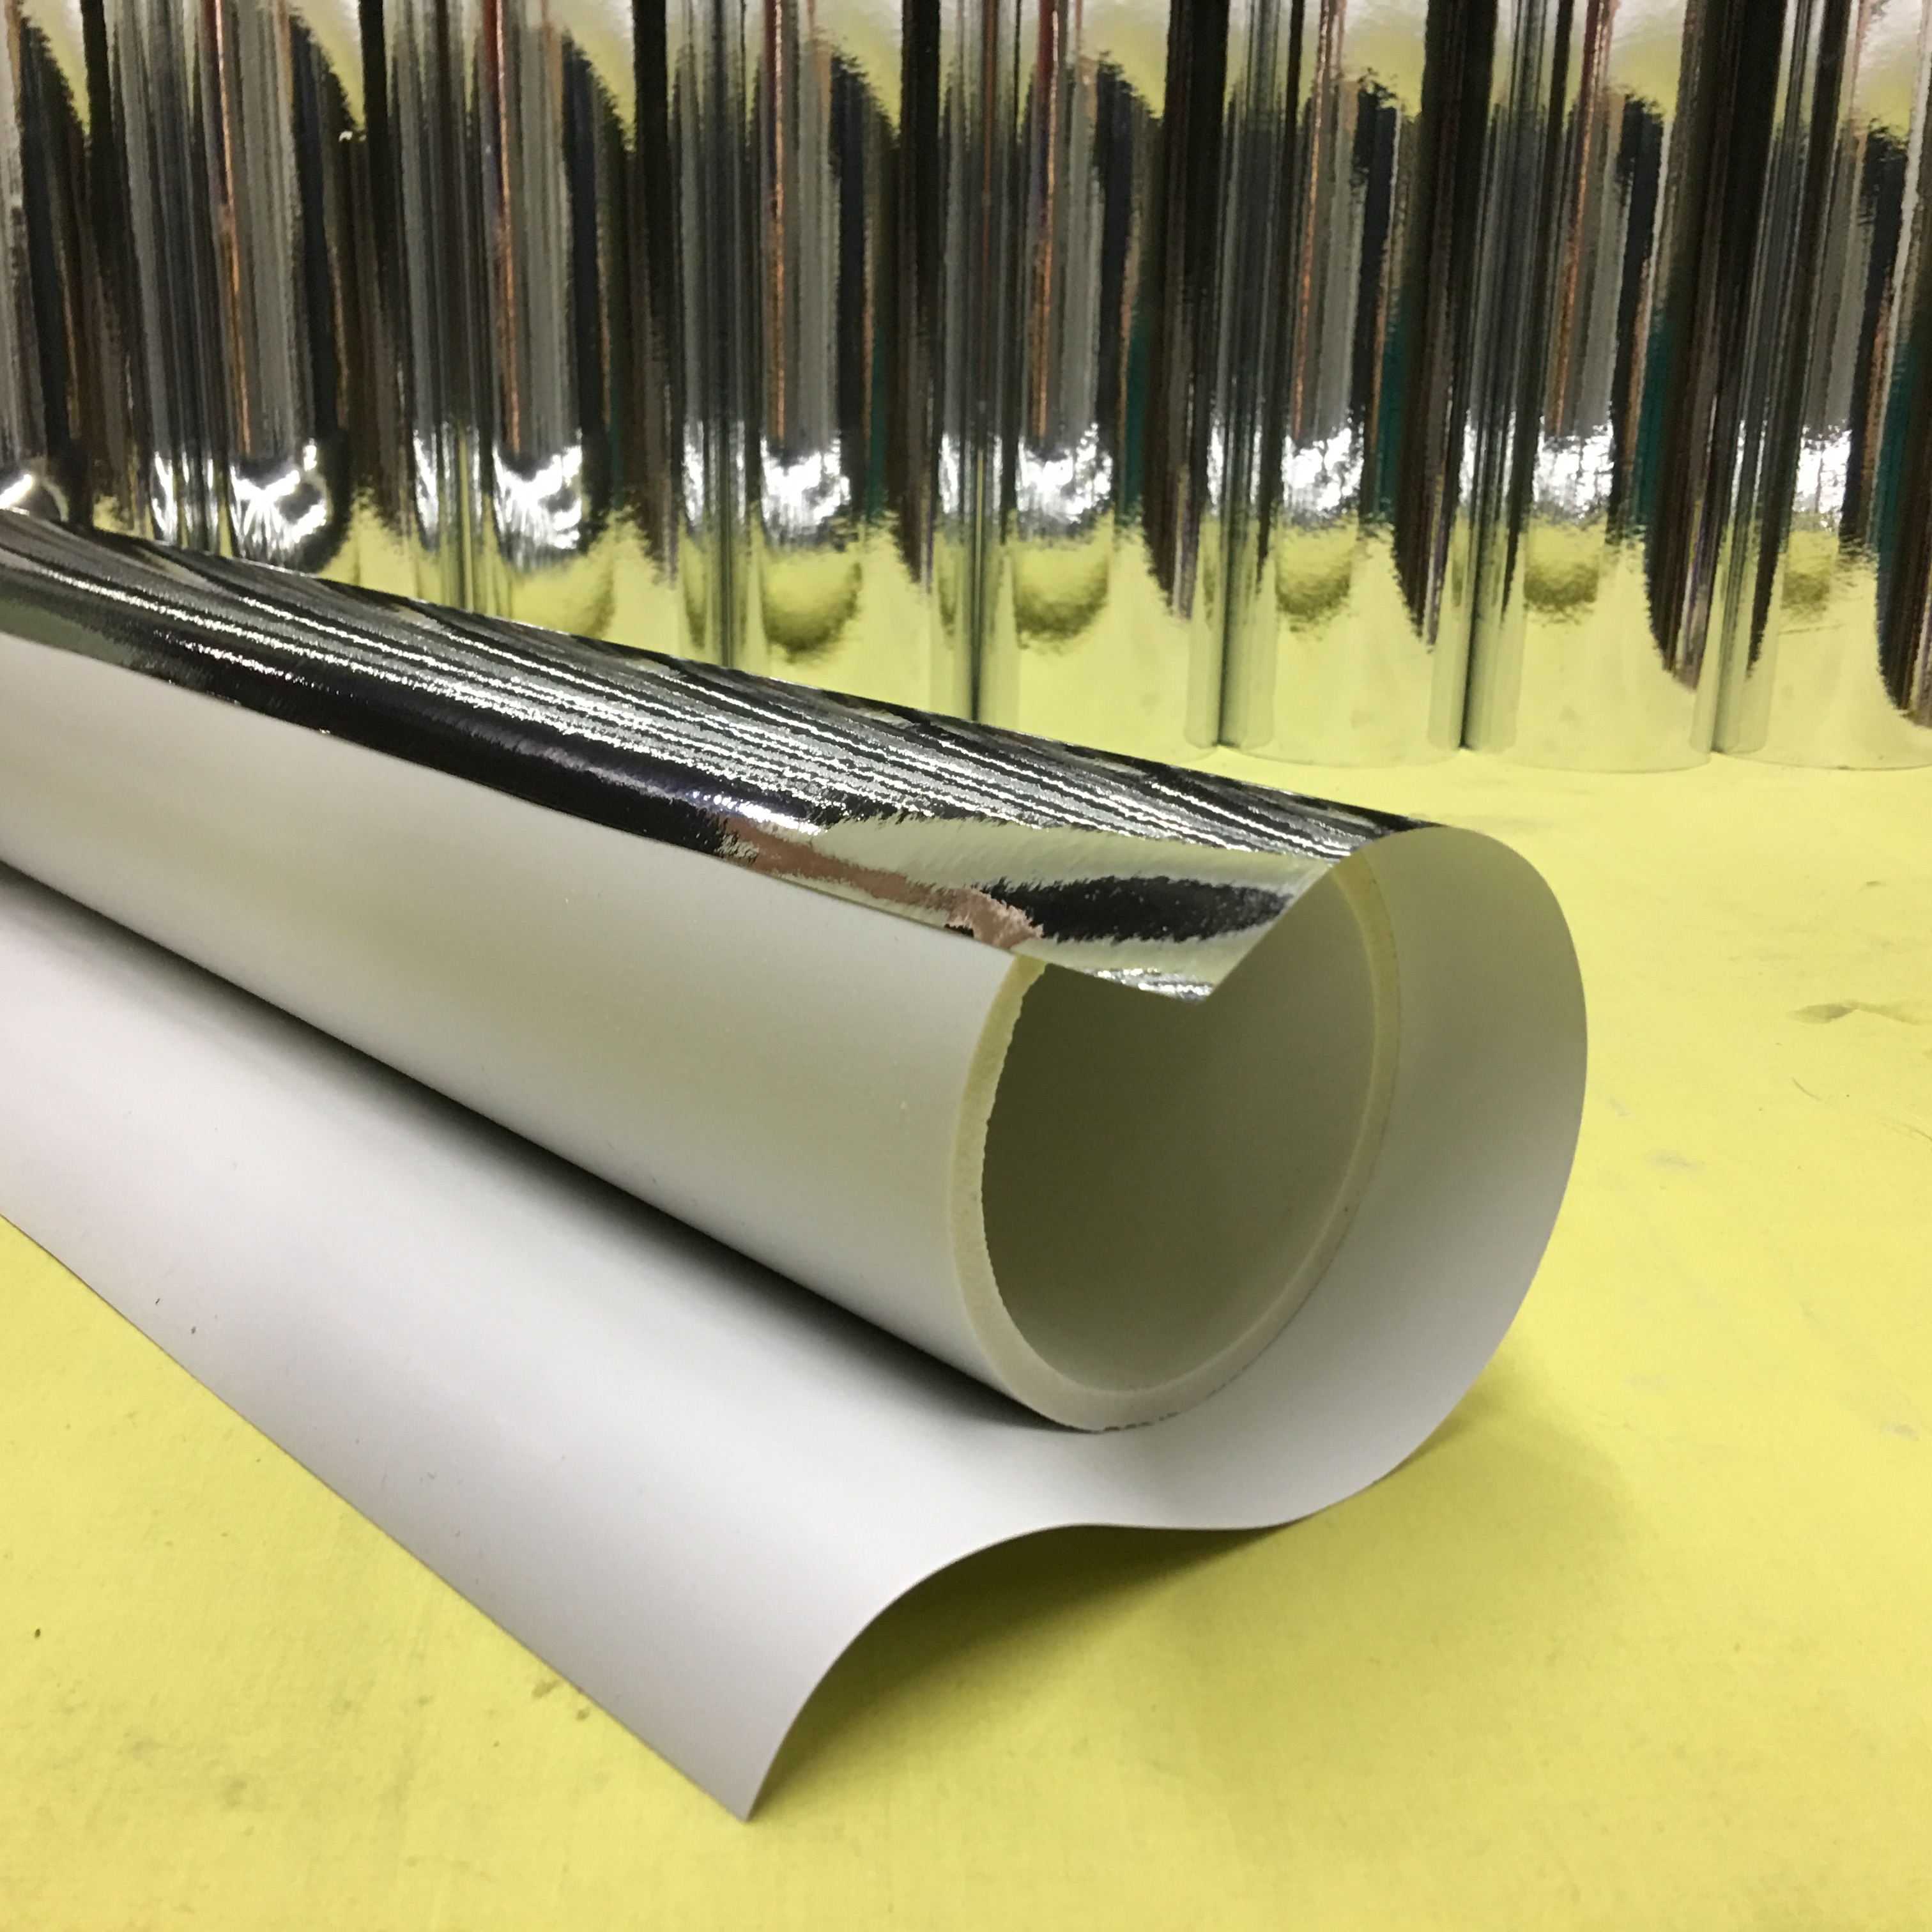
I took an existing umbrella from stock which had its own spring mechanism to make it pop open. I cut off the handle but left the hollow shaft in place. I welded a steel rod to the shotgun that the umbrella could sleeve onto and travel back and forth. To minimize binding, I put a bit of UHMW rod on the end of the umbrella that was slightly smaller than the inner diameter of the copper tube I was using for the barrel. I used copper tube because it was the most rigid tube I could find with the thinnest walls.

Pieces of the trigger mechanism

I drew up a full scale trigger mechanism in cardstock to figure out what would fit within what I had built. It was just two pieces: a trigger that rotated on a pin, and a long lever with a latch on the end that held the umbrella against a spring until the trigger was pulled. I traced the pieces to steel and cut them out. I slipped a small piece of spring into the fore-end to return the trigger after it is pulled. I slid a long spring over the metal rod in the barrel to actually propel the umbrella after the trigger is pulled.

Finished trick shotgun

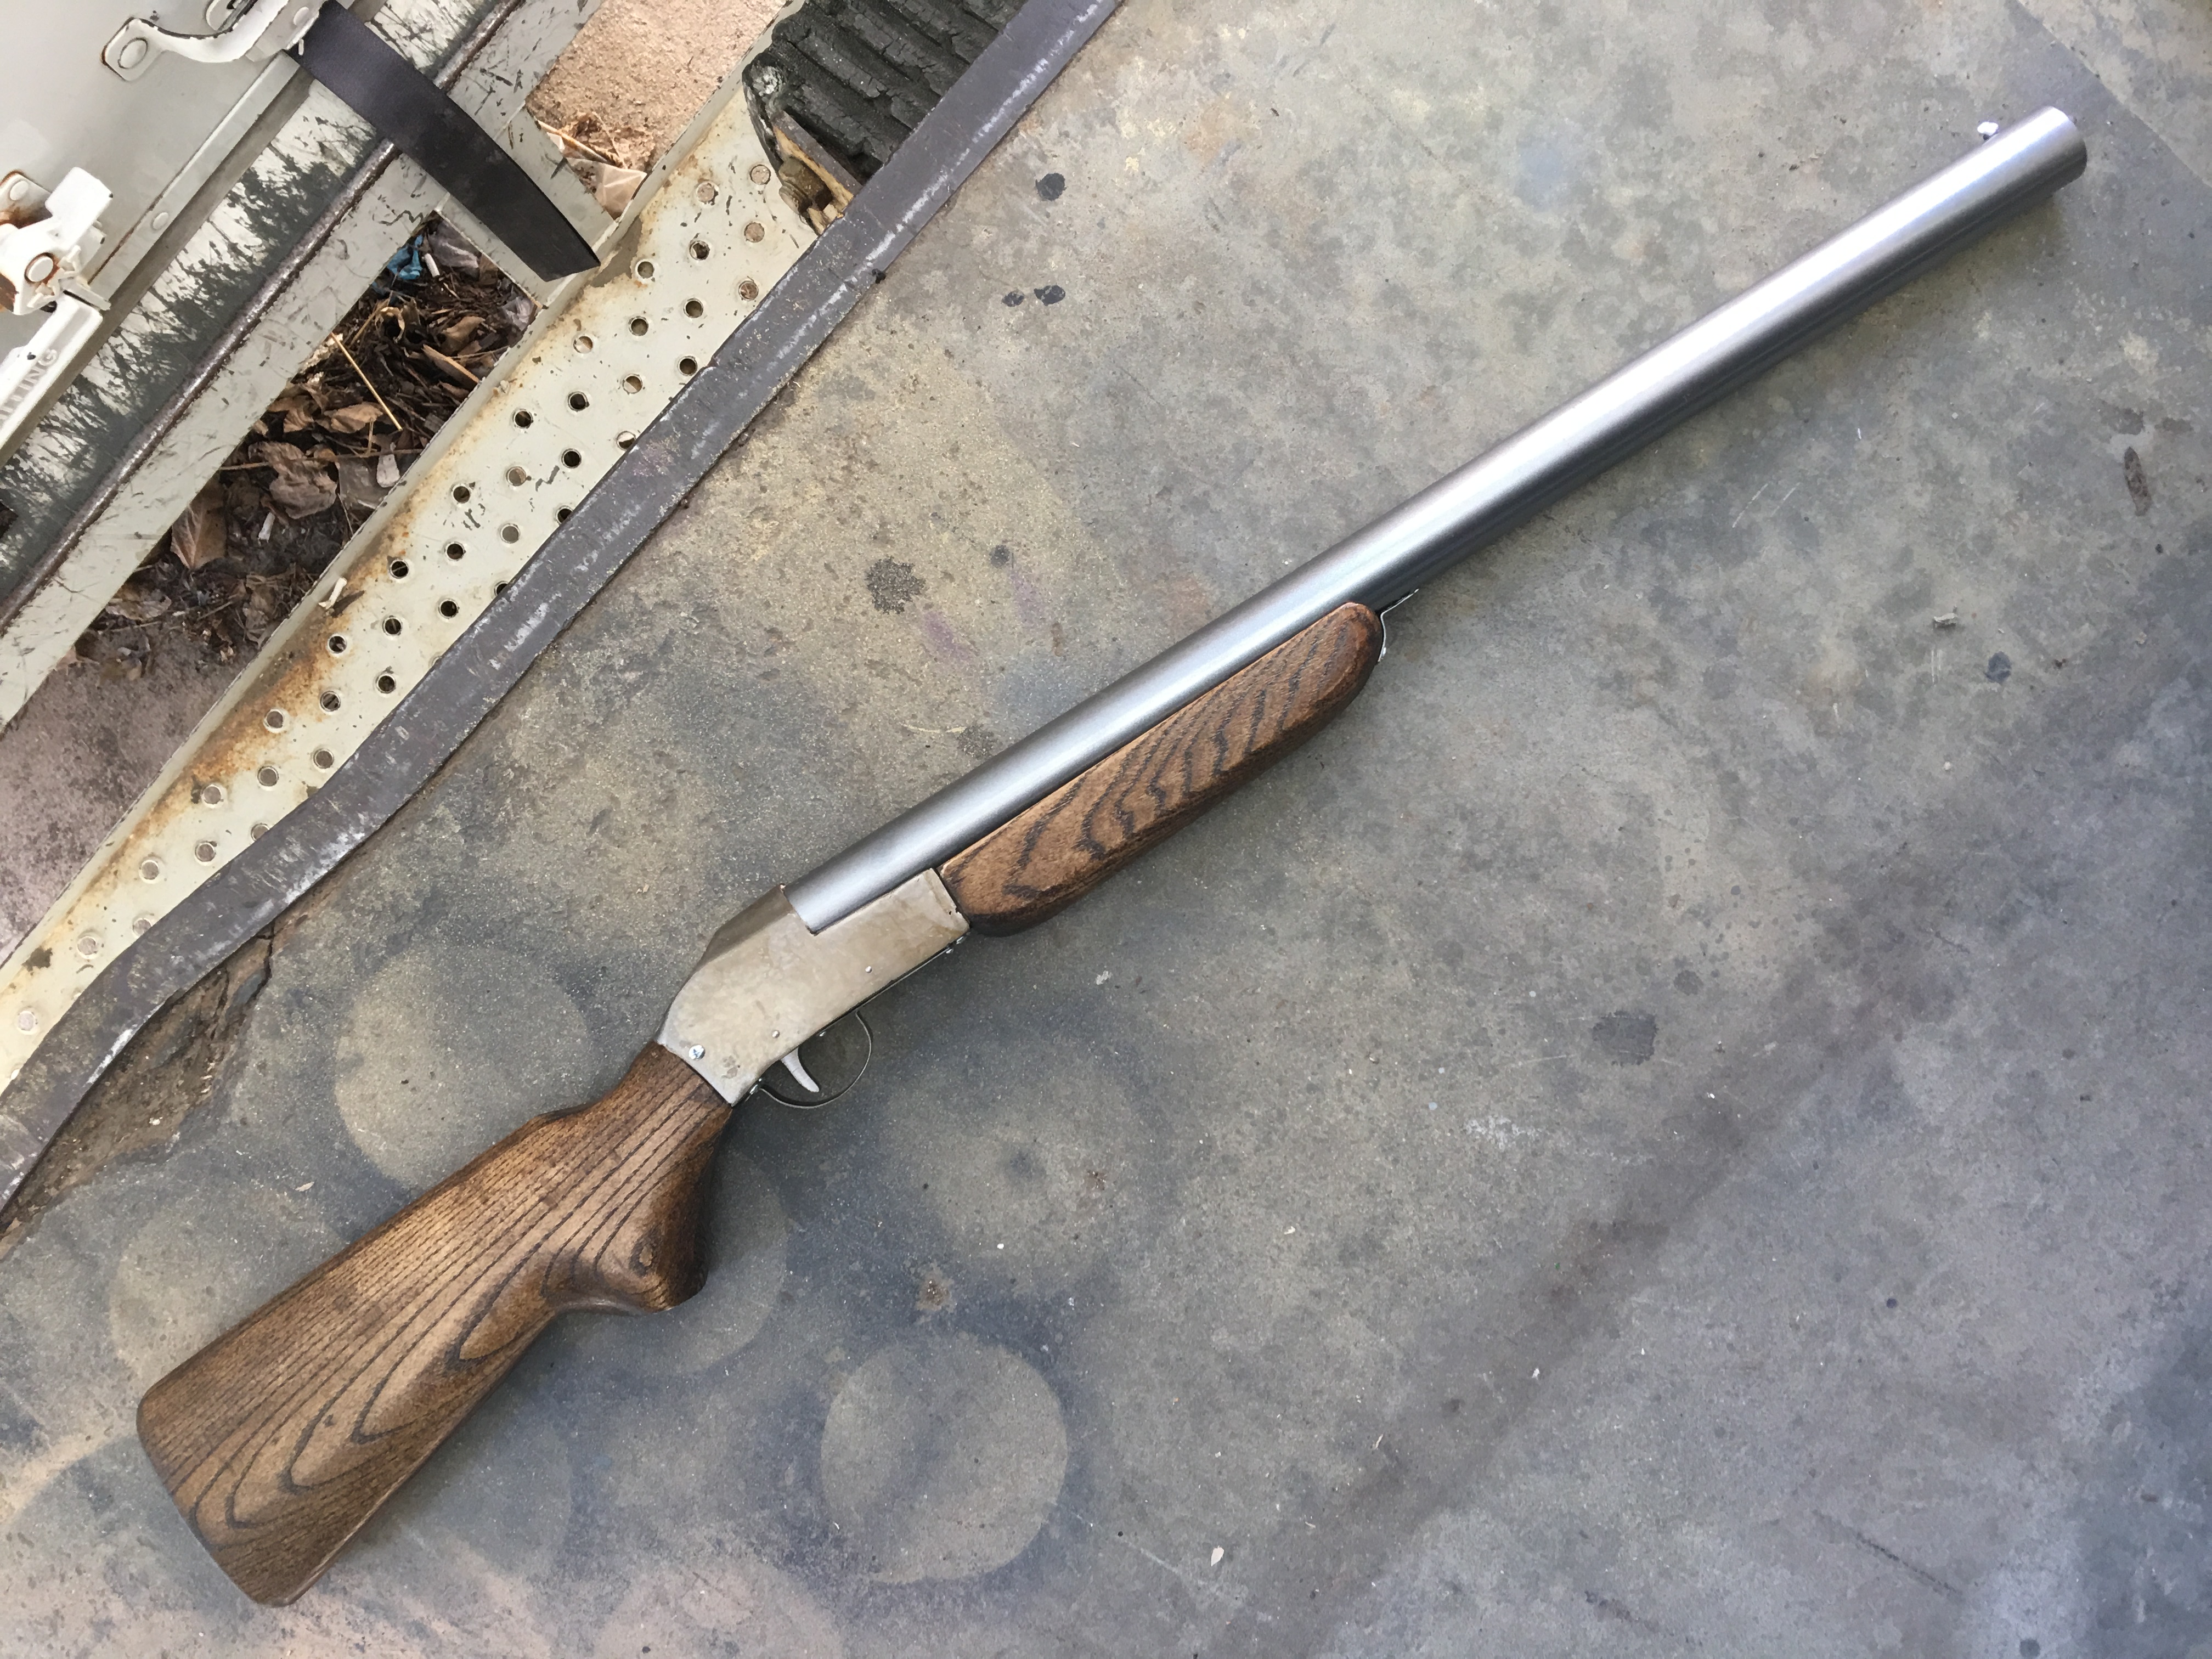
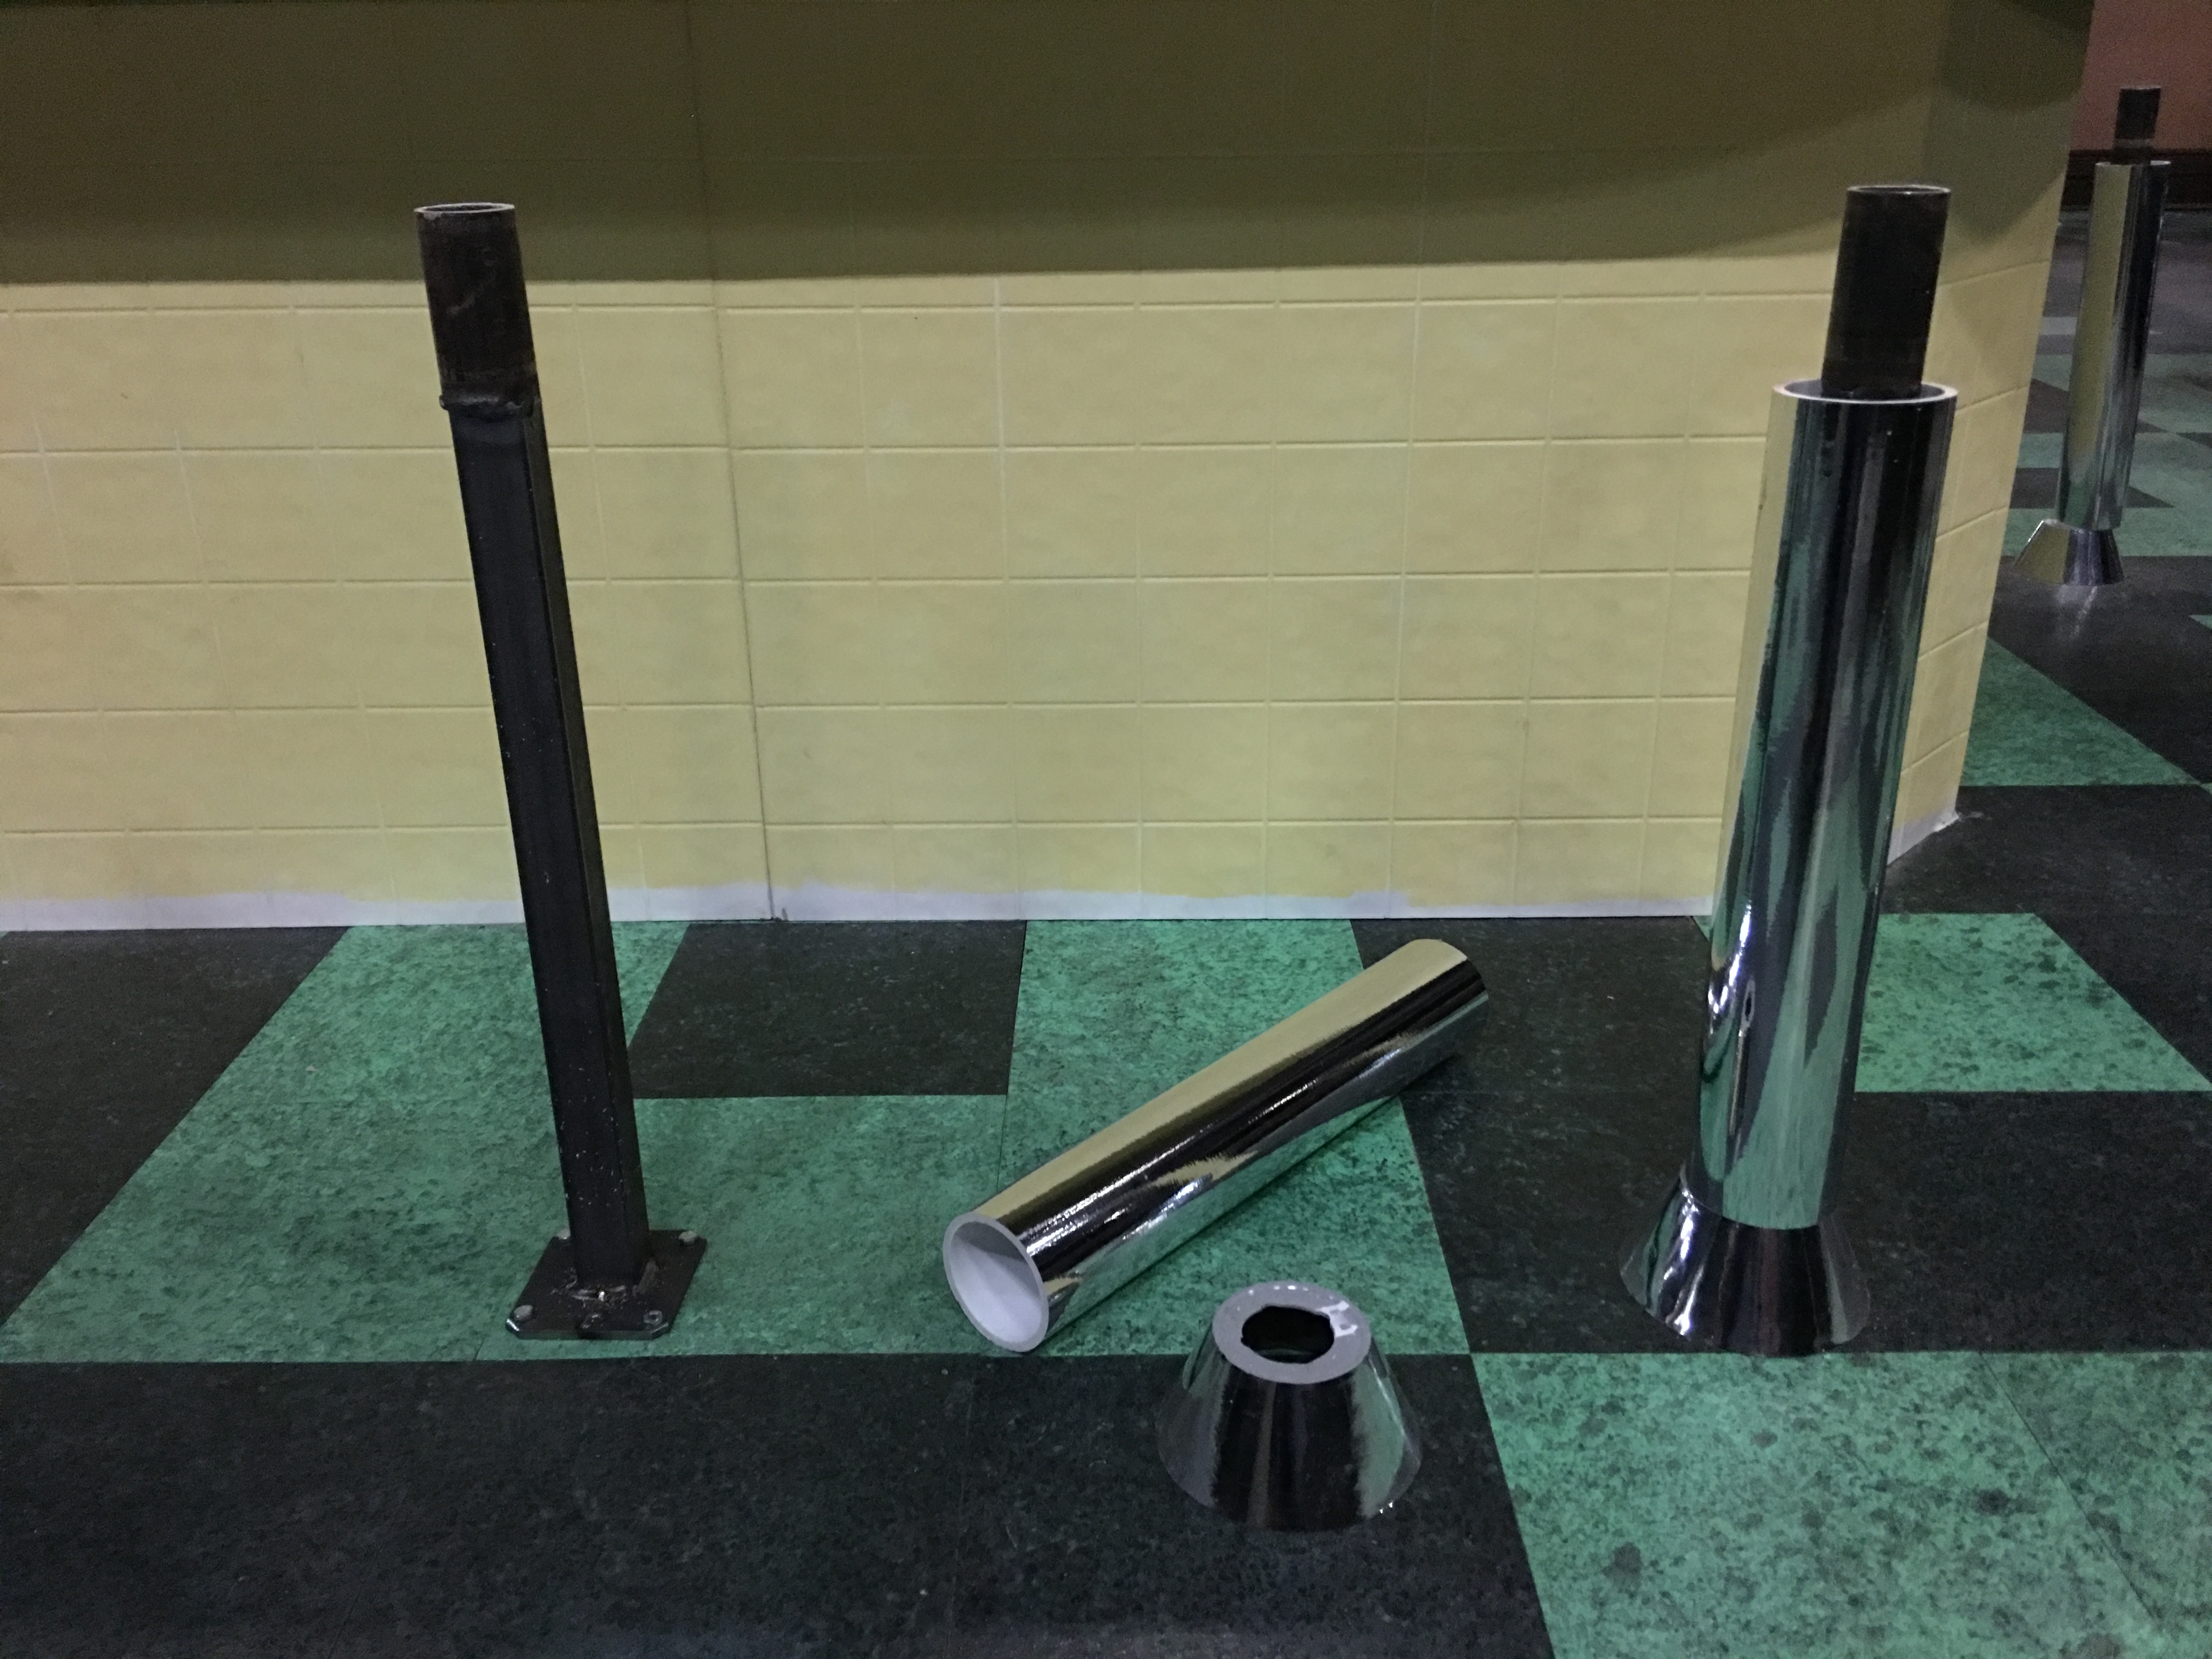
I painted the barrel to match the receiver and stained the wood pieces darker before sealing them. I coated all the static pieces of interior and exterior steel with shellac to prevent rust. Any pieces of steel which moved against another part was coated with dry lube. I built the gun for easy disassembly in case any future users needed to fix or replace a part.

Umbrella Gun

I have a video which shows all the parts as they are assembled. You can see the various inner mechanisms in more detail if you are interested in how it all works, and if you wanted to see it actually fire.


Diner Stools

Earlier this year, I was the props master on August Wilson’s Two Trains Running at Triad Stage. The set, designed by Moriah and Isabel Curley-Clay, was a Pittsburgh diner in 1969. Among the various components were thirteen matching diner stools, the kind that spin and are bolted to the floor. It proved impossible to source that many stools within our budget, so I decided to build them.

I designed the main support in two parts: an inner post made of steel that would hold the seat and be bolted to the floor, and an outer post that would sleeve over and appear to be chrome. I welded the inner post out of box tube and quarter-inch plate. I added a small length of pipe to the top so the seat could spin freely.

Welding the structure

I cut the outer posts out of PVC pipe and wrapped them with silver Mylar.

Wrapping chrome onto PVC

The flange at the base was a plastic bowl I found. I drilled a hole through it and wrapped it in Mylar as well. The bowl and PVC both slipped right over the steel posts, and I cut some wood spacers to hold them in place.

Installing the poles

I built the seat in two parts which could be screwed together after upholstering it. The top part had a block underneath that slipped onto the pipe base and allowed it to spin freely. The side part masked this block and provided a place to attach the vinyl fabric to.

Once upholstered, the seat could slip right onto the steel post. The underside of the seat had a piece of UHMW that the steel rested on, so it could spin with as little friction as possible.

Seat prior to fabric

A good portion of the upholstery was accomplished by Keri Dumka, one of my artisans on the show. My apprentice, Victoria Ross, also did some upholstery and aging on these stools.

Here is one of the stools; twelve to go!

Single stool
Single stool

Though it was very time-consuming constructing all thirteen of these stools from scratch, the end result was pretty stunning. It looked like we plucked a diner straight from the Hill District and plopped it down in the middle of our theater.

Stools around the bar

Irma Vep Chandelier

Triad Stage’s production of Irma Vep opened last Saturday. Anyone who has ever propped that show knows it has a ton of tricks and unique pieces. On top of all that, our production also had a massive Gothic ring chandelier. Our scenic designer, Robin Vest, drew a four-foot diameter chandelier with nine candles. I knew I would never be able to afford such a piece (even if I could find it), so it was off to the shop to construct it from scratch.

Steel frame
Steel frame

First up was the ring itself. I bent two bars of steel using my ring bender, and welded them into a single wheel connected by short rods of steel.

Vacuum forming bucks

I needed some bobeches for under the candles and some scrollwork around the ring. I decided to fire up my new vacuum former for the first time and make all those pieces out of plastic. I already had some bobeches and a carved floral scroll-y piece that I was able to use as forms.

Formed plastic
Formed plastic

Each sheet of plastic fit one bobeche, one scroll piece, and one smaller bobeche for some sconces I was also altering. I pulled nine sheets, and then cut out all the pieces.

Wiring the lights
Wiring the lights

The candlestick holders were wooden pieces I picked up at the craft store. I attached them to the ring and then wired the whole thing together. The candelabra sockets had small tails of wire, so I wired three together, than ran some lamp cord up the chain to the center hanging piece. With nine candles, this meant I had three pieces of lamp cord running up the chains, and those three were wired together inside the center piece to another longer piece of lamp cord that the electricians could attach a plug to. The bulbs were 7 1/2 watts each, so the whole fixture was only 67.5 watts, which made lamp cord totally fine for this.

Painted pieces
Painted pieces

I spray painted all the plastic pieces before attaching them. Once everything was assembled, I drybrushed some bronze acrylic paint over the whole thing, and then it got some gold paint highlights.

Irma Vep chandelier
Irma Vep chandelier

It’s the spookiest, scariest chandelier ever!

March Forth With Props

Over at HowlRound, Seth Tyler Black talks about career transitions from theatre to film. He interviews a few art directors and props people to see what skills are shared between the two fields, and what makes them different.

I loved this article and photographs about Syrian refugees building scale models of historical landmarks. As their homeland is destroyed by war, and ancient artifacts are being destroyed, these artists are coming together in their cramped camps to create a record of what is lost. They construct the models with whatever materials they can find, from rock, to MDF, to wooden kebab skewers.

Brendan Bernhardt Gaffney has been researching ancient methods of measurement, and has come up with the Rulers of the Ancient World. These wooden measuring devices come in several flavors: Ancient Egyptian, Japanese “Kanejaku”, and Ancient Roman. So if you’re sick of inches, but millimeters leave you cold, why not measure your next project in Pes and Uncia?

Bill Doran shows us how to make shiny metal prop finishes. The real trick he shares? Make your prop glossy before adding the metal spray paint.

Finally, Make Magazine has 11 tips for creating a good weld. Here’s a twelfth tip: welding is awesome.

Final Four Links of March

One of my favorite movies as a kid was The Rocketeer. Valor Design has constructed a stunning replica of the film’s rocket pack completely from scratch. Check out the progress photos from the build, as well as pictures of the completed prop.

From Make Magazine, here are six things you need to know to start welding. It’s a bit more of a guide on how to buy your own welder and choose which process you want to work with; it’s much more helpful to learn on a variety of machines before plunking down cash on your own setup.

Propnomicon points us to this great UK website called Bob’s Bits, which sells and rents all manner of sci-fi props and set dressing. Their stuff ranges from futuristic alien to military to Victorian medical.

Finally, BBC Travel visits the abandoned mill town from the first Hunger Games film, just two hours from where I live. Of course, filming moved to Atlanta for the subsequent films, because North Carolina mucked around with their film incentives program. The photographs are pretty haunting, and the whole thing is for sale too, for the die hard movie memorabilia collector.