All posts by Eric Hart

Link-o-Rama

Make Magazine has a great slideshow on “Ten Tips for Drilling Better Holes“. It is a good reminder that even seemingly simple tasks can have a lot of considerations in achieving a good result. While I would not take anything off the list they present, I would add one: be sure the drill bit will not hit your hand as it exits the other side of the material (or if it slips off).

I saw this over at La Bricoleuse and had to share: it’s a Rit Dye color chart. Choose the color you want, and it will tell you which Rit dye or combination of dyes will give you that color. Now, a lot of other factors go into achieving certain colors on particular fabrics, and Rit is not the best dye for all types of fabrics, but it is readily available at most local stores and easy to work with in a pinch, and this chart is a good starting point for many colors.

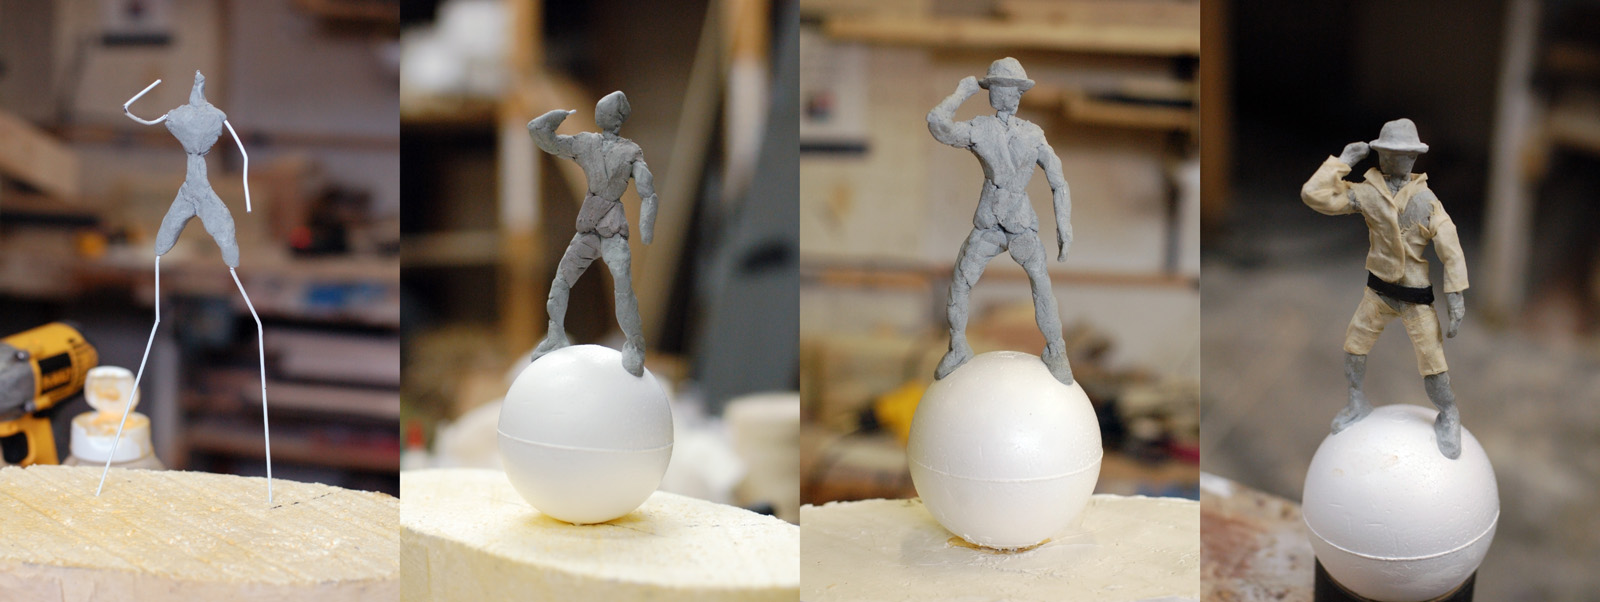
I just stumbled on a cool blog called the “Creaturiste’s Labatory”. He has a post on oil clay vs water clay in terms of sculpting, though many of the other posts are useful and interesting as well.

This is pretty cool: The official licensed replicas of props from Doctor Who are being manufactured by the same prop maker who builds them for the show.

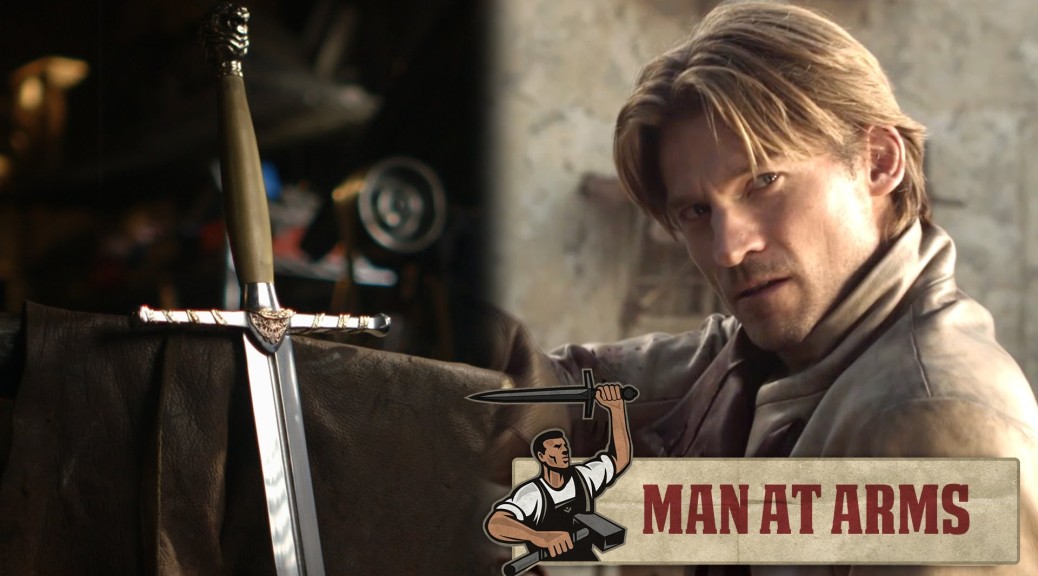
Finally, here is a very cool video of Tony Swatton forging one of the swords from the series Game of Thrones. He has a number of videos showing the making of other weapons as well. It’s amazing to see the mix of tools and techniques he uses for hand-forging custom weapons at the pace which the entertainment industry requires. Though he mainly does film, TV and theme parks, I’ve heard his name mentioned in theatrical circles as well.

Read my book online now!

Okay, you can’t read my whole book online. But I do have two whole chapters you can check out on The Prop Building Guidebook’s companion website.

What are these chapters, you may ask? Well, as you can imagine, prop making covers a vast amount of information, and choosing what to put in and what to leave out was one of my biggest challenges. We could have made the book longer, but that would have pushed the price up, which we didn’t want to do. We could have made the pictures smaller, but that would not be good either. In the end, we decided to take the last two chapters and put them up on the website for free. This way, the book can remain affordable, the pictures can remain a decent size, and you get a sneak peek at some of the book. These chapters have been edited and proofed just like everything else in the book, they just appear online rather than in print.

The two chapters are called “Formal Training” and “Maintaining a Portfolio”. The first digs through the tricky question of what kind of training or schooling you may wish to pursue to become a better prop maker. Vocational classes, colleges and universities, graduate schools and more are talked about here. I also look at the various types of jobs and work one can get. I present information useful whether you wish to be a prop maker for film, television, theatre or any of the related industries, and whether you wish to pursue a full-time job or work as a freelancer on different gigs. It can be a tricky field to navigate, so I try to present as much information as I’ve gleaned along the way.

The second chapter gives an introduction on creating and maintaining a portfolio of all the work you do. I discuss both online sites and paper portfolios; though paper portfolios have become far less prevalent these days, I’ve still used them in the last couple of years, both in applying for work and in hiring people. This chapter also discusses photography and how to take better pictures of your work. A bad picture of a good prop can make it look like a bad prop.

So check out the bonus chapters of The Prop Building Guidebook when you can. And don’t forget to pre-order your copy if you haven’t already!

A Grand Wedding Cake for Cloud 9

We just closed and struck Cloud 9 here at Elon University. I was the prop master on the show and built a lot of the pieces. One of the fun (and funny) props I constructed was a grand Victorian-era wedding cake. It was meant to be a bit over-the-top, with a grand appearance at the end of Act One when the hastily-arranged wedding occurs. Part of the visual humor came from the cake toppers; the scenic designer (Natalie Taylor Hart) wanted the groom to be a detailed representation of a man striding atop of a Royal Orb, while the bride would be a much smaller and crudely-made figurine stuck in the cake as an afterthought (the play, for those unfamiliar, deals with gender politics in various degrees).

Sculpting the Cake Topper

To make a sculpted figurine of the groom, I started off with bending a wire armature into the pose I wanted. This also let me establish the proportions of the limbs. It wasn’t anything fancy; I cut up a wire hanger and held it in place with plumber’s putty. Plumber’s putty is a type of epoxy putty which is soft and shape-able when you first mix it together, and becomes rock hard after a few minutes. I liked it on this project because I could build up the sculpture bit by bit, allowing the parts to become hard as I worked on other things. I could return to the sculpture later and add more bits without worrying about smooshing the parts I already made. It also did not need to be fired or coated to finish it. The putty I used was left over from another show, so I did not have to spend any more money on a show with a tight budget.

In the last frame of the picture above, you can see I added some clothes. The putty is not very good for getting fine details; you can machine and carve it after it has hardened, but I wanted a quicker way to get some semi-realistic clothing texture on top. I took muslin and soaked it in glue and water, than manipulated it over top until it “draped” like a shirt and pants. After the glue dried, it retained its shape.

A Grand Wedding Cake

The rest of the cake was pretty straightforward. The bottom base is a strip of wiggle wood wrapped around plywood formers, while the top is a solid chunk of white bead foam coated in joint compound. I used painter’s caulk for the icing details. Normally you want to use acrylic caulk rather than silicone caulk, because silicone caulk does not take paint. However, I found some newer stuff which is a mix of acrylic and silicone; the acrylic makes it paint-able, while the silicone keeps it a bit flexible and lets it dry a lot faster. I bought a few decorative cake icing tips, and just attached them to the end of the caulk tube so it would come out all fancy.

Friday’s Link List

The DIY movement and small, creative businesses are becoming more and more important to the economy as a whole. Many props people either freelance as their own “business”, or run side businesses making things (such as selling things on Etsy). Save Us. Be Creative! takes a look at this growing trend.

On the other side of the coin, traditional theatre work is still worth fighting over. This past week saw the end of a particularly intense strike by IATSE stagehands at the Philadelphia Theatre Company. This article delves into the reasons behind it and why young theatre technicians spent two weeks outside in the cold and snow to protest their concerns. Coincidentally, the play the theatre was putting on was The Mountaintop, which imagines Martin Luther King, Jr.’s last day as he prepares to address a crowd of striking workers. The company could not find any workers to break the strike, so they tried to run it without any technical elements; this included having an actress sit in a folding chair and read the lighting and sound cues (“Thunder and lightning! Crack!”).

In sadder news, this week legendary makeup artist Stuart Freeborn passed away. Though he has worked on films since before World War II, he is most famously known as the man who created Yoda and Chewbacca. The BBC has a good roundup of his life and career, as well as a very in-depth radio interview they did a few months back. The NY Times has a nice slideshow of his Star Wars work, while The Week has a collection of five stories about Stuart that are not made up. If you have the time, here is a video of Stuart himself talking about his work: