Tag Archives: featured

Fake Tree Branches

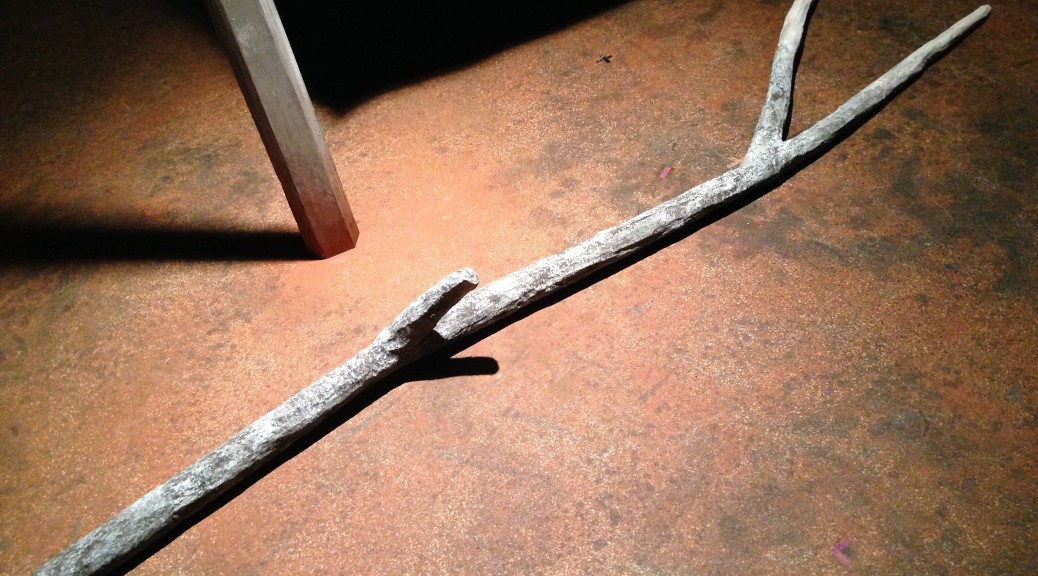
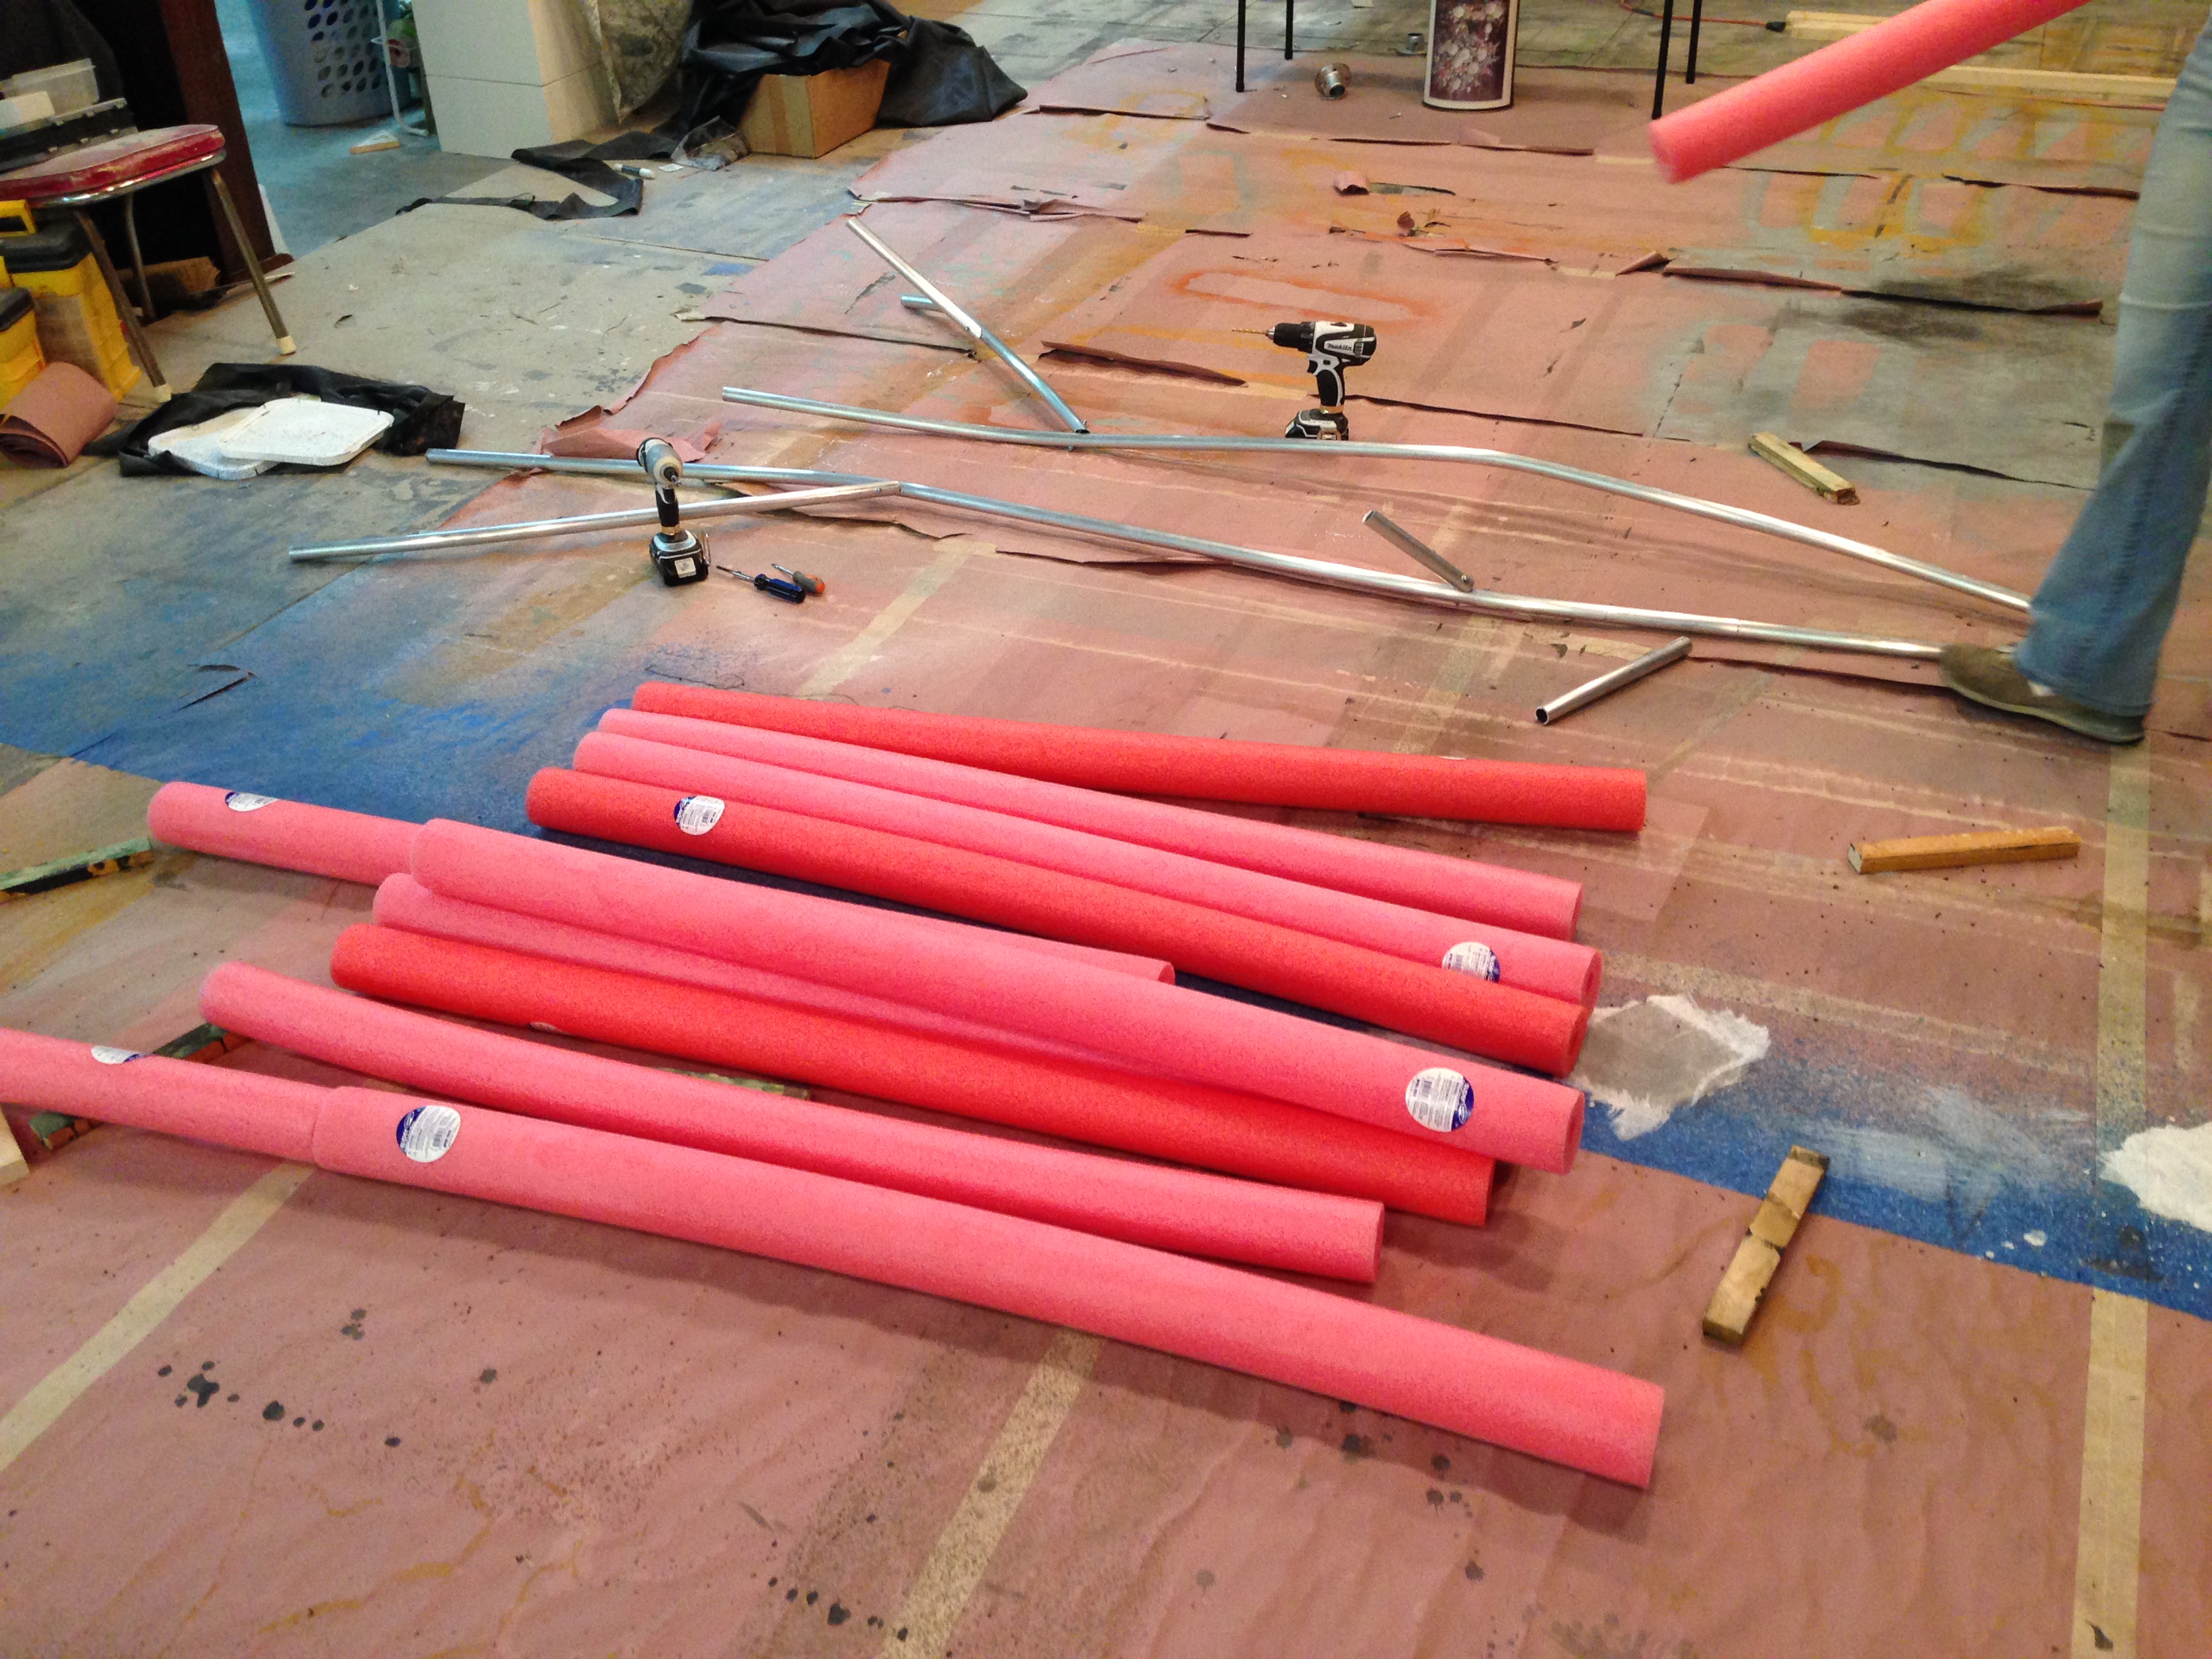
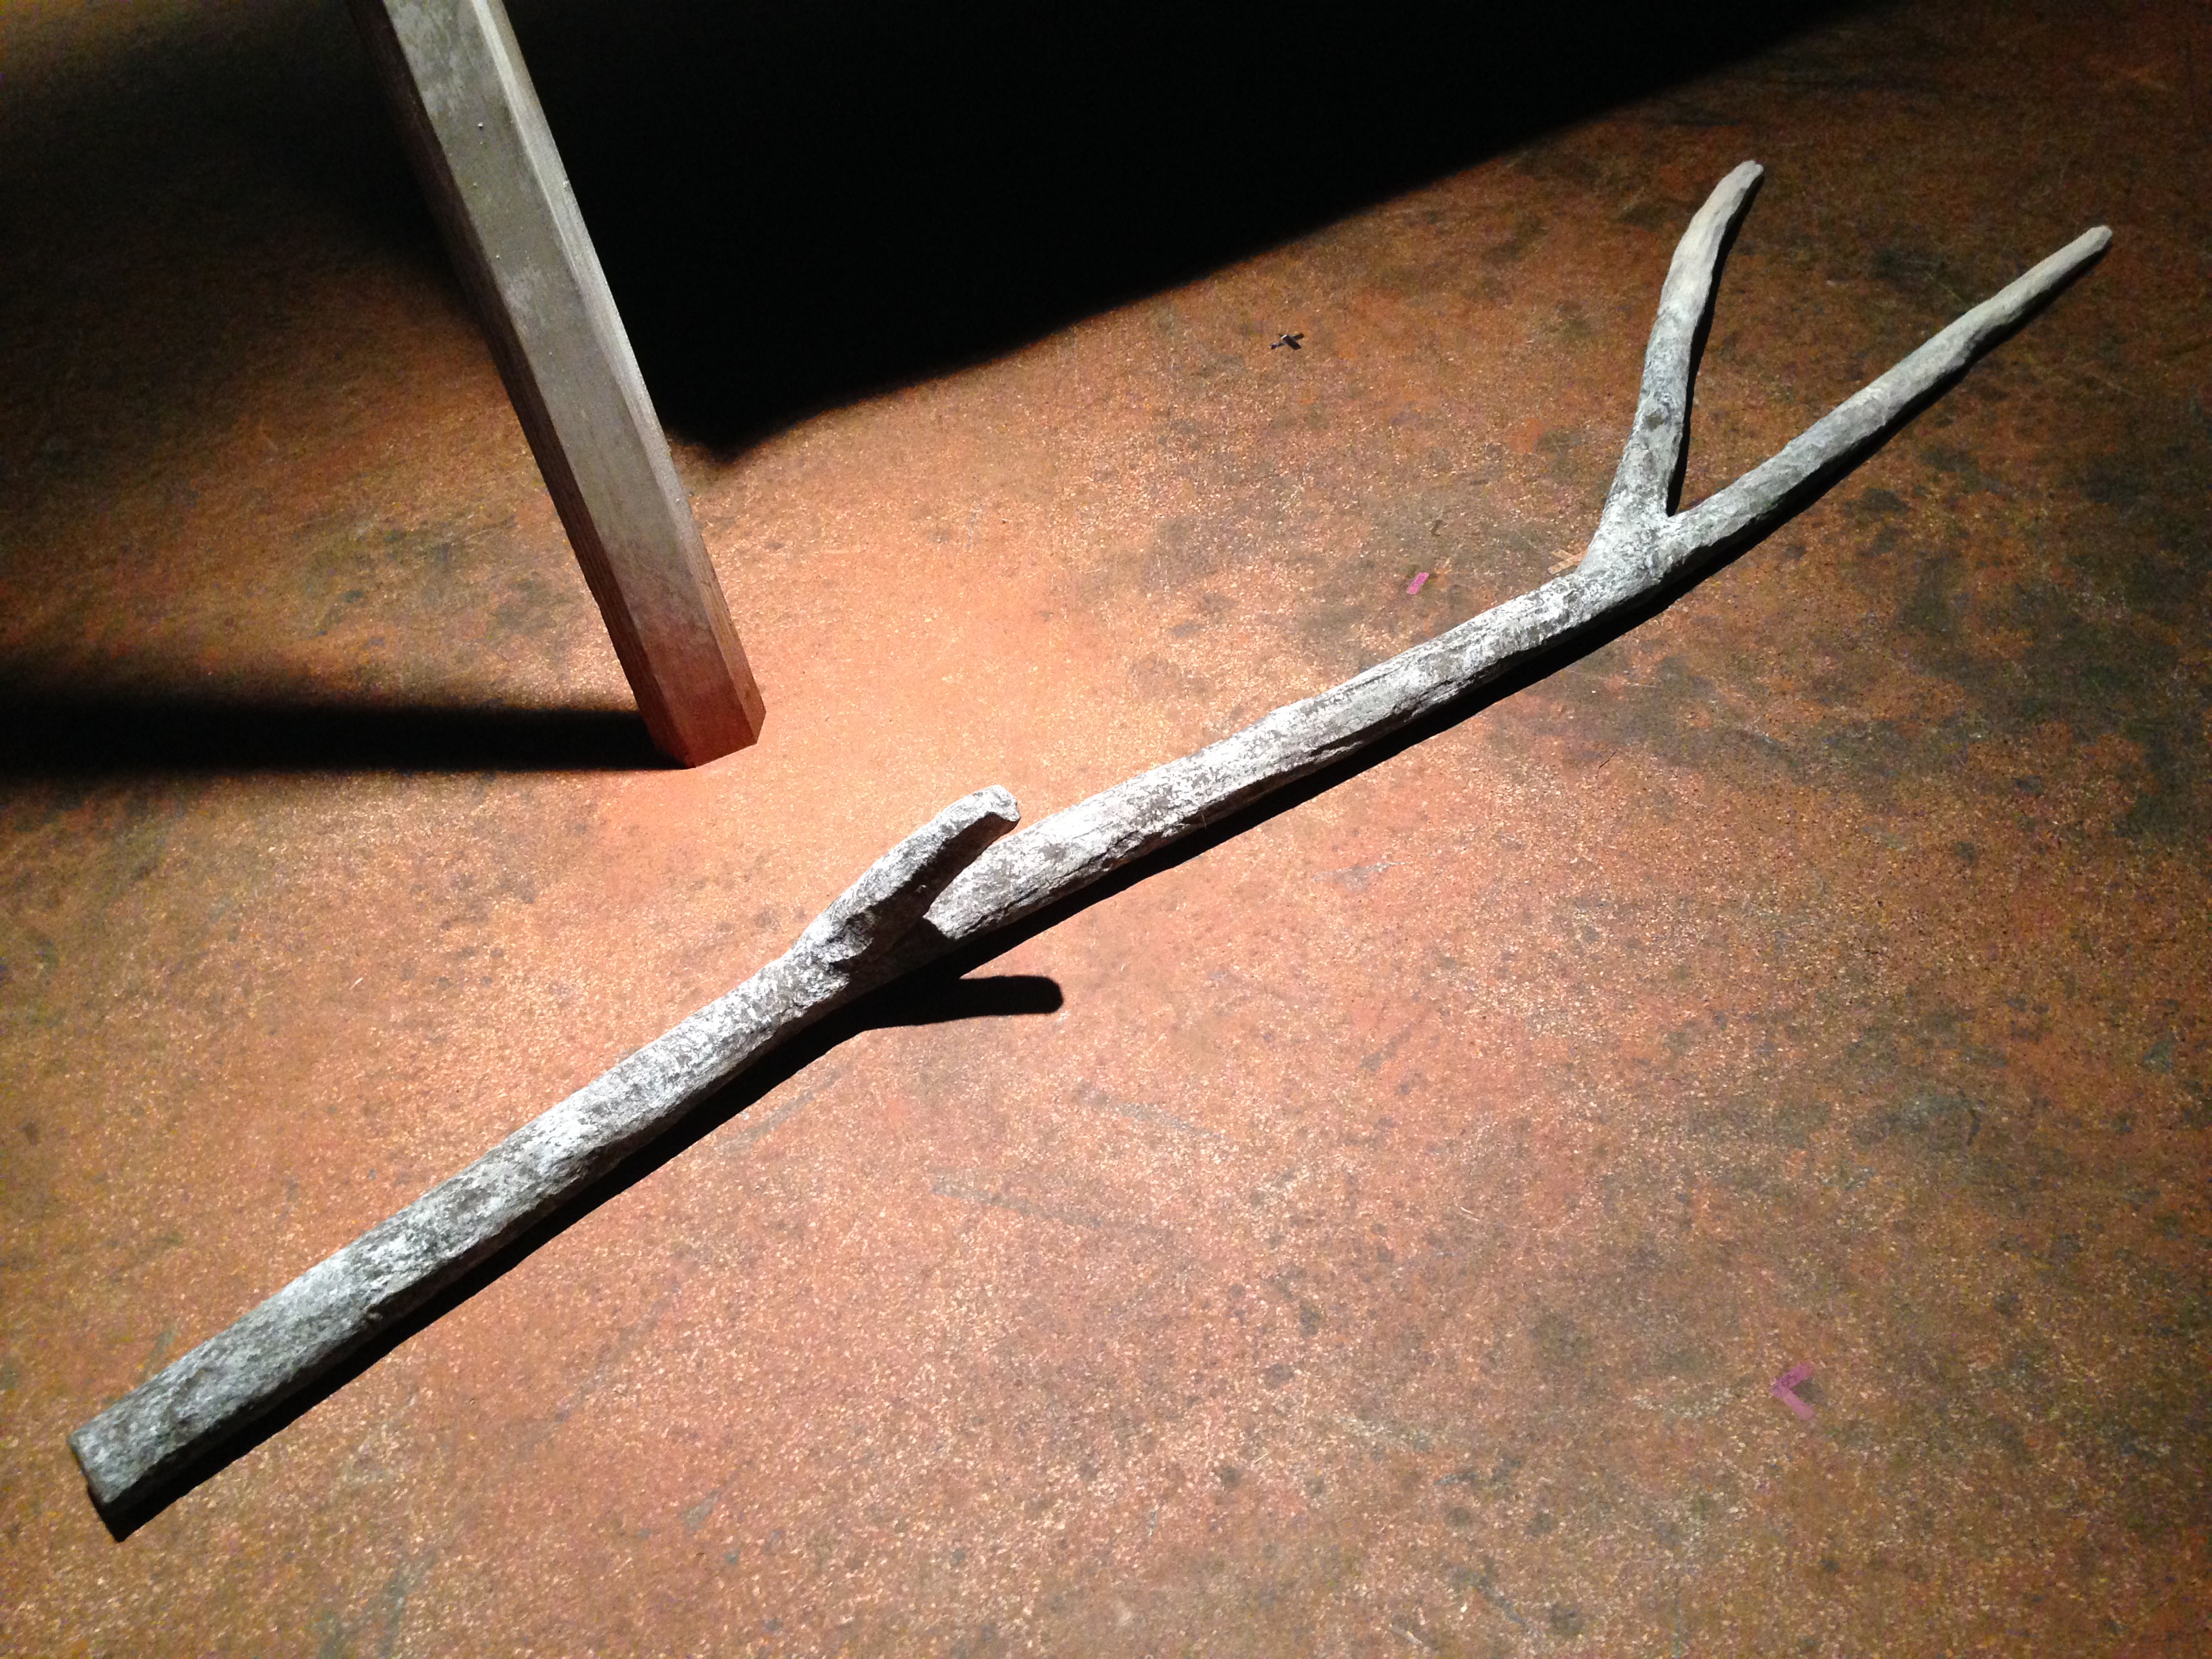
We have a production of Brother Wolf currently running out in Winston-Salem. One of the props they needed were some tree branches which they were doing some choreography with. So they needed to be light-weight and safe around the actors. We decided to go with pool noodles over an aluminum pole, coated in cheesecloth and glue. I sent a photo of the following sample over to Howard Jones, the scenic designer, and got approval.

Tree branch sample
Tree branch sample

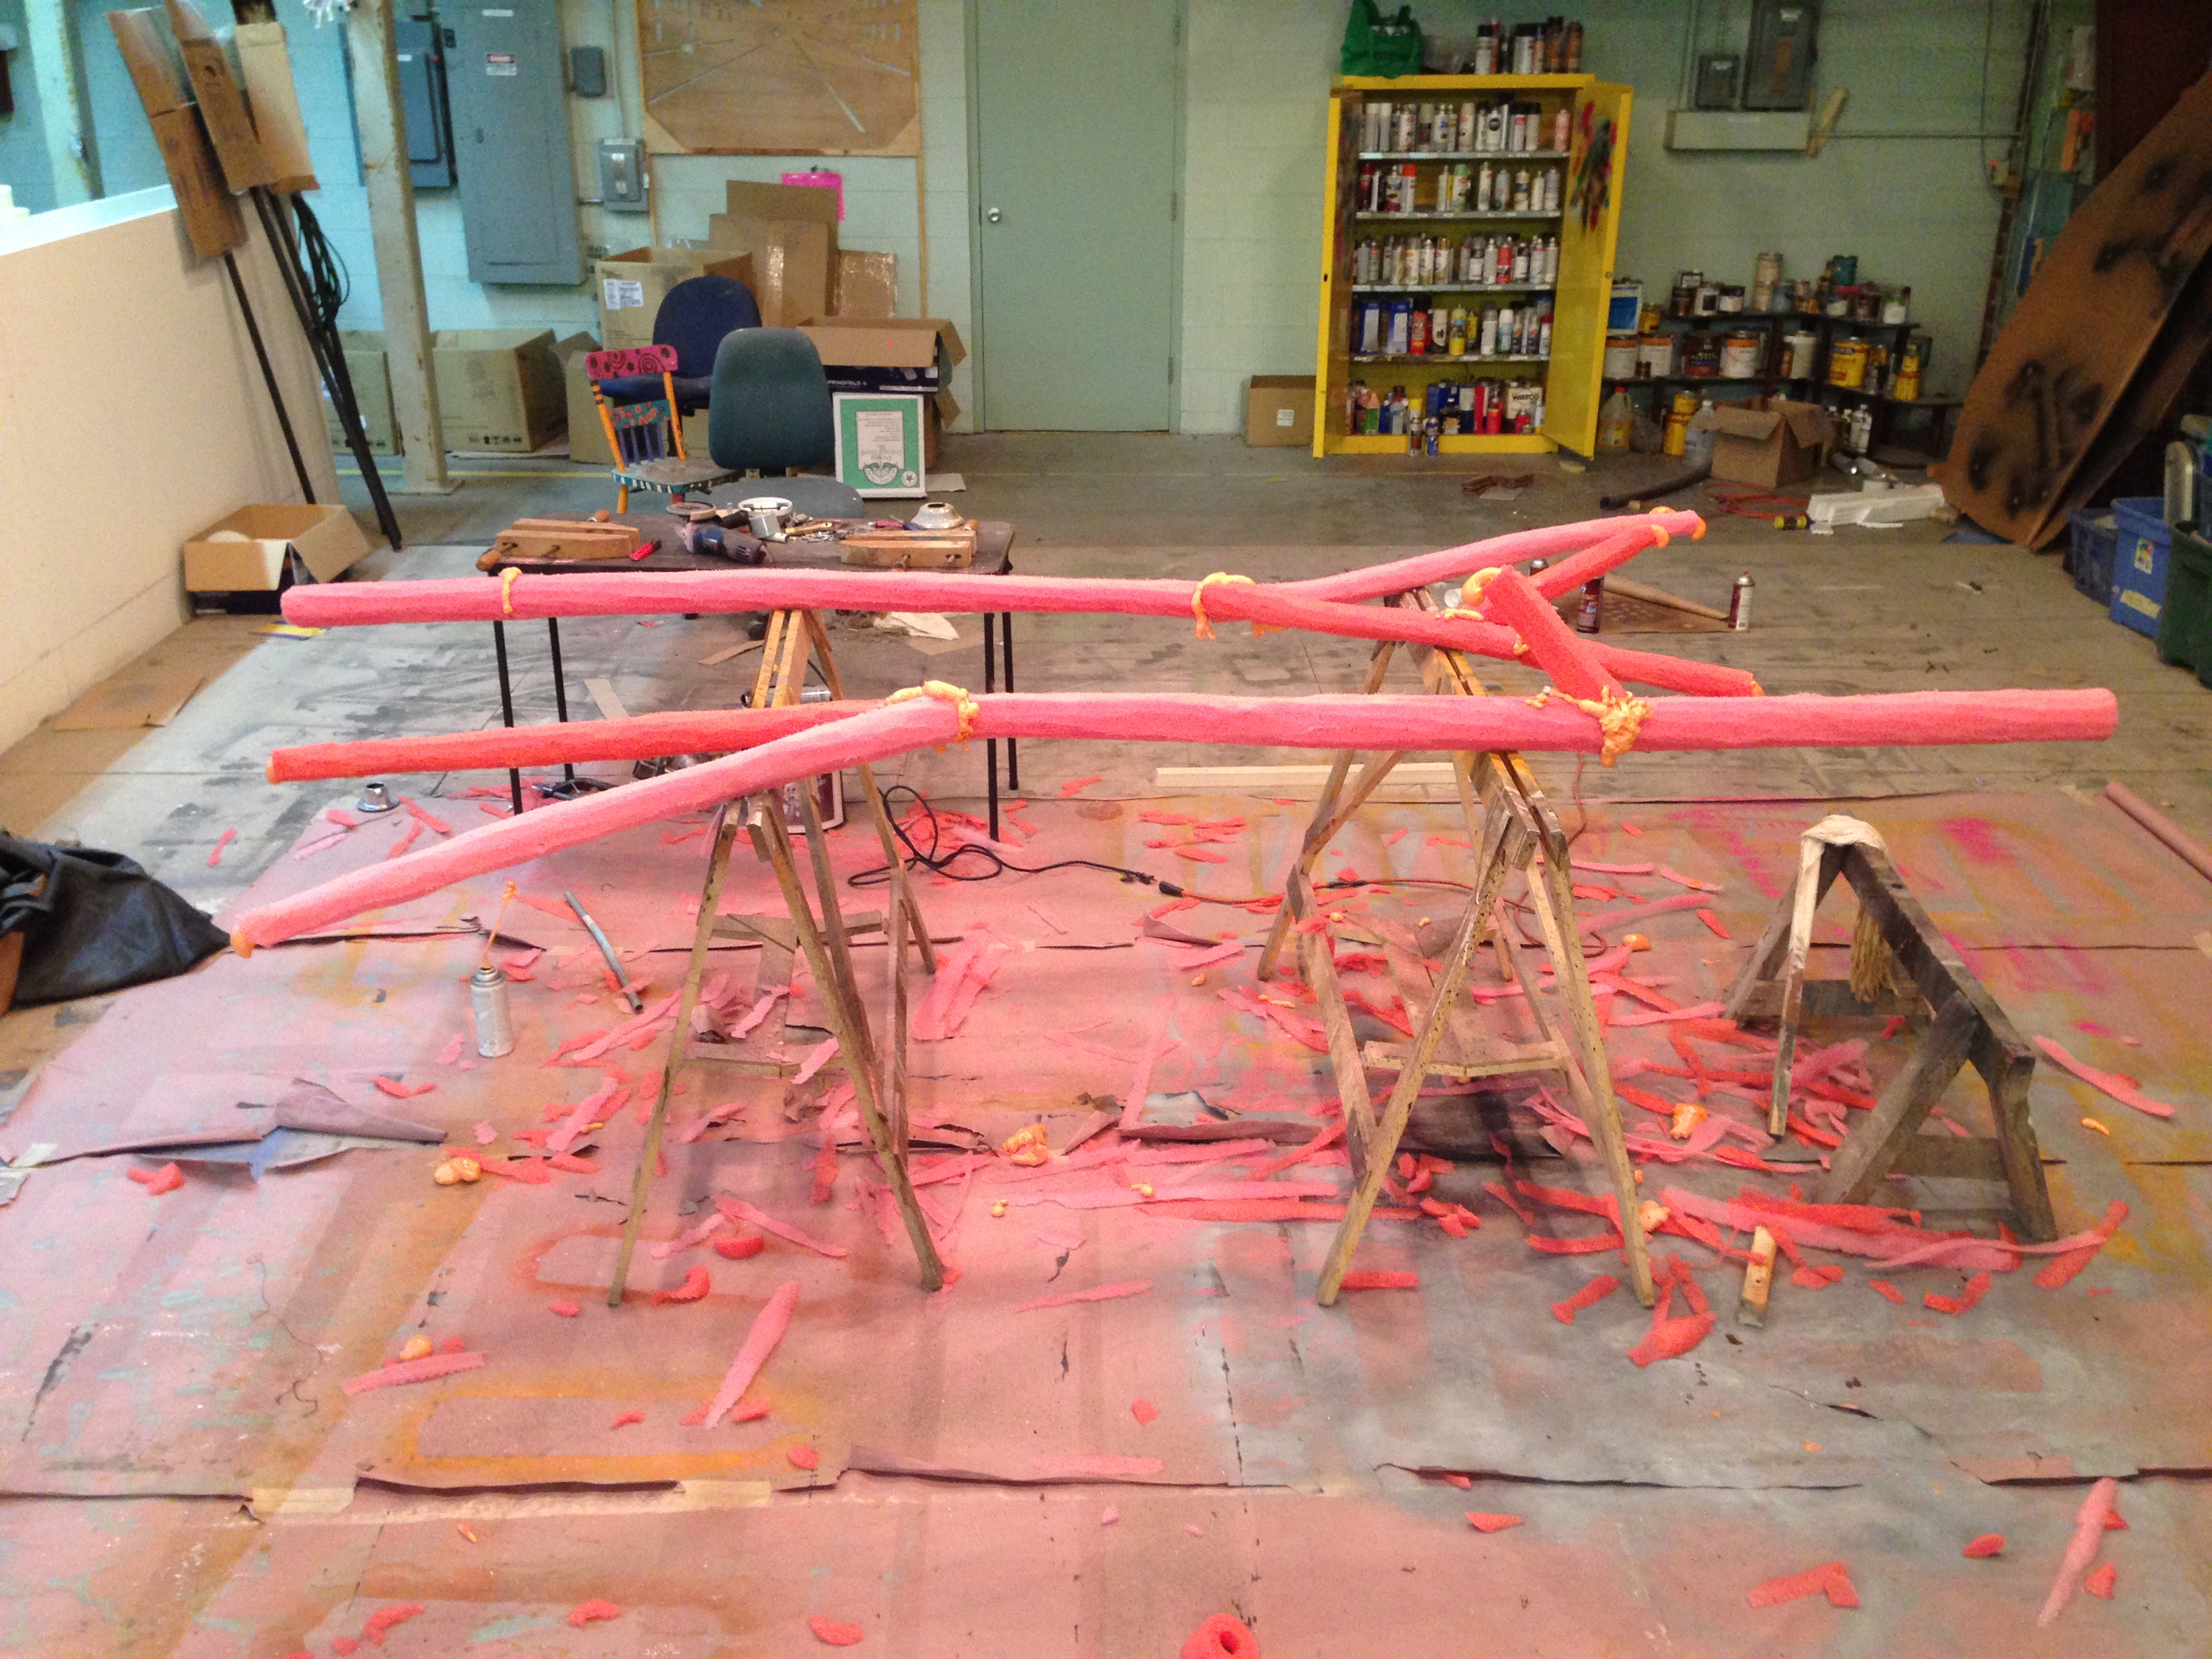
The two full-size branches were made by the assistant props master, Lisa Bledsoe (I merely took the pictures). She started by bending the poles to match what was drawn, and adding a few extra branches. They were bolted on since we do not have an aluminum welder at the shop.

Foam and structure
Foam and structure

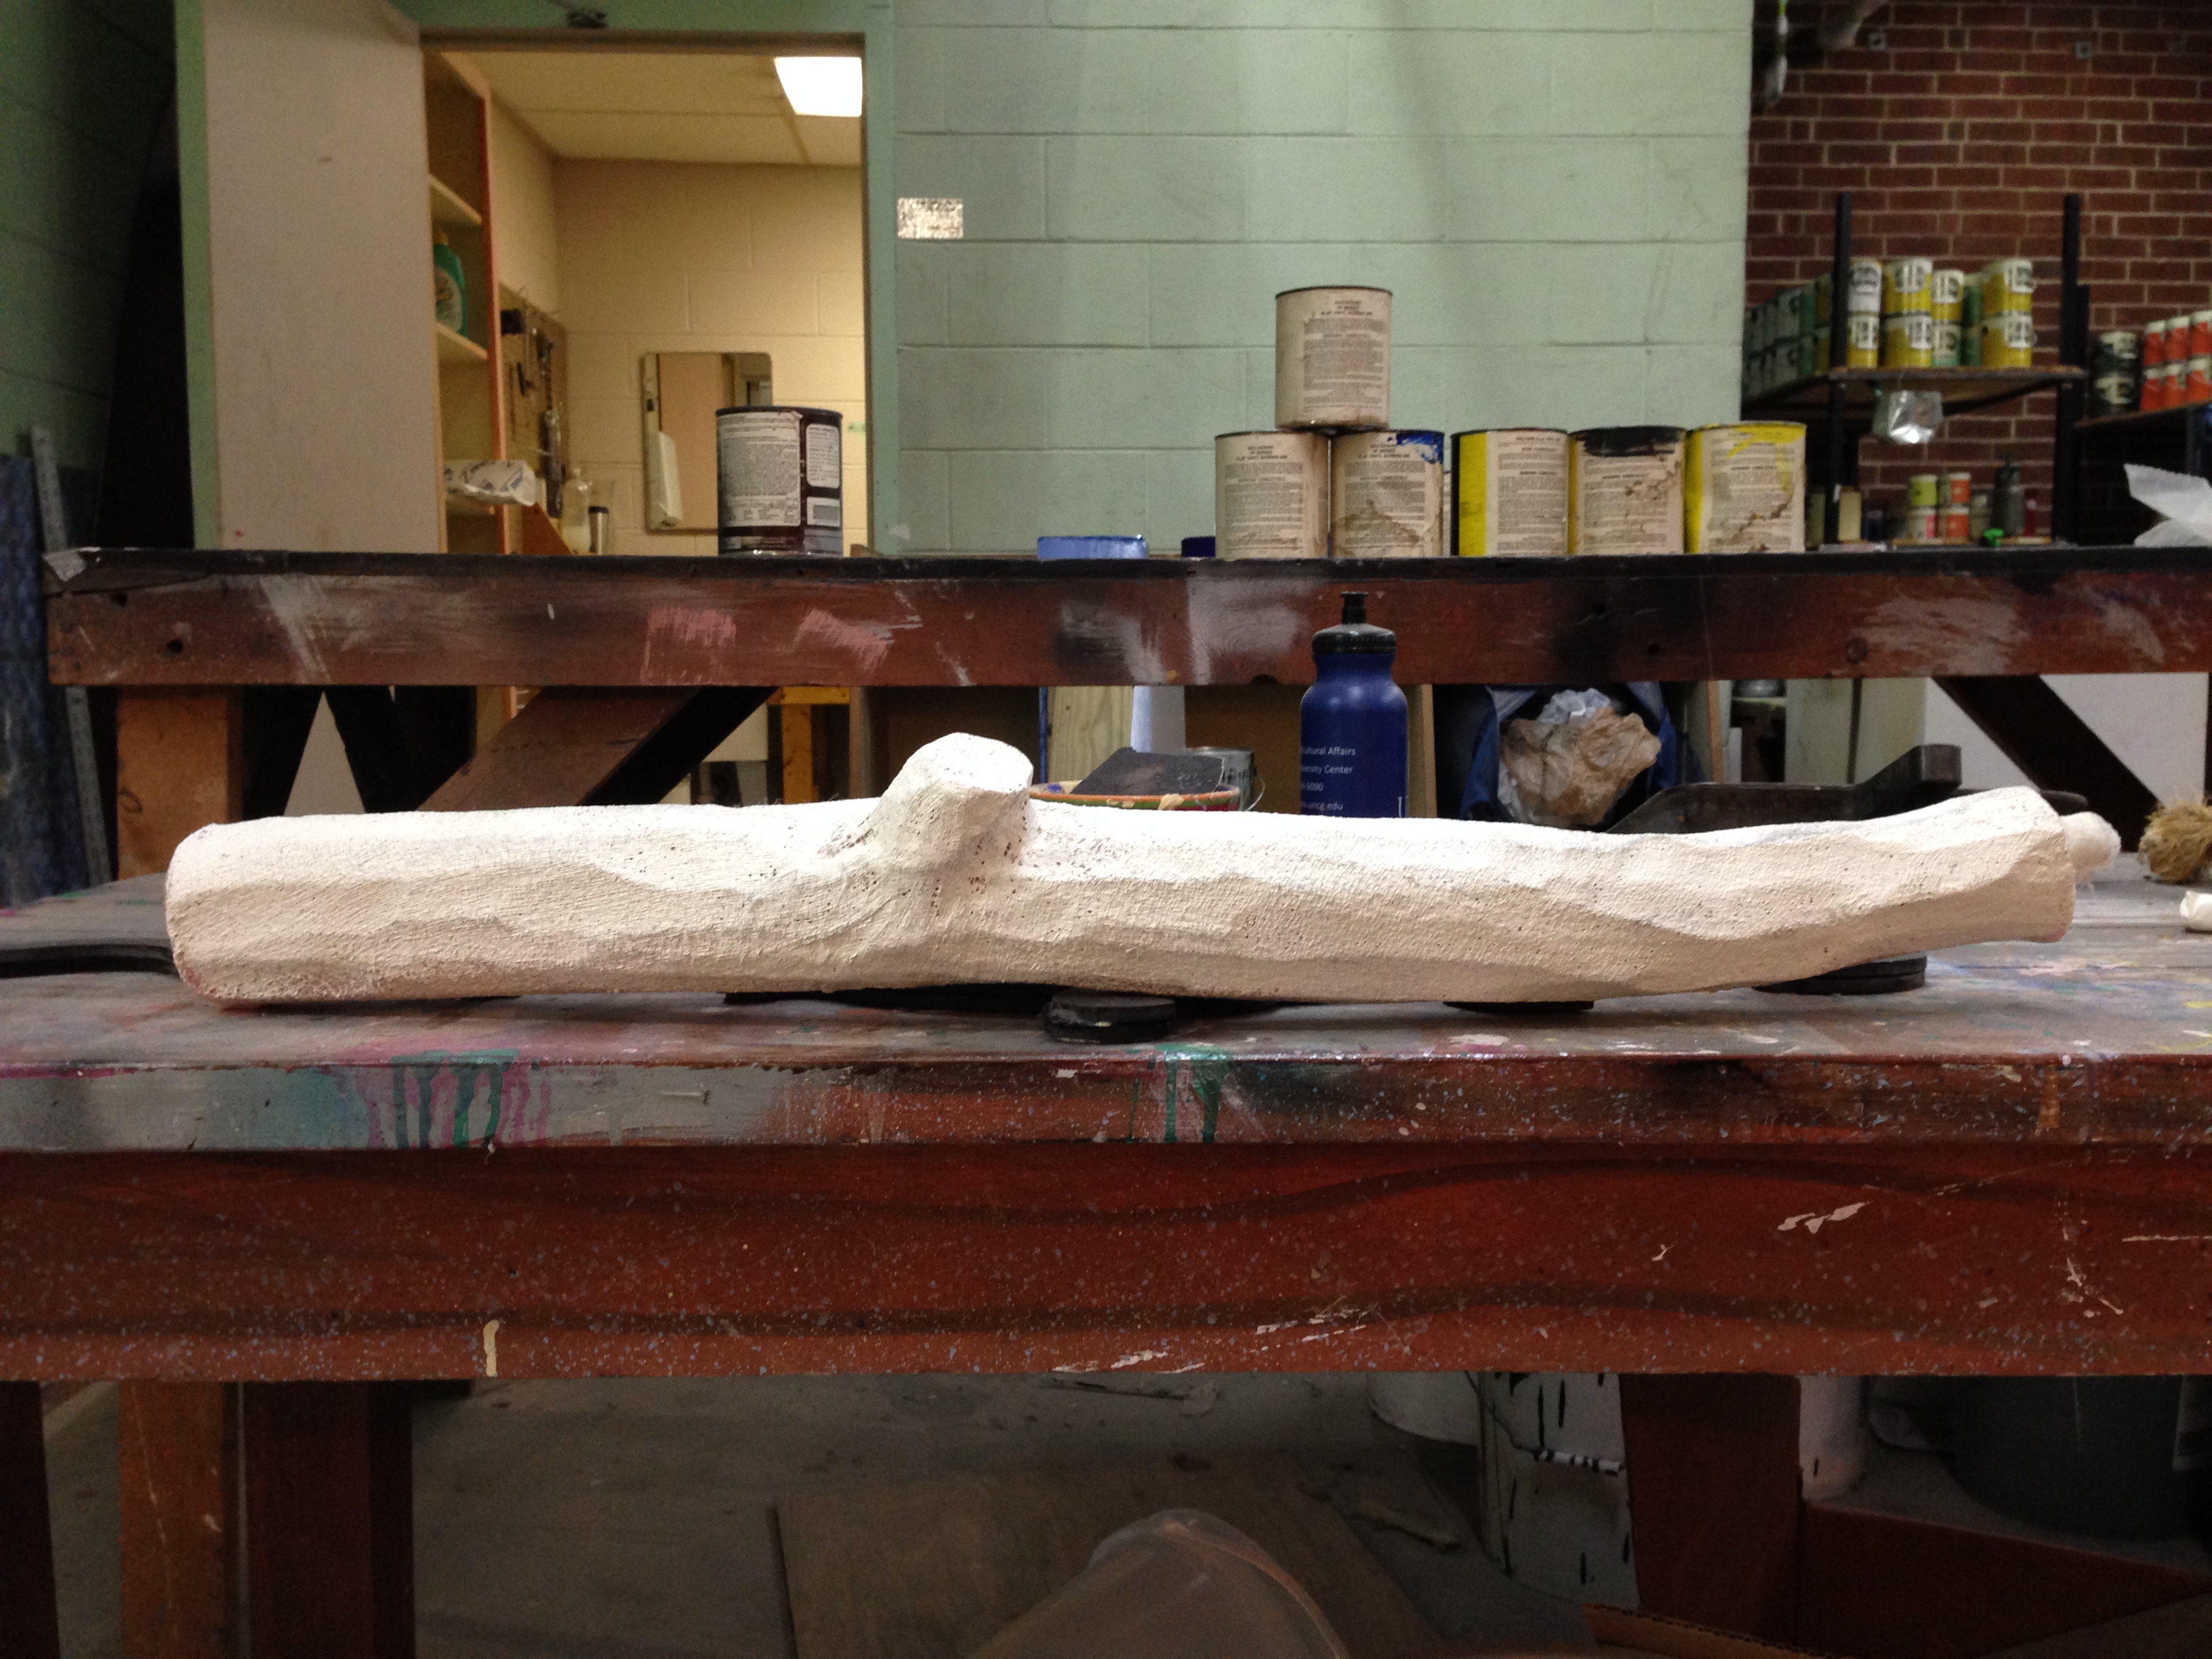
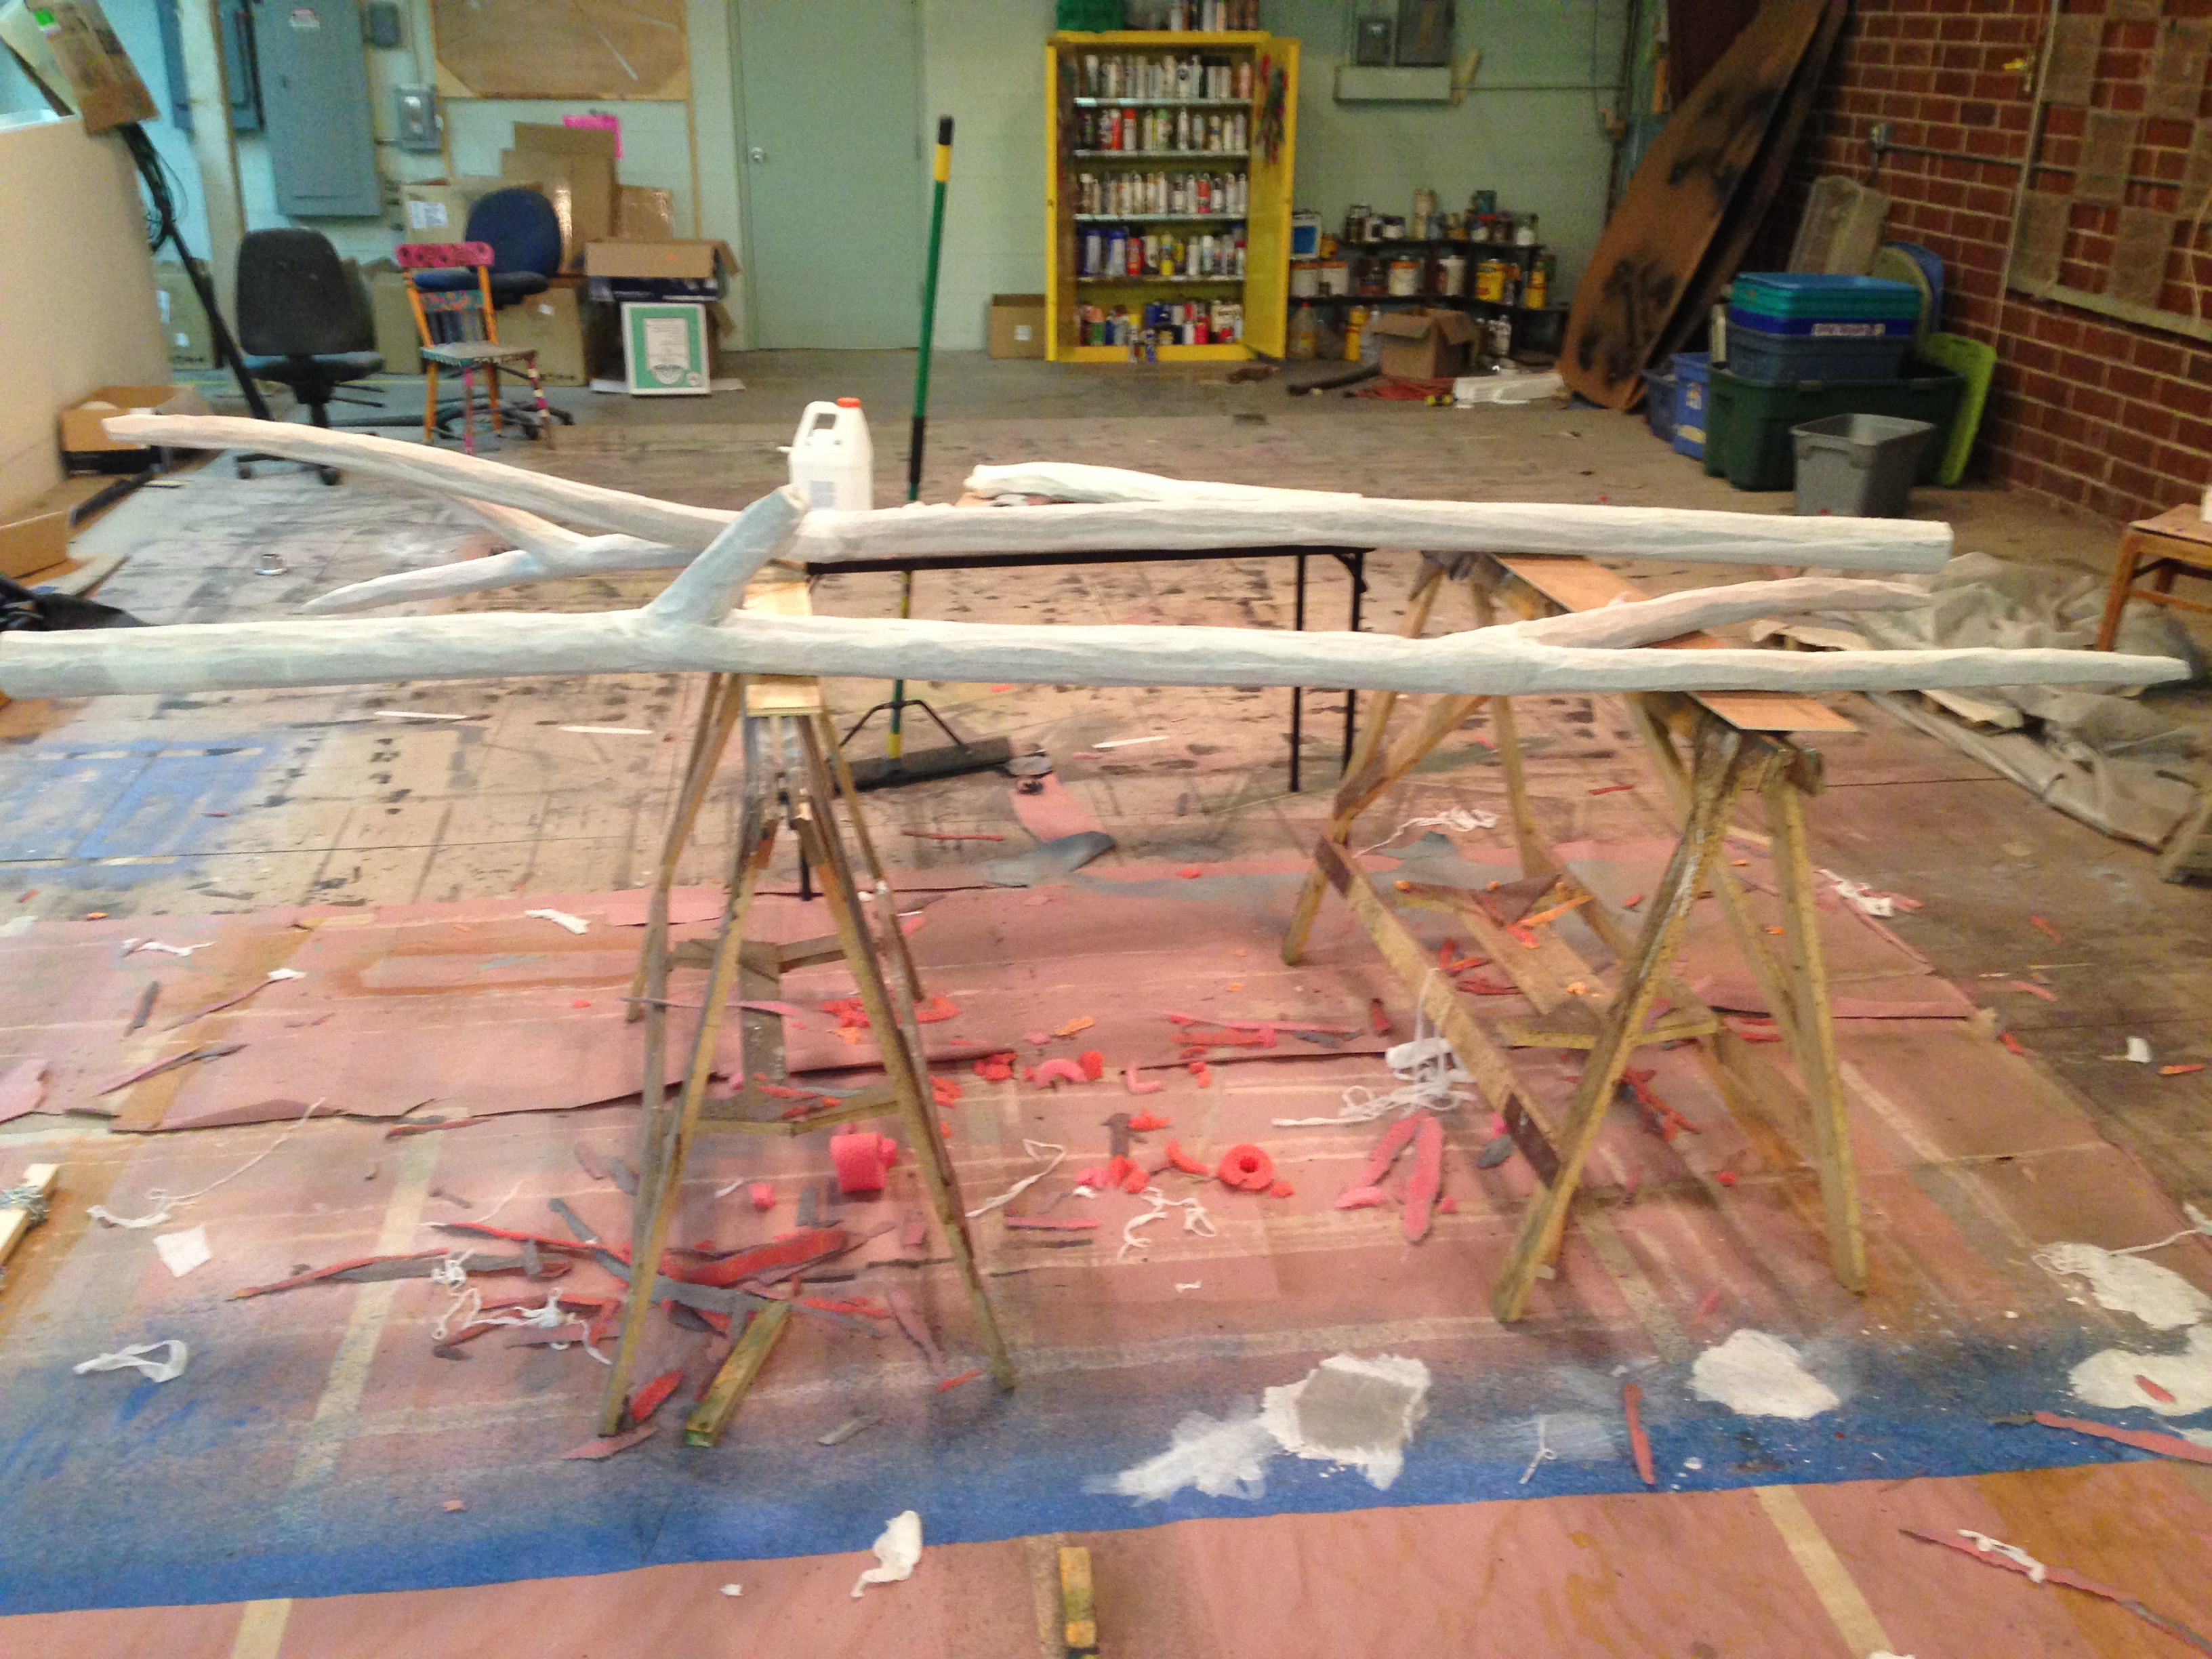
She adhered the separate pieces of pool noodle together with spray foam, which also filled the gaps. Once it had cured, she set to shaping the foam using a mix of knives and an angle grinder with an abrasive flap wheel.

Carving the shape
Carving the shape

Once the branches were properly shaped, she painted on the cheesecloth with a 50/50 mix of Elmer’s Glue and water. I should mention that the branches got a quick coat of grey primer, since the cheesecloth is fairly translucent, and we did not want pink trees.

Coated
Coated

Once everything was dry, our scenic painter, Jessica Holcombe, gave the final paint treatment. It was a weathered grey wood, with a thin white wash over top. It matched all the wood elements in the scenery, so it was easier to just have her do the branches as well, rather than having us try to match it.

Fake tree branch
Fake tree branch

Overall, they worked pretty well. They are far lighter than a real tree branch, and they won’t hurt an actor if they accidentally make contact. There are a few spots at the tips where the pool noodle extends past the aluminum pole, and we found they were cracking at those points; a few times during the run, we had to glue on a “bandage” of cheesecloth to repair those cracks. Other than that, I thought they were a great solution.

My Visit to RC4 Wireless

A few weeks ago, I visited Jim Smith out at RC4 Wireless. I was working on a magazine article about Cirque du Soleil’s new show, Kurios, and their use of RC4 Wireless units. Since Jim was just an hour down the road from me, I thought I’d swing by and see how they’re made.

If you’ve never seen or used an RC4 Wireless dimmer, think of a small box that lets you control electrical devices from your theater’s lightboard. So, if you wanted a flashlight, or a lantern to turn on and off during a light cue, rather then having the actor use the switch on the prop itself, these are one of the wireless dimmers that can make that happen.

Printed circuit boards

When I got to his workshop and he showed me around, what surprised me most was the fact that he was building every single unit right there by himself. He starts with a printed circuit board, or PCB. These he gets made up at a factory, but then he prints the circuit paths on in his shop.

Pick-and-place machine

Next up, the boards go into his pick-and-place machine. Various components come on reels of “tape”. These are fed into the machine, which grabs what it needs, and places it exactly where it needs to go on the circuit board.

Before he got the pick-and-place machine, he was placing every component onto the board and soldering them in place by hand. Not only does the pick-and-place machine allow him to work much faster, but it allows him to use much smaller components. At a certain size, he has to use tweezers just to handle the components and a magnifying glass to see where to solder. He cannot physically work with anything smaller. With the machine, he can use smaller components, which mean smaller RC4 units overall.

Baking and testing
Baking and testing

Once all the surface mounted components are in place, he brings them over to an oven, which bakes the solder and locks everything in place.

Finished boards
Finished boards

He then adds the through-mount components. These are things like the DMX connectors or switches or anything that will be poked and prodded by a user. Using through-mounts gives them a strong mechanical connection. It’s basically like bolting the pieces on, where the pick-and-place machine can be thought of as “gluing” the pieces on.

CNC milling machine
CNC milling machine

The cases he uses are standard cases that he can buy in bulk. He then puts them in his CNC milling machine to cut out all the holes for connectors, switches and mounting hardware. The finished units then head inside his house where they get tested, programmed, labelled and packed. From there, they head off to companies like Cirque, where they are used for… well, you’ll have to wait for my magazine article to come out to see what they are used for.

Two Fake Pies

We opened Pump Boys and Dinettes here at Triad Stage a few weeks ago. Set in a diner famed for its home cookin’, we needed some pies. They sing about them, after all. Of course, we didn’t want to be buying brand new pies for every performance, so I asked my assistant, Lisa Bledsoe, to make a few.

Pie crust and base
Pie crust and base

She started off making the pie crusts out of Crayola Model Magic. She shaped a layer into a glass pie tray and let it harden over night. She cut some white bead foam discs to fill most of the inside.

Strawberry filling
Strawberry filling

She was making two pies; a fruit pie and a coconut cream pie. For the fruit pie, she had some fake strawberries from the floral section at Hobby Lobby, and cut all of them in half to make a layer on top of the foam disc. She painted the disc red to continue the illusion that it was strawberries all the way down.

Toasted coconut
Toasted coconut

To top the coconut pie, she used actual dried coconut flakes. They were painted with acrylics to make them look toasted.

Coconut cream pie
Coconut cream pie

The Model Magic did not stick to the pie tray, so she was able to pop the whole pie out and paint the crust with acrylics before popping it back in. The cream on top was made from acrylic caulk. She had visited the hardware store and picked up a few different brands and types of caulk and spackle to test out which would dry the most like a cream pie.

Strawberry pie
Strawberry pie

The strawberry pie got a lattice crust made of more Model Magic painted with acrylics. So there you have it; the Double Cupp Sisters’ famous pies!

Building a Bar for “Anna Christie”

The first scene of Anna Christie takes place in a small waterfront bar in the New York City harbor around 1910. For our production at Triad Stage, the design had a large back bar and front bar which could appear for that scene and strike backstage when it ended. The scenic designer drafted the front bar and the back bar for the props shop to build, and away we went. Standing nine and a half feet tall, at almost twelve feet long, the back bar really pushed the limits of the definition of a “prop”.

The back bar was built mostly out of lauan with half-inch plywood framing pieces to make it as light as possible, since it would need to be pushed on and off stage a vista by three crew members.

Beginning construction

It was constructed in three sections to make transportation to the theatre possible. You can see two of the sections below, showing where the piece broke apart. You can also see the beginnings of the wood grain paint treatment which I wrote about last week.

Two sections
Two sections

Most of the vertical surfaces on the top section of this piece were meant to be antique frosted mirrors. I used some silver Mylar as the mirror, laid a section of lace on top, and spray painted through it. This left a lace-like design on the Mylar, and after a few more coats of spray frosting over the whole thing, it looked just like a mirror.

Making the mirror
Making the mirror

The unit was originally on wheels, but when it got to the theatre, the noise it made while moving was deafening. The stage floor consisted entirely of expanded steel panels. We discovered that plastic furniture gliders actually made moving the unit completely silent and fairly effortless. They also ensured the unit remained stationary when no one was touching it.

Back bar
Back bar

With some practical sconces, some lace runners and doilies, and a whole bunch of vintage liquor bottles, the piece was complete. Below is a photo of the whole setup, which includes the front bar that our prop shop also constructed.

Full bar
Full bar

You can also see a side-by-side comparison of the final piece with a research image. Obviously the proportions and specifics were changed in the design, but the inspiration is fairly clear.

Research vs final piece

Graining Some Wood

Our production of Anna Christie closed last night at Triad Stage. The first act takes place in a bar, filled with wooden furniture. The bar, tables and chairs all needed to match, and since they were constructed from a variety of wood and other materials, the best way to do that was by painting all of them.

Our scenic charge artist, Jessica Holcombe, helped us develop a process to match the wood sample that our designer picked out. The base coat was a wet blend of two colors: a light tan, and a slightly darker beige. We blended them in the direction that the fake grain would go.

Base coat
Base coat

The next layer was a maroon/pink graining layer. A lot of the graining was done simply with a chip brush lightly dragged along the surface to make stripes. For some of the larger surfaces, we broke out the grain rocker to make some knots and other grain characteristics.

Graining
Graining

For the third layer, we made a glaze from some amber shellac and a bit of brown tint, and painted that over the whole thing.

Glaze coat
Glaze coat

The picture below shows the progression of this graining process, starting with an unpainted chair I bought.

Step-by-step wood graining process

When the furniture got on stage under the lights, it was too bright and the grain had too much contrast. We added another glaze coat of tinted shellac, this time using a darker brown to tint it. Jessica also showed us how to flock (edit: I mean “flog”) this layer, giving it a bit of the subtle pores and perpendicular stripes you can see below.

Final glaze
Final glaze

When doing a wood grain, the more layers you can add, the richer and more realistic your final result will be. There are many other techniques and tricks you can utilize depending on the specific type of wood you are trying to replicate; it is important to have a clear reference photo or physical sample of what you want your wood to look like.